- Company Articles
- Products and Technology
- Product knowledge
- Load Capacity of T-Groove Aluminum Pipe: Choosing the Right Spec for Your Needs

Load Capacity of T-Groove Aluminum Pipe: Choosing the Right Spec for Your Needs
Related Product
T-Groove Aluminum Pipe
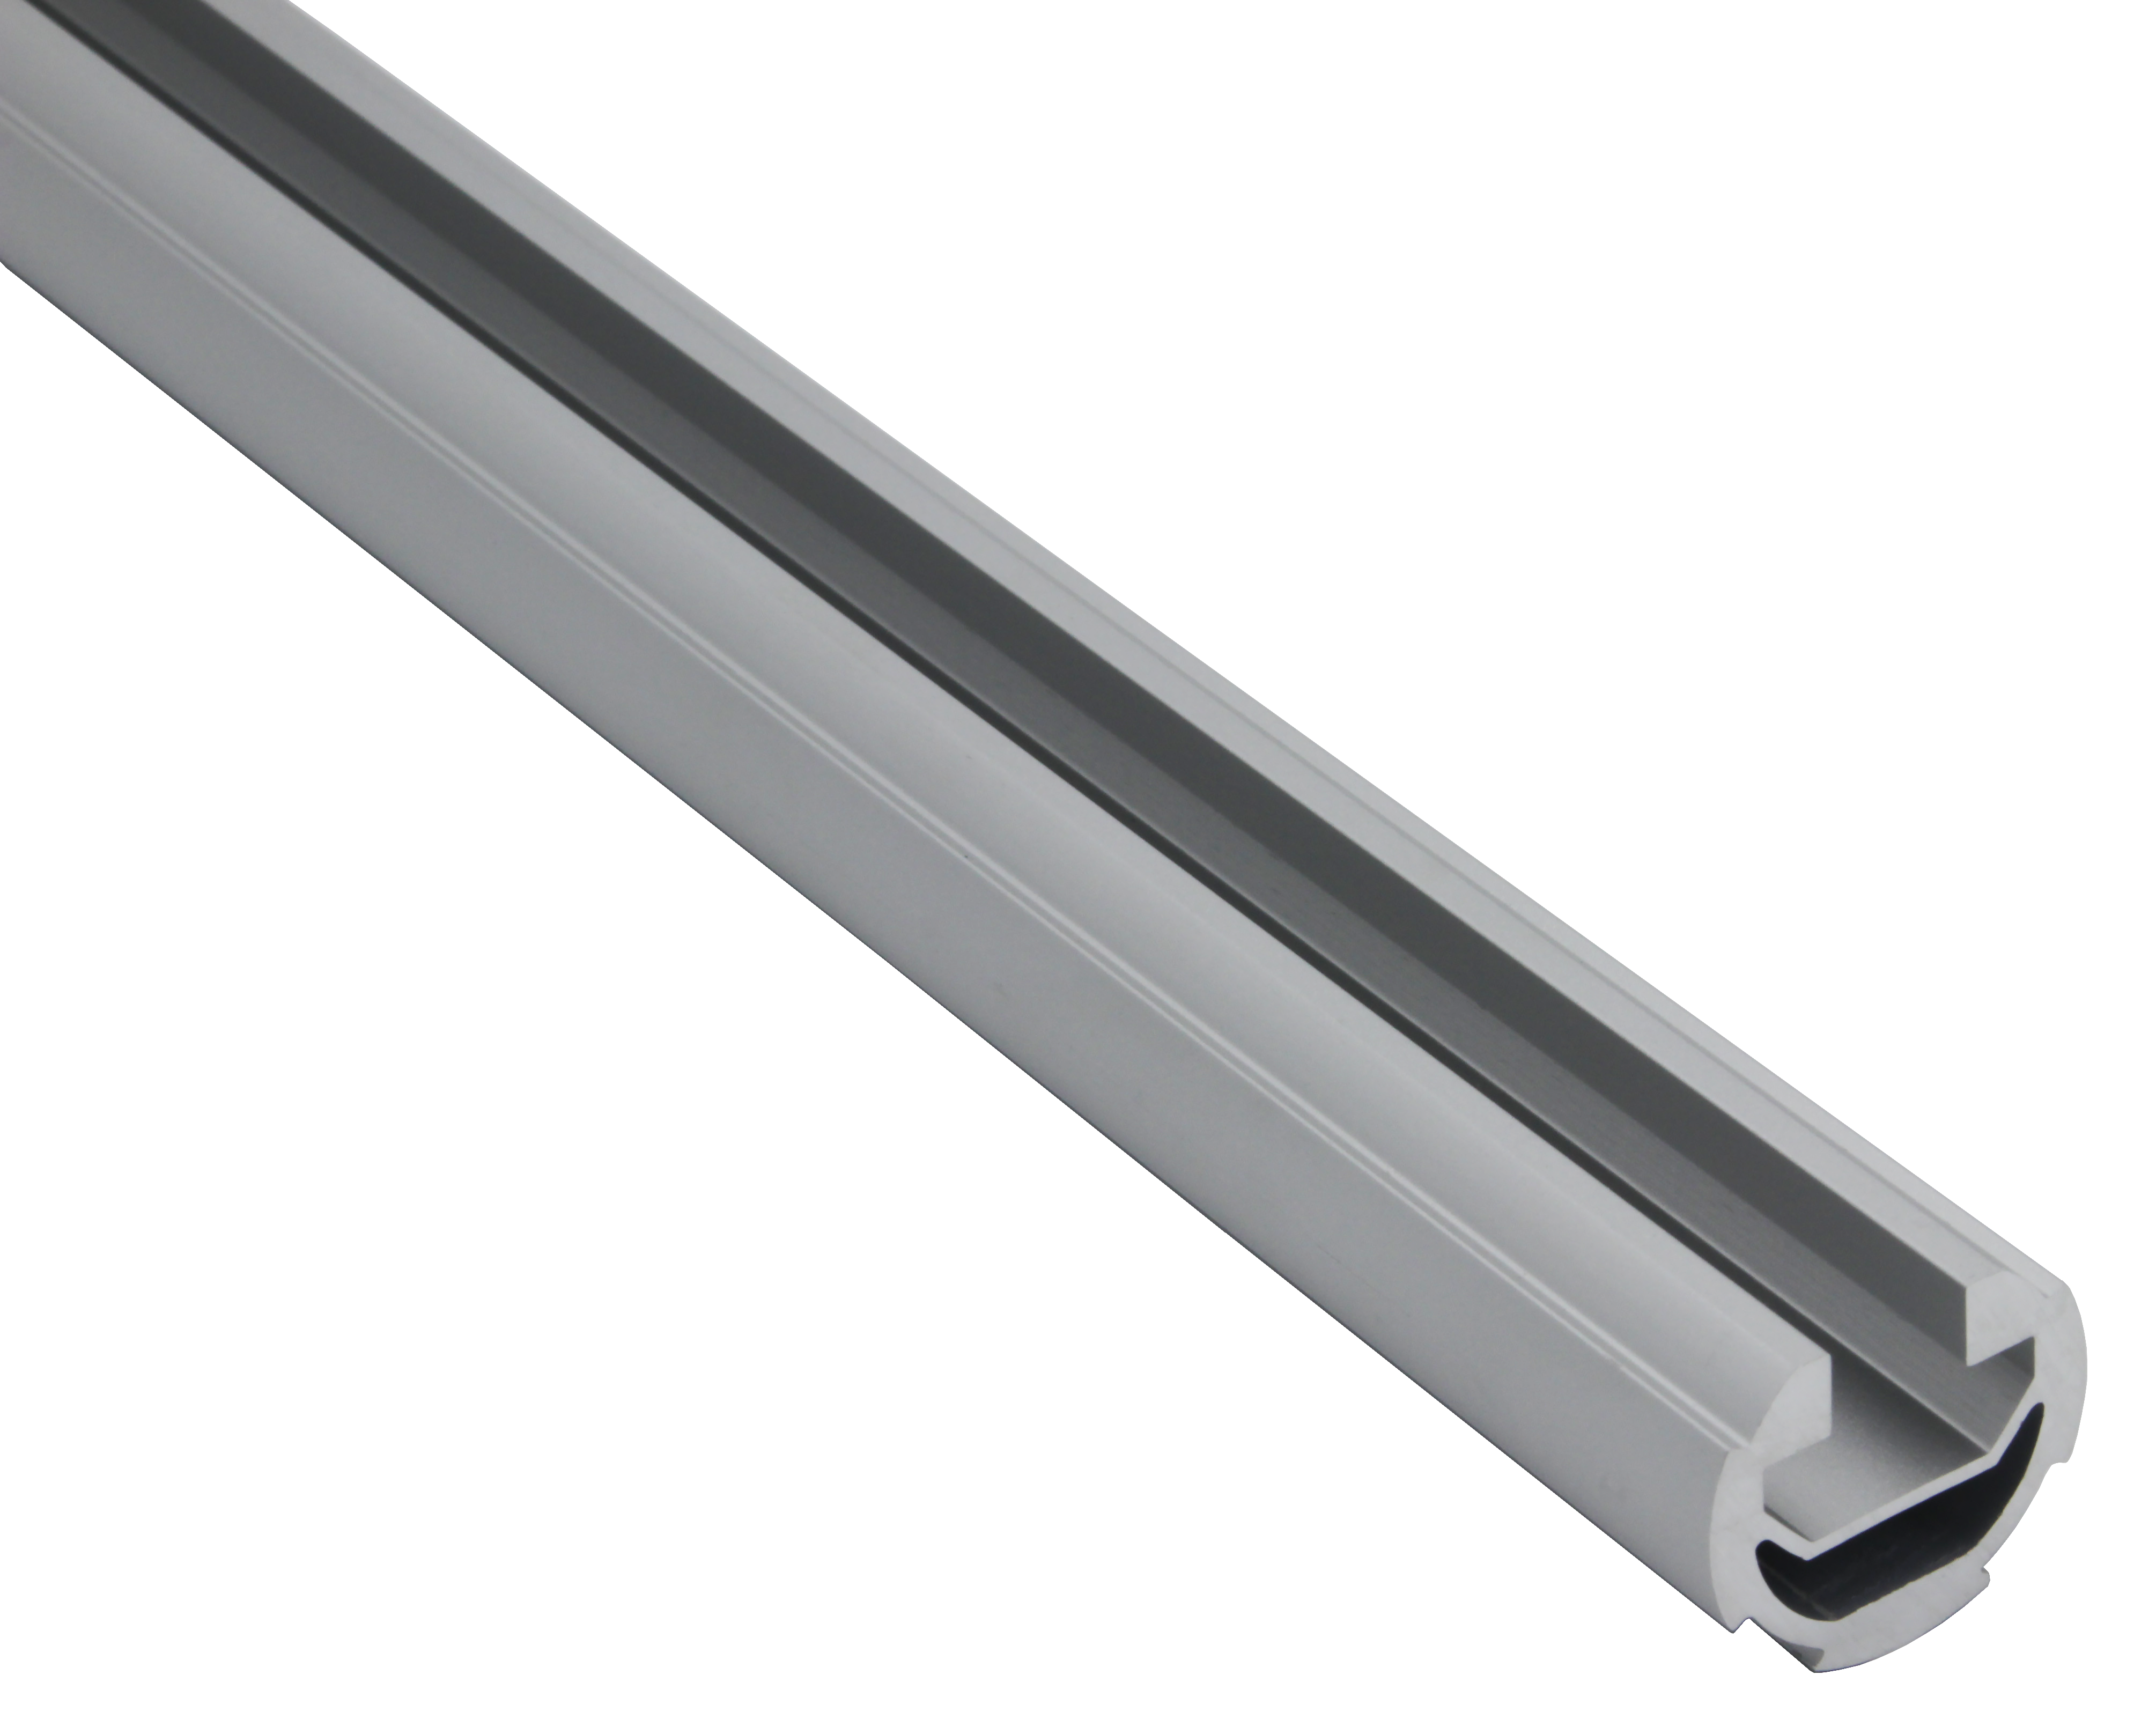
The aluminum pipe opening 10mm is installed into the T-shaped slider, which can be installed with casters or other matching functional parts. The groove can be used for positioning and is used for the track of the roller.
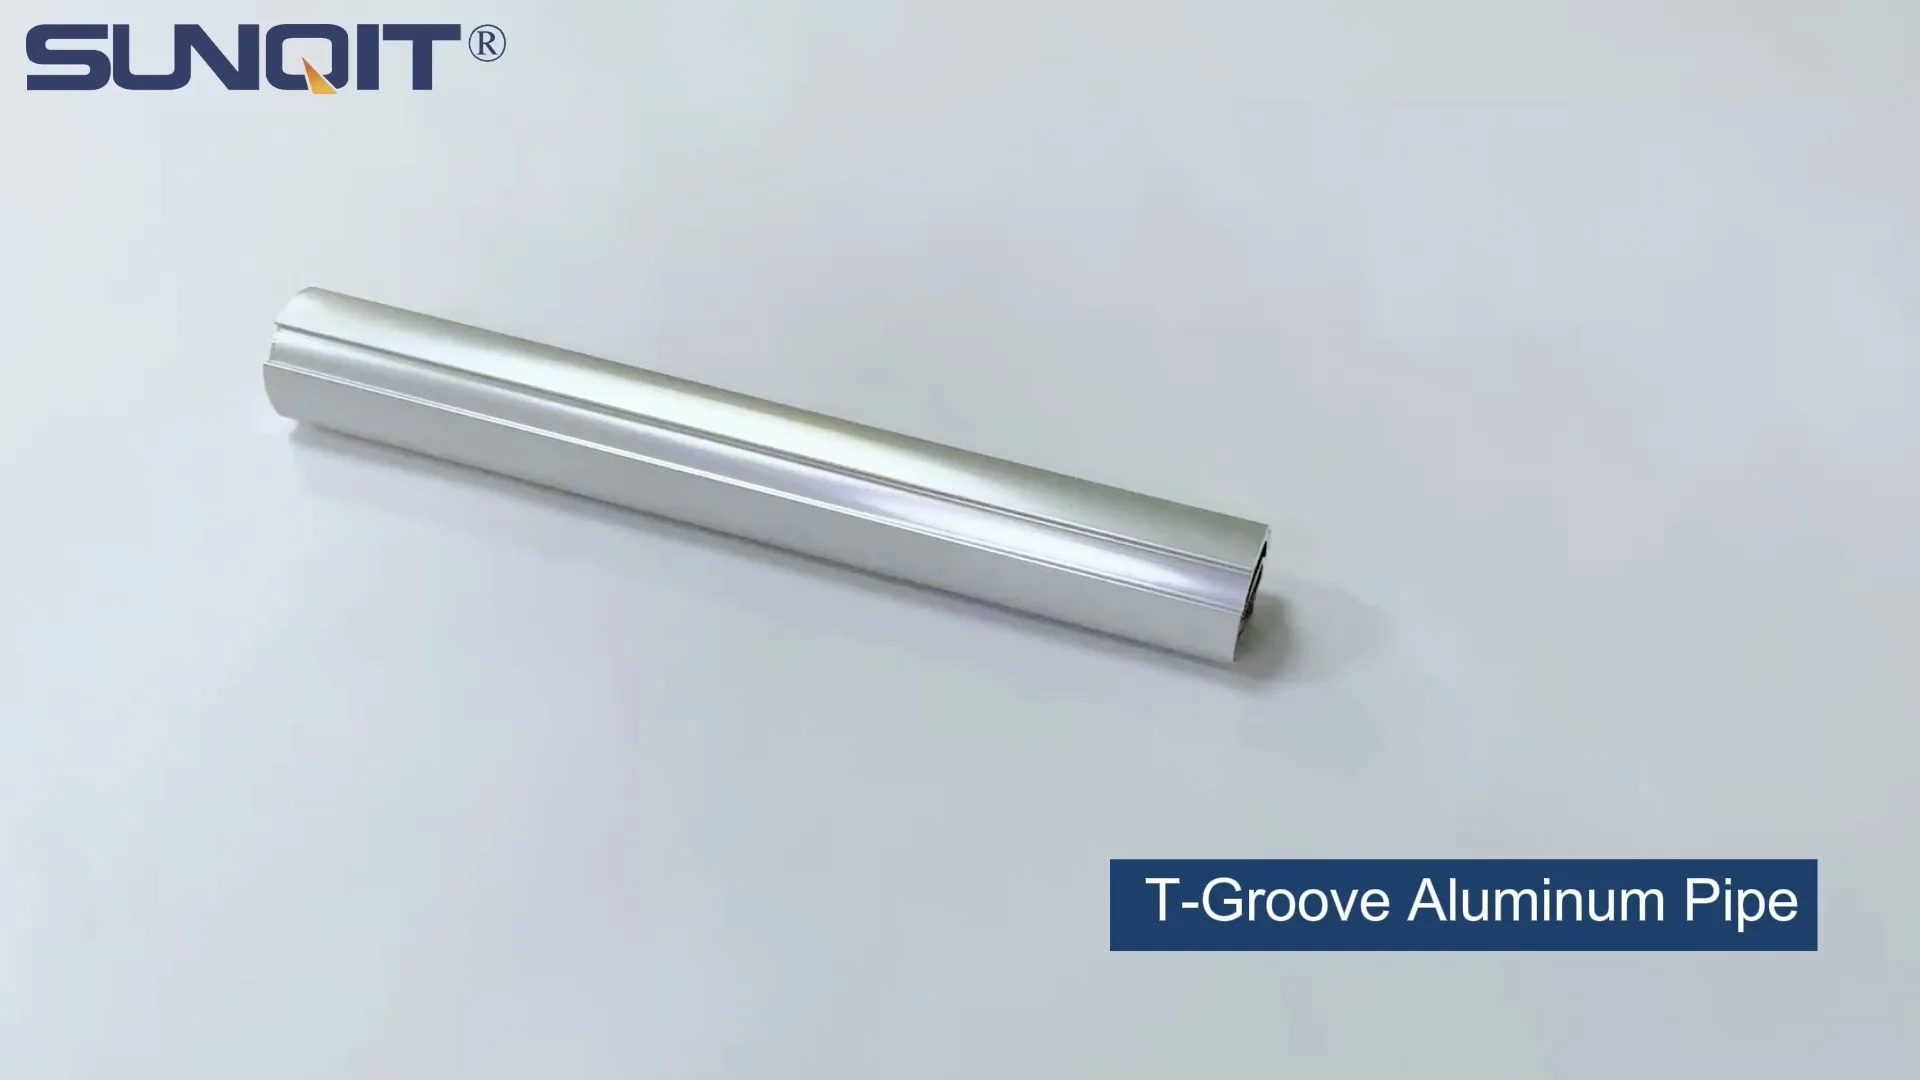
Walk into any modern factory, workshop, or even a bustling maker space, and you'll likely spot them: sleek, modular structures holding tools, materials, or moving products along a line. Chances are, those structures are built with T-groove aluminum pipes—those versatile, silver rails with slots running along their length that snap together with simple connectors. They're the unsung heroes of efficient workflows, but here's the thing: not all T-groove aluminum pipes are created equal. The difference often comes down to one critical factor: load capacity. Whether you're building a workbench to hold heavy machinery or a material rack for stacks of components, choosing the right pipe spec isn't just about saving time—it's about safety, durability, and keeping your operations running smoothly.
What Are T-Groove Aluminum Pipes, Anyway?
Let's start with the basics. T-groove aluminum pipes—sometimes called T-slot aluminum pipes or aluminum extrusion profiles—are exactly what they sound like: lightweight, hollow aluminum tubes with T-shaped slots cut along their length. These slots aren't just for show; they're the secret to their modularity. Slide a bolt, nut, or connector into the slot, tighten it, and suddenly you've got a joint that's strong enough to hold a shelf, a work surface, or even a conveyor track. They're used in everything from simple workbenches to complex production lines, and their popularity boils down to three big perks: they're lightweight (so they're easy to assemble and reconfigure), corrosion-resistant (thanks to aluminum's natural oxide layer), and infinitely customizable (swap out a connector, add a shelf, and your structure transforms).
But here's where it gets tricky: when you're building something that needs to hold weight—say, a workbench where you'll mount a 50kg drill press, or a material rack stacked with 20kg boxes—you can't just grab any old pipe off the shelf. A thin-walled 20x20mm pipe might work for a small parts bin, but slap that same pipe under a heavy load, and you'll be dealing with bent rails, wobbly structures, or worse, a collapse. That's why understanding load capacity—the maximum weight a pipe can safely support without deforming or failing—is non-negotiable.
Why Does Load Capacity Even Matter?
Let's get real: if you skimp on load capacity, the consequences aren't just inconvenient—they're risky. Imagine this: You build a material rack using the cheapest, thinnest aluminum profile you can find. You stack it with boxes of circuit boards, each weighing 15kg, until the third shelf. One afternoon, a team member adds a few more boxes, and suddenly—*creak*—the middle shelf dips. Then, *crack*—the pipe bends, and the whole rack collapses. Now you've got damaged inventory, a halted production line, and maybe even a safety hazard. That's the worst-case scenario, but even small failures add up. A workbench that sags under tools might throw off your measurements, leading to faulty products. A conveyor track that bends could jam, slowing down your line and costing you time.
On the flip side, choosing a pipe with too much load capacity isn't ideal either. Over-engineering means you're paying for thickness and strength you don't need, which adds up in costs. And let's not forget weight: a super-thick pipe might be stronger, but if you're building a mobile trolley, that extra heft could make it hard to move. So the goal isn't just to "pick something strong"—it's to pick something *right* for your specific needs.
Factors That Shape Load Capacity: It's Not Just About the Pipe
Load capacity isn't a single number stamped on a pipe. It's a mix of factors, all working together to determine how much weight a pipe can handle. Let's break down the big ones.
1. Material Thickness: The Backbone of Strength
First up: wall thickness. Think of it like comparing a soda can to a beer can—both are aluminum, but the beer can's thicker walls make it harder to crush. The same logic applies here. A T-groove aluminum pipe with a 1.0mm wall thickness might be fine for a light shelf, but a 2.0mm wall? That's the stuff heavy-duty structures are made of. Most pipes list their wall thickness in millimeters (mm), and it's usually the first spec you'll see on a supplier's sheet. For example, a "basic aluminum tube" (as some suppliers call their standard lines) might come in 1.0mm, 1.5mm, or 2.0mm options. The thicker the wall, the more resistance the pipe has to bending under load. Simple as that.
But thickness isn't everything. The type of aluminum matters too. Most T-groove pipes are made from 6063 aluminum alloy—a popular choice because it's strong, lightweight, and easy to extrude. Some suppliers offer 6061 alloy, which is stronger but slightly heavier, for extra demanding applications. Either way, the key takeaway is this: when in doubt, thicker walls mean higher load capacity.
2. Profile Design: It's All in the Shape
Not all T-groove pipes have the same cross-section. Some are simple squares (like 20x20mm or 40x40mm), while others are rectangles (40x80mm), and some even have complex internal structures with ribs or extra walls. Why does shape matter? Because it affects how the pipe distributes weight. Think of a 40x80mm rectangular pipe versus a 40x40mm square pipe, both with the same wall thickness. The rectangular pipe, with its longer side, will bend more easily if you load it along its narrow axis—but flip it 90 degrees, and suddenly it's stiffer. That's why profile design (the shape and internal structure) plays a huge role in load capacity.
Take aluminum extrusion profiles with internal ribs, for example. These are pipes with extra walls running along the inside, like the beams in a bridge. These ribs act as reinforcement, spreading the load across the pipe's surface and preventing it from bending. A 4080mm profile with internal ribs might have a 20% higher load capacity than a smooth-walled 4080mm profile of the same thickness. Similarly, profiles with more T-slots (some have slots on all four sides) can distribute weight better because they allow for more connection points, reducing stress on any single joint.
3. Length and Span: The Longer, the Wobblier
You could have the thickest, strongest aluminum profile in the world, but if you stretch it too far between supports, it will still sag. That's because load capacity drops dramatically as the span (the distance between two supports, like the legs of a workbench or the uprights of a material rack) increases. Engineers call this "beam deflection"—the longer the beam (or pipe), the more it bends under load. For example, a 40x40mm pipe with a 2mm wall might safely hold 200kg when supported every 500mm, but stretch that span to 1000mm, and suddenly its safe load drops to 50kg. That's a huge difference!
This is why it's critical to think about support spacing when designing your structure. If you're building a workbench, adding an extra leg in the middle might seem like a hassle, but it could double the load capacity of the top shelf. For material racks, shorter spans between vertical uprights mean the horizontal shelves can hold more weight. The rule of thumb? The shorter the span, the higher the load capacity.
4. Joints and Connections: The Weakest Link?
Even the strongest pipe will fail if its joints are weak. T-groove pipes rely on connectors—like 90° aluminum profile connectors, three-way joints, or corner codes—to hold them together. But if those connectors are loose, misaligned, or just not up to the task, your structure's load capacity plummets. Let's say you're building a shelf with two 40x40mm pipes as supports and a third as the shelf. If you use cheap plastic connectors instead of metal ones, or if you don't tighten the bolts enough, the shelf might hold at first, but over time, the joints will loosen, and the shelf will sag.
That's why aluminum profile accessories matter so much. High-quality metal connectors, gusset plates (small triangular brackets that reinforce corners), and even end caps (which prevent debris from getting into slots and jamming connections) all contribute to a stronger structure. When choosing connectors, look for ones rated for your pipe's size and load—most suppliers will list the maximum load a connector can handle, just like they do for pipes.
5. Static vs. Dynamic Load: Are You Stacking or Moving?
Here's a detail many people miss: load capacity isn't just about how much weight a pipe can hold—it's about *how* that weight is applied. Static load is weight that doesn't move: a box sitting on a shelf, a workbench holding a stationary tool. Dynamic load is weight that's moving: a trolley rolling across a conveyor, a part being lowered onto a table. Dynamic loads are harder on pipes because they add extra stress—think of dropping a 10kg box onto a shelf versus placing it gently. The impact from the drop could double the force on the pipe, even if the box itself only weighs 10kg.
Most suppliers list both static and dynamic load capacities for their pipes. If you're building a material rack for storing boxes (static load), you can stick to the static rating. But if you're building a conveyor track for moving parts (dynamic load), you'll need to factor in that extra stress—usually by choosing a pipe with a higher load rating than your maximum dynamic weight.

Calculating Load Capacity: It's Not Rocket Science (But It Helps to Ask the Pros)
So, how do you actually figure out how much weight a T-groove aluminum pipe can hold? The good news is you don't need a degree in engineering—most aluminum profile suppliers provide load capacity charts for their products. These charts list the maximum load (in kilograms or pounds) for each profile type, wall thickness, and span. For example, a typical chart might tell you that a 40x40mm, 2mm wall pipe can support 150kg when spanning 800mm vertically (like a shelf) or 100kg when spanning 800mm horizontally (like a cantilever arm).
But if you want to ballpark it yourself, here's a simplified approach: start with the pipe's cross-sectional area (width x height), multiply by its wall thickness, and then adjust for span. Thicker walls and larger cross-sections mean higher capacity; longer spans mean lower capacity. Just remember, this is a rough estimate—always check with your supplier for exact numbers. They'll also consider factors like the number of supports, the type of connectors, and whether the load is evenly distributed (a single heavy box in the middle of a shelf stresses the pipe more than several small boxes spread out).
| Profile Type | Dimensions (mm) | Wall Thickness (mm) | Max Static Load (kg/m)* | Max Span (mm)** | Common Uses |
|---|---|---|---|---|---|
| 2020 | 20x20 | 1.0-1.5 | 50-80 | 600 | Small parts bins, lightweight shelving, display racks |
| 3030 | 30x30 | 1.5-2.0 | 120-180 | 800 | Medium workbenches, tool racks, small material racks |
| 4040 | 40x40 | 1.8-2.5 | 200-300 | 1000 | Heavy-duty workbenches, conveyor frames, production line supports |
| 4080 | 40x80 | 2.0-3.0 | 350-500 | 1200 | Large material racks (e.g., material rack b with 3 rows and 3 floors), industrial shelving |
| 6060 | 60x60 | 2.5-3.5 | 450-600 | 1500 | Heavy machinery supports, tall material racks, automotive assembly lines |
*Max static load per meter of pipe, evenly distributed. **Maximum recommended span between supports for max load.

Choosing the Right Spec: A Step-by-Step Guide
Now that you know what affects load capacity, let's walk through how to choose the right T-groove aluminum pipe for your project. It's easier than you think—just follow these steps.
Step 1: Figure Out Your Maximum Load
Start by asking: What's the heaviest thing this structure will ever hold? Be honest—err on the side of overestimating. If you're building a workbench, list all the tools, materials, and equipment that will be on it. A drill press (50kg), a vice (15kg), a box of parts (20kg), and a laptop (3kg) adds up to 88kg. But maybe you'll occasionally set a 20kg box on it, so bump that to 110kg. That's your maximum static load.
If it's a material rack, calculate the weight of the heaviest item you'll store, plus how many you'll stack. If you're storing 15kg boxes, and you'll stack 5 per shelf, that's 75kg per shelf. Multiply by the number of shelves, but remember: each shelf's load is supported by the pipes below it, so the uprights need to handle the total weight of all shelves.
Step 2: Decide on Span and Supports
Next, sketch out your structure. How long will the pipes be between supports? For a workbench that's 1.8 meters long, will you support it at both ends, or add a middle support? Adding a middle support cuts the span to 0.9 meters, which drastically increases load capacity. For a material rack, how far apart will the uprights be? 1 meter apart? 1.5 meters? The shorter the span, the less you'll need to oversize the pipes.
Step 3: Match Load and Span to a Profile
Now, use your maximum load and span to pick a profile. Let's say your workbench needs to hold 110kg with a span of 0.9 meters (supported at both ends and the middle). Looking at the table above, a 30x30mm profile with 2.0mm wall thickness can handle 180kg over 0.8 meters—close enough. But if you skip the middle support, making the span 1.8 meters, that 30x30mm profile might only handle 60kg, which is too low. In that case, you'd need to jump to a 40x40mm profile with 2.0mm walls, which can handle 200kg over 1.0 meter (and even more with shorter spans).
Step 4: Don't Forget the Accessories
Pipes are only part of the equation. You'll need connectors, brackets, and fasteners that can handle the same load. If you're using a 40x40mm pipe for a heavy shelf, don't pair it with flimsy plastic connectors—opt for metal 90° aluminum profile connectors rated for at least 100kg each. Add gusset plates to corners to reinforce joints, and use lock nuts to keep bolts from loosening over time. Even small details like end caps matter: they prevent debris from getting into slots, which can jam connections and weaken joints.
Step 5: Check with Your Supplier
Finally, talk to your aluminum profile supplier. They're the experts—they'll have load charts specific to their products, and they can help you tweak your design if needed. Maybe they'll suggest a slightly thicker wall or a different profile shape that's better suited for your needs. They might even have case studies: "We supplied this 40x80mm profile to a factory that built a material rack b (3 row and 3 floor) just like yours, and it handles 500kg per shelf." That kind of real-world data is invaluable.
Real-World Examples: Putting It All Together
Example 1: The Heavy-Duty Workbench
Maria runs a small machine shop and needs a workbench for assembling metal parts. She'll mount a 75kg milling machine on one end, keep a 20kg vice on the other, and stack 30kg of tools in the middle. Total max load: 125kg. The workbench needs to be 2 meters long, and she can add a support in the middle, making spans of 1 meter each. Using the supplier's load chart, she picks a 40x40mm aluminum extrusion profile with 2.5mm walls, which is rated for 250kg over 1 meter spans. She reinforces the corners with metal gusset plates and uses heavy-duty bolts in the T-slots. The result? A workbench that's sturdy, doesn't sag, and can handle even the occasional extra-heavy part.
Example 2: The 3-Row, 3-Floor Material Rack
Raj's electronics factory needs a material rack to store components. They'll use a 3-row, 3-floor design (material rack b), with each shelf holding 80kg of boxes. The uprights need to support 3 shelves x 80kg = 240kg per upright. The rack will be 1.5 meters wide, so the uprights are 1.5 meters apart. Raj's supplier recommends 40x80mm aluminum profiles for the uprights (3.0mm walls, rated for 500kg vertically) and 30x30mm profiles for the shelves (2.0mm walls, rated for 180kg over 1.5 meter spans). He uses three-way aluminum profile connectors to attach the shelves to the uprights and adds diagonal braces for stability. The rack not only holds the load but stays stable even when workers are pulling boxes off the shelves.
Common Mistakes to Avoid
Even with the best intentions, it's easy to slip up when choosing T-groove aluminum pipes. Here are the top mistakes to watch for:
- Underestimating load: "It'll never hold that much," is a risky assumption. Always add 20-30% to your estimated load to account for unexpected weight.
- Ignoring span: A pipe that works for a short span might fail in a long one. Always calculate span before picking a profile.
- Skimping on connectors: Cheap connectors are a false economy. Invest in metal, load-rated accessories.
- Overlooking dynamic loads: If you're moving things (like on a conveyor), remember that dynamic loads are harder on pipes than static ones.
- Forgetting corrosion: In damp or chemical-heavy environments, standard aluminum might corrode. Ask for anodized profiles (which have a thicker oxide layer) or stainless steel connectors.
Final Thoughts: Your Structure Deserves the Right Pipe
T-groove aluminum pipes are amazing tools for building flexible, efficient workspaces—but they're not magic. Their load capacity depends on a mix of thickness, shape, span, and accessories, and choosing the right spec is key to keeping your operations safe and productive. By taking the time to calculate your load, plan your spans, and consult with your supplier, you'll end up with a structure that not only holds what you need it to but lasts for years. After all, the best structures are the ones you never have to think about—they just work.
So the next time you're staring at a pile of aluminum profiles, remember: it's not just about picking a pipe. It's about picking the *right* pipe. Your team, your products, and your peace of mind will thank you.