- Company Articles
- Products and Technology
- Installation And Maintenance
- M10*56 Rubber Leveling Feet Installation: Safety Precautions

M10*56 Rubber Leveling Feet Installation: Safety Precautions
Related Product
M10*56 Rubber Leveling Feet
Adjustable leveling feet are designed to keep machines level when placed on uneven or sloped ground. Otherwise known as adjustable equipment feet, they are available to order in a wide variety of size and load capacity combinations.
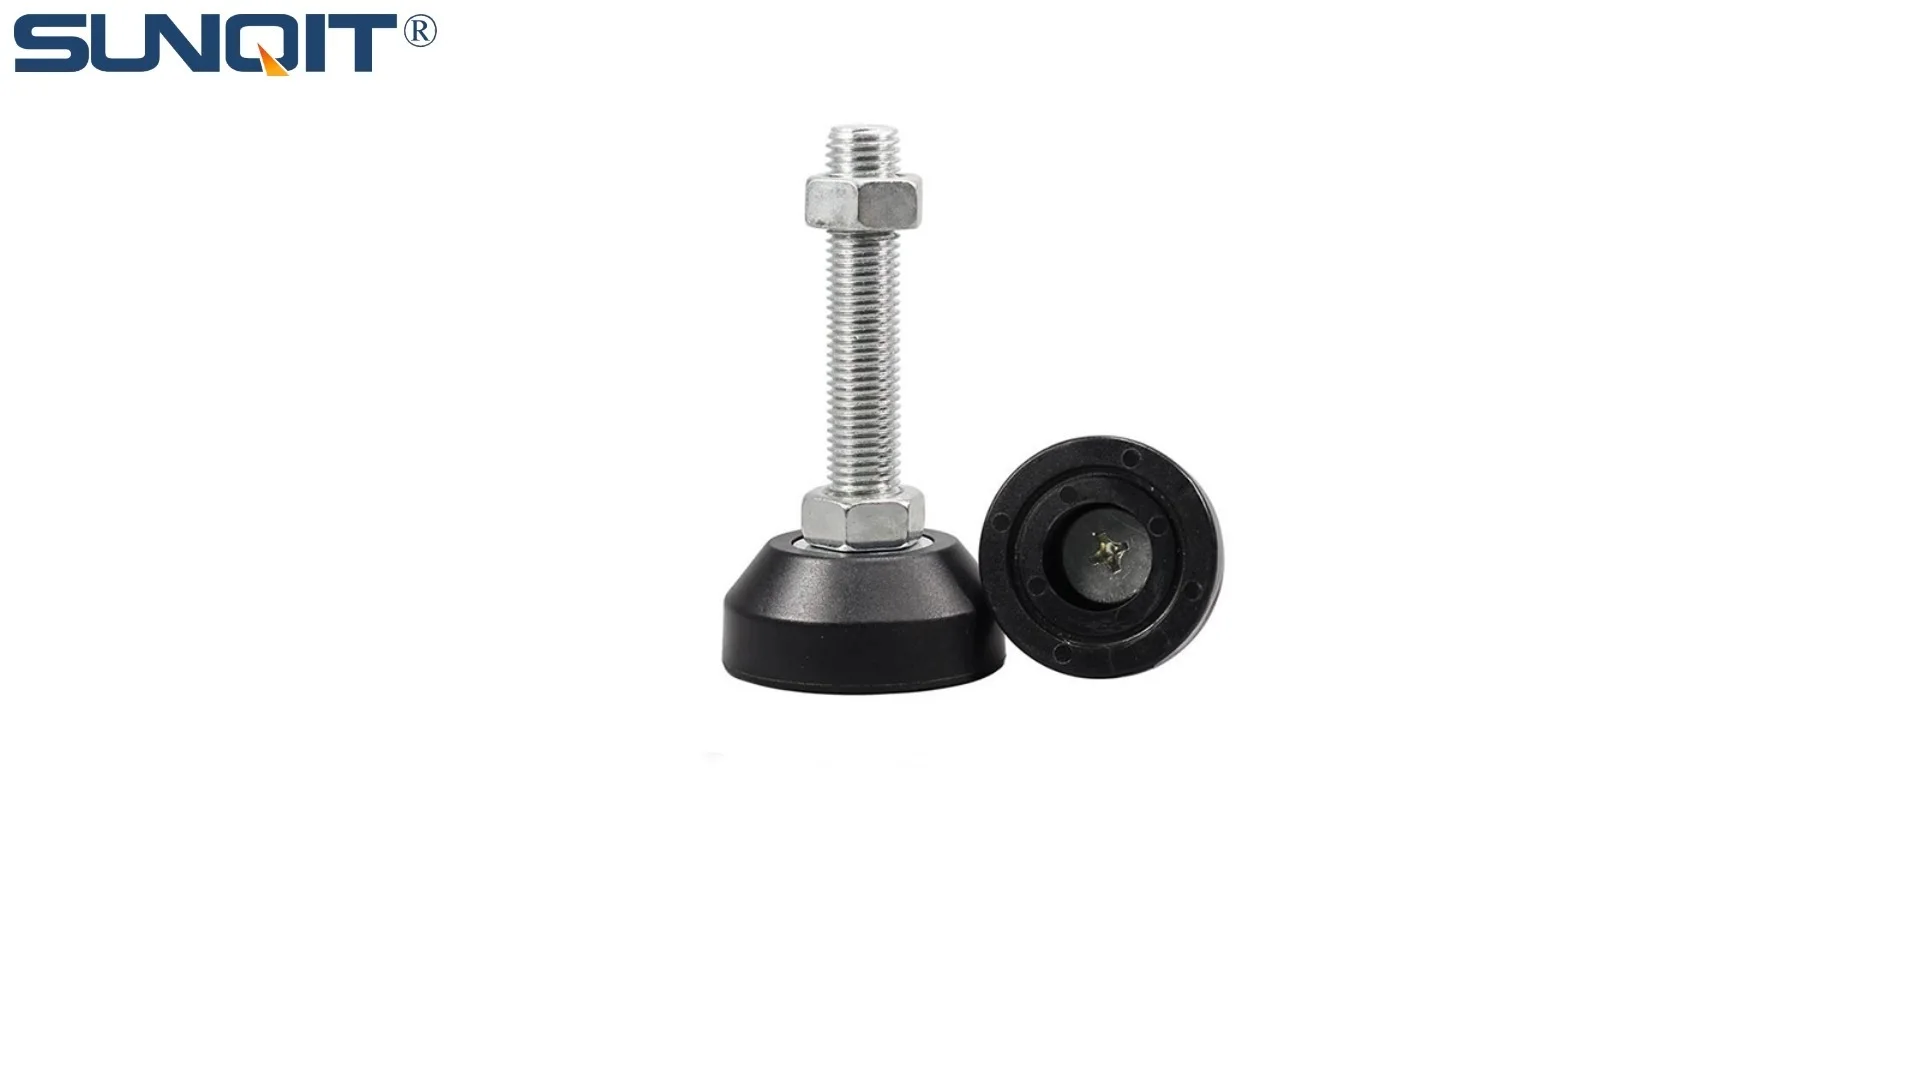
Walk into any busy workshop, and you'll notice the hum of productivity—machines whirring, tools clinking, and teams moving in sync to meet deadlines. But pause for a moment, and you might spot something easy to overlook: the quiet, unassuming parts that keep everything steady. Today, we're shining a light on one such unsung hero: the M10*56 rubber leveling feet. These small, unglamorous components play a critical role in keeping workbenches stable, tools secure, and workers safe. Let's dive into why they matter, how to install them properly, and the safety steps that can make or break your workshop's efficiency—especially if you're building on lean system principles.
Why M10*56 Rubber Leveling Feet Deserve Your Attention
Picture this: Maria, a technician at a mid-sized electronics assembly plant, has just spent 20 minutes aligning a circuit board on her workbench. She's about to solder a delicate component when the bench wobbles—just a little—and the soldering iron slips. The board is ruined. Frustrated, she adjusts the bench leg with a wrench, but by the end of the day, it's wobbling again. Sound familiar? Unstable workbenches aren't just a nuisance; they're a productivity killer, a safety hazard, and a silent saboteur of lean systems.
Enter the M10*56 rubber leveling feet. Part of the broader category of adjustable leveling feet , these specific feet are designed with a 10mm thread (hence "M10") and a 56mm length, making them ideal for medium-duty workbenches, material racks, and even aluminum profile structures. The rubber base isn't just for grip—it dampens vibrations, protects floors from scratches, and ensures a snug fit even on slightly uneven surfaces. Unlike flimsy plastic alternatives, these feet are built to handle the daily grind of a workshop, where tools get dropped, materials get stacked, and stability isn't optional.
Pre-Installation Prep: Getting Ready to Level Up
Before you even touch a wrench, preparation is key. Rushing into installation is a recipe for mistakes—like cross-threaded feet or a workbench that's "level" in one spot but wobbly in another. Let's walk through what you'll need and how to set the stage for success.
Tools and Materials You'll Need
- A set of M10*56 rubber leveling feet (check the quantity—most workbenches need 4, but larger ones may require more)
- An adjustable wrench or socket set (13mm or 14mm, depending on the nut size of your feet)
- A spirit level (the longer, the better—24 inches or more helps check across the entire workbench surface)
- A measuring tape (to ensure feet are evenly spaced if installing on a custom frame)
- A wire brush (to clean any rust or debris from the workbench legs' threaded holes)
- Gloves (to protect your hands from sharp edges on metal legs or aluminum profiles)
- A piece of cardboard or old towel (to place under the workbench while adjusting, protecting your floor from scratches)
Assessing Your Workbench and Floor
Not all workbenches are created equal. If you're installing feet on a new aluminum profile workbench, the legs likely have pre-drilled M10 threaded holes—perfect. But if you're retrofitting an older wooden bench, you may need to add metal inserts to create a secure thread (don't skip this step; wood alone won't hold the feet tight over time). Similarly, check your workshop floor: is it concrete with small cracks? Tile that's slightly uneven? Knowing the floor's condition helps you anticipate how much adjustment you'll need from the leveling feet.
Pro tip: If your floor is notoriously uneven, mark the high spots with a pencil before lifting the workbench. This way, you'll know which feet need to be extended more to compensate.

Step-by-Step Installation: How to Get It Right the First Time
Now for the hands-on part. Follow these steps, and you'll have a stable workbench that stays level for years. Remember: patience here saves time (and headaches) later.
Step 1: Lift and Support the Workbench
First, clear the workbench of all tools and materials—you don't want anything falling off during installation. Then, carefully lift one end of the workbench and place sturdy blocks (like 2x4s) under the legs to raise it off the floor. Repeat for the other end, ensuring the bench is stable and won't tip. You need enough space under the legs to easily access the threaded holes and turn the leveling feet.
Step 2: Clean the Threaded Holes
Take your wire brush and gently clean each threaded hole on the workbench legs. Dust, rust, or paint can gunk up the threads, making it hard to screw in the feet smoothly (and increasing the risk of stripping the threads). A quick scrub ensures the feet will thread in easily.
Step 3: Hand-Tighten the Leveling Feet
Take an M10*56 rubber leveling foot and start screwing it into a threaded hole by hand. Turn it clockwise until it's snug—but don't use the wrench yet! Hand-tightening lets you feel if the threads are aligning correctly. If it's hard to turn, stop—you might be cross-threading. Back it out, realign, and try again. Repeat for all feet, leaving them slightly loose (you'll adjust the height next).
Step 4: Level the Workbench Front-to-Back and Side-to-Side
Place your spirit level on the workbench surface, along the front edge (left to right). Look at the bubble: if it's leaning left, the right foot needs to be extended; if it's leaning right, extend the left foot. Adjust by turning the leveling foot clockwise to lower the leg (shorten the foot) or counterclockwise to raise it (lengthen the foot). Once the bubble is centered, lock the foot in place by holding the base with one hand and tightening the top nut (if your feet have a locking nut) with a wrench. Repeat this process for the back edge, then check the diagonal (corner to corner) to ensure there's no twist in the bench.
Step 5: Check All Feet for Full Floor Contact
Lower the workbench off the blocks and onto its new leveling feet. Gently push down on each corner—if the bench rocks, one of the feet isn't touching the floor. Use the spirit level again to identify the low corner, then extend that foot slightly until the rock disappears. It's tempting to over-tighten here, but resist: the rubber base needs to compress slightly to grip the floor, and over-tightening can strip the threads or crack the rubber.
Step 6: Final Tightening (But Don't Overdo It!)
Once the bench is level and stable, do a final check with the wrench. Tighten each foot just enough to ensure it won't loosen with use—about a quarter-turn past hand-tight. Think of it like tightening a jar lid: snug, but not so tight you need a tool to open it later. Over-tightening is one of the most common mistakes, and it's easy to fix if you catch it early.

Safety Checks: Making Sure It Stands the Test
Installing the feet is just the first step. Now you need to verify that your workbench is not just level, but safely level. A bench that wobbles under load isn't just annoying—it's a hazard. Here's how to test it.
Load Testing: Simulate Real-World Use
Fill the workbench with the tools and materials you'd typically use: a drill press, a stack of PCBs, a toolbox, whatever. Let it sit for an hour, then check the level again. Sometimes the weight of the load can compress the rubber feet slightly, throwing off the balance. If the bubble shifts, make minor adjustments until it's centered again.
Vibration Test: Listen for Stability
Tap the workbench firmly with a rubber mallet (or your fist, if you're feeling brave). A stable bench will make a solid "thud" sound; a wobbly one will rattle or vibrate. Walk around the bench and listen—any rattling means a foot isn't seated properly. Tighten or adjust as needed.
Long-Term Check: Re-Inspect After a Week
Workshop floors and leveling feet settle over time, especially in high-traffic areas. Mark your calendar to check the level again after a week of use. You might need to tweak a foot or two—this is normal! Think of it like breaking in a new pair of shoes: a little adjustment ensures the perfect fit.

Common Mistakes to Avoid: Learn From Others' Slip-Ups
Even seasoned technicians make mistakes with leveling feet. Here's a handy table of the most frequent blunders, why they happen, and how to fix them:
| Mistake | Why It's a Problem | Solution |
|---|---|---|
| Over-tightening the feet | Strips threads, cracks rubber bases, or damages the workbench leg. | Stop at "snug"—use a torque wrench if needed (aim for 10-15 Nm for M10 threads). |
| Ignoring cross-threading | Leads to loose feet that wobble or fall out over time. | Always start by hand; if it feels "gritty" or hard to turn, back out and realign. |
| Using the wrong thread size | Feet won't fit, or they'll strip the holes in the workbench legs. | Check the leg holes with a thread gauge before buying feet—M10 is common, but some benches use M8 or M12. |
| Forgetting to lock the nuts (if applicable) | Feet loosen over time with vibration, leading to wobble. | After leveling, hold the foot base and tighten the locking nut against the leg. |
Maintenance: Keeping Your Leveling Feet in Top Shape
Like any workshop tool, your M10*56 leveling feet need a little TLC to last. Here's how to keep them working for years.
Regular Cleaning
Dust, oil, and coolant can build up on the rubber bases, reducing their grip. Wipe them down monthly with a damp cloth and mild soap. For stubborn grime, use a soft brush—avoid harsh chemicals, as they can degrade the rubber.
Thread Care
Check the threads for rust every few months, especially in humid workshops. A light coating of anti-seize lubricant (not WD-40, which can attract dust) keeps them turning smoothly. If you live in a coastal area with salt air, stainless steel feet are a smarter choice—they resist corrosion better than standard steel.
Replacing Worn Feet
Rubber wears out over time. If you notice cracks in the base, or if the feet start to "squish" more than they used to, it's time to replace them. Most suppliers (like your go-to lean pipe supplier) carry M10*56 feet in bulk, so keep a few spares on hand.
How It All Fits Into Lean Systems: Stability = Efficiency
You might be thinking, "Leveling feet are just small parts—how do they relate to lean systems?" Great question. Lean manufacturing is all about eliminating waste: wasted time, wasted motion, wasted materials. An unstable workbench creates all three.
Think about Maria again. Before the leveling feet, she spent 10 minutes a day adjusting her wobbly bench. Multiply that by 200 workdays a year, and that's over 33 hours of wasted time—time she could have spent assembling products. Plus, the ruined circuit board from the slipped soldering iron? That's wasted material. A stable workbench eliminates these wastes, keeping workflows smooth and lean.
What's more, M10*56 leveling feet play nice with other lean tools. They're compatible with aluminum profile workbenches, which are modular and easy to reconfigure as production needs change. They work with material racks and flow racks, ensuring parts glide smoothly instead of getting stuck on uneven surfaces. In short, they're the quiet foundation that lets your lean system thrive.
Conclusion: Small Parts, Big Impact
Back in the workshop, Maria's workbench now stands firm. The soldering iron stays steady, the circuit boards don't slide, and she hasn't wasted a minute adjusting legs in weeks. "I never thought something so small could make such a difference," she told me last week, grinning as she showed off her perfectly level surface.
That's the thing about workshop tools: the most important ones aren't always the flashiest. M10*56 rubber leveling feet may not get the same attention as a new CNC machine, but they're just as critical to a safe, efficient workspace. They're a reminder that lean systems—and successful workshops—are built from the ground up, one stable foot at a time.
So the next time you're setting up a workbench, don't skimp on the leveling feet. Take the time to install them properly, check them regularly, and replace them when needed. Your team, your products, and your lean system will thank you.