- Company Articles
- Products and Technology
- Installation And Maintenance
- Maintenance Guide: Cleaning & Lubricating Flat Swivel Castor Wheels with Brake

Maintenance Guide: Cleaning & Lubricating Flat Swivel Castor Wheels with Brake
Related Product
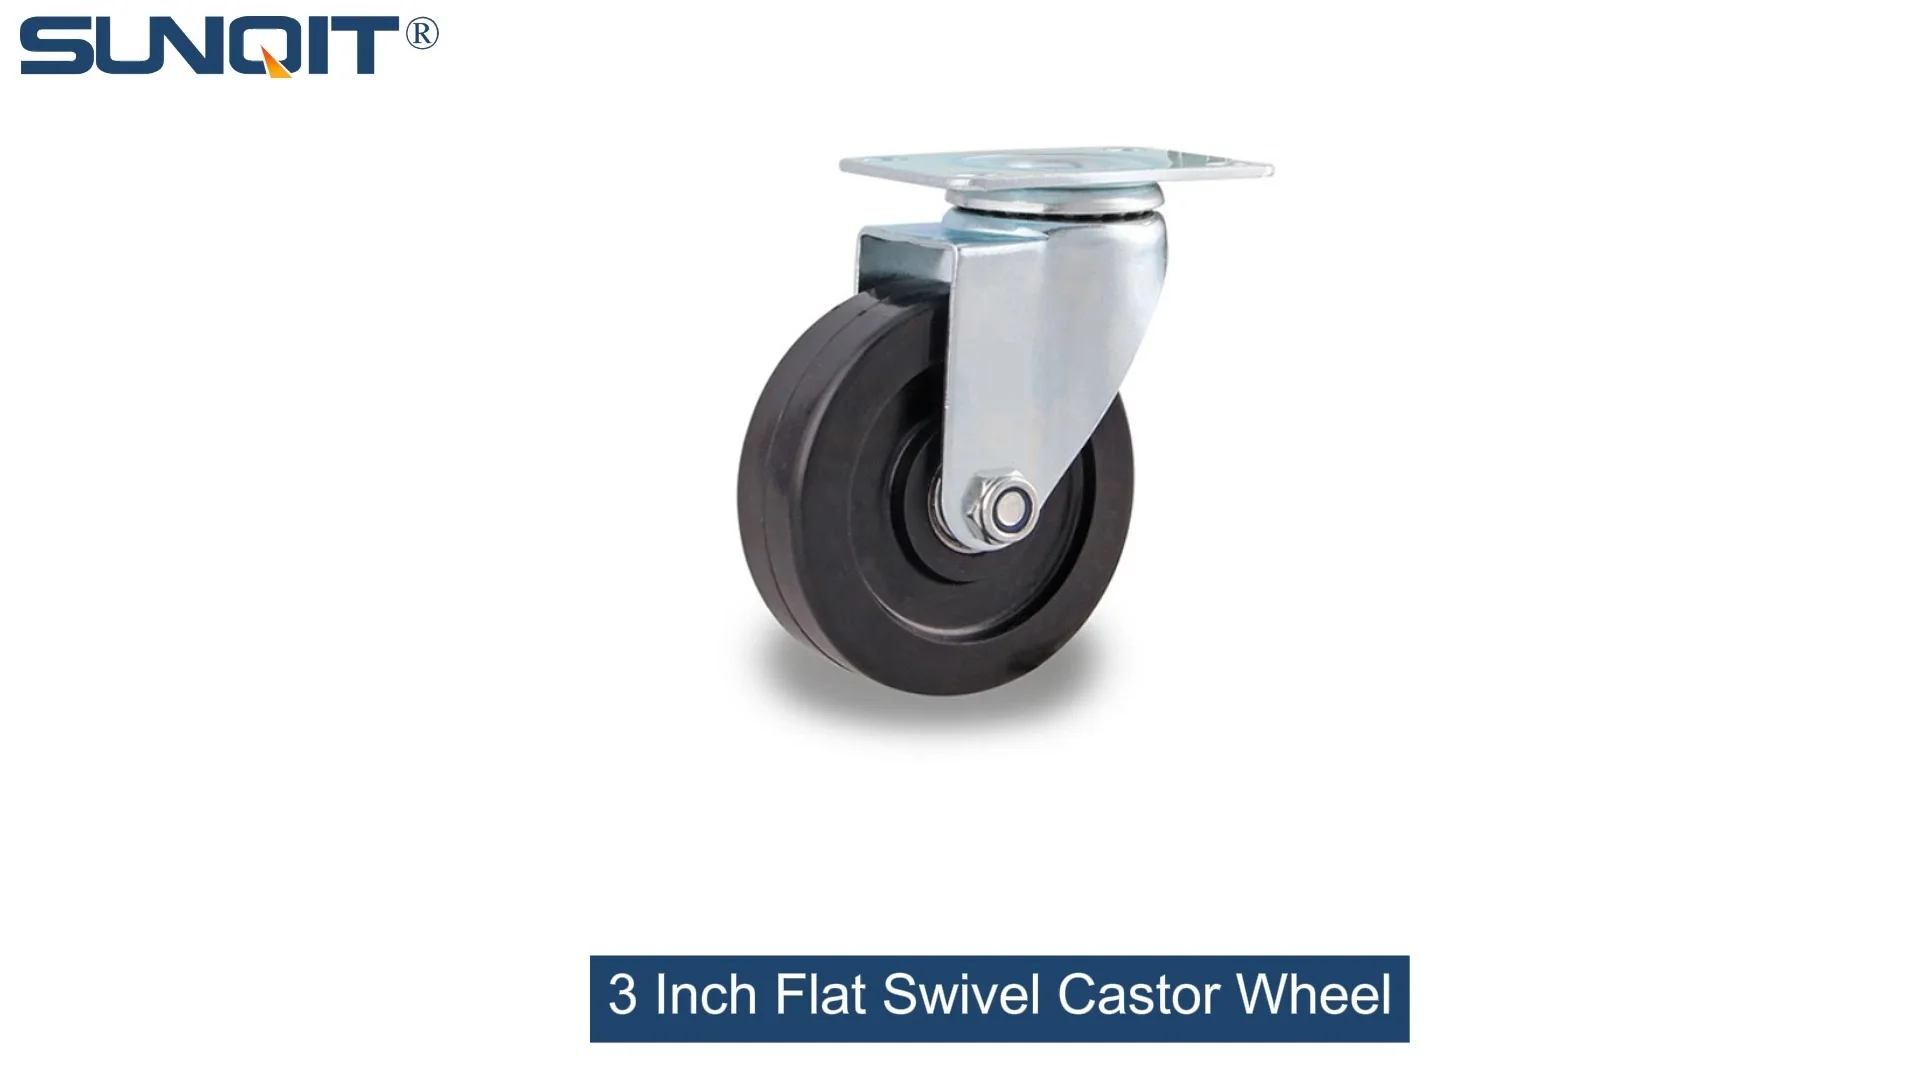
Flat Swivel Castor Wheel
Chair Casters Ball Bearing Wheels Rubber Base. Resistant to abrasion, impact and corrosion. Heavy payload can hold 70-90Kgs per pcs,which can make it works at a stable and smooth status.
Ever pushed a loaded workbench trolley across the workshop floor, only to feel it jerk to a halt or emit a high-pitched squeak that makes you wince? Or maybe you've noticed that the brake on your equipment doesn't grip as firmly as it used to, leaving you worrying about safety during busy shifts. These small frustrations might seem minor, but they add up—slowing down workflows, increasing physical strain, and even putting your team at risk of accidents. The good news? More often than not, the fix isn't a costly replacement. It's simply a little care for one of the hardest-working parts of your setup: the flat swivel castor wheel with brake.
Castor wheels are the unsung heroes of any productive workspace. They carry the weight of your tools, materials, and workbenches, making it possible to rearrange layouts, transport goods, and keep operations flowing smoothly. But when they're neglected—caked in dust, grit, or old lubricant—they stop working for you and start working against you. That's why regular cleaning and lubrication aren't just "nice-to-dos"; they're essential for keeping your equipment moving, your team efficient, and your workplace safe. In this guide, we'll walk you through everything you need to know to give your flat swivel castor wheels (and their brakes) the attention they deserve, using simple tools and easy-to-follow steps. Let's dive in.
Why Maintenance Matters: The Hidden Cost of Neglected Castor Wheels
Before we get our hands dirty, let's talk about why this matters. You might think, "If the wheel still turns, why bother cleaning it?" But here's the truth: a poorly maintained caster wheel is a ticking time bomb for your workflow. Let's break down the risks:
1. Reduced Productivity:
A squeaky, sticky wheel forces your team to exert extra effort to move equipment. Over time, that adds up to wasted energy and slower task completion. Imagine pushing a workbench with a seized swivel joint across a 50-foot factory floor—multiply that by 10 trips a day, and you're looking at hours of lost productivity each week.
2. Premature Wear:
Dirt and debris act like sandpaper on the wheel's surface and internal components. Every time you roll over a loose screw or a pile of sawdust, those particles grind into the bearing, the swivel mechanism, or the brake pads. Over weeks and months, this causes uneven wear, cracks, or rust—turning a $20 maintenance task into a $200 replacement bill.
3. Safety Risks:
A brake that's clogged with grime might not engage fully, leading to unexpected movement of heavy equipment. A wheel that wobbles due to debris buildup could even cause a load to shift, increasing the risk of spills or falls. In high-traffic areas, these issues don't just slow you down—they put people in harm's way.
The bottom line? Taking 15 minutes every few weeks to clean and lubricate your castor wheels saves you time, money, and stress in the long run. Now, let's get to work.
Know Your Wheel: Parts of a Flat Swivel Castor Wheel with Brake
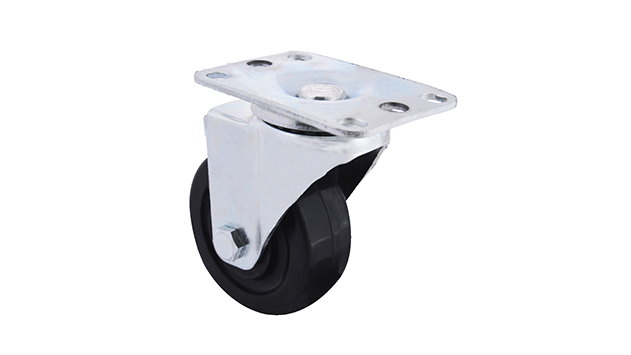
Before we start cleaning, it helps to know what we're dealing with. Not all castor wheels are the same, but the flat swivel castor wheel with brake typically has a few key components you'll need to focus on. Let's break them down:
- The Wheel: The rubber, plastic, or metal disc that touches the floor. This is where most dirt and debris accumulate.
- Swivel Head: The mechanism that allows the wheel to rotate 360 degrees. It contains bearings and raceways that need to stay clean and lubricated to avoid sticking.
- Brake Assembly: The lever or pedal that locks the wheel in place. It often includes a pad or clamp that presses against the wheel to stop movement—this needs to be free of gunk to grip properly.
- Axle & Bearings: The metal rod (axle) that holds the wheel in place, and the bearings inside the wheel that reduce friction. When bearings get dirty, the wheel stops spinning smoothly.
- Caster Accessories: Small parts like washers, nuts, or dust caps that keep the wheel and swivel head secure. These can loosen over time or trap debris, so they're worth checking too.
Don't worry if you're not a mechanical expert—you don't need to memorize every part. Just keep an eye out for these areas as we go through the steps. Now, let's gather the tools you'll need.
Tools You'll Need: Simple Supplies for Big Results
You won't need a fancy toolbox for this. Chances are, you already have most of these items in your workshop or utility closet. Here's what to grab:
- A soft-bristle brush (an old toothbrush works great for tight spaces)
- Mild dish soap or degreaser (avoid harsh chemicals like bleach, which can damage rubber wheels)
- Warm water (in a bucket or spray bottle)
- Clean rags or paper towels (microfiber cloths are ideal for drying without leaving lint)
- Lubricant (more on this later—we'll help you choose the right type)
- A small wrench or pliers (to loosen stuck axle nuts, if needed)
- A toothpick or cotton swabs (for cleaning tiny crevices in the brake assembly)
- Gloves (optional, but helpful to keep your hands clean)
Pro tip: If your caster wheels are on a heavy workbench or trolley, you might need a jack or blocks to lift the equipment slightly. This takes the weight off the wheels, making them easier to clean and inspect. Just make sure the equipment is stable before you start—safety first!

Step 1: Cleaning the Flat Swivel Castor Wheel—Removing the Gunk
Cleaning is the first (and most crucial) step. Dirt, oil, and debris are the main enemies of smooth movement, so we're going to banish them for good. Follow these sub-steps:
1.1 Prep the Area
Start by moving the equipment to a clean, flat surface—preferably one you don't mind getting a little wet (like a concrete floor or a mat). If the wheel is caked in thick grease or mud, use a dry brush first to knock off loose debris. This prevents spreading dirt around when you add water.
1.2 Scrub the Wheel Tread
Dip your soft-bristle brush in warm, soapy water and gently scrub the tread of the wheel. Focus on the grooves—this is where dirt loves to hide. For rubber wheels, avoid using stiff brushes, which can scratch or wear down the material. For metal wheels, a slightly firmer brush is okay. If there's stubborn grime, let the soapy water sit for a minute to loosen it before scrubbing again.
1.3 Clean the Swivel Head & Brake Assembly
Next, move to the swivel head—the part that lets the wheel turn. Use the toothbrush or cotton swabs to clean around the base of the swivel, where dust and hair often get tangled. Then, check the brake: flip the lever or press the pedal to expose the brake pad, and use a toothpick to dislodge any dirt or debris stuck there. If the brake pad is rubber, be gentle—you don't want to tear it.
1.4 Rinse & Dry Thoroughly
Once you've scrubbed all surfaces, rinse the wheel and swivel head with clean water (a spray bottle works well for this). Then, dry everything with a clean rag—moisture left on metal parts can cause rust, so take extra time here. If you're in a hurry, a hair dryer on the cool setting can speed up drying.
1.5 Check for Wear & Tear
While the wheel is clean, take a quick look for signs of damage: cracks in the wheel tread, rust on the axle, or a brake pad that's worn down to a nub. If you spot any of these, it might be time to replace the wheel or caster accessories (like a new brake pad). But if everything looks intact, you're ready to move on to lubrication.

Step 2: Lubrication—The Secret to Smooth, Quiet Movement
Now that your flat swivel castor wheel is sparkling clean, it's time to give it the "silky smooth" treatment: lubrication. Lubricant reduces friction between moving parts, preventing squeaks, sticking, and premature wear. But not all lubricants are created equal—using the wrong type can do more harm than good. Let's break down how to choose and apply it.
Choosing the Right Lubricant
The type of lubricant you use depends on the material of your wheel and where you're applying it:
- Silicone Spray: Best for plastic wheels or rubber brake pads. It's lightweight, dries quickly, and won't damage soft materials. Avoid using oil-based lubricants on plastic—they can cause the material to swell or crack.
- Lithium Grease: Great for metal wheels, axles, and swivel heads. It's thick and long-lasting, making it ideal for heavy-duty use (like on workbenches that carry lots of weight).
- Graphite Powder: Good for locks or tight mechanisms (like the brake lever). It's dry, so it won't attract dust, but it's not as effective for high-friction areas like wheel bearings.
If you're unsure, check the manufacturer's instructions for your caster wheel—they might recommend a specific type. When in doubt, silicone spray is a safe all-purpose choice for most wheels.
How to Apply Lubricant (Step-by-Step)
Applying lubricant is simple, but a little goes a long way. Here's how to do it:
- Wheel Bearings: If your wheel has a removable dust cap, pop it off to expose the bearings. Squirt a small amount of lubricant (about 2-3 drops) into the bearing housing, then spin the wheel by hand to distribute it evenly. If there's no dust cap, apply lubricant around the axle where the wheel meets the swivel head—this will seep into the bearings as the wheel turns.
- Swivel Head: The swivel head needs lubricant to turn freely. Apply a few drops of lubricant to the base of the swivel (where it connects to the caster mount), then rotate the wheel 360 degrees several times to work the lubricant into the mechanism.
- Brake Assembly: Spray a tiny amount of silicone lubricant on the brake lever pivot point (where the lever moves) to keep it from sticking. Avoid getting lubricant on the brake pad itself—this can make it slippery and reduce grip! If you accidentally get some on the pad, wipe it off with a dry rag.
- Caster Accessories: If you loosened any nuts or washers during cleaning, apply a small drop of lubricant to the threads before tightening them back up—this makes them easier to remove next time.
Pro tip: Less is more! Over-lubricating attracts dirt and dust, which will turn your clean wheel into a grimy mess again. If you see excess lubricant oozing out, wipe it off with a rag.
Troubleshooting Common Issues: What to Do When Problems Persist
Even with careful cleaning and lubrication, you might run into stubborn issues. Here's how to fix the most common problems:
| Common Issue | Possible Cause | Solution |
|---|---|---|
| Squeaking wheels | Dry bearings or swivel head; dirt trapped in moving parts | Re-clean the bearings and apply fresh lubricant; check for debris in the swivel head. |
| Brake won't hold | Brake pad is dirty, worn, or misaligned; lever is stuck | Clean the brake pad with soap and water; adjust the lever position if loose; replace worn pads. |
| Wheel wobbles when rolling | Axle nut is loose; wheel is cracked or unevenly worn | Tighten the axle nut with a wrench; replace the wheel if cracked or worn. |
| Swivel head sticks | Debris trapped in swivel mechanism; lack of lubricant | Re-clean the swivel head with a toothbrush and soapy water; apply more lubricant and rotate vigorously. |
Creating a Maintenance Schedule: How Often Should You Do This?
The frequency of cleaning and lubrication depends on how much you use your equipment. A good rule of thumb is:
- High-usage areas (e.g., factory workbenches, delivery trolleys): Clean and lubricate every 2-4 weeks. These wheels are exposed to more dirt, grease, and heavy loads, so they need frequent care.
- Medium-usage areas (e.g., office carts, workshop tool trolleys): Clean and lubricate every 1-2 months. They're not as hardworking, but regular maintenance still prevents issues.
- Low-usage areas (e.g., storage racks, rarely moved equipment): Clean and lubricate every 3-6 months. Even if they're not used often, dust and moisture can cause rust or sticking.
To make it easy, set a calendar reminder or create a checklist for your team. You can also do a quick "squeak test" during daily inspections—if a wheel makes noise or feels stiff, it's time for a touch-up.
Final Tips for Long-Lasting Castor Wheels
Want to get even more life out of your flat swivel castor wheels? Try these bonus tips:
- Avoid overloading: Every caster wheel has a weight limit—check the label and stick to it. Overloading bends axles, wears out bearings, and cracks wheels.
- Keep floors clean: Sweep or vacuum regularly to remove loose debris that can get stuck in wheel treads. A clean floor means cleaner wheels!
- replace worn parts early: If a caster accessory like a washer or brake pad starts to wear, replace it right away. Waiting until it breaks can damage other parts of the wheel.
- Store equipment properly: If you're not using a trolley or workbench for a while, lift it off the ground (using blocks) to take pressure off the wheels. This prevents flat spots on rubber wheels.
By following these steps, you'll keep your flat swivel castor wheels rolling smoothly for years—saving time, money, and headaches along the way. Remember, these small, hardworking parts deserve a little attention. After all, a workspace with happy castor wheels is a workspace where everyone can focus on what really matters: getting the job done.
So, the next time you push that workbench across the floor and it glides silently and smoothly, take a second to appreciate the power of a little cleaning and lubrication. Your team (and your ears) will thank you.