- Company Articles
- Products and Technology
- Product knowledge
- Material Racks with 2.0mm Stainless Steel Pipe: Load Capacity Tips

Material Racks with 2.0mm Stainless Steel Pipe: Load Capacity Tips
Related Product
2.0mm Stainless Steel Pipe
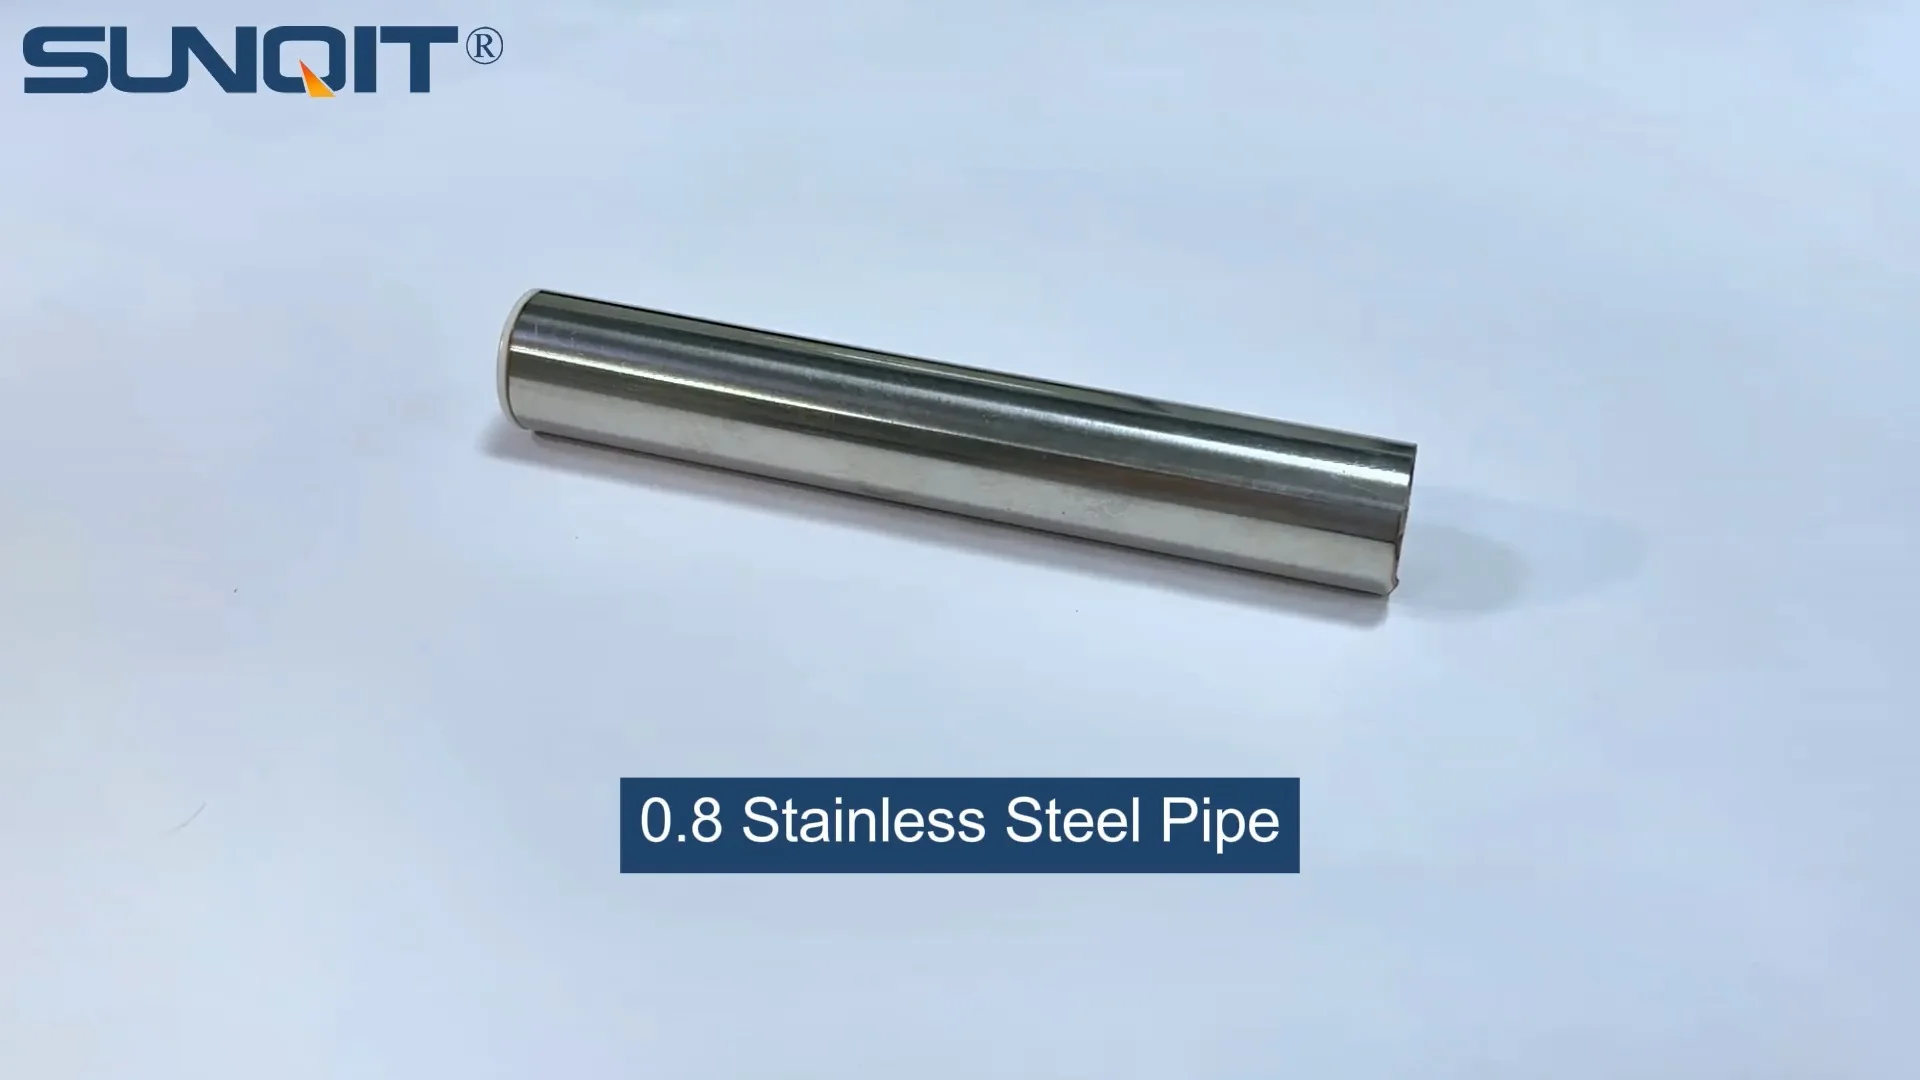
Stainless steel pipe, lean pipe, diameter is 28mm, material is SS201 or SS304, SS201 is normally used in the market. It knows a KARAKURI, KAIZEN material for industrial plant to improve efficiency, save labor cost, standard management.
Introduction: The Backbone of Efficient Workspaces
Walk into any well-organized factory, warehouse, or assembly line, and you'll notice a silent hero keeping operations running smoothly: material racks. These structures aren't just metal and pipes—they're the unsung organizers that keep tools, components, and products within arm's reach, reducing downtime and keeping workflows on track. But not all racks are created equal. When it comes to heavy-duty storage, especially in industries where durability and load capacity are non-negotiable, the choice of materials and design becomes critical. That's where 2.0mm stainless steel pipe steps in. Known for its strength, corrosion resistance, and versatility, this material has become a go-to for building robust material racks. In this article, we'll dive deep into how to maximize the load capacity of these racks, ensuring they stand up to daily wear and tear while supporting your team's efficiency. Whether you're setting up a new workspace or upgrading existing storage, these tips will help you get the most out of your 2.0mm stainless steel pipe material racks.
Understanding 2.0mm Stainless Steel Pipe: Why It Matters for Material Racks
Before we jump into load capacity tips, let's take a moment to appreciate why 2.0mm stainless steel pipe is a top choice for material racks. Stainless steel itself is celebrated for its resistance to rust, corrosion, and staining—qualities that make it ideal for environments where moisture, chemicals, or frequent cleaning are part of the routine. But the "2.0mm" thickness is what truly sets it apart for heavy-duty use. Thicker pipes mean greater structural integrity; a 2.0mm wall thickness provides a perfect balance between weight and strength, allowing the pipe to withstand significant pressure without bending or warping.
Within the broader stainless steel pipe series , 2.0mm variants are often favored for their adaptability. They can be paired with a wide range of joints and accessories, from fixed connectors to swivel brackets, making them easy to customize into racks of all shapes and sizes. Unlike thinner pipes (such as 1.2mm or 1.5mm), 2.0mm stainless steel offers a higher safety margin for load-bearing, which is crucial when storing heavy components like automotive parts, machinery tools, or bulk raw materials. Think of it as the difference between a flimsy plastic shelf and a solid wooden one—both hold items, but one is built to last under stress.

Key Factors Affecting Load Capacity: What You Need to Know
Load capacity isn't just about how thick the pipe is—it's a puzzle made up of several pieces. Even the strongest 2.0mm stainless steel pipe can fail if other elements are overlooked. Let's break down the critical factors that determine how much weight your material rack can safely hold:
Pipe Thickness and Material Grade
We've already touched on thickness, but it's worth emphasizing: 2.0mm is the baseline here, but not all stainless steel is created equal. Look for 304 or 316 grade stainless steel, which offer superior tensile strength and corrosion resistance compared to lower grades. A 2.0mm pipe made from 304 stainless steel can typically support more weight than the same thickness in a lower-grade alloy, thanks to its higher yield strength.
Joint Quality and Design
Pipes are only as strong as the joints that hold them together. Loose, poorly fitted, or low-quality joints create weak points where the rack can bend or collapse under load. For 2.0mm stainless steel pipes, opt for heavy-duty connectors like lean pipe joint s designed for stainless steel series. These joints are engineered to distribute weight evenly across the pipe, reducing stress on individual connection points. Avoid plastic or lightweight aluminum joints—they're better suited for lighter applications, not the heavy loads 2.0mm stainless steel is meant to handle.
Rack Design and Structure
The overall design of the rack plays a huge role. A rack with a wide span between vertical supports (e.g., 1.5 meters apart) will sag more under weight than one with supports spaced 0.8 meters apart. Similarly, a single-tier rack vs. a multi-tier rack (like the material rack b (3 row and 3 floor) ) requires careful balancing of weight across levels. Multi-tier racks, while space-efficient, can become unstable if the top tiers are overloaded, as the center of gravity shifts upward. Always follow the "lower-heavier, upper-lighter" rule: store the heaviest items on the bottom shelves to keep the rack grounded.
Weight Distribution
Imagine stacking all your heaviest boxes in one corner of a shelf—sooner or later, that shelf will tilt or collapse. The same applies to material racks. Even if the rack is rated for 500kg, uneven weight distribution can exceed the capacity of individual pipes or joints. For example, placing a 200kg machine part directly over a single joint creates far more stress than spreading 200kg evenly across a 1-meter shelf. Always aim for balanced loading, and use dividers or bins to keep items from shifting and concentrating weight.

Practical Tips to Maximize Load Capacity: From Setup to Use
Now that we understand the "why," let's get to the "how." Here are actionable tips to ensure your 2.0mm stainless steel material rack lives up to its load-bearing potential:
Case Study: Material Rack B (3 row and 3 floor) in Action
To see these tips in practice, let's look at a real-world example: the material rack b (3 row and 3 floor) , a popular multi-tiered rack design used in automotive and electronics manufacturing. This rack is specifically engineered to use 2.0mm stainless steel pipes, and its load capacity is a testament to smart design.
The "3 row and 3 floor" refers to its structure: three vertical columns (rows) supporting three horizontal shelves (floors), with each shelf spanning 1.2 meters in length. The vertical pipes are 2.0mm 304 stainless steel, connected by heavy-duty lean pipe joint s at each intersection. Diagonal braces run between the top and bottom of each vertical column, and each shelf is reinforced with a 5mm-thick steel plate. According to the manufacturer's specs, each shelf can hold up to 200kg, with a total rack capacity of 600kg—impressive for a structure that weighs just 85kg itself.
In a local automotive plant, this rack is used to store engine components, including cylinder heads and crankshafts (each weighing 30-50kg). By distributing 12 components per shelf (600kg total), the rack has operated without issue for over three years. The key to its success? The 2.0mm stainless steel pipes provide the backbone, while the grid-like frame and reinforced shelves ensure weight is spread evenly. The plant also conducts monthly inspections, tightening joints and replacing any worn braces—proof that maintenance matters as much as initial design.
Integrating with Lean Systems: More Than Just Storage
Material racks aren't just about storage—they're a cornerstone of lean system s, which focus on minimizing waste and maximizing efficiency. A well-designed 2.0mm stainless steel rack supports lean principles in several ways:
- 5S Organization : By keeping tools and materials in designated, easy-to-reach shelves, these racks reduce "search waste" (time spent looking for items). Color-coded bins on each shelf (e.g., red for urgent parts, blue for regular stock) further streamline workflows.
- Just-In-Time (JIT) Delivery : When paired with roller track s, material racks can feed components directly to assembly lines as needed. For example, a rack with roller tracks at the front allows workers to slide parts onto the line without lifting, reducing physical strain and speeding up production.
- Space Optimization : Multi-tiered racks like the material rack b (3 row and 3 floor) use vertical space instead of sprawling horizontally, freeing up floor area for other equipment or workflow expansion—critical in tight manufacturing facilities.
Lean systems thrive on stability and predictability, and a reliable, high-capacity material rack delivers both. When workers trust that the rack can safely hold their tools and materials, they focus on their tasks instead of worrying about accidents or delays. It's a small change that ripples into big improvements in productivity.
Roller Track and Workbench Synergy: Enhancing Functionality
Material racks rarely work in isolation—they're part of a larger ecosystem that includes workbenches, conveyors, and roller track s. Integrating these elements can turn a basic storage rack into a dynamic workflow hub. Here's how:
Roller Tracks: Making Material Flow Effortless
Adding roller track s to the front of a material rack transforms it from a static shelf into a "pick-and-pass" station. Roller tracks allow items to slide forward as they're removed, ensuring the next item is always within reach (a principle known as "first in, first out," or FIFO). For example, in a warehouse picking operation, a rack with roller tracks can reduce the time spent bending or reaching by 30%, as workers simply slide boxes onto a cart or conveyor.
When pairing roller tracks with 2.0mm stainless steel racks, ensure the tracks are mounted securely to the rack's horizontal pipes. Use heavy-duty brackets that bolt directly to the lean pipe joint s, and test the track's load capacity separately (most standard roller tracks can handle 50-100kg per linear meter). This synergy not only boosts load capacity but also makes the rack more versatile.
Workbench Integration: Creating a Unified Workstation
Many facilities place a workbench adjacent to material racks, creating a one-stop station for assembly or inspection. To maximize efficiency, design the rack and workbench to be the same height (typically 80-90cm), so workers can slide materials directly from the rack to the bench without lifting. Use 2.0mm stainless steel pipes for the workbench frame too—this ensures it matches the rack's durability and can support tools, laptops, or heavy workpieces.
For example, a electronics assembly line might have a workbench with a 2.0mm stainless steel frame, paired with a nearby material rack b (3 row and 3 floor) holding circuit boards and components. Workers grab parts from the rack, assemble them on the bench, and send finished products down a roller track —all without taking a step. It's a seamless flow that reduces fatigue and speeds up production.
Maintenance Best Practices: Keeping Your Rack Strong for Years
Even the toughest 2.0mm stainless steel rack needs care to maintain its load capacity over time. Here's a maintenance checklist to follow:
Weekly Inspections
Quick visual checks for loose joints, bent pipes, or rust spots. Tighten any loose bolts or screws with a wrench—joints can loosen over time due to vibration from nearby machinery. Wipe down stainless steel surfaces with a damp cloth to prevent dust buildup, which can hide signs of wear.
Monthly Deep Dives
Use a level to check if the rack is still upright—uneven floors or shifting loads can cause it to tilt, increasing stress on one side. Measure shelf sag with a ruler; more than 5mm of sag in a 1-meter shelf is a red flag and means the shelf needs reinforcement. Inspect lean pipe joint s for cracks or deformation, especially in high-stress areas like the bottom supports.
Quarterly Load Testing
Repeat the load test we mentioned earlier (50%, 75%, 100% of rated capacity) to ensure the rack still performs as expected. This is especially important if the rack's use has changed (e.g., now storing heavier items than originally planned).
Annual Overhaul
replace any worn components: rusted pipes, cracked joints, or bent braces. Consider upgrading to heavier-duty lean pipe joint s if the rack is consistently near its load limit. A small investment in replacement parts now prevents costly accidents later.
Conclusion: Building a Rack That Works as Hard as Your Team
Material racks with 2.0mm stainless steel pipe are more than storage solutions—they're investments in efficiency, safety, and longevity. By understanding the factors that affect load capacity, following practical setup tips, and integrating with lean system s, roller track s, and workbench es, you can create a workspace that supports your team's best work.
Remember, the goal isn't just to hold weight—it's to hold it reliably, day in and day out, so your focus stays on growing your business, not fixing broken racks. Whether you're using a simple two-tier design or a complex material rack b (3 row and 3 floor) , the principles remain the same: prioritize quality materials, smart design, and regular care. Your rack is the backbone of your workspace—build it to last.