- Company Articles
- Products and Technology
- Installation And Maintenance
- Mounting Height Guide: Flat Swivel Castor Wheel with Brake Compatibility with Workbench E

Mounting Height Guide: Flat Swivel Castor Wheel with Brake Compatibility with Workbench E
Related Product
Flat Swivel Castor Wheel With Brake
Chair Casters Ball Bearing Wheels Rubber Base with brake design. Resistant to abrasion, impact and corrosion. Heavy payload can hold 70Kgs per pcs,which can make it works at a stable and smooth status.
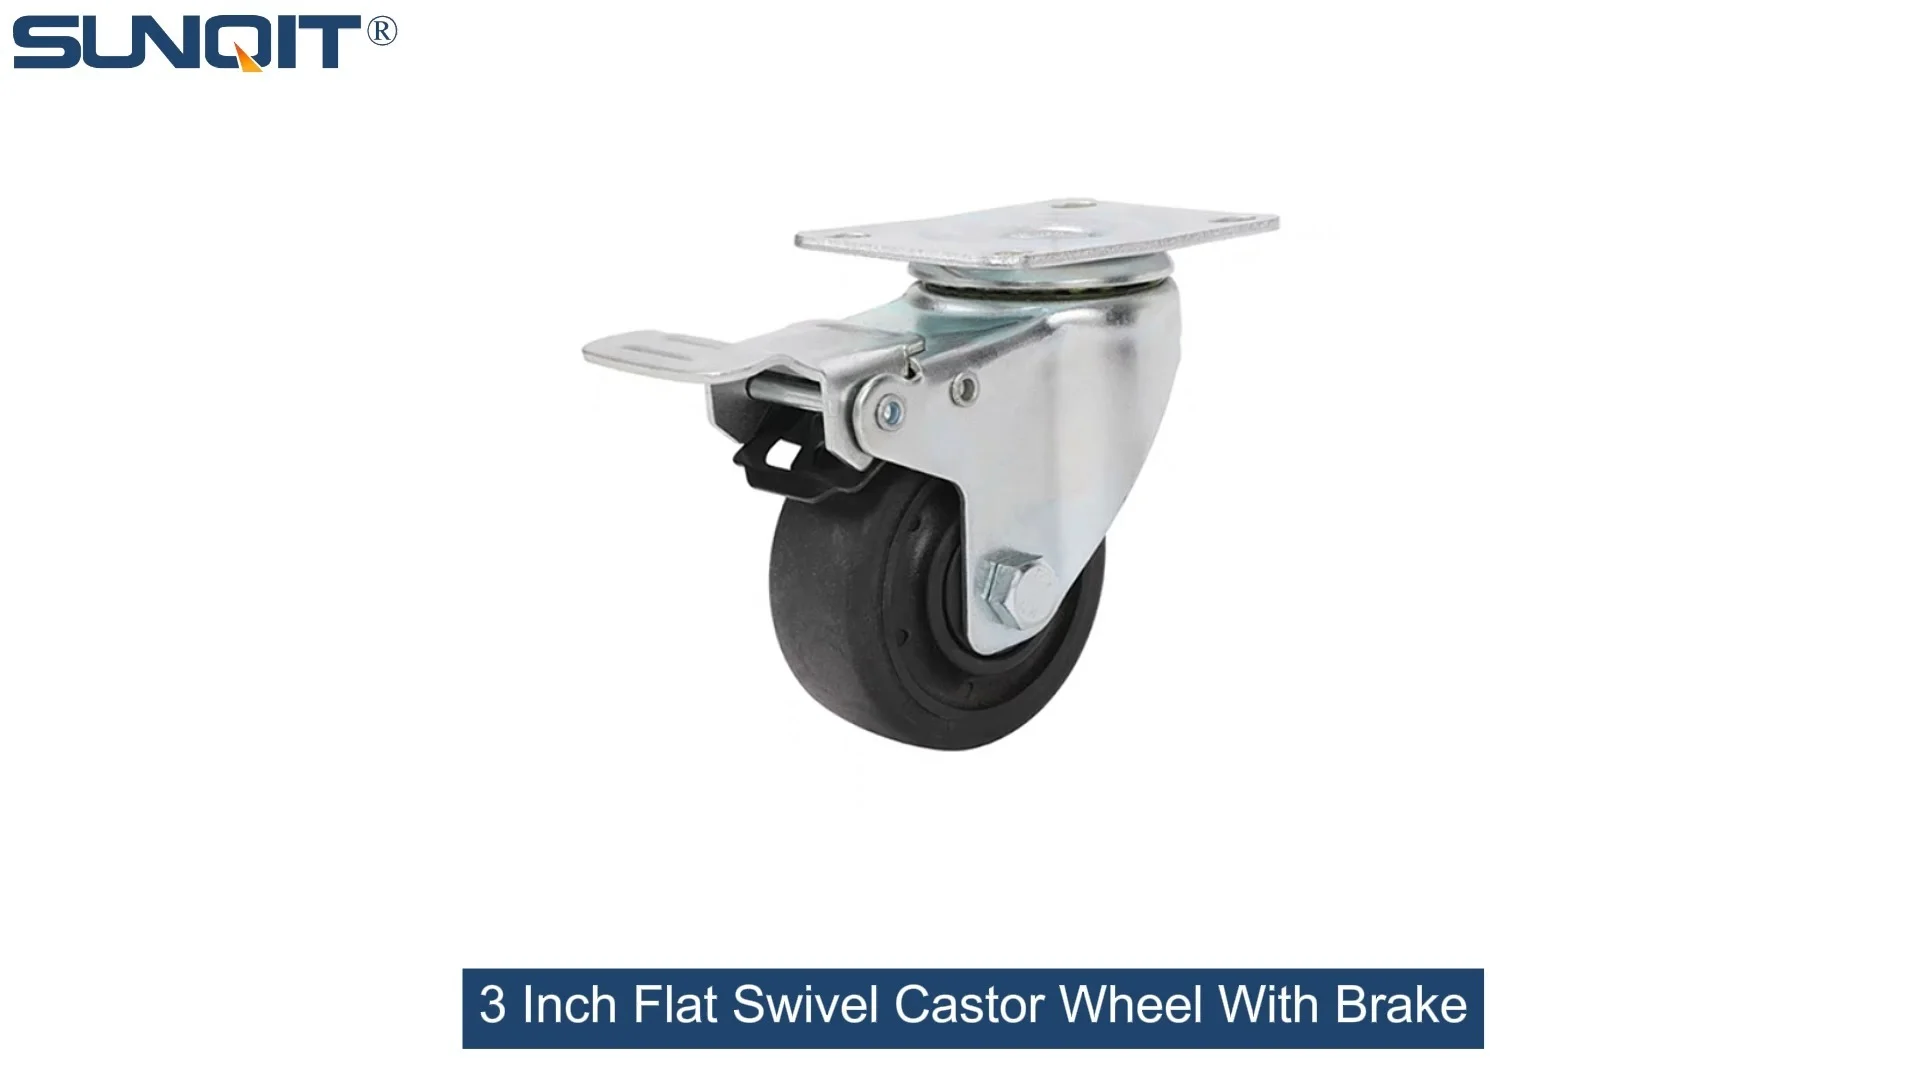
If you've ever spent hours setting up a workspace, you know the little details matter most. Maybe you've wrestled with a wobbly table, or cursed a caster that just won't lock properly. When it comes to workbenches—especially ones that need to move—getting the mounting height right for your casters isn't just about "making it fit." It's about safety, efficiency, and making sure your daily workflow doesn't hit a snag (or a scratch on the floor). Today, we're diving deep into one of the most common pairings in modern workshops: the flat swivel castor wheel with brake and Workbench E (single deck-without caster) . Whether you're outfitting a new production line or upgrading an old workbench, this guide will walk you through why mounting height matters, how to measure it, and how to ensure your setup works as hard as you do.
Why Mounting Height Isn't Just a "Set It and Forget It" Detail
Let's start with the basics: What even is mounting height? Simply put, it's the distance from the bottom of your workbench's frame to the floor once the caster is installed. Sounds straightforward, right? But here's the thing: Get this number wrong, and you could be dealing with a cascade of headaches. Too low, and your caster wheels might scrape the floor or get stuck on uneven surfaces. Too high, and your workbench becomes a wobbly hazard, risking spills, strain on your back, or even damaged tools. And if the brake mechanism can't fully engage because the wheel isn't touching the ground properly? You've just turned a mobile workbench into a potential safety risk.
In busy environments—think manufacturing floors, warehouses, or even home workshops—ergonomics play a huge role too. A workbench that's too high forces you to hunch over; too low, and you're straining to reach tools. The mounting height of your casters directly impacts this. Add in the need to move the workbench smoothly (without jarring delicate parts) or lock it securely during tasks, and suddenly that "simple" measurement becomes critical.
Pro Tip:
Most workplace injuries related to equipment come from poor setup, not misuse. Taking 10 extra minutes to get the mounting height right can save hours of frustration (and potential trips to the clinic) down the line.
Getting to Know Workbench E (Single Deck-Without Caster)
Before we talk casters, let's get familiar with the star of the show: Workbench E (single deck-without caster) . If you've opted for this model, you already know it's designed for flexibility. Unlike workbenches that come pre-fitted with casters, Workbench E leaves the "mobility choice" up to you. It features a single, sturdy deck (no extra shelves cluttering the space) and a frame built to handle daily wear and tear—think aluminum or steel legs, depending on the variant, with a smooth top surface ideal for assembly, packing, or lab work.
But here's the key detail: It comes without casters . That means the bottom of its legs are flat, designed to sit directly on the floor or on leveling feet. For many users, this is a plus—you can customize the mobility to fit your needs. But it also means you'll need to pay close attention to how your chosen casters attach. Workbench E's leg design, weight capacity, and existing mounting points (if any) will all factor into choosing the right caster and setting the correct height.
Let's break down its specs (typical for most Workbench E models):
- Deck size: Often 1200mm x 600mm (adjustable in some cases), single-layer for easy cleaning and tool access.
- Frame material: Lightweight aluminum or steel, with a load capacity of 200-300kg (check your specific model for exact numbers).
- Leg design: Square or rectangular tubing, with flat, closed ends (no pre-drilled caster holes—you'll need to add those or use mounting plates).
- Standard height (without casters): 800-850mm (this is the height from floor to deck, which we'll reference later).
Why does this matter? Because when you add casters, you're not just "lifting" the workbench—you're altering its center of gravity, its interaction with the floor, and even how easy it is to reach items on the deck. Workbench E's single-deck design means most of its weight sits toward the top, so stability is non-negotiable. Enter the flat swivel castor wheel with brake : a caster designed to balance mobility with control.
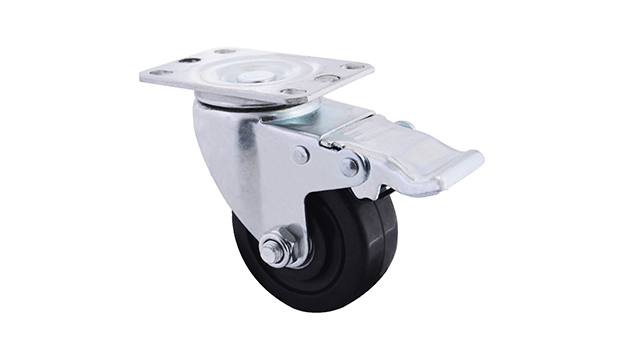
Meet the Flat Swivel Castor Wheel with Brake: Your Workbench's New Best Friend
If you're shopping for casters, you've probably noticed the options are endless. So why choose a flat swivel castor wheel with brake ? Let's break down the benefits:
- Flat mounting plate: Unlike stem casters (which screw into a socket), these casters have a flat metal plate with pre-drilled holes, making them easy to bolt directly to Workbench E's legs. No special tools, no complicated adapters—just a secure, stable connection.
- Swivel action: 360-degree rotation means you can maneuver the workbench in tight spaces without lifting. Perfect for navigating around other equipment or shifting to a new workstation in seconds.
- Brake mechanism: The "with brake" part is non-negotiable. Most models feature a dual-lock brake: step on the lever, and both the wheel and the swivel action lock, preventing movement in any direction. This is a game-changer for tasks that require precision (hello, assembly work) or safety (goodbye, runaway workbenches).
- Wheel options: From rubber to polyurethane, these casters come with wheels designed to protect floors (no scuffs on concrete or hardwood) and absorb shocks, keeping your tools and parts steady during moves.
But here's the catch: Not all flat swivel casters are created equal. Load capacity, wheel diameter, and mounting plate size vary widely. For Workbench E, you'll want a caster that can handle the workbench's weight plus whatever you put on it (tools, materials, maybe even a laptop). A good rule of thumb? Aim for casters with a combined load capacity of at least 1.5x your expected max load. For example, if Workbench E holds 200kg, four casters (one per leg) with 75kg capacity each = 300kg total—plenty of buffer.

Compatibility 101: Workbench E and Your Castor
Now, let's get to the heart of the matter: Will your flat swivel castor wheel with brake actually work with Workbench E? Compatibility boils down to three key factors: mounting plate fit , weight limits , and—you guessed it— mounting height .
1. Mounting Plate Fit: Does It Bolt On?
Workbench E's legs are typically square or rectangular (e.g., 50mm x 50mm aluminum tubing). Your caster's mounting plate needs to be small enough to attach to the leg without overhang (which can catch on things) but large enough to distribute weight evenly. Most standard flat swivel casters come with plates around 100mm x 80mm or 80mm x 60mm—measure your workbench's leg width first! If the plate is too big, you might need to drill new holes; too small, and the connection could feel flimsy.
2. Weight Limits: Don't Overload
We touched on this earlier, but it's worth repeating: Check Workbench E's maximum load capacity (usually listed in the manual) and compare it to your caster's rating. If you're using four casters, divide the total load by four to get the per-caster requirement. And remember: The caster's load rating is for dynamic (moving) weight, not just static (stationary). If you're rolling heavy parts onto the workbench, that sudden shift counts too.
3. Mounting Height: The Goldilocks Zone
This is where the magic (and the math) happens. Mounting height is calculated as: Wheel diameter + mounting plate thickness + clearance . Let's break that down:
- Wheel diameter: The bigger the wheel, the higher the workbench will sit. Common sizes for these casters are 50mm, 75mm, or 100mm. A 100mm wheel will raise the workbench more than a 50mm one—but bigger isn't always better (more on that later).
- Mounting plate thickness: Most plates are 3-5mm thick, so this adds a small amount to the total height.
- Clearance: The space between the bottom of the workbench leg and the top of the caster plate. You'll need at least 2-3mm here to ensure the plate bolts on tightly without bending the leg.
For Workbench E, which starts at 800mm tall (without casters), adding a 100mm wheel would raise the total height to ~900mm. Is that too high? Too low? It depends on who's using it. A workbench that's too tall forces you to lift your arms, leading to shoulder strain; too short, and you're hunched over, straining your back. The ideal height for most adults is 850-900mm when standing—so a 75-100mm wheel often hits that sweet spot.

Determining the Perfect Mounting Height: Step-by-Step
Ready to measure? Grab a tape measure, a pencil, and a piece of paper. Here's how to find your ideal mounting height:
Step 1: Measure Workbench E's Current Height
Place the workbench on a flat surface. Measure from the floor to the top of the deck. Let's say it's 800mm (standard for many models). Write this down as Base Height .
Step 2: Decide on Wheel Diameter
Consider your floor type first. Rough surfaces (concrete with cracks) need larger wheels (100mm+) to roll smoothly. Smooth floors (vinyl, hardwood) can handle smaller wheels (50-75mm). Next, think about maneuverability: Larger wheels roll easier over obstacles but take more space to swivel. For tight workshops, 75mm is often the sweet spot.
Step 3: Calculate Total Height After Installation
Formula: Total Height = Base Height + Wheel Diameter + Plate Thickness + Clearance . Let's plug in numbers for a 75mm wheel, 4mm plate, and 3mm clearance: 800 + 75 + 4 + 3 = 882mm. That's within the 850-900mm ergonomic range—great!
Step 4: Test for Stability
A workbench that's too tall can tip if you lean on it. To check: Tilt the workbench gently from side to side. If it feels wobbly with the new height, downsize the wheel diameter. Remember: Stability trumps "perfect" height every time.
Step 5: Check Brake Engagement
Finally, ensure the brake can fully engage. If the wheel is too small, the brake lever might hit the workbench leg before locking. If it's too large, the wheel might not touch the ground when the brake is on (rendering it useless). Test this with a mock-up: Place the caster under the leg, step on the brake, and see if the wheel locks solidly.
The Compatibility Table: Wheel Sizes vs. Workbench E
To make this easier, we've compiled a quick reference table comparing common caster wheel sizes and their compatibility with Workbench E. Use this as a starting point, then adjust based on your specific needs.
| Wheel Diameter (mm) | Total Height After Installation (mm)* | Best For: | Compatibility with Workbench E | Notes |
|---|---|---|---|---|
| 50mm | 800 + 50 + 4 + 3 = 857mm | Smooth floors, light loads (<150kg) | Good | Low profile, easy to store, but struggles on rough surfaces. |
| 75mm | 800 + 75 + 4 + 3 = 882mm | Most workshops, medium loads (150-250kg) | Excellent | Balances maneuverability, height, and stability. Our top pick. |
| 100mm | 800 + 100 + 4 + 3 = 907mm | Rough floors, heavy loads (>250kg) | Good (if height is okay) | Great for concrete or uneven surfaces, but may be too tall for shorter users. |
| 125mm | 800 + 125 + 4 + 3 = 932mm | Industrial settings, very heavy loads | Poor | Often too tall for ergonomics; risks tipping. Use only if absolutely necessary. |
*Calculations based on Workbench E base height of 800mm, 4mm plate thickness, and 3mm clearance.
Installation Tips: Making It Stick (and Roll)
You've measured, you've chosen your caster, now it's time to install. Here's how to do it right:
- Pre-drill holes: Workbench E's legs are sturdy—pre-drilling pilot holes (smaller than your bolts) prevents cracking. Use a drill bit that matches your caster's bolt size.
- Use lock washers: These prevent bolts from loosening over time (vibration from rolling can shake them loose). Place a washer between the bolt head and the mounting plate.
- Level it out: After installing all four casters, check if the workbench rocks. If it does, use adjustable leveling feet (yes, even with casters!) under the legs to balance it. Many casters come with built-in leveling options—look for ones with a threaded stem you can tweak.
- Test the brakes: With the workbench loaded (add some tools or weights), lock and unlock the brakes a few times. They should engage smoothly and hold firm.
Troubleshooting Common Issues
Even with careful planning, things can go wrong. Here's how to fix the most common problems:
Problem: Workbench wobbles after installation.
Solution: Check if all casters are the same height. If one is shorter, replace it or add a shim under the mounting plate. If the legs are bent, use a level to straighten them (gently!) before reattaching the casters.
Problem: Brake won't lock fully.
Solution: Ensure the wheel is touching the ground. If the mounting height is too low, the wheel might be elevated. Adjust by adding a spacer under the mounting plate (but check weight limits first!). If the brake lever is bent, replace the caster—safety first.
Problem: Casters scratch the floor.
Solution: Upgrade to polyurethane wheels (they're softer than rubber) or add floor protectors (like felt pads) under the casters (though this may affect height slightly).
Final Thoughts: Your Workbench, Your Way
At the end of the day, the "perfect" mounting height is the one that fits your workspace, your body, and your workflow. The flat swivel castor wheel with brake and Workbench E (single deck-without caster) are a powerful pair—but only if you take the time to align them properly. By focusing on height, stability, and compatibility, you'll create a workbench that moves when you need it to, stays put when you don't, and keeps you comfortable (and safe) all day long.
So grab that tape measure, double-check your numbers, and get ready to transform your workspace. Your back (and your productivity) will thank you.