- Company Articles
- Products and Technology
- Installation And Maintenance
- Multi-Angle Fixed Aluminum Joint Tightening Techniques: Preventing Loosening

Multi-Angle Fixed Aluminum Joint Tightening Techniques: Preventing Loosening
Related Product
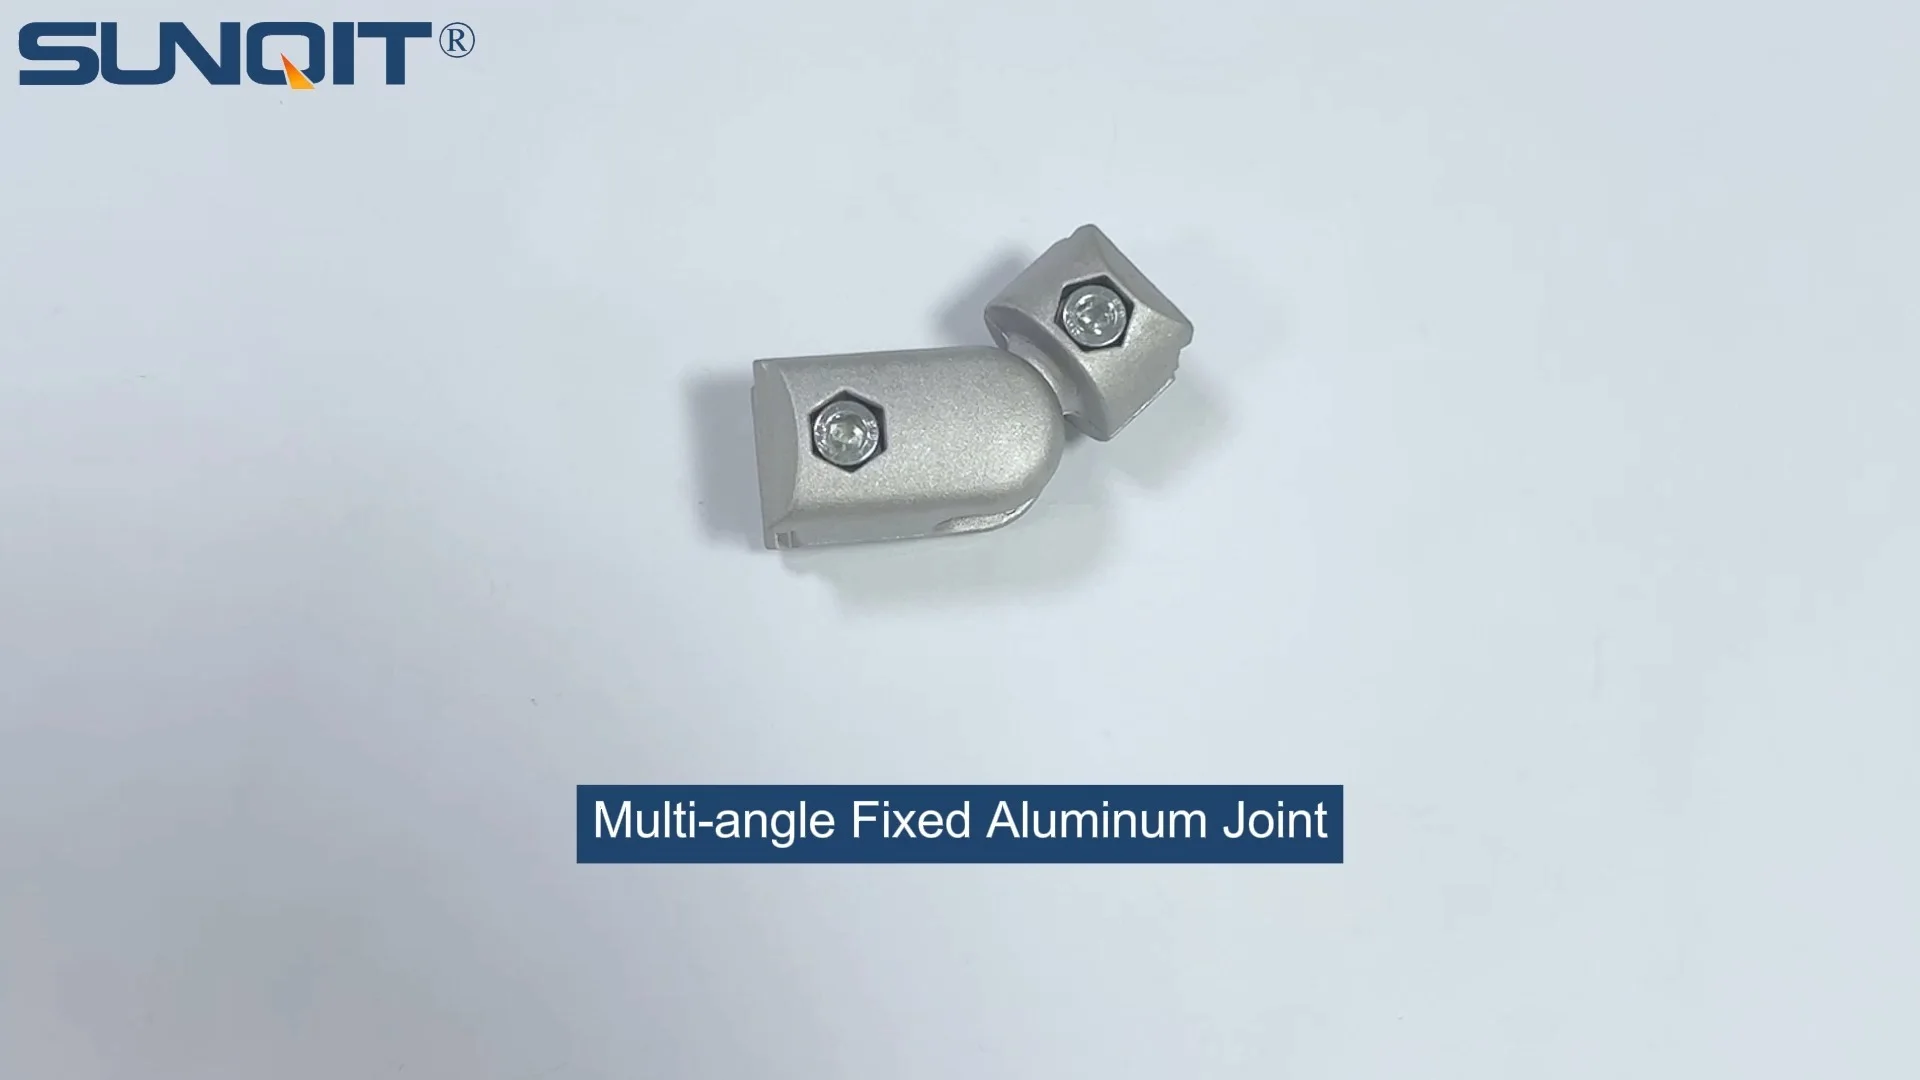
Multi-angle Fixed Aluminum Joint
Aluminum joint pipe connection for two pipe connection and work in mutiple angle.
Walk into any modern manufacturing facility, warehouse, or assembly line, and you'll likely spot structures that keep operations running smoothly: workbenches where technicians assemble components, material racks holding inventory, and lean production lines designed for maximum efficiency. Behind many of these structures—often unnoticed but critically important—are multi-angle fixed aluminum joints. These unassuming connectors are the backbone of modular systems, allowing teams to build, adjust, and reconfigure workspaces with flexibility. But here's the thing: even the sturdiest aluminum profiles and well-designed workbenches rely on properly tightened joints. When these joints loosen, the consequences ripple through operations—wobbly workbenches slow down assembly, unstable material racks risk product damage, and in the worst cases, loose connections create safety hazards for workers.
In this guide, we'll dive deep into the world of multi-angle fixed aluminum joints. We'll break down why they loosen, how to tighten them correctly the first time, and how to maintain that tightness over time. Whether you're a facility manager overseeing a production floor, a technician building lean pipe workbenches, or a maintenance worker troubleshooting wobbly structures, this knowledge will help you keep your systems stable, efficient, and safe.
Understanding Multi-Angle Fixed Aluminum Joints: More Than Just a "Connector"
Before we jump into tightening techniques, let's get to know the star of the show: the multi-angle fixed aluminum joint. These joints are engineered to connect aluminum profiles—those sleek, T-slot aluminum extrusion profiles you see in everything from workbenches to conveyor systems—in multiple directions. Unlike rigid, single-angle connectors, they allow for flexibility in design: think of a workbench with a side shelf at 45 degrees or a material rack with diagonal supports for extra stability. Their "fixed" nature means once tightened, they lock into place, providing the rigidity needed for heavy-duty use.
Most multi-angle fixed aluminum joints are made from high-grade aluminum alloy, chosen for its strength-to-weight ratio, corrosion resistance, and compatibility with aluminum profiles. They typically feature threaded holes, bolt channels, or clamping mechanisms that grip the T-slots of aluminum profiles, creating a secure bond. To work effectively, they rely on (matching) aluminum pipe accessories—things like hex bolts, flat washers, lock washers, and sometimes rubber gaskets to prevent slippage. It's a system where every component matters: even the best joint will fail if paired with a low-quality bolt or improper installation.
Quick Tip: When sourcing multi-angle fixed aluminum joints, always check that they're compatible with your aluminum profile's slot size (e.g., 2020, 3030, or 4040 profiles). Mismatched components are a leading cause of premature loosening.
Why Do Multi-Angle Aluminum Joints Loosen? The Hidden Culprits
Loosening doesn't happen randomly. It's usually a slow, gradual process driven by one or more factors. Let's break down the most common culprits:
Vibration: The Silent Enemy
Manufacturing floors are noisy places—machines hum, conveyors rattle, and tools vibrate. Over time, this constant motion acts like a tiny wrench, gradually undoing the tension in bolted joints. Multi-angle joints, which often bear weight from multiple directions, are especially vulnerable. For example, a lean pipe workbench used for power tool assembly will vibrate every time a drill is used. That vibration travels through the aluminum profile into the joint, where it can slowly back out bolts or reduce friction between the joint and profile.
Improper Initial Tightening
It's tempting to grab a wrench and "crank it tight" when installing joints, but that's a mistake. Under-tightening leaves gaps between the joint and profile, giving vibration room to work. Over-tightening is even worse: it can strip threads, warp the joint, or stretch the bolt beyond its elastic limit. Once a bolt is over-stretched, it loses its ability to maintain tension, leading to rapid loosening.
Thermal Expansion and Contraction
Aluminum is sensitive to temperature changes. In facilities with fluctuating heat (e.g., near ovens or outdoor loading docks), aluminum profiles and joints expand when warm and contract when cool. This cycle of expansion and contraction can create micro-movements between the joint and profile, gradually loosening the connection. Over months or years, these small shifts add up.
Wear and Tear on Accessories
Aluminum pipe accessories like washers and bolts don't last forever. Lock washers can lose their springiness over time, and bolts can develop micro-cracks from repeated stress. Even the T-slots in aluminum profiles can wear down if joints are frequently adjusted or over-tightened, reducing the grip between the joint and profile.

The Fundamentals of Tightening: Getting It Right the First Time
Preventing loosening starts with proper installation. Tightening a multi-angle fixed aluminum joint isn't just about "making it snug"—it's a precise process that balances force, tool choice, and technique. Let's walk through the steps.
Step 1: Gather the Right Tools
You wouldn't use a hammer to tighten a screw, and the same logic applies here. The right tools ensure you apply the correct amount of force without damaging components:
- Torque wrench: The most critical tool. Torque wrenches measure the rotational force (torque) applied to a bolt, ensuring you hit the manufacturer's recommended specs. For small joints (e.g., 2020 profiles), a 1/4-inch drive torque wrench works; larger profiles (4040 or 4080) may need a 3/8-inch drive.
- Hex keys (Allen wrenches): For bolts with hexagonal socket heads (common in aluminum joints). Choose high-quality, non-slip keys to avoid stripping bolt heads.
- Thread locker: A liquid or paste (e.g., Loctite) applied to bolt threads to resist loosening from vibration. Use medium-strength formulas (blue Loctite) for most applications—stronger (red) formulas can make disassembly difficult later.
- Cleaning supplies: A wire brush or cloth to remove dirt, oil, or debris from bolt holes and T-slots. Contaminants can prevent proper seating of the joint.
Step 2: Prep the Components
Even the best torque technique fails if the joint and profile aren't clean. Start by wiping down the aluminum profile's T-slots and the joint's contact surfaces with a dry cloth. If there's oil or grease (common in new profiles), use a degreaser like isopropyl alcohol. For rust or corrosion (rare with aluminum but possible in humid environments), gently scrub with a wire brush. Next, inspect the bolt threads and joint holes for damage—stripped threads or bent bolts should be replaced immediately.
Step 3: Apply Thread Locker (When Needed)
For joints in high-vibration areas (e.g., near conveyor systems or power tools), apply a small amount of thread locker to the bolt threads before insertion. Let it sit for 2-3 minutes to activate (check the product label for exact timing). Avoid over-applying—excess locker can seep into T-slots and make future adjustments messy.
Step 4: Torque to Specification (The "Goldilocks" Zone)
This is where the torque wrench becomes your best friend. Every multi-angle fixed aluminum joint and bolt size has a recommended torque range—too low, and it's loose; too high, and you risk damage. Below is a general guide for common bolt sizes used with aluminum profiles (always check the joint manufacturer's specs for exact values):
| Bolt Size (Metric) | Recommended Torque (Nm) | Common Application |
|---|---|---|
| M4 | 1.5 – 2.0 | 2020 aluminum profiles, light-duty joints |
| M5 | 3.0 – 4.0 | 3030 profiles, medium-duty workbenches |
| M6 | 6.0 – 8.0 | 4040 profiles, heavy-duty material racks |
| M8 | 12.0 – 15.0 | 4080 profiles, industrial conveyor supports |
To use a torque wrench: Set the desired torque on the wrench, align the socket or hex bit with the bolt, and apply steady pressure until you hear a "click" (for click-type wrenches) or the digital display shows the target (for digital wrenches). Avoid jerky movements—smooth, gradual force ensures accurate torque.
Step 5: Check for Gaps and Alignment
After tightening, visually inspect the joint. There should be no gaps between the joint and aluminum profile—if you can slide a piece of paper between them, it's too loose. Gently wiggle the connected profiles; there should be zero movement. If the joint feels wobbly, double-check the torque and ensure the bolt is seated fully in the T-slot.

Advanced Techniques: Keeping Joints Tight Long-Term
Even with perfect initial tightening, some joints will need extra help to stay tight, especially in harsh environments. Here are advanced strategies to extend joint life:
Use Nylon-insert Lock Nuts for Vibration-Prone Areas
Standard nuts can back out under vibration, but nylon-insert lock nuts (sometimes called "nyloc nuts") have a nylon ring inside that grips the bolt threads, creating friction that resists loosening. They're reusable a few times (until the nylon wears down) and work well in areas like roller track systems or mobile workbenches with casters.
Add Lock Washers (But Choose Wisely)
Split lock washers (the "springy" ones with a split) are common, but they're not always the best choice for aluminum joints. Their sharp edges can dig into soft aluminum, causing indentations that reduce grip over time. Instead, opt for flat washers paired with star washers (serrated on one side) or toothed lock washers. The serrations bite into the joint and profile, creating a mechanical lock against rotation.
Re-Torque After the First Week
New joints often "settle" after initial use. The aluminum profiles and joint may compress slightly under load, reducing torque. To combat this, re-torque the joint 5-7 days after installation. This simple step can prevent loosening down the line, especially for heavy-duty structures like material rack B (3 row and 3 floor) units that hold significant weight.

Maintenance: Catching Loosening Before It Causes Problems
Even the best-installed joints need regular check-ups. Here's how to build a maintenance routine that keeps joints tight:
Schedule Regular Inspections
Walk your facility every 2-4 weeks (more often for high-vibration areas) and inspect key joints. Look for: gaps between the joint and profile, visible bolt movement, or rust on steel components (if used with aluminum). For hard-to-reach joints, use a small mirror to check for looseness.
Listen for "Red Flags"
Loose joints often make noise before they fail. A creaking workbench, rattling material rack, or clicking sound when a structure is moved are all signs of loosening. Investigate these sounds immediately—they're your system's way of saying, "Check me!"
replace Worn Accessories
During inspections, replace any damaged aluminum pipe accessories: bent bolts, flattened lock washers, or cracked joint components. It's cheaper to replace a $2 bolt than to repair a collapsed workbench or replace damaged inventory.
Troubleshooting: Fixing Loose Joints (When Prevention Isn't Enough)
Even with careful installation and maintenance, joints can loosen. Here's how to fix common issues:
Scenario 1: The Bolt Spins but Doesn't Tighten
This usually means stripped threads—either in the bolt or the joint's threaded hole. If the bolt is stripped, replace it. If the joint's threads are stripped, you have two options: (1) Use a larger bolt (if the joint has room), or (2) replace the joint entirely. Avoid "over-tightening to compensate"—this will only make the problem worse.
Scenario 2: The Joint Wobbles Despite Proper Torque
Wobbling often means the joint isn't fully seated on the aluminum profile. Check if the T-slot is clogged with debris (clean it with a small brush) or if the joint is misaligned. For multi-angle joints, ensure all contact points are touching the profile—sometimes one side sits higher than the other, causing uneven stress.
Scenario 3: Corrosion on Steel Components
If your joint uses steel bolts or washers, corrosion can weaken the connection. replace corroded parts with stainless steel or zinc-plated alternatives, which resist rust better. For outdoor or high-moisture environments, consider all-aluminum accessories to avoid galvanic corrosion (a reaction between dissimilar metals).
Final Thoughts: Tight Joints, Tight Operations
Multi-angle fixed aluminum joints may be small, but their impact on your facility's efficiency and safety is huge. By understanding why they loosen, mastering proper tightening techniques, and staying on top of maintenance, you can keep your lean pipe workbenches stable, your material racks secure, and your team working without interruptions. Remember: a tight joint isn't just a "good idea"—it's an investment in productivity, safety, and the longevity of your modular systems.
So the next time you're installing or inspecting a multi-angle fixed aluminum joint, take a moment to do it right. Your future self (and your production metrics) will thank you.