- Company Articles
- Products and Technology
- Installation And Maintenance
- 38 Aluminum Roller Track Yellow Assembly Guide: Tools & Best Practices

38 Aluminum Roller Track Yellow Assembly Guide: Tools & Best Practices
Related Product
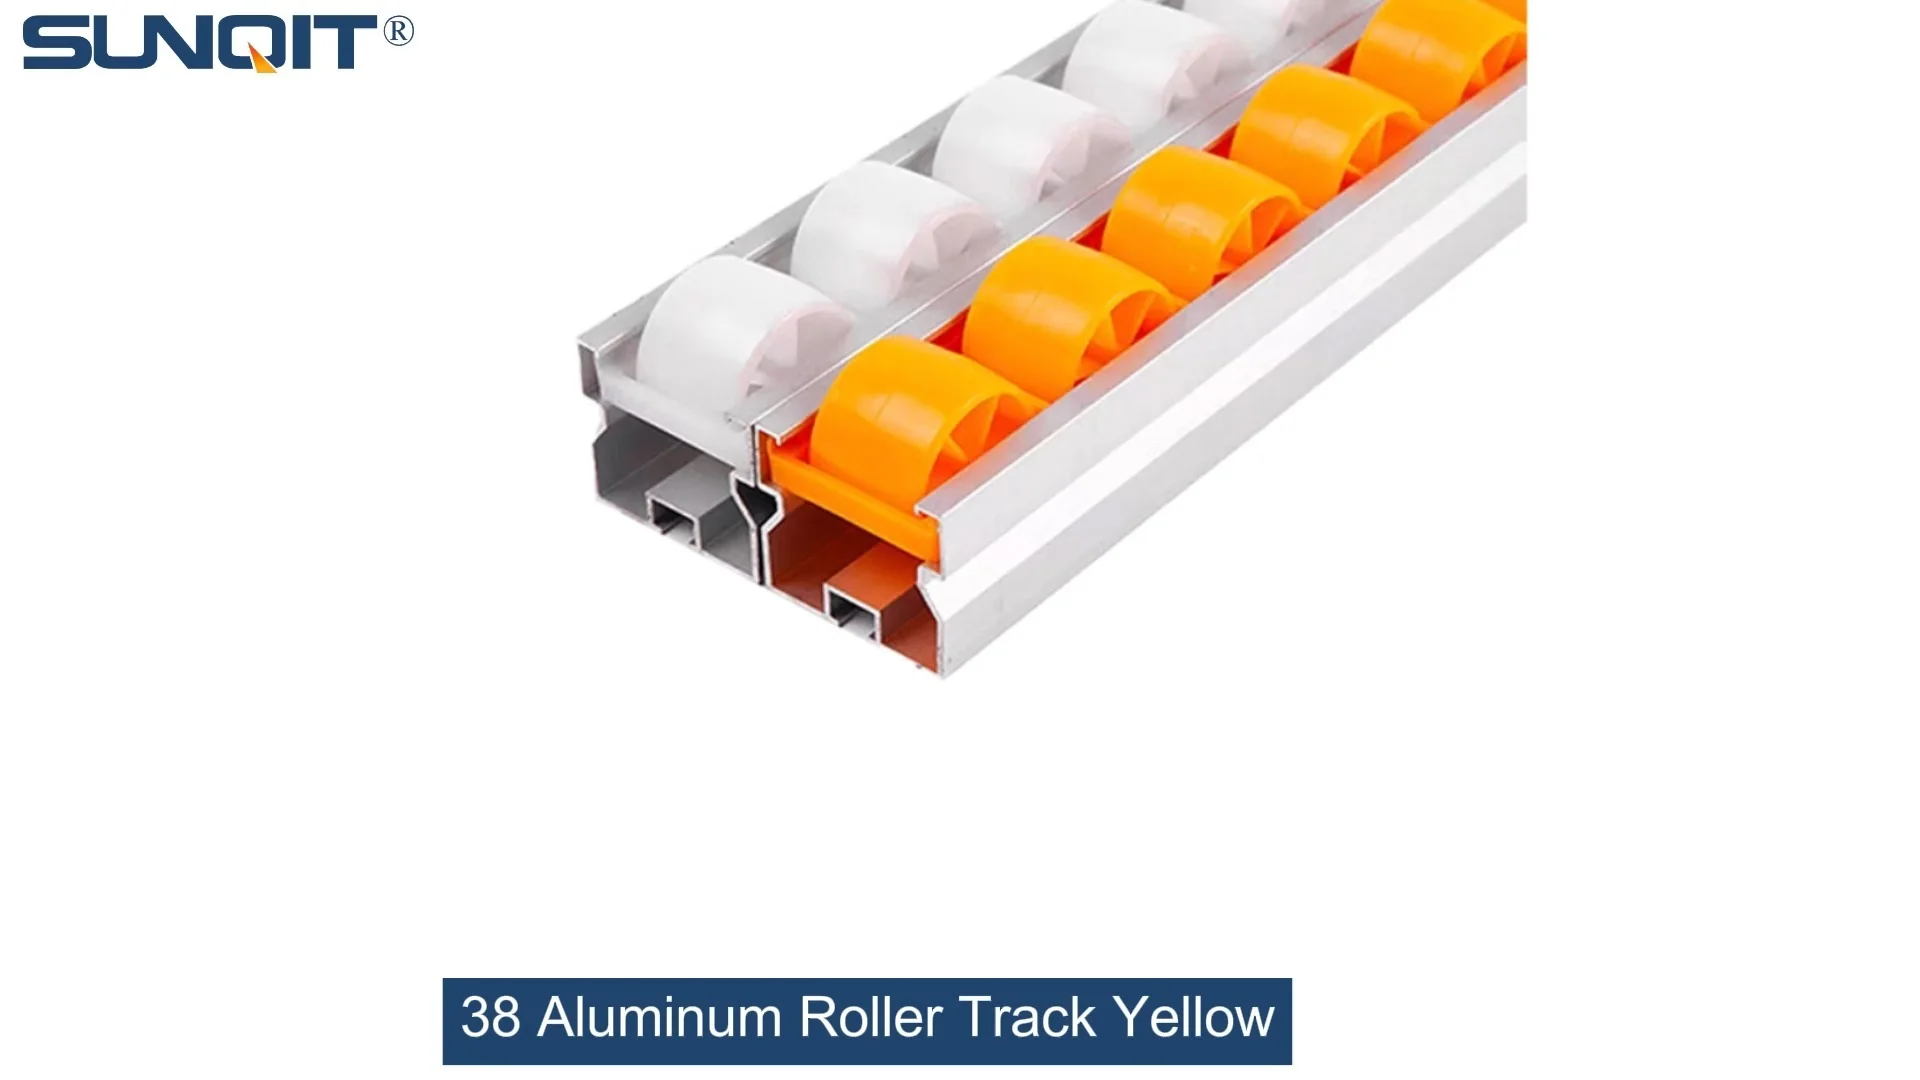
38 Aluminum Roller Track Yellow
Durable and smooth-running modular roller rails. The system is fully assembled. The roller rail profile contains plastic rollers mounted on steel axles. Aluminum frame with plastic wheel make it anti corrosion,and material convey more smooth.
Why This Roller Track Matters for Your Operations
If you've ever worked in a production line, warehouse, or assembly station, you know how critical smooth material flow is to keeping things running on time. A stuck part or uneven movement can throw off an entire shift's schedule, leading to delays and frustration. That's exactly the problem the 38 Aluminum Roller Track Yellow solves—it's a durable, flexible solution designed to keep your materials gliding seamlessly from one point to the next. Whether you're moving small components in a 3C assembly line or heavier parts in a medical device factory, this track is built to handle the job while fitting into your existing lean system setup.
What makes this track stand out? It's made from high-quality aluminum, so it's lightweight yet strong enough to support consistent use. The yellow color isn't just for looks—it's highly visible, helping your team spot potential issues quickly and maintain a safe workspace. Plus, it's compatible with a range of accessories like plastic roller track guide rails and roller track connectors, making it easy to customize for your specific needs.
Pre-Assembly Prep: What You Need to Get Started
Before you dive into assembling your roller track, let's make sure you have all the right tools and parts on hand. Skipping this step can lead to delays or mistakes later, so take a few minutes to double-check everything.
Tools Required
| Tool Name | Purpose | Notes |
|---|---|---|
| Phillips Head Screwdriver | Securing guide rails and connectors | Use a magnetic tip to avoid dropping screws |
| Adjustable Wrench | Tightening roller track connectors | Choose a wrench that fits the connector size snugly |
| Level | Ensuring the track is straight and even | A digital level works best for precise adjustments |
| Measuring Tape | Checking spacing between rollers and rails | Opt for a tape with clear markings for accuracy |
| Rubber Mallet | Fitting parts together without damaging aluminum | Avoid using metal hammers—they can dent the track |
Parts Checklist
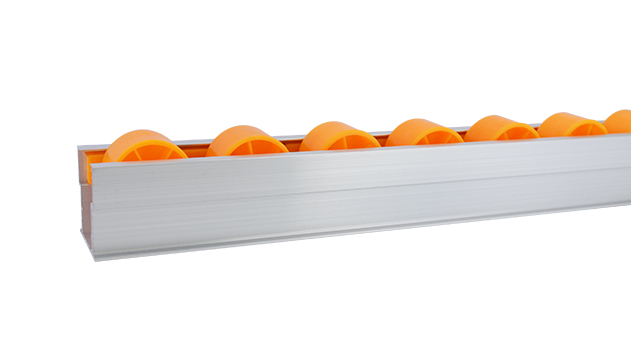
- 38 Aluminum Roller Track Yellow sections (quantity based on your length needs)
- Plastic Roller Track Guide Rail Yellow (matching the track length)
- Roller Track Connectors (one per joint between track sections)
- Mounting Screws (stainless steel to prevent rust)
- Optional: Lean Pipe Workbench (to attach the track to)
- Optional: Caster Accessories (for mobile applications)
Pro Tip:
Lay out all parts on a clean, flat surface before starting. This helps you visualize the assembly process and ensures you don't miss any components.
Step-by-Step Assembly Guide
Now that you have everything ready, let's walk through the assembly process step by step. Take your time—each step is important to ensure the track works as intended.
Step 1: Align the Track Sections
Start by laying out your 38 Aluminum Roller Track Yellow sections on a flat surface (like a workbench). Make sure the ends are aligned perfectly—even a small gap can cause parts to get stuck later. If you're using multiple sections, connect them with roller track connectors. insert the connector into the end of one section, then slide the next section onto the connector. Use your adjustable wrench to tighten the connector until it's secure, but don't over-tighten (you could damage the aluminum).
Step 2: Attach the Plastic Guide Rails
The plastic roller track guide rail yellow helps keep materials on the track and prevents them from sliding off. To attach it:
1. Place the guide rail along the edge of the track. Make sure it's aligned with the rollers (not blocking them).
2. Use your Phillips head screwdriver to insert the mounting screws through the guide rail and into the pre-drilled holes on the track.
3. Tighten each screw evenly—this ensures the guide rail doesn't warp or bend.
Repeat this for both sides of the track (if needed).
Note:
If you're using the track for smaller parts, you may only need one guide rail. For larger items, two guide rails are better for stability.
Step 3: Secure the Track to a Base
Most users attach the 38 Aluminum Roller Track Yellow to a lean pipe workbench or flow rack for stability. Here's how:
1. Place the assembled track on the workbench where you want it to go. Use your level to make sure it's straight and even.
2. Mark the mounting holes on the workbench with a pencil.
3. Drill pilot holes (smaller than the screw size) into the workbench to prevent wood or metal from splitting.
4. insert the screws through the track's base and into the pilot holes. Tighten them with your screwdriver until the track is firmly attached.
Step 4: Add Mobility (Optional)
If you need to move the track around your workspace, add caster accessories to the base. Here's how:
1. Flip the workbench or base upside down (make sure it's stable).
2. Attach the caster mounting plates to the base using screws.
3. Snap the casters into the mounting plates. Make sure each caster locks into place (you'll hear a click).
4. Flip the base back over and test the mobility—push it gently to ensure it rolls smoothly without wobbling.
Step 5: Test & Adjust
The final step is to test the track to make sure it works correctly.
1. Place a test part (similar to what you'll be using in your operations) on the track.
2. Push it gently—does it glide smoothly? If not, check for stuck rollers or uneven guide rails.
3. Adjust the track's angle if needed (slight incline helps with gravity flow). Use your level to get the right angle (usually 1-2 degrees).
4. Tighten any loose screws or connectors.
Once everything is working, your track is ready to use!

Best Practices for Longevity & Efficiency
To get the most out of your 38 Aluminum Roller Track Yellow, follow these best practices:
Maintenance Tips
- Clean the track weekly: Use a soft cloth to wipe away dust and debris. Avoid harsh chemicals—they can damage the aluminum finish.
- Lubricate rollers monthly: Apply a small amount of silicone lubricant to the roller bearings. This keeps them rolling smoothly and prevents rust.
- Check connectors quarterly: Tighten any loose connectors to avoid gaps between track sections.
- Inspect guide rails: Look for cracks or wear. replace them if they're damaged—worn guide rails can cause parts to get stuck.
Optimization Hacks
- Combine with flow rack: For warehouse applications, attach the track to a flow rack to create a first-in-first-out (FIFO) system. This reduces waste and improves efficiency.
- Adjust the angle: For heavier parts, increase the incline slightly (up to 3 degrees) to help them move. For lighter parts, keep the angle low to prevent them from sliding too fast.
- Use dividers: If you're moving multiple small parts at once, add dividers to the track to keep them separate. This reduces jams and makes sorting easier.
Common Mistakes to Avoid
- Over-tightening screws: This can warp the track or strip the holes. Tighten until the part is secure—no more.
- Ignoring levelness: An uneven track leads to stuck parts and uneven wear. Always use a level during assembly and regular checks.
- Using the wrong casters: If you're moving heavy loads, use heavy-duty casters. Lightweight casters will break quickly and cause accidents.

Real-World Applications
The 38 Aluminum Roller Track Yellow is used in a wide range of industries—here are a few examples:
3C Assembly Lines
In 3C assembly (like phone or laptop production), this track is used to move small components (like circuit boards or batteries) between stations. The guide rails keep the parts from falling off, and the smooth rollers ensure they arrive quickly and safely. Since the track is part of a lean system, it's easy to reconfigure as the assembly line changes—aligning with the idea of sustainable improvement.
Medical Device Manufacturing
Medical device factories use this track to move sterile parts (like syringes or surgical tools) between clean rooms. The aluminum material is easy to sanitize, and the guide rails prevent contamination by keeping parts in place. The track's durability means it can handle frequent cleaning without wearing out.
Warehouse Logistics
Warehouses use this track with flow racks to manage inventory. The FIFO system ensures older items are used first, reducing waste. The mobile casters allow workers to move the track to different areas of the warehouse as needed—saving time and effort.
Troubleshooting Common Issues
Even with proper assembly, you may run into issues. Here's how to fix them:
Rollers Sticking
Why it happens: Dust or debris is blocking the rollers, or the bearings are dry.
Fix: Wipe the rollers with a clean cloth. If that doesn't work, apply silicone lubricant to the bearings.
Loose Connections
Why it happens: Screws or connectors were not tightened properly.
Fix: Use your adjustable wrench or screwdriver to tighten the loose parts. Check all connections regularly to prevent this issue.
Uneven Flow
Why it happens: The track is not level, or the angle is wrong.
Fix: Use your level to adjust the track. If the angle is too steep, lower it. If it's too flat, increase it slightly.
Parts Sliding Off
Why it happens: Guide rails are missing or not aligned properly.
Fix: Add guide rails (if missing) or adjust them to align with the rollers. Make sure they're not blocking the rollers.
Conclusion
The 38 Aluminum Roller Track Yellow is more than just a piece of equipment—it's a tool that can transform your workspace into a more efficient, productive environment. Whether you're assembling 3C products, manufacturing medical devices, or managing warehouse inventory, this track is designed to meet your needs. With its durable aluminum construction, flexible design, and easy assembly, it's a smart investment for any business looking to improve their lean operations.
Remember: Proper assembly and maintenance are key to getting the most out of your track. Follow the steps in this guide, and you'll have a smooth-running system in no time. If you need a custom solution (like a longer track or specific guide rails), don't hesitate to reach out—many suppliers offer tailored options to fit your unique needs.