- Company Articles
- Products and Technology
- Installation And Maintenance
- 3C Assembly Workstations: Five Way Straight Lean Pipe Joint Layout Tips

3C Assembly Workstations: Five Way Straight Lean Pipe Joint Layout Tips
Related Product
Five Way Straight Lean Pipe Joint
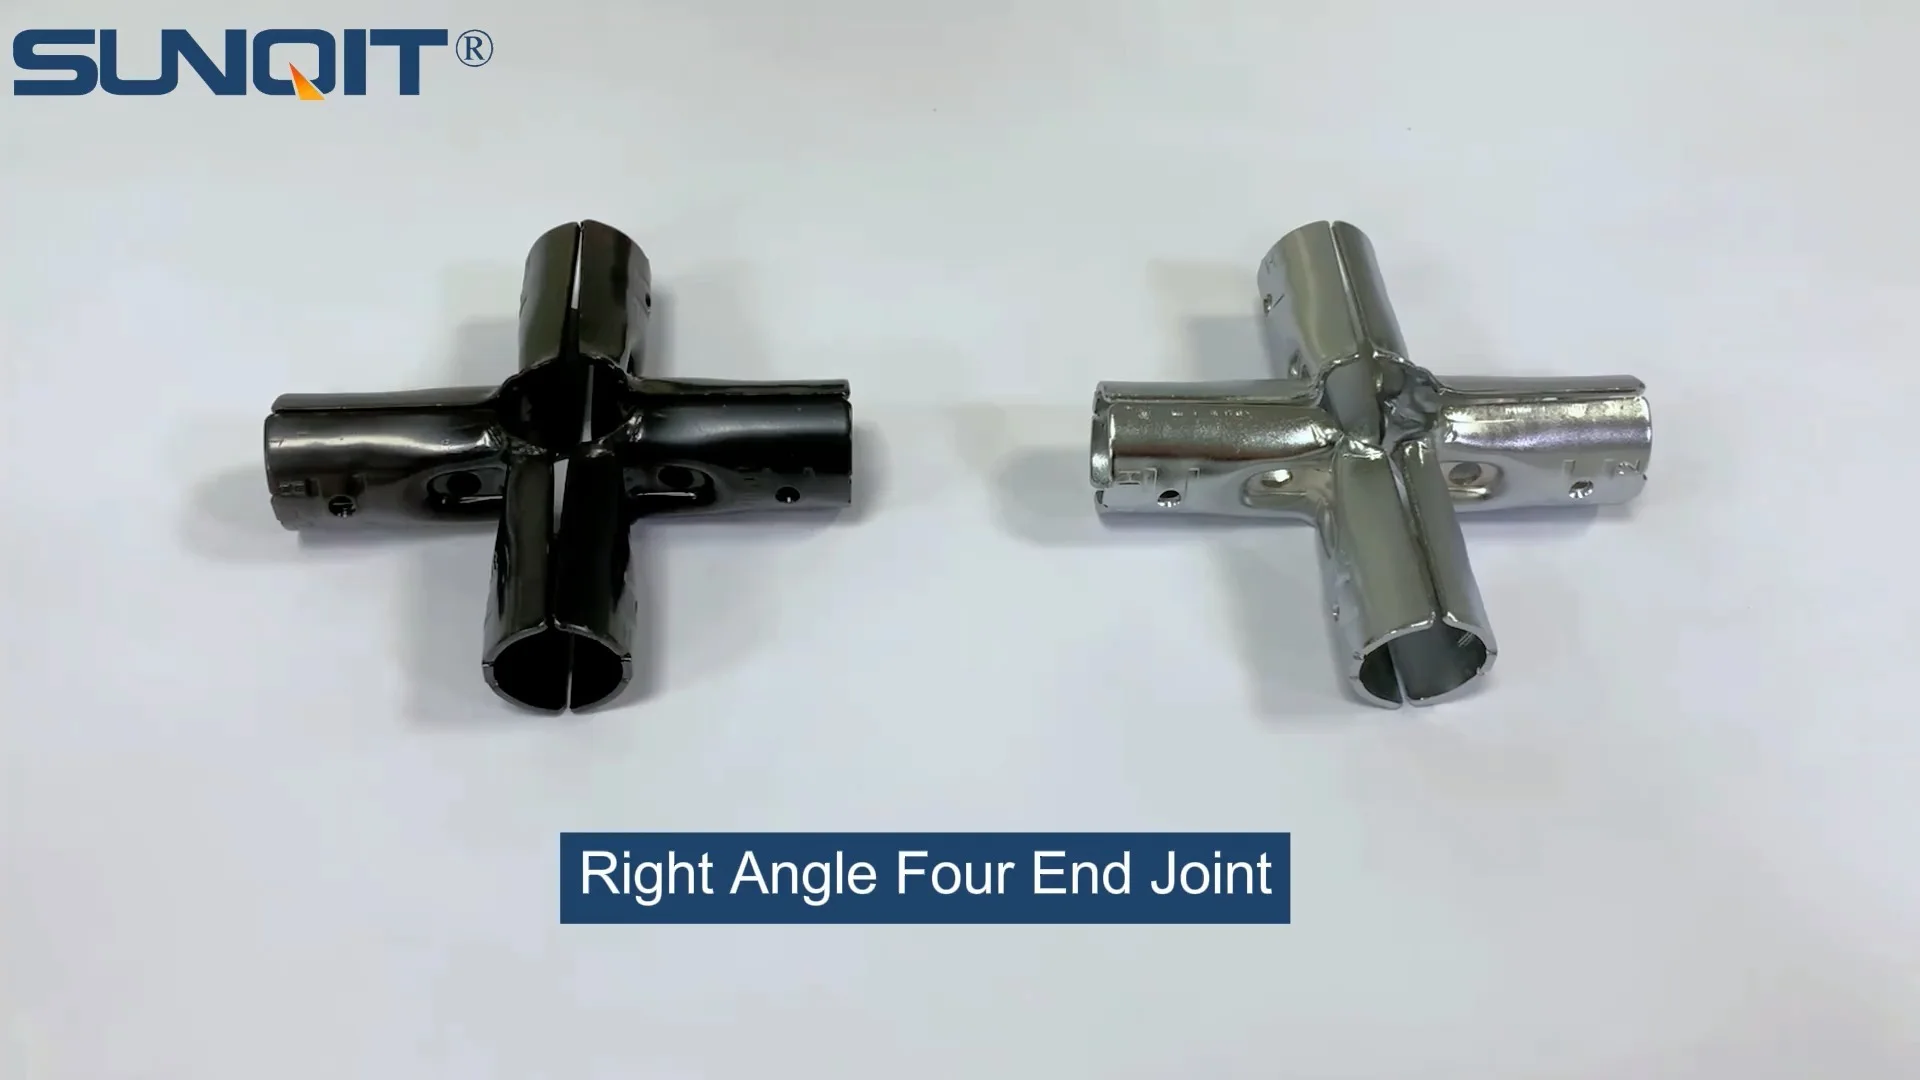
Five way straight lean pipe joint, for 5 pcs 28mm lean pipe connect in straight angle,which used widely in workbench, flow rack, hand trolley frame connection.
Walk into any 3C manufacturing facility—where smartphones, laptops, and wearables take shape—and you'll notice a silent battle being waged: precision vs. chaos. Every tiny component, from microchips to screws, demands careful handling. Every second lost to searching for tools or stretching for parts chips away at productivity. This is where lean systems step in, turning cluttered workbenches into symphonies of efficiency. At the heart of this transformation? The humble lean pipe workstation, and more specifically, the five way straight lean pipe joint—a small but mighty connector that unlocks flexibility, ergonomics, and scalability in assembly line design.
In this article, we'll dive into how to leverage the five way straight lean pipe joint to build workstations that don't just hold tools and parts, but elevate how your team works. We'll cover workflow optimization, ergonomic design, ESD protection, and more—all through the lens of real-world 3C manufacturing challenges. Whether you're revamping an existing line or building a new one, these tips will help you create workstations that adapt as fast as your products do.
Why Lean Pipe Matters in 3C Assembly
First, let's ground ourselves in what makes lean pipe such a game-changer. Also known as lean tube, this material—typically aluminum or steel with a plastic coating—combines lightweight flexibility with surprising durability. Unlike rigid metal frames or fixed workbenches, lean pipe systems use modular joints to connect pipes, allowing you to build, break down, and rebuild structures in hours, not weeks. For 3C manufacturers, where product lifecycles can be shorter than a season, this adaptability isn't just nice to have; it's critical.
But lean pipe isn't just about flexibility. It's about intelligence . A well-designed lean pipe workstation doesn't just hold things—it guides the flow of work. Parts arrive exactly where they're needed, tools stay within arm's reach, and operators move in smooth, efficient patterns. And at the center of this intelligence is the five way straight lean pipe joint. Unlike basic two-way or three-way joints, this connector lets you branch pipes in five directions from a single point—think of it as the "hub" of your workstation, linking shelves, tool holders, flow racks, and even mini conveyors into a unified system.
Consider this: A typical 3C assembly task might require incoming parts, a work surface, tool storage, a bin for finished components, and a spot for waste. With a five way joint, you can connect all these elements to a central frame, eliminating gaps in the workflow. No more walking to a separate shelf for screws or reaching across a cluttered bench for a screwdriver. Everything orbits the operator, reducing movement and mental load.
Tip 1: Prioritize Workflow Flow—Start with the Operator's Journey
The first rule of workstation layout is simple: design around how work actually happens , not how you think it should. In 3C assembly, an operator's day is a series of micro-movements: picking a PCB from a tray, placing it on the work surface, grabbing a soldering iron, adding components, testing, and moving the finished unit to the next station. Each of these steps should flow into the next like water—no detours, no bottlenecks.
The five way straight lean pipe joint excels here because it lets you create "zones" around the operator. Let's break down a common 3C scenario: smartphone motherboard assembly. The ideal workflow might look like this:
- Incoming Parts Zone: A flow rack holding trays of PCBs, positioned at waist height so the operator can slide a tray forward without bending.
- Assembly Zone: An esd workstation surface (critical for static-sensitive components) at elbow height, with a non-slip mat.
- Tool Zone: A vertical rack with holders for soldering irons, tweezers, and screwdrivers, positioned within 30cm of the assembly surface.
- Finished Goods Zone: A small conveyor or sloped flow rack that carries completed motherboards to the next station, gravity-fed to save energy.
- Waste Zone: A small bin for excess solder or packaging, mounted under the work surface to keep floor space clear.
Here's where the five way joint shines: it can serve as the "spine" connecting all these zones. Mount the joint to the base of the workstation frame, then run pipes in five directions: one for the flow rack, one for the tool rack, one for the conveyor mount, one for the waste bin hanger, and one for additional storage (like a shelf for instruction manuals). This creates a radial layout where every zone is equidistant from the operator, minimizing reach and reducing fatigue.
Pro tip: Map your operator's movements first. Grab a stopwatch and observe a shift—note where they pause, stretch, or double-back. Those are the pain points the five way joint can solve. For example, if an operator spends 10 minutes a day twisting to grab parts from a side shelf, reposition that shelf using the joint to align it with their dominant hand.

Tip 2: Optimize Ergonomics—Build for People, Not Just Parts
Ergonomics isn't a buzzword in 3C assembly—it's a productivity driver. When operators strain to reach tools or hunch over work surfaces, errors increase, and absenteeism rises. The five way straight lean pipe joint gives you the precision to tailor workstation heights, angles, and distances to fit your team, not the other way around.
Let's start with height. The average 3C assembly operator spends 8+ hours a day at their workstation; even a 5cm difference in surface height can mean the difference between a sore back and a comfortable shift. Use the five way joint to adjust shelves and tool holders in small increments. For example, mount the joint to a vertical pipe, then attach a horizontal pipe at 85cm for the assembly surface (ideal for seated work) and another at 120cm for incoming parts (so the operator can slide trays without bending). Add a third pipe at 70cm for the waste bin—low enough to kick open with a foot, keeping hands free.
Angles matter too. In tasks like inspecting screens for defects, operators often tilt their heads forward, straining their necks. Use the five way joint to mount a small, adjustable platform for the screen, tilting it 15° upward. This keeps the operator's neck neutral and reduces eye strain. The joint's ability to lock pipes at precise angles (most models offer 0°, 45°, and 90° settings) makes this easy to implement.
Don't forget adjustability. 3C teams have operators of all heights—one size won't fit all. Use the five way joint with telescoping lean pipes (pipes that slide into each other) to let operators tweak heights throughout the day. Add a small level to the joint to ensure surfaces stay flat, even after adjustments—nothing throws off precision work like a wobbly table.

Tip 3: Balance Flexibility with Stability—Lock It Down (When Needed)
Lean pipe's flexibility is its superpower, but in high-vibration environments (think: nearby machinery or constant tool use), that flexibility can become a liability. A shelf holding delicate microchips that wobbles with every soldering iron pulse is a recipe for errors. The five way straight lean pipe joint, when used correctly, balances adaptability with rock-solid stability.
Start with the joint itself. Look for models with lockable levers or set screws—these let you tighten connections to prevent slipping. Most five way joints come with plastic or metal grips that bite into the pipe when tightened; don't skimp here. A loose joint can turn a stable workstation into a swaying hazard. For high-stress areas (like a shelf holding 20kg of parts), reinforce the joint with a secondary bracket or an extra pipe for diagonal support—think of it as adding a "truss" to your structure.
Material choice matters too. Aluminum lean pipe is lightweight, but for heavier loads (e.g., a flow rack with 50+ part trays), opt for steel pipes with the joint. The joint's metal-to-metal connection will distribute weight better, reducing flex. And always test load capacity before going live: hang a sandbag equal to your expected part weight from the joint for 24 hours. If it sags, add supports or upgrade to a heavier-duty joint.
Pro tip: Use color-coding to mark "fixed" vs. "flexible" joints. Paint the levers of joints that shouldn't be adjusted (like those holding the main work surface) red, and leave others green. This tells your team which parts of the workstation are safe to reconfigure and which are critical to stability.

Tip 4: Integrate ESD Protection—Guard Against Static Damage
In 3C assembly, static electricity is a silent killer. A single static discharge can fry a $500 microchip, turning a perfectly assembled device into scrap. That's why an esd workstation isn't just a nice feature—it's a necessity. The five way straight lean pipe joint can play a key role here, acting as a grounding hub for your entire setup.
Start with conductive materials. Choose lean pipes with ESD-safe coatings (look for surface resistance between 10⁶–10⁹ ohms) and joints with metal cores that conduct electricity. Run a grounding wire from the five way joint to a dedicated earth ground (not just a wall outlet—those can carry noise). This ensures every pipe, shelf, and tool holder connected to the joint is grounded, creating a "Faraday cage" around sensitive components.
Don't stop at the frame. Use the joint to mount ESD accessories: a grounding wrist strap holder, conductive tool mats, or even an ionizer fan. Position the fan using the joint so it blows across the assembly surface, neutralizing static in the air. And don't forget the floor—pair the workstation with ESD-safe floor mats, and connect them to the joint's grounding wire for full coverage.
Testing is critical. Once your ESD workstation is built, use a static meter to check surface resistance at the joint, pipes, and work surface. Aim for readings between 10⁶–10⁹ ohms—too low, and you risk electric shock; too high, and static won't dissipate. Retest monthly, especially after reconfiguring the joint or pipes—movement can loosen grounding connections.
Case Study: How a 3C Manufacturer Cut Defects by 30% with ESD-Ready Workstations
A mid-sized smartphone manufacturer in Shenzhen was struggling with mysterious defects: 5% of their motherboards failed final testing, with no visible damage. Their team suspected static, but their old workbenches had patchwork ESD protection—some mats were grounded, others weren't. They revamped 10 workstations using lean pipe, five way joints, and ESD-safe components.
The result? Defect rates dropped to 1.5% within a month. By grounding the five way joint and connecting all surfaces to it, they eliminated "hot spots" where static built up. Operators reported fewer zaps when touching tools, and the team saved $20,000 in scrap costs in the first quarter alone.
Tip 5: Plan for Scalability—Build Workstations That Grow with You
3C manufacturing isn't static. One quarter you're assembling 10,000 units; the next, demand spikes to 20,000. Or a new product line requires longer work surfaces or additional tool storage. The five way straight lean pipe joint lets you design for these changes from the start, avoiding costly overhauls later.
Leave "open" connection points. When building your workstation, don't use all five ports on the joint—leave one or two free. These are your "expansion slots." For example, if you initially connect four pipes (work surface, tool rack, flow rack, waste bin), leave the fifth port empty. When you need to add a second flow rack for a new part, simply slide a pipe into that port and tighten the joint. No drilling, no welding—just 10 minutes of work.
Think vertically too. The five way joint can connect to vertical pipes, letting you stack shelves upward as needed. A workstation that starts with one shelf for tools can add a second using the joint's top port, doubling storage without expanding the footprint. This is gold for factories with limited floor space—you grow up, not out.
Standardize on joint types. Mixing brands or sizes of five way joints can make expansion a headache. Stick to a single manufacturer for your joints and pipes, so spare parts are always compatible. This also makes it easier to train your team to reconfigure workstations—they'll learn one system, not five.
Common Mistakes to Avoid
Even with the best tools, layout missteps can derail your workstation's performance. Here are three pitfalls to watch for:
- Overcomplicating the design: It's tempting to use the five way joint to connect every possible accessory, but too many pipes create clutter. Ask: Does this shelf or holder add value, or just visual noise? A clean, minimal design is easier to maintain and less likely to trap dust (a big issue in 3C assembly).
- Ignoring operator feedback: Your team uses the workstation 8 hours a day—they'll notice if a tool holder is 2cm too far or a shelf blocks their light. Involve them in the design process with a quick sketch or prototype. You'll avoid costly reworks and boost morale by showing you value their input.
- Skimping on joint quality: A $5 joint might seem like a bargain, but a failed joint can take down an entire workstation. Invest in joints with metal components (not plastic) and positive-locking mechanisms. The extra $2 per joint will pay off in fewer breakdowns.
Conclusion: The Joint That Drives Lean Success
The five way straight lean pipe joint is more than a connector—it's a catalyst for lean transformation in 3C assembly. By prioritizing workflow, ergonomics, ESD protection, and scalability, you can build workstations that don't just keep up with your production goals, but elevate them. Remember: the best lean systems aren't about eliminating waste—they're about empowering people. A workstation built with care for how operators move, think, and work will always outperform one designed around parts alone.
So grab your tape measure, talk to your team, and start sketching. With the five way joint as your foundation, you're not just building a workstation—you're building a factory that adapts, grows, and thrives in the fast-paced world of 3C manufacturing.