- Company Articles
- Products and Technology
- Installation And Maintenance
- 40 Aluminum Roller Track White: How to Extend Roller Lifespan

40 Aluminum Roller Track White: How to Extend Roller Lifespan
Related Product
40 Aluminum Roller Track White
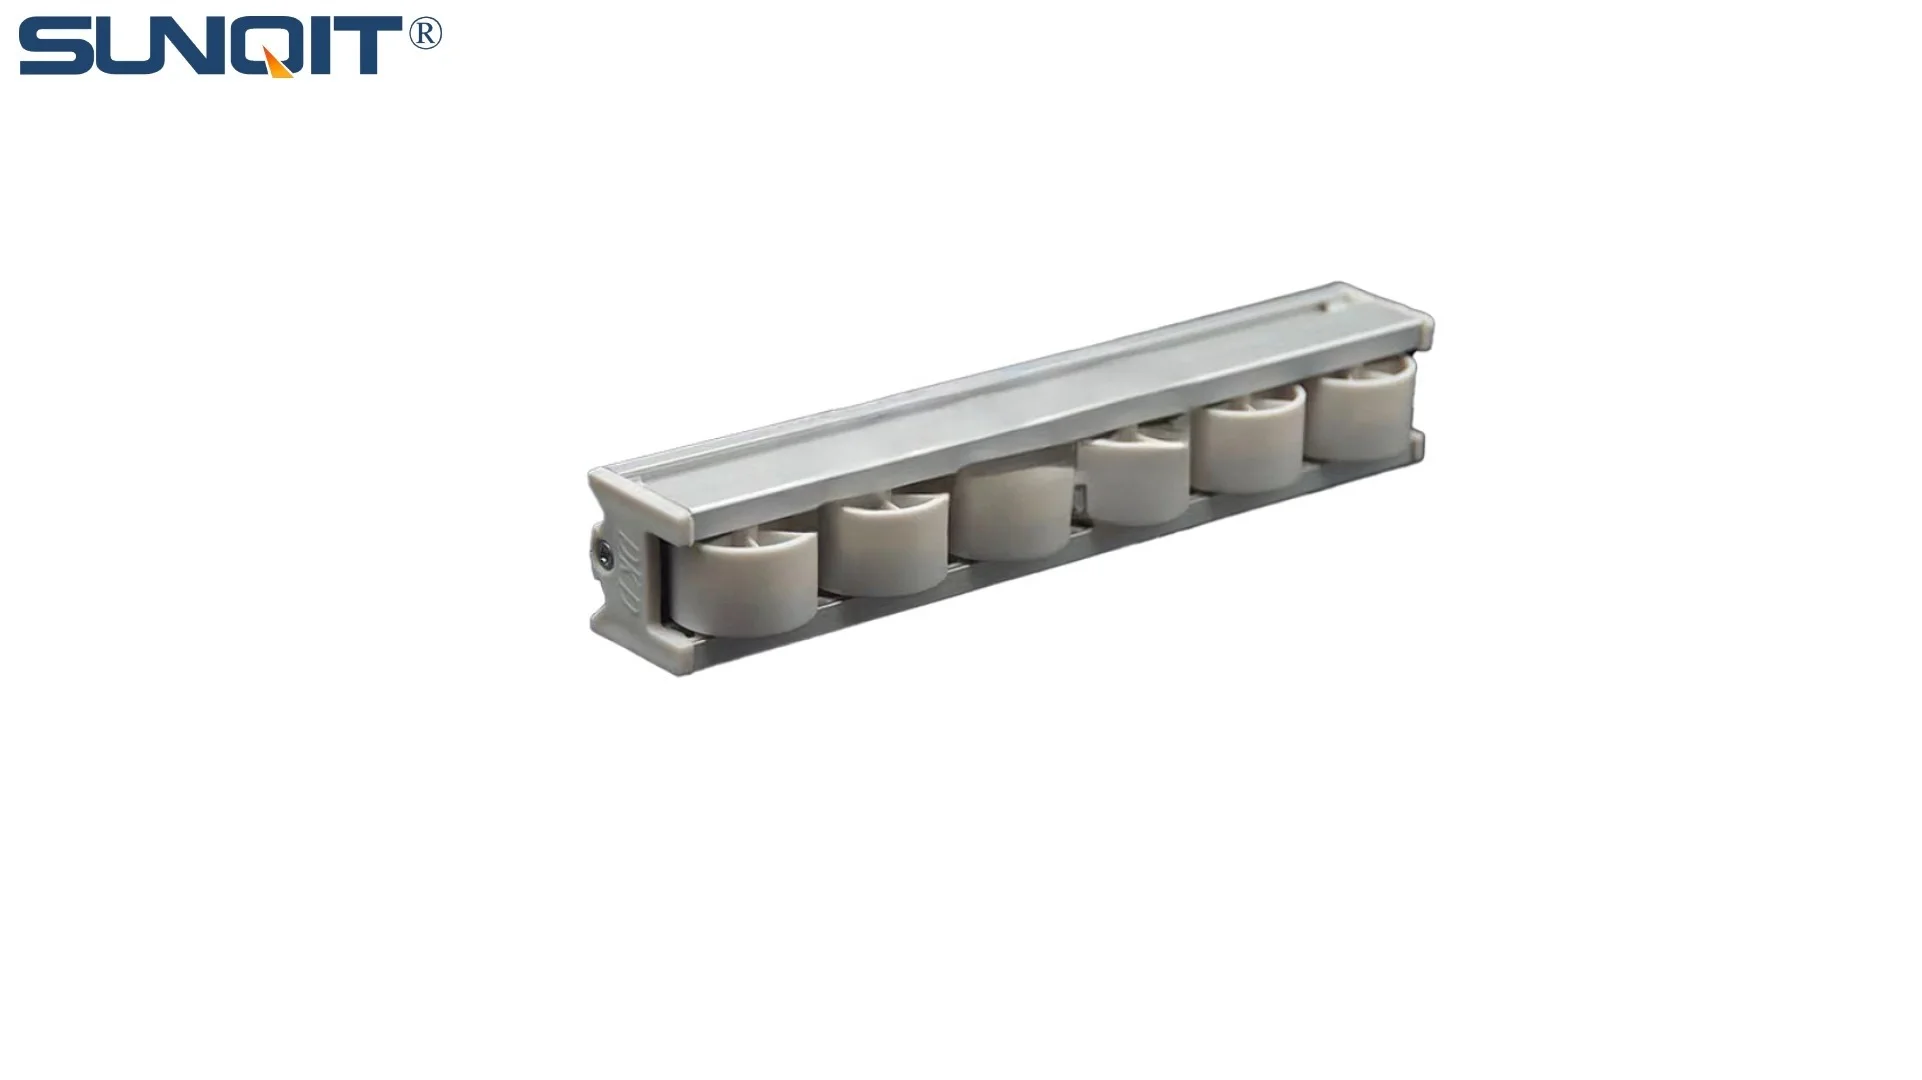
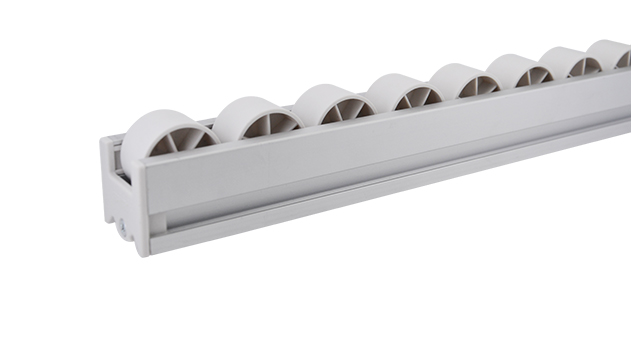
Durable and smooth-running modular roller rails. The system is fully assembled. The roller rail profile contains plastic rollers mounted on steel axles. Aluminum frame with plastic wheel make it anti corrosion,and material convey more smooth.
Introduction: The Backbone of Smooth Operations
In the bustling world of manufacturing and logistics, every component of your workflow matters. From the largest conveyor systems to the smallest caster wheel, each part plays a role in keeping operations running like clockwork. Among these unsung heroes is the 40 Aluminum Roller Track White—a sleek, durable solution designed to move materials efficiently across workbenches, assembly lines, and warehouses. But like any hardworking tool, it needs care to keep performing at its best. If you've ever dealt with a stuck roller, a misaligned track, or premature wear, you know how quickly these issues can slow down production, increase costs, and fray nerves. The good news? Extending the lifespan of your 40 Aluminum Roller Track White isn't about complex engineering—it's about intentional care, smart installation, and using the right aluminum profile accessories to support its performance. In this guide, we'll walk through practical, actionable steps to help your roller track go the distance, ensuring smooth operations for years to come.
Understanding Your 40 Aluminum Roller Track White
Before diving into maintenance, let's take a moment to appreciate what makes the 40 Aluminum Roller Track White unique. Crafted from high-grade aluminum, this track is lightweight yet sturdy, resistant to rust, and designed to handle moderate to heavy loads—think boxes, components, or tools gliding seamlessly from one workstation to the next. Its white finish isn't just for aesthetics; it's often a powder-coated layer that adds an extra barrier against scratches and corrosion. The "40" in its name refers to its width, making it a versatile fit for standard material handling setups. What truly sets it apart, though, is its compatibility with a range of aluminum profile accessories, from guide rails to connectors, which allow you to customize it to your specific needs. But even the most well-designed track can falter without proper setup. That's why the first step to longevity starts with how you install it—and that's where components like the roller track placon mount for aluminum profile flat come into play.
Installation: Getting It Right from the Start
You've heard the saying, "Measure twice, cut once"—well, the same logic applies to installing your 40 Aluminum Roller Track White. A shoddy installation can lead to uneven wear, misaligned rollers, and unnecessary stress on the track itself. Here's how to set it up for success:
1. Prep the Surface: Ensure the mounting surface (whether it's an aluminum profile, workbench, or rack) is clean, flat, and free of debris. Even a small bump or uneven spot can cause the track to sit at an angle, leading rollers to wear unevenly over time. Use a level to check for flatness—this step takes 5 minutes but saves hours of frustration later.
2. Choose the Right Mounting Hardware: This is where the roller track placon mount for aluminum profile flat becomes critical. These specialized mounts are designed to secure the roller track firmly to flat aluminum profiles, ensuring a tight, wobble-free fit. Avoid generic brackets or improvised fasteners—they may not distribute weight evenly, leading to cracks or loosening over time. When installing, hand-tighten the screws first, then use a torque wrench to ensure they're snug but not over-tightened (over-tightening can strip the aluminum threads).
3. Align with Precision: Even a 1-degree misalignment can cause materials to "drift" as they roll, putting extra pressure on the edges of the track and rollers. Use a straightedge or laser level to align the track with adjacent systems (like conveyor belts or workbenches). If your setup includes curves or turns, ensure the transition between straight and curved sections is smooth—abrupt angles are a recipe for roller jams.
4. Test Before Full Deployment: Once installed, do a test run with a few sample loads. Watch how materials glide—they should move freely without sticking or bouncing. If you notice hesitation, double-check the alignment and mounting. A little extra time here prevents big problems later.
1. Prep the Surface: Ensure the mounting surface (whether it's an aluminum profile, workbench, or rack) is clean, flat, and free of debris. Even a small bump or uneven spot can cause the track to sit at an angle, leading rollers to wear unevenly over time. Use a level to check for flatness—this step takes 5 minutes but saves hours of frustration later.
2. Choose the Right Mounting Hardware: This is where the roller track placon mount for aluminum profile flat becomes critical. These specialized mounts are designed to secure the roller track firmly to flat aluminum profiles, ensuring a tight, wobble-free fit. Avoid generic brackets or improvised fasteners—they may not distribute weight evenly, leading to cracks or loosening over time. When installing, hand-tighten the screws first, then use a torque wrench to ensure they're snug but not over-tightened (over-tightening can strip the aluminum threads).
3. Align with Precision: Even a 1-degree misalignment can cause materials to "drift" as they roll, putting extra pressure on the edges of the track and rollers. Use a straightedge or laser level to align the track with adjacent systems (like conveyor belts or workbenches). If your setup includes curves or turns, ensure the transition between straight and curved sections is smooth—abrupt angles are a recipe for roller jams.
4. Test Before Full Deployment: Once installed, do a test run with a few sample loads. Watch how materials glide—they should move freely without sticking or bouncing. If you notice hesitation, double-check the alignment and mounting. A little extra time here prevents big problems later.

Regular Maintenance: The Key to Longevity
Think of your 40 Aluminum Roller Track White like a car—regular tune-ups keep it running smoothly. Maintenance doesn't have to be complicated, but it does need to be consistent. Below is a breakdown of essential tasks, how often to perform them, and why they matter:
| Maintenance Task | Frequency | Why It Matters |
|---|---|---|
| Clean rollers and track | Weekly (or daily in dusty environments) | Dust, dirt, and debris can build up in roller bearings, causing friction and slow movement. |
| Lubricate roller bearings | Monthly (or biweekly for high-use tracks) | Prevents metal-on-metal contact, reducing wear and ensuring smooth rotation. |
| Check for loose fasteners | Biweekly | Vibration from daily use can loosen screws and mounts, leading to misalignment. |
| Inspect for bent rollers or track | Monthly | Bent components cause uneven loading and can damage other parts of the system. |
| Test load capacity | Quarterly | Overloading the track weakens aluminum components and accelerates wear. |
Let's dive deeper into a few of these tasks. When cleaning, use a soft-bristle brush or compressed air to remove debris from roller crevices—avoid harsh chemicals that can strip the white powder coating. For lubrication, opt for a lightweight, non-detergent oil or silicone spray (avoid WD-40, which can attract dust). Apply a small drop to each roller bearing, then spin the roller by hand to distribute the lubricant evenly. And don't forget to check the roller track placon mount for aluminum profile flat during your fastener inspection—these mounts take a lot of stress, so ensuring they're tight is non-negotiable.

Protecting Against Wear and Tear
Even with regular maintenance, your roller track will face daily wear. The goal is to minimize this wear by addressing common culprits head-on:
1. Load Management: Every roller track has a maximum load capacity—exceeding it is the fastest way to shorten its lifespan. The 40 Aluminum Roller Track White is robust, but constant overloading bends rollers, warps the track, and strains mounts. Train your team to check load limits (usually listed in the product manual) and avoid stacking items higher than recommended. If you need to move heavier loads, consider reinforcing the track with additional aluminum profile accessories like support brackets.
2. Edge Protection: Materials with sharp edges (like metal components or unboxed tools) can scratch or dent the track's surface, especially during loading/unloading. Use corner guards or soft-sided bins to protect both the track and the materials. Alternatively, install aluminum guide rail a along the edges of the track—these guide rails act as a buffer, directing materials toward the center and preventing them from scraping the track's sides.
3. Environmental Factors: Humidity, temperature extremes, and exposure to chemicals can take a toll on aluminum. If your track is in a damp area (like a warehouse near a loading dock), wipe it down regularly to prevent moisture buildup. For tracks near cleaning stations or chemical storage, consider a clear protective coating to shield the white finish. And if you're in a particularly dusty environment, invest in a track cover to keep debris at bay when not in use.
1. Load Management: Every roller track has a maximum load capacity—exceeding it is the fastest way to shorten its lifespan. The 40 Aluminum Roller Track White is robust, but constant overloading bends rollers, warps the track, and strains mounts. Train your team to check load limits (usually listed in the product manual) and avoid stacking items higher than recommended. If you need to move heavier loads, consider reinforcing the track with additional aluminum profile accessories like support brackets.
2. Edge Protection: Materials with sharp edges (like metal components or unboxed tools) can scratch or dent the track's surface, especially during loading/unloading. Use corner guards or soft-sided bins to protect both the track and the materials. Alternatively, install aluminum guide rail a along the edges of the track—these guide rails act as a buffer, directing materials toward the center and preventing them from scraping the track's sides.
3. Environmental Factors: Humidity, temperature extremes, and exposure to chemicals can take a toll on aluminum. If your track is in a damp area (like a warehouse near a loading dock), wipe it down regularly to prevent moisture buildup. For tracks near cleaning stations or chemical storage, consider a clear protective coating to shield the white finish. And if you're in a particularly dusty environment, invest in a track cover to keep debris at bay when not in use.
Pro Tip:
Keep a small toolkit dedicated to roller track maintenance. Include a soft brush, lubricant, torque wrench, level, and spare roller track placon mount for aluminum profile flat—this way, you can address issues as soon as they pop up, before they escalate.
Troubleshooting Common Issues
Even with the best care, problems can arise. Here's how to diagnose and fix the most common issues with your 40 Aluminum Roller Track White:
Issue: Rollers are sticking or moving slowly.
Cause: Dirt in bearings, lack of lubrication, or misaligned rollers.
Solution: Clean the rollers with compressed air, apply lubricant, and check alignment with a level. If a roller is bent, replace it immediately—one faulty roller can throw off the entire track.
Issue: Track is wobbling or loose.
Cause: Loose mounting hardware, especially the roller track placon mount for aluminum profile flat.
Solution: Tighten all screws and mounts. If the placon mount is damaged (e.g., stripped threads), replace it with a new one—don't try to "make do" with a worn mount.
Issue: White finish is chipping or fading.
Cause: Scratches from sharp objects, chemical exposure, or UV damage.
Solution: Touch up small chips with matching white touch-up paint. For larger areas, consider recoating the track or adding a protective film.
Issue: Rollers are sticking or moving slowly.
Cause: Dirt in bearings, lack of lubrication, or misaligned rollers.
Solution: Clean the rollers with compressed air, apply lubricant, and check alignment with a level. If a roller is bent, replace it immediately—one faulty roller can throw off the entire track.
Issue: Track is wobbling or loose.
Cause: Loose mounting hardware, especially the roller track placon mount for aluminum profile flat.
Solution: Tighten all screws and mounts. If the placon mount is damaged (e.g., stripped threads), replace it with a new one—don't try to "make do" with a worn mount.
Issue: White finish is chipping or fading.
Cause: Scratches from sharp objects, chemical exposure, or UV damage.
Solution: Touch up small chips with matching white touch-up paint. For larger areas, consider recoating the track or adding a protective film.
The Role of Quality Accessories
Your 40 Aluminum Roller Track White is only as strong as the accessories that support it. Investing in high-quality aluminum profile accessories isn't a luxury—it's a longevity strategy. For example:
Aluminum Guide Rail A: As mentioned earlier, these guide rails keep materials centered, reducing edge wear and preventing jams. They're easy to install and can be adjusted to fit different material sizes.
Roller Track Placon Mount for Aluminum Profile Flat: These mounts are the "glue" that holds your track to the aluminum profile. Cheap, generic mounts can bend or crack under stress, leading to misalignment. Opt for OEM or trusted-brand mounts designed specifically for your track model.
Caster Accessories: If your roller track is part of a mobile setup (like a turnover trolley), caster accessories like brake pads or swivel locks can prevent unnecessary movement, reducing stress on the track during transport.
Remember: Accessories should complement, not compromise, your track's performance. Avoid mixing and matching brands unless you're sure they're compatible—ill-fitting parts can cause more harm than good.
Aluminum Guide Rail A: As mentioned earlier, these guide rails keep materials centered, reducing edge wear and preventing jams. They're easy to install and can be adjusted to fit different material sizes.
Roller Track Placon Mount for Aluminum Profile Flat: These mounts are the "glue" that holds your track to the aluminum profile. Cheap, generic mounts can bend or crack under stress, leading to misalignment. Opt for OEM or trusted-brand mounts designed specifically for your track model.
Caster Accessories: If your roller track is part of a mobile setup (like a turnover trolley), caster accessories like brake pads or swivel locks can prevent unnecessary movement, reducing stress on the track during transport.
Remember: Accessories should complement, not compromise, your track's performance. Avoid mixing and matching brands unless you're sure they're compatible—ill-fitting parts can cause more harm than good.
Conclusion: A Little Care Goes a Long Way
The 40 Aluminum Roller Track White is more than just a piece of equipment—it's a workhorse that keeps your operations moving. By taking the time to install it properly with components like the roller track placon mount for aluminum profile flat, maintaining it regularly, managing loads wisely, and using quality aluminum profile accessories, you can extend its lifespan significantly. The result? Fewer breakdowns, lower replacement costs, and a workflow that stays smooth and efficient. So the next time you walk past your roller track, take a moment to give it a quick inspection—your future self (and your production schedule) will thank you. After all, in the world of manufacturing, the longest-lasting systems aren't just built—they're cared for.