- Company Articles
- Products and Technology
- Installation And Maintenance
- 40 Aluminum Roller Track Yellow Installation Guide: Step-by-Step Process

40 Aluminum Roller Track Yellow Installation Guide: Step-by-Step Process
Related Product
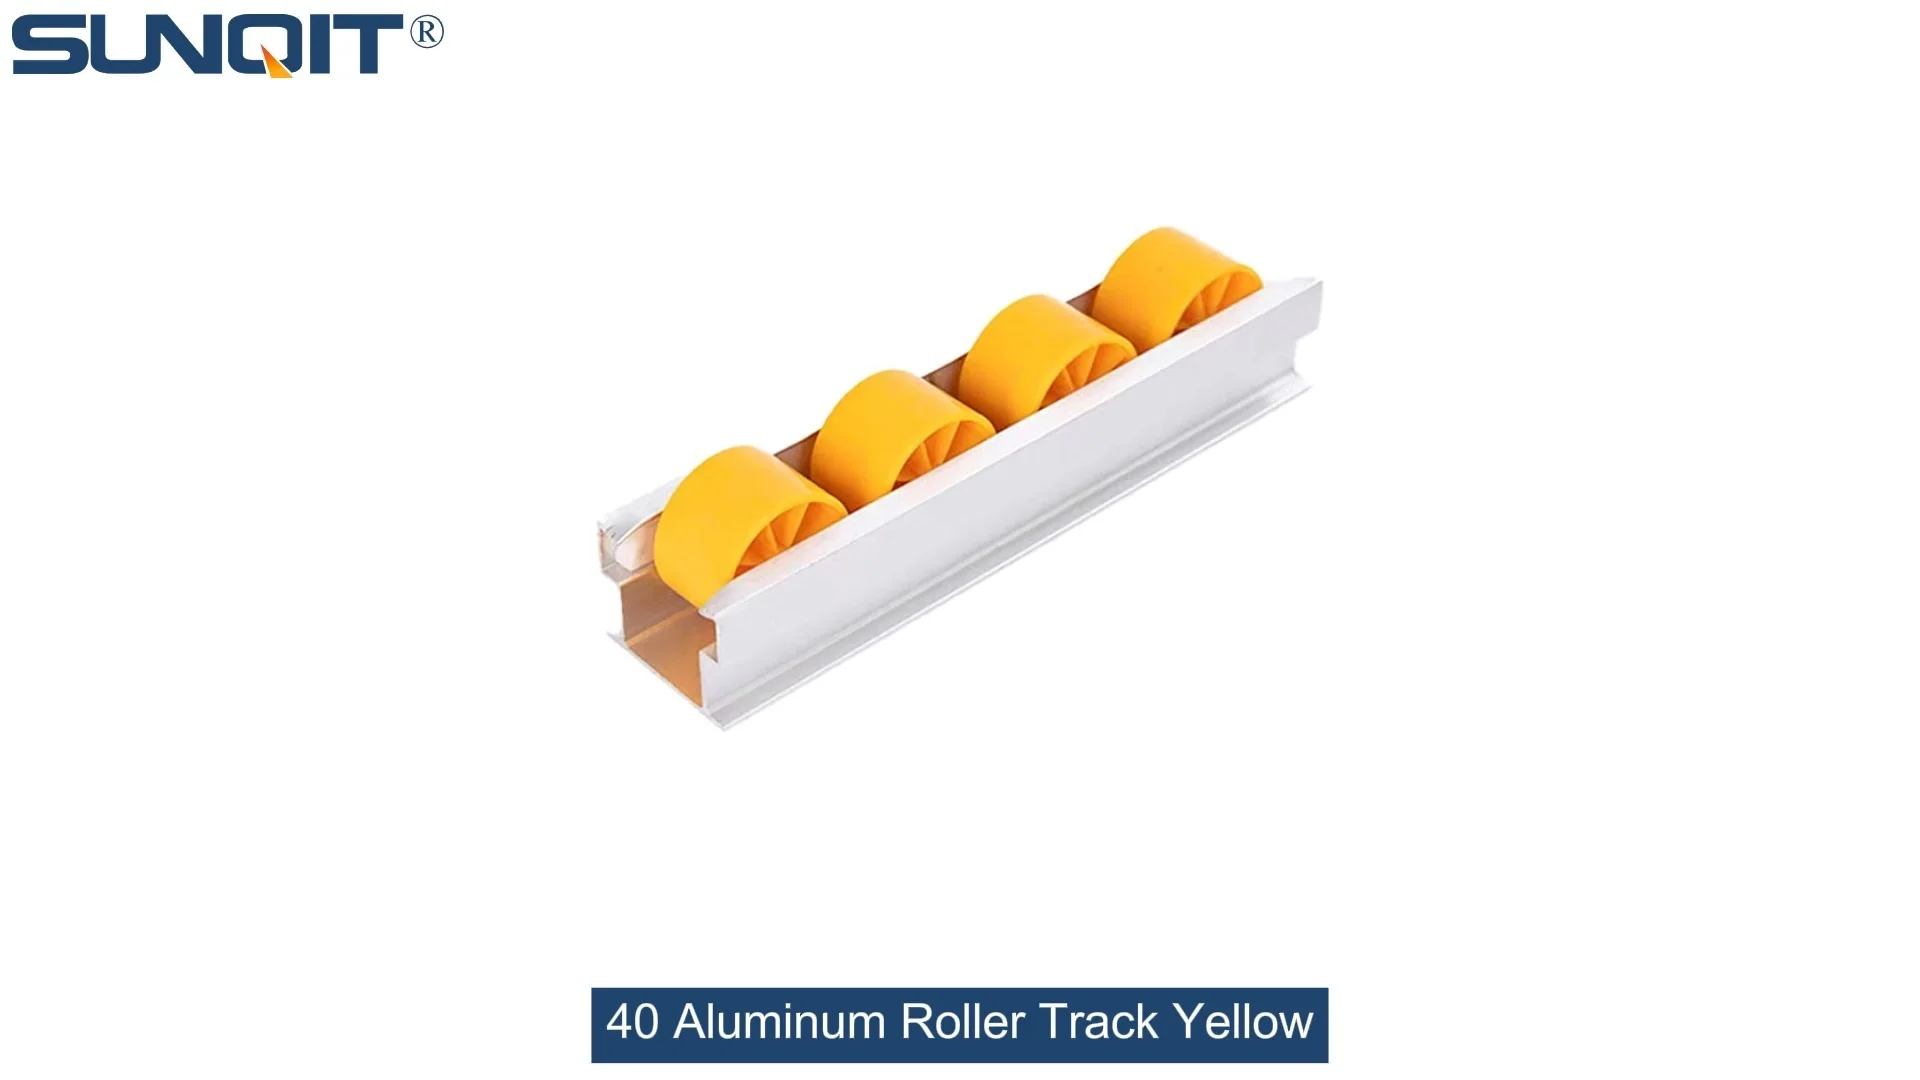
40 Aluminum Roller Track Yellow
Durable and smooth-running modular roller rails. The system is fully assembled. The roller rail profile contains plastic rollers mounted on steel axles. Aluminum frame with plastic wheel make it anti corrosion,and material convey more smooth.
Introduction
When it comes to setting up efficient material handling systems in manufacturing and logistics, the 40 aluminum roller track yellow is a go-to solution for many businesses. This versatile component is a staple in lean systems, helping teams move parts and products smoothly from one point to another without unnecessary manual effort. Whether you're building a flow rack for your warehouse, integrating it into a lean pipe workbench, or creating a flexible production line, understanding how to install this roller track correctly is key to maximizing its benefits.
Aluminum roller tracks are favored for their durability, lightweight design, and resistance to corrosion—making them ideal for use in various industries like 3C assembly, medical device manufacturing, and automotive production. The yellow color isn't just for aesthetics; it enhances visibility, reducing the risk of accidents and making it easier to identify the track in busy work environments. Plus, since it's part of a lean system, it aligns with principles of reducing waste and improving workflow efficiency.
Did you know? The 40 aluminum roller track yellow is compatible with a wide range of aluminum profile accessories, allowing you to customize your setup to fit specific needs. This flexibility is one of the reasons it's a popular choice among lean manufacturing professionals.
Pre-Installation Preparation
Before you start installing your 40 aluminum roller track yellow, taking the time to prepare properly will save you headaches later. Let's go through the tools you'll need, safety precautions to follow, and the parts list to ensure you have everything ready.
Tools Required
- Tape measure (for accurate dimensions)
- Spirit level (to ensure frames are straight and level)
- Phillips-head screwdriver (or electric screwdriver for faster assembly)
- Wrench set (for tightening bolts and nuts)
- Rubber mallet (to tap parts into place without damaging them)
- Cleaning cloth (to wipe down parts before assembly)
Safety Precautions
- Wear safety gloves to protect your hands from sharp edges on aluminum profiles.
- Use eye protection to prevent small particles from getting into your eyes during assembly.
- Ensure the work area is clear of clutter to avoid tripping hazards.
- If working with heavy frames, ask for assistance to avoid straining your back.
Parts List
| Part Name | Quantity (per 1m track) | Notes |
|---|---|---|
| 40 Aluminum Roller Track Yellow | 1 section (1m length) | Choose length based on your needs |
| Roller Track Connector | 2-3 pieces | Depends on track length and frame design |
| 4040 Aluminum Profile | 4 pieces (for frame legs) | Length varies based on desired height |
| 90° Aluminum Profile Connector | 4 pieces | To connect frame legs and top rails |
| Caster Wheel (with brake) | 4 pieces | Optional, for mobile setups |
| Plastic Roller Track Guide Rail Yellow | 2 pieces | To prevent items from falling off |
| Adjustable Leveling Feet | 4 pieces | Optional, for fixed setups to level the frame |
| Screws and Nuts | Assorted | Matching the parts used |

Step-by-Step Installation Process
Step 1: Measure and Mark the Installation Area
First, determine where your roller track system will be placed. Use a tape measure to get the exact length and width of the space. Mark the positions for the frame legs with a pencil or tape. Make sure there's enough clearance around the area for workers to access the track easily—at least 1 meter on all sides is recommended. If you're installing multiple tracks side by side, leave a gap of 15-20 cm between them to avoid interference.
Step 2: Assemble the Support Frame
Start by building the support frame using 4040 aluminum profiles. Cut the profiles to the desired length if needed (most suppliers offer pre-cut lengths, but you can adjust them with a saw if necessary). Connect the profiles using 90° aluminum profile connectors. For a basic flow rack frame, you'll need four vertical legs and two horizontal top rails. Align the connectors with the T-slots on the profiles, insert the screws, and tighten them with a screwdriver. Use a spirit level to check that the frame is straight and level. If it's not, adjust the legs or add shims under the feet until it's balanced.
Pro Tip: If you're using adjustable leveling feet, attach them to the bottom of the frame legs now. This will make it easier to level the frame later, especially if the floor is uneven.
Step 3: Position the Roller Track Connectors
Next, attach the roller track connectors to the top horizontal rails of the frame. The number of connectors you need depends on the length of the track—for a 1m track, 2-3 connectors are usually sufficient. Space them evenly along the rail to ensure proper support. insert the screws through the connectors into the T-slots of the aluminum profile and tighten them securely. Make sure the connectors are aligned straight so that the roller track will sit evenly.
Step 4: Install the 40 Aluminum Roller Track Yellow
Take the first section of the 40 aluminum roller track yellow and place it onto the connectors. Align the holes on the track with the screws on the connectors. Once it's in position, tighten the screws to secure the track to the frame. If you're installing multiple sections of track, connect them end-to-end. Ensure there are no gaps between the sections—this will prevent items from getting stuck as they flow along the track. Use a rubber mallet to tap the sections together gently if needed.
Step 5: Adjust the Track Slope
For gravity flow to work effectively, the roller track needs to be sloped slightly downward. The ideal slope is between 5-10 degrees, depending on the weight of the items you'll be moving. Heavier items require a smaller slope, while lighter items need a steeper slope. To adjust the slope, raise or lower one end of the frame using the adjustable leveling feet or shims. Use a spirit level to measure the angle. Test the flow with a sample item—if it moves too slowly, increase the slope; if it moves too fast, decrease it.
Step 6: Attach Side Guides
To prevent items from falling off the sides of the track, install the plastic roller track guide rails. Align the guides with the edges of the track and attach them using screws or clips. The yellow guides will match the track color, creating a cohesive look. Make sure the guides are tall enough to contain the items you'll be moving—if they're too short, items might still fall off. You can adjust the height by using longer screws or adding spacers.
Step 7: Install Caster Wheels (If Applicable)
If your setup is mobile, attach caster wheels to the bottom of the frame legs. Choose caster wheels with a load capacity that exceeds the expected weight of the items on the track. insert the caster stems into the bottom of the aluminum profiles and tighten them with a wrench. Make sure the wheels are locked in place when not in use to prevent the frame from moving accidentally. Test the mobility by pushing the frame gently—if it's difficult to move, check that the wheels are aligned properly.
Step 8: Add End Stops and Accessories
At the bottom end of the track, install end stops to prevent items from falling off. End stops can be made from plastic or metal and are attached using screws. You can also add other accessories like labels or dividers to organize the items on the track. For example, if you're using the track to move different parts, labels will help workers identify which parts are on each track.
Step 9: Test the Roller Track System
Once everything is installed, it's time to test the system. Place a sample item (like a box or container) at the top of the track and let it flow down. Observe how it moves—does it flow smoothly? Is it moving at the right speed? If there are any issues, like the item getting stuck or moving too fast, adjust the slope or check for loose connections. Repeat the test with different items to ensure the system works for all the products you'll be using.
Step 10: Final Inspection
Walk around the installation and check all the connections. Make sure all screws are tight, the frame is level, and the track is aligned properly. Check that the caster wheels (if used) are functioning correctly and that the brakes work. Remove any debris or tools from the area. Your 40 aluminum roller track yellow installation is now complete!

Troubleshooting Common Issues
Even with careful installation, you might encounter some issues with your roller track system. Here are some common problems and how to fix them:
Issue 1: Items Get Stuck on the Track
Causes: Debris on the track, bent rollers, uneven track sections, or incorrect slope. Solution: Clean the track with a cloth to remove dust and debris. Check for bent rollers and replace them if necessary. Ensure the track sections are aligned properly with no gaps. Adjust the slope to make it steeper if items are moving too slowly.
Issue 2: Uneven Flow
Causes: Frame is not level, loose connectors, or inconsistent slope. Solution: Use a spirit level to check the frame and adjust the leveling feet. Tighten any loose connectors. Recheck the slope along the entire length of the track and adjust as needed.
Issue 3: Track is Wobbly
Causes: Loose frame connections or unstable feet. Solution: Tighten all screws on the frame. If using caster wheels, ensure they are locked. Add adjustable leveling feet to stabilize the frame if the floor is uneven.
Issue 4: Items Fall Off the Sides
Causes: Side guides are too short or not properly aligned. Solution: replace the side guides with taller ones. Adjust the position of the guides to ensure they are parallel to the track.

Maintenance Tips for Longevity
To keep your 40 aluminum roller track yellow in top condition, regular maintenance is essential. Here are some tips to extend its lifespan:
- Clean Regularly: Wipe down the track with a dry cloth weekly to remove dust and debris. For stubborn dirt, use a mild detergent and water, then dry thoroughly to prevent corrosion.
- Lubricate Rollers: Every 3 months, apply a small amount of light oil to the rollers to keep them moving smoothly. Avoid using heavy oils, as they can attract dust.
- Check Connections: Monthly, inspect all screws and connectors to ensure they are tight. Loose connections can lead to wobbling or misalignment.
- replace Worn Parts: If rollers are bent, cracked, or not rotating properly, replace them immediately. Worn parts can affect the flow of items and cause damage.
- Store Properly: If you need to disassemble the track for storage, clean all parts first and store them in a dry, cool place. Avoid stacking heavy items on top of the track to prevent bending.
Real-World Applications of 40 Aluminum Roller Track Yellow
The 40 aluminum roller track yellow is used in a wide range of industries to improve material handling efficiency. Let's look at some real-world examples:
3C Assembly Line
In a 3C assembly line (like phone or laptop manufacturing), the roller track is used to move components between stations. For example, after the circuit boards are assembled, they are placed on a container that flows along the track to the testing station. This reduces the time workers spend carrying parts, allowing them to focus on more important tasks. The yellow track is easily visible, making it easy to identify the flow of components.
Medical Device Manufacturing
Medical device manufacturers use the roller track to transport sensitive parts like syringes or surgical instruments. The aluminum construction is corrosion-resistant, making it suitable for cleanroom environments. The track is often integrated into lean pipe workbenches, allowing workers to access parts quickly and efficiently. The gravity flow system ensures that parts are moved gently, reducing the risk of damage.
Warehouse Logistics
Warehouses use the roller track in flow racks for picking items. The racks are designed so that items are stored from the back and picked from the front (FIFO principle). This helps reduce waste and ensures that older items are used first. The yellow track makes it easy to see where items are located, speeding up the picking process. Mobile flow racks with caster wheels allow workers to move the racks to different areas of the warehouse as needed.
Automotive Production
In automotive production, the roller track is used to move parts like door panels or engine components along the assembly line. The track is integrated into conveyor systems, allowing parts to be moved between different stages of production. The lightweight aluminum design makes it easy to reconfigure the line as needed, aligning with lean manufacturing principles of flexibility and continuous improvement.
Conclusion
Installing a 40 aluminum roller track yellow is a straightforward process that can significantly improve your material handling efficiency. By following the step-by-step guide, you can ensure that your installation is done correctly and that your system works smoothly for years to come.
Remember, proper maintenance is essential to keep your roller track in top condition. Regular cleaning, lubrication, and inspections will help prevent issues and extend the lifespan of your system. With the right setup, the 40 aluminum roller track yellow can help you reduce waste, improve productivity, and create a more efficient workflow.
So, if you're looking to upgrade your material handling system, consider the 40 aluminum roller track yellow. It's a reliable, flexible, and cost-effective solution that aligns with lean manufacturing principles and helps you achieve your operational goals.