- Company Articles
- Products and Technology
- Installation And Maintenance
- 40 Roller Track Placon Mount drop High Installation Mistakes to Avoid

40 Roller Track Placon Mount drop High Installation Mistakes to Avoid
Related Product
40 Roller Track Placon Mount drop High
Roller track placon mount work as a connector for roller track and pipe or aluminum profile in rack syetem, it is a necessary parts in rack system which widely used in industrial plant and logistic,warehouse storage.
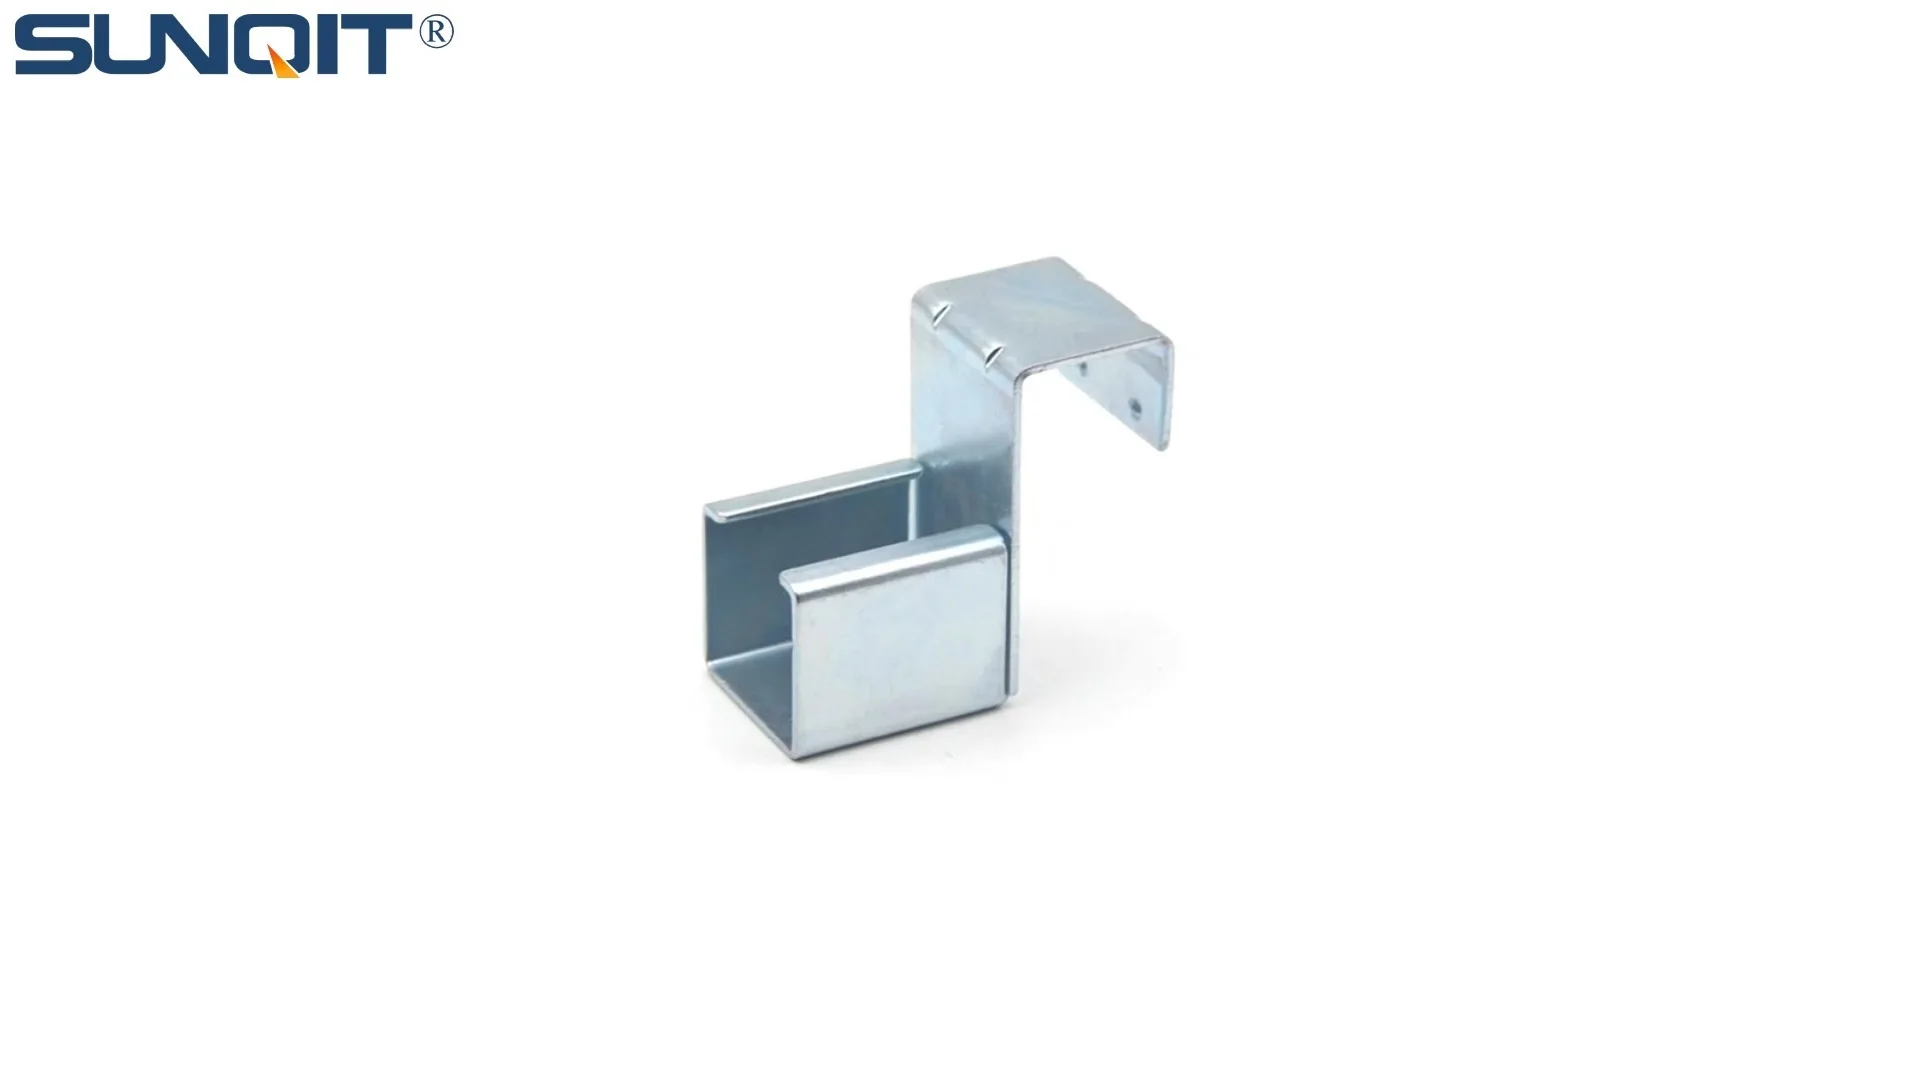
In the fast-paced world of manufacturing, efficiency isn't just a goal—it's the backbone of staying competitive. For teams relying on smooth material flow, the 40 Roller Track Placon Mount drop High stands out as a workhorse, seamlessly connecting flow rack systems, conveyor lines, and lean pipe workbench setups. As a critical component in modern lean solution designs, this roller track ensures materials glide from station to station with minimal friction, cutting down on manual handling and speeding up production cycles. But here's the catch: even the most durable aluminum profile-based track can fail if installation goes wrong.
Too many manufacturers have learned this the hard way. A small misalignment, a mismatched part, or an overlooked measurement can turn a promising efficiency upgrade into a months-long headache—complete with jammed (materials), frustrated operators, and unexpected downtime. In this guide, we'll walk through the most common installation mistakes with 40 Roller Track Placon Mount drop High systems, why they happen, and how to steer clear of them. Whether you're integrating it into a 3C assembly line or a medical device production floor, avoiding these pitfalls will save you time, money, and plenty of stress.
Mistakes in Measurement & Planning: The Foundation of Failure
Before a single bolt is tightened, the success of your roller track installation hinges on careful planning. Rushing this phase is like building a house without a blueprint—eventually, the cracks will show.
Mistake #1: Ignoring Environmental Fit with Surrounding Equipment
One of the most frequent blunders is treating the roller track as an isolated component. Teams measure the track itself but forget to account for its neighbors: the lean pipe workbench to its left, the flow rack to its right, or the conveyor feeding into it. A gap of just 2cm between the track and a workbench can cause boxes to catch, while a track that juts too far into a walkway becomes a tripping hazard.
Real-World Impact: A automotive parts supplier in Guangdong once installed their 40 roller track 5cm too close to an aluminum profile-based assembly station. Within days, operators were stopping production every hour to free jammed plastic bins—costing the facility over 120 production hours in the first month alone.
How to Avoid: Map your entire workflow area first. Use string lines or 3D templates to mark the track's position relative to all adjacent equipment. Measure twice: once for length, and again for clearance (aim for at least 15cm between the track and any fixed structure).
Mistake #2: Underestimating Load & Flow Requirements
Not all roller tracks are created equal, and the 40 Placon Mount drop High is no exception. It's designed to handle specific weight limits and material flow rates—ignore these, and you're setting yourself up for failure. A common error is assuming "bigger is better," installing a heavy-duty track for lightweight components (wasting budget) or, worse, using a standard track for loads it can't support.
Example: A consumer electronics plant once used the 40 roller track to transport metal enclosures weighing 25kg each, far exceeding its 15kg per linear meter rating. Within weeks, rollers began bending, and the track sagged in the middle, causing enclosures to slow to a crawl.
How to Avoid: Calculate your average and peak load weights. Check the manufacturer's specs for roller spacing (typically 8-10cm for small parts, 5-6cm for heavier items) and flow rate (measured in units per minute). If in doubt, consult a lean solution expert to ensure the track matches your workflow needs.
Mistake #3: Forgetting the Floor's Role in Smooth Operation
Concrete floors in factories are rarely perfectly level—and that's a problem for roller tracks. Even a 1-degree slope can cause materials to drift to one side, leading to jams or uneven wear on rollers. Installers often assume "close enough" is good enough, only to discover later that their track acts more like a funnel than a straight path.
Case in Point: A medical device manufacturer in Jiangsu installed their 40 roller track without checking floor levelness. The track sloped 0.5 degrees to the right, so plastic trays loaded with sensitive components kept sliding off the edge. By the time they noticed, several expensive parts were damaged, and rework costs spiked.
How to Avoid: Use a digital level to check floor flatness across the entire track length. For uneven areas, shim the track's support brackets with aluminum profile shims (never wood, which can warp). Aim for a maximum slope of 0.2 degrees—just enough to let gravity assist flow, but not enough to cause drifting.
Mismatched Parts & Poor Preparation: The Hidden Cost of Cutting Corners
Even the best-laid plans fall apart if you skimp on parts. The 40 Roller Track Placon Mount drop High relies on precision-machined components, and mixing mismatched or low-quality parts is a recipe for disaster.
Mistake #4: Using Generic Aluminum Profile Accessories
Aluminum profile systems are popular in manufacturing for their versatility, but "close enough" doesn't cut it with roller track mounts. Many teams try to save money by using off-the-shelf brackets or placon mounts instead of the manufacturer's recommended parts. The result? Loose connections, wobbly tracks, and premature wear.
Why This Happens: Generic mounts often have slightly different hole spacing or thickness, making it impossible to achieve a tight, secure fit. Over time, vibration from moving materials will loosen these connections, causing the track to shift and rollers to misalign.
How to Avoid: Always use the placon mounts and brackets specified for your 40 roller track model. If you're sourcing from a lean pipe supplier , confirm that accessories are designed to work together—mixing brands or models is rarely worth the risk.
Mistake #5: Overlooking ESD Needs in Sensitive Industries
In 3C assembly, medical device production, or electronics manufacturing, static electricity is a silent killer. Installing a standard 40 roller track without ESD-safe components can lead to electrostatic discharge (ESD) damage, ruining sensitive circuit boards or medical sensors.
A Costly Example: A smartphone assembly plant in Shenzhen once installed a non-ESD roller track between their esd workbench stations. Within a week, quality control flagged a spike in defective circuit boards. Testing revealed static buildup on the track was frying microchips as they slid across the rollers—costing the plant over ¥200,000 in scrapped parts.
How to Avoid: For ESD-sensitive environments, opt for roller tracks with conductive aluminum profiles and ESD-safe roller wheels. Ensure all metal components are grounded to the facility's ESD system, and use ESD-certified placon mounts to maintain a continuous ground path.

Installation Execution Errors: When "Good Enough" Isn't
Even with perfect planning and parts, shoddy installation can derail your roller track. These mistakes often stem from rushing or underestimating the precision required to align a system that relies on smooth, consistent motion.
Mistake #6: Uneven Roller Spacing
Rollers are the heart of your track, and their spacing directly impacts how materials move. Too far apart, and lightweight items will sag or get stuck; too close, and friction increases, slowing down flow. Yet many installers eyeball spacing instead of using precise measurements.
The Fix: Use a spacing template (or create one from cardboard) marked with the recommended roller distance (usually 8-10cm for standard loads). Secure each roller with equal torque (use a torque wrench for consistency) to prevent uneven pressure on the axle.
Mistake #7: Ignoring Track-to-Track Alignment
When installing multiple sections of 40 roller track, even a tiny height difference between sections can cause materials to jam. Operators often focus on aligning the ends but forget to check for (height differences) in the middle of the run.
Pro Tip: Use a straightedge spanning two track sections to check for gaps. If you can slide a sheet of paper under the straightedge, there's a height mismatch. Shim the lower section with aluminum profile spacers until the surface is perfectly flush.

Safety & Maintenance: Protecting Your Team & Investment
A roller track that works today but fails tomorrow isn't a solution—it's a liability. Overlooking safety and maintenance during installation sets the stage for accidents and costly repairs down the line.
Mistake #8: Skipping End Stops & Edge Guards
It's easy to focus on getting the track level and aligned and forget about what happens when materials reach the end. Without proper end stops or edge guards, items can slide off the track, damaging products or injuring operators.
Best Practice: Install adjustable end stops at the discharge end of the track, positioned to gently halt materials without causing a jolt. For long tracks, add edge guards along the sides—especially in areas where operators walk nearby.
Mistake #9: No Access for Maintenance
Rollers need cleaning, lubrication, and occasional replacement—but if you install the track too close to walls or other equipment, maintenance becomes a nightmare. Teams often cram the track into tight spaces to save floor area, only to regret it when a roller jams and can't be reached.
How to Plan: Leave at least 60cm of clearance on both sides of the track for maintenance access. If floor space is tight, consider installing the track on a raised aluminum profile frame, allowing operators to reach underneath for repairs.

Quick Reference: Key Mistakes & Solutions
| Mistake Category | Common Errors | Impact | Prevention Tip |
|---|---|---|---|
| Measurement & Planning | Ignoring surrounding equipment spacing | Material jams, tripping hazards | Map workflow area; measure clearance to adjacent tools |
| Accessories | Using generic aluminum profile parts | Loose connections, track shifting | Use manufacturer-recommended brackets/mounts |
| Installation | Uneven roller spacing | Slow material flow, jams | Use a spacing template; torque rollers evenly |
| Safety | Missing end stops | Product damage, operator injury | Install adjustable stops at discharge end |
Final Thoughts: Installation as Part of Your Lean Journey
Installing a 40 Roller Track Placon Mount drop High isn't just a one-time task—it's a critical step in building a truly lean solution for your facility. Every mistake avoided during installation is an investment in smoother workflows, happier operators, and better bottom-line results. By taking the time to measure carefully, use the right parts, and prioritize safety, you'll transform this simple piece of equipment into a cornerstone of your production line.
Remember: the goal of lean manufacturing is continuous improvement, but that starts with getting the basics right. A well-installed roller track doesn't just move materials—it moves your entire operation closer to efficiency excellence.