- Company Articles
- Products and Technology
- Installation And Maintenance
- 40 Steel Roller Track Grey Installation Guide: Step-by-Step Setup for Material Racks

40 Steel Roller Track Grey Installation Guide: Step-by-Step Setup for Material Racks
Related Product
40 Steel Roller Track Grey
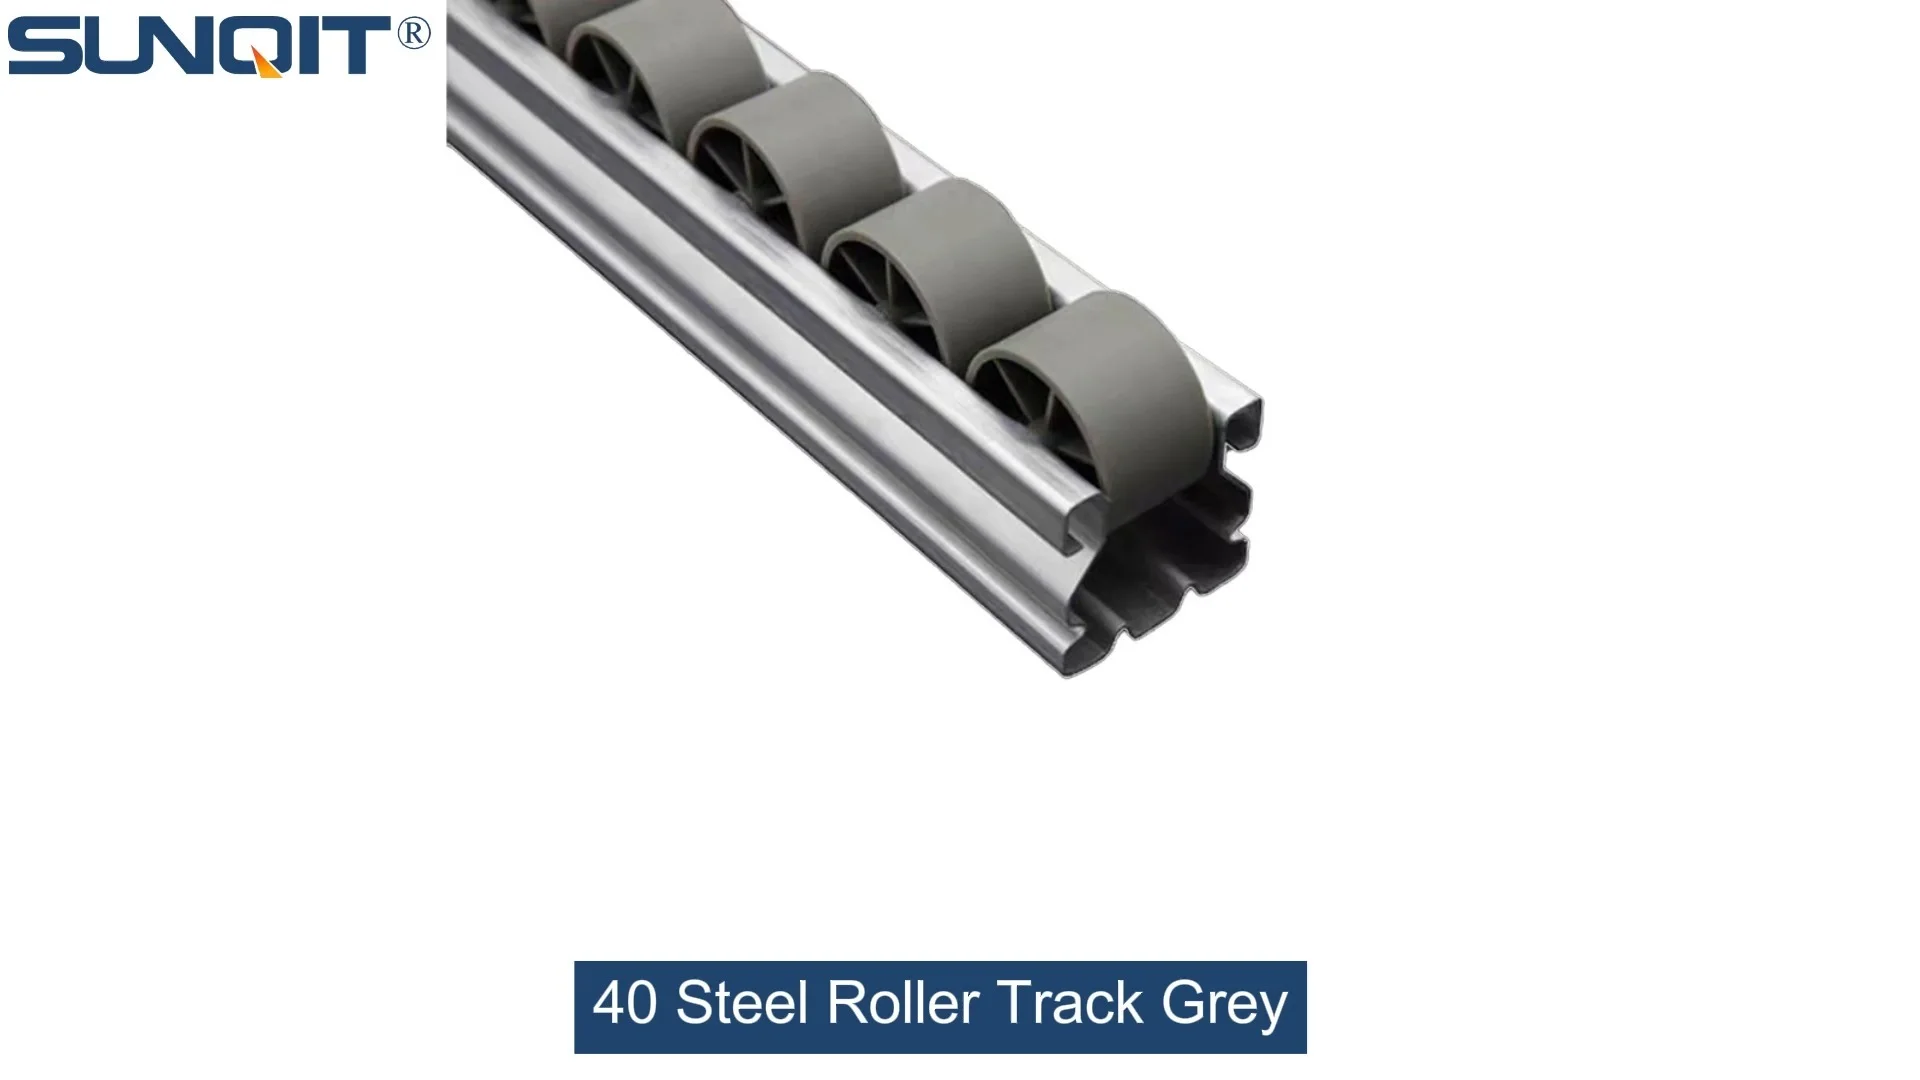
The roller track can be installed with multiple accessories to create different slopes and configurations of flow racks.All steel conveyor 40 roller track accessories are engineered to perfectly fit the sliding rail.It is enable the movement of SLC boxes.
40 Steel Roller Track Grey Installation Guide: Step-by-Step Setup for Material Racks
If you've ever spent hours rearranging clunky shelves or chasing down stuck parts on a production line, you know how much a smooth material flow can transform your workday. The 40 Steel Roller Track Grey is a workhorse in lean manufacturing—tough, reliable, and designed to keep your parts moving without hitches. Whether you're building a new flow rack from scratch or upgrading an old one, this guide will walk you through every step of installing this track, so you can get back to what matters most: keeping your operations running like clockwork.
Let's start with why this track is a go-to choice. Its grey steel finish isn't just for looks—it's scratch-resistant and hides minor wear, so your rack stays professional for longer. The 40mm width fits most standard boxes and components, and the rollers are spaced perfectly to distribute weight evenly. Plus, it plays nice with most aluminum profile frames and roller track connectors, making it easy to slot into your existing lean system.
Pre-Installation Prep: Get Ready to Build Right
Good prep work avoids mistakes later. Let's cover what you need to have on hand and how to stay safe.
Tools You'll Need
Adjustable wrench (10mm or 12mm—match to your hardware size)
Phillips-head screwdriver (size #2 works for most)
Flat-head screwdriver (for prying tight parts)
Spirit level (2-foot length for accurate frame checks)
Tape measure (to ensure precise spacing)
Rubber mallet (gentle taps without damaging steel or aluminum)
Work gloves (protect hands from sharp edges)
Safety goggles (shield eyes from flying debris)
Safety First
Always wear gloves and goggles—sharp edges on steel or aluminum can cause cuts, and loose screws can fly into eyes.
Keep your workspace clear of clutter to avoid tripping over tools or parts.
Don't over-tighten screws—this strips threads or bends metal. Tighten until snug, then stop.
If building a mobile rack, lock casters before starting to prevent rolling.
Parts Checklist
Lay out all parts and confirm you have everything (adjust quantities for your rack size):
| Part Name | Quantity (per 1m Rack Section) | Notes |
|---|---|---|
| 40 Steel Roller Track Grey | 1-2 pieces | Choose length based on rack width |
| Roller Track Connector | 4-6 pieces | Match to your aluminum profile type |
| Aluminum Profile (3030 National Standard Profile A) | 4 pieces | 3030 is ideal for medium-duty loads (up to 100kg/shelf) |
| Aluminum Corner Code (3030 Aluminum Angle Yards) | 4 pieces | Connect profile corners securely |
| Caster Wheel (Optional) | 4 pieces | Heavy-duty for mobile racks |
| Castor Installation Base | 4 pieces | Required if using casters—secures wheels to frame |
| M5/M6 Screws & Nuts | 16-20 pieces | Check profile/connector specs for correct size |
| Washers | 16-20 pieces | Prevent screws from digging into profiles |
Pro Tip: If any parts are missing or damaged, contact your supplier before proceeding. Using broken parts leads to unsafe racks and poor performance.
Step 1: Build the Frame Base
The frame is your rack's backbone—sturdy and level is non-negotiable. Let's build it:
Lay two base profile pieces (1.2m long, for example) parallel on a flat surface. The distance between them should match your track length (e.g., 1m).
Place two side profile pieces (60cm tall) perpendicular to the base at each end—forming a rectangle.
insert a 3030 aluminum corner code into each corner where base and side profiles meet. Align it flush with the edges.
Use an M6 screw + washer through the corner code. Tighten the nut with your wrench until snug—don't over-tighten.
Grab your spirit level. Place it on the base profiles—if the bubble is off-center, adjust until it's level. This step is critical: a tilted base will make parts slide sideways or get stuck.
For taller racks with multiple shelves: Repeat this frame build for each shelf. Use a tape measure to ensure consistent spacing between shelves—this keeps your rack balanced.
Step 2: Attach Roller Track Connectors
Connectors link the track to the frame. They need precise placement to keep the track straight and supported.
Measure your frame's side profile (where the track will attach). For a 1m frame, mark spots every 25cm—this gives enough support.
Align a roller track connector with one mark. Ensure its slot (for the track) faces up and straight.
Attach with an M5 screw + washer. Tighten with a Phillips screwdriver. Repeat for all marks—make sure left/right connectors are aligned (use a tape measure to check).
Common Mistake: Skipping alignment checks. Crooked connectors mean a crooked track—parts get stuck. Double-check alignment—it's worth the extra minute.
Step3: Install the 40 Steel Roller Track Grey
Now for the main event—putting the track in place.
Hold a track piece above the connectors. Align its ends with the connector slots.
Gently lower the track into the slots. If tight, tap the ends with your rubber mallet (not the rollers!). Ensure it's fully seated—no overhangs.
For longer racks: Connect multiple track pieces with a roller track joint. Slide one track into the joint, then the next. Tighten the joint screws to eliminate gaps.
Run your hand along the track—feel for bumps or uneven spots. Adjust connectors if needed.
Step4: Add Casters (Optional)
Want a mobile rack? Here's how to attach casters:
Align a castor installation base with a frame corner. Match its holes to the profile's T-slot.
Secure with an M6 screw + washer. Repeat for all four corners.
Attach a caster wheel to each base using the provided screws. Tighten until secure.
Lock all casters. Push the rack gently—check for smooth movement and no wobble. Adjust if needed.
Step5: Test & Adjust
Final checks to ensure everything works:
Grab your heaviest part/box. Slide it down the track—does it move smoothly? If too slow: check frame level. If too fast: add a brake pad (available as an accessory).
Test multiple items—ensure the track handles different weights/sizes.
Tighten all loose screws/nuts—vibration loosens them over time.
Maintenance Tips
Keep your track running smoothly with these simple steps:
Clean monthly: Wipe dust/debris with a dry cloth. For sticky residue, use mild detergent + soft brush (avoid harsh chemicals).
Lubricate every 3 months: Use silicone oil on rollers—dry rollers won't spin.
Inspect monthly: Check for bent tracks or loose rollers. replace damaged parts immediately.
Tighten quarterly: Go around the rack and tighten all connections.
Troubleshooting Common Issues
Problem: Parts get stuck on the track
Check for gaps between track pieces—use a joint to fix.
Clean debris from rollers/track.
Adjust frame level.
Problem: Rollers won't spin
Lubricate with silicone oil.
replace bent/damaged rollers.
Check track alignment—crooked tracks pressure rollers.
Problem: Rack wobbles
Tighten all screws/nuts.
Lock casters (if mobile).
Adjust leveling feet (if present).
Where Can You Use This Setup?
This track is versatile—here are some common uses:
Warehouse Logistics: Build flow racks for picking/packing—keep fast-moving items at the front.
3C Assembly Lines: Move phone/laptop parts between stations—smooth flow prevents damage.
Medical Device Manufacturing: Organize sterile supplies—easy cleaning meets hygiene standards.
Automotive Parts: Handle heavy components like engine parts—steel track withstands weight.
Since it's part of a lean system, you can modify the rack as your needs change. Add shelves, adjust height, or swap parts—this flexibility is what makes lean manufacturing so powerful.
Final Thoughts
Installing the 40 Steel Roller Track Grey isn't rocket science—just attention to detail. With this guide, you can build a rack that keeps your operations efficient for years. Remember to take your time, double-check alignment, and test everything before use. If you ever hit a snag, refer back to this guide—you've got this.
A well-built flow rack is an investment in your team's productivity. It cuts down on wasted time, reduces part damage, and keeps your workspace organized. So grab your tools and start building—your team (and your bottom line) will thank you.