- Company Articles
- Products and Technology
- Installation And Maintenance
- 40 Steel Roller Track White Installation Tools: What You'll Need

40 Steel Roller Track White Installation Tools: What You'll Need
Related Product
40 Steel Roller Track White
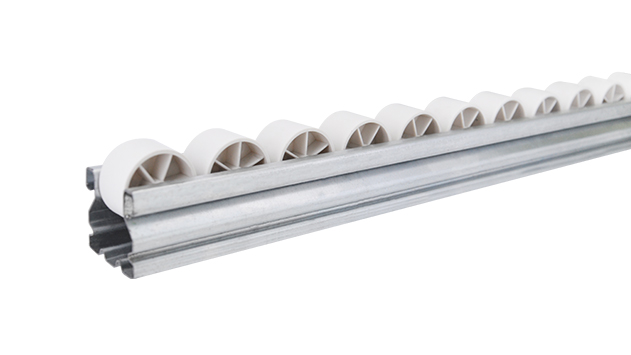
The roller track can be installed with multiple accessories to create different slopes and configurations of flow racks.All steel conveyor 40 roller track accessories are engineered to perfectly fit the sliding rail.It is enable the movement of SLC boxes.
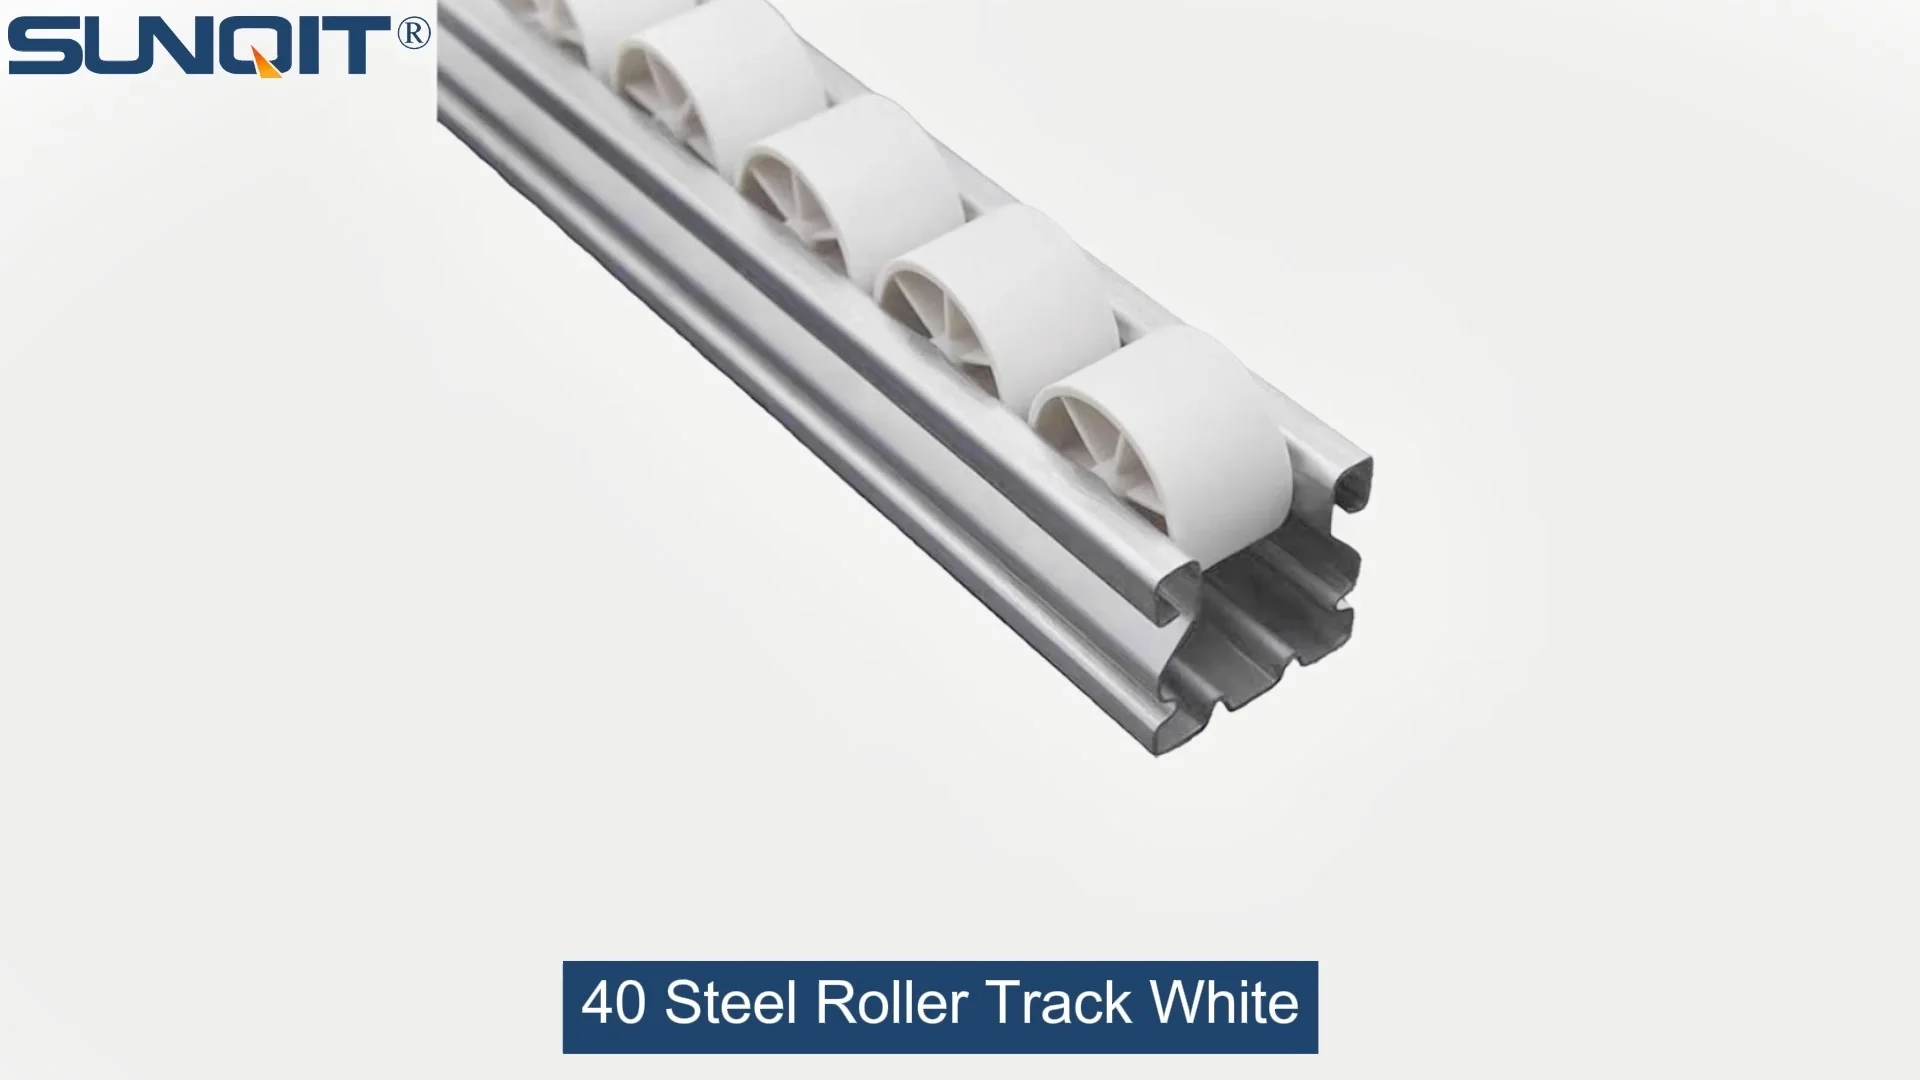
Installing a 40 Steel Roller Track White might seem straightforward, but having the right tools on hand can make all the difference between a wobbly, inefficient setup and a smooth, durable one that boosts your production line's performance. Whether you're setting up a flow rack for your warehouse or integrating roller tracks into a conveyor system, every tool plays a key role in ensuring precision and stability. Let's dive into the essential tools you'll need, how to use them, and some pro tips to get the job done right.
Essential Installation Tools: A Quick Reference
| Tool Name | Purpose | Key Notes |
|---|---|---|
| Hex Key Set (Allen Wrenches) | Tightening bolts and screws on roller track connectors and aluminum profiles | Choose a set with various sizes to fit different fasteners |
| Tape Measure | Accurate measurement of track lengths and spacing | Opt for a sturdy, easy-to-read tape with metric markings |
| Level | Ensuring the roller track is perfectly horizontal | A bubble level or digital level works; longer levels are better for straight tracks |
| Rubber Mallet | Gently fitting roller track sections together without damaging the surface | Avoid metal hammers to prevent scratches on the steel track |
| Screwdriver Set (Phillips and Flathead) | Securing end supports and other accessories | Magnetic tips help hold screws in place during installation |
| Drill (with appropriate bits) | Creating pilot holes for mounting the track to aluminum profiles or workbenches | Use a drill bit slightly smaller than the screw diameter to prevent splitting |
Why Each Tool Matters
Let's break down each tool's importance to understand how they contribute to a successful installation.
Hex Key Set
Most roller track connectors and aluminum profile fixings use hex bolts, so a reliable hex key set is non-negotiable. For example, when attaching the roller track to an aluminum profile, you'll need the right size hex key to tighten the bolts securely. A loose connection can lead to the track shifting over time, which disrupts the flow of materials on your conveyor or flow rack. This is especially critical in lean production environments where efficiency is paramount—every second lost to a jammed track adds up to reduced productivity.
Tape Measure and Level
Precision is everything. A tape measure ensures that your roller track sections are cut to the exact length needed, and the level guarantees that the track is horizontal—this is crucial for items to glide smoothly without getting stuck. A slanted track can cause products to move too fast, risking damage, or too slow, creating bottlenecks. Taking the time to measure and level properly saves you from costly adjustments later, whether you're setting up a small workbench or a full-length conveyor system.
Rubber Mallet
Steel roller tracks are durable, but their surface can scratch easily. A rubber mallet lets you tap sections together gently, ensuring a tight fit without marring the white finish. This is especially important if you're using the track in a visible area, like a customer-facing workbench or a cleanroom environment where aesthetics and surface integrity matter. Using a metal hammer could leave permanent marks, making the track look unprofessional and potentially reducing its lifespan.
Drill and Screwdriver Set
When mounting the roller track to a workbench or aluminum frame, a drill helps create pilot holes to prevent the material from splitting. The screwdriver set then secures the end supports and other accessories. For instance, if you're installing the track on a lean pipe workbench, you'll need to drill holes in the aluminum profile to attach the track brackets. Magnetic screwdriver tips are a game-changer here—they hold screws in place, making it easier to fasten them in hard-to-reach areas without dropping them.
Step-by-Step Installation Guide
Now that you have your tools ready, let's walk through the installation process to ensure a smooth setup:
- Plan Your Layout: Decide where the roller track will go. Measure the space and mark the positions of the supports. If you're attaching it to an aluminum profile, make sure the profile is sturdy enough to hold the weight of the materials that will slide on the track. Consider the weight capacity of both the track and the supports to avoid overloading.
- Cut Track Sections: Use a saw (if needed) to cut the 40 Steel Roller Track White to the desired length. Remember to measure twice and cut once—wasting material is not only costly but also delays your installation. For longer tracks, it's better to use pre-cut sections from a reliable supplier to ensure consistency.
- Attach Supports: Using your drill and screwdriver, mount the end supports and any intermediate brackets to the aluminum profile or workbench. Ensure they're spaced evenly to support the track properly—too much space between supports can cause the track to sag under weight. Use the level to check that each support is at the same height before proceeding.
- Assemble Track Sections: Fit the track sections together using the rubber mallet if necessary. Check that the joints are tight and aligned. If you're using roller track connectors, make sure they're securely fastened with the hex key set. A loose joint can lead to the track coming apart during use, which is a safety hazard as well as an efficiency issue.
- Secure the Track: Use the hex key set to fasten the track to the supports. Make sure each bolt is tightened firmly but not over-tightened—this can warp the track or strip the threads. For added security, you can use lock washers to prevent bolts from loosening due to vibration from moving materials.
- Level and Adjust: Place the level on the track to ensure it's horizontal. Adjust the supports if needed. A small adjustment now can prevent big issues later—even a 1-degree slope can cause products to move unevenly. Take your time here; it's worth the effort to get it right the first time.
- Test the Track: Slide a few items along the track to see if they move smoothly. If anything gets stuck, check for misalignment or loose connections. Test with different weights to ensure the track can handle the load you'll be putting on it. For example, if you're using the track for heavy boxes, test with boxes of similar weight to confirm stability.

Common Mistakes to Avoid
Even with the right tools, mistakes can happen. Here are some pitfalls to watch out for:
- Using the Wrong Fasteners: Always use the recommended screws and bolts for your roller track. Using too long or too short fasteners can damage the track or make it unstable. For example, using a screw that's too long might poke through the other side of the aluminum profile, while a screw that's too short won't hold the track securely.
- Ignoring Alignment: If the track sections aren't aligned properly, items will jam. Take the time to line up each section carefully before tightening the bolts. A small gap between sections can cause a product to get caught, leading to delays and potential damage. Use a straight edge to check alignment across the entire length of the track.
- Over-Tightening Bolts: This can warp the track or strip the threads. Tighten until the connection is secure, but stop if you feel resistance. Over-tightening is a common mistake that can ruin an otherwise perfect installation, so it's better to err on the side of caution.
- Forgetting to Clean the Track: Dust and debris can accumulate on the roller wheels, slowing down movement. Wipe the track clean before and after installation. For industrial environments, consider using a compressed air can to blow out any dirt from the roller bearings—this will keep the track running smoothly for longer.
- Not Considering Weight Capacity: Every roller track has a maximum weight capacity. Overloading it can cause the track to bend or break, leading to safety issues and costly repairs. Always check the manufacturer's specifications before installing the track, especially if you're using it for heavy materials like metal parts or large boxes.

Pro Tips for a Durable Installation
Want your roller track to last? Follow these tips:
- Use Quality Accessories: Invest in high-quality roller track accessories like end supports and connectors. Cheap accessories can break easily, leading to frequent replacements. Reliable suppliers offer durable accessories that are designed to work seamlessly with their roller tracks, ensuring a long-lasting installation.
- Check Regularly: Every few weeks, inspect the track for loose bolts or misalignment. Tighten any loose connections and adjust the level if needed. This proactive maintenance will prevent small issues from turning into big problems, saving you time and money in the long run.
- Pair with Aluminum Profiles: Aluminum profiles are lightweight yet strong, making them ideal for supporting roller tracks. They also allow for easy adjustments if you need to reconfigure your setup later—this is a key benefit in lean production environments where flexibility is important. Aluminum profiles are also resistant to corrosion, making them suitable for use in damp or humid areas.
- Consider ESD Protection: If you're using the track in an electronics manufacturing environment, look for ESD-compatible accessories to prevent static damage to sensitive components. ESD workbenches and roller tracks are designed to dissipate static electricity, keeping your products safe. This is especially critical for 3C assembly lines where even a small static discharge can ruin a circuit board.
- Label Your Tools: Keep your installation tools organized and labeled. This makes it easier to find what you need quickly, whether you're doing a new installation or making repairs. A well-organized tool kit also reduces the risk of losing small items like hex keys or screws, which can be frustrating and time-consuming to replace.
Final Thoughts
Installing a 40 Steel Roller Track White doesn't have to be complicated—with the right tools and a bit of care, you can create a smooth, efficient system that enhances your production line. Remember to measure carefully, use the proper tools, and take your time during installation. Whether you're a seasoned professional or a first-time installer, following these guidelines will help you achieve a durable, high-performance setup.
For those looking for quality roller track products and accessories, reputable suppliers offer a wide range of options to suit your needs. From basic roller tracks to custom lean solutions, you can find everything you need to optimize your production process. Investing in quality tools and products is an investment in your business's efficiency and success—so don't cut corners when it comes to installation.