- Company Articles
- Products and Technology
- Installation And Maintenance
- 40 Steel Roller Track Yellow Installation Guide: Step-by-Step Process

40 Steel Roller Track Yellow Installation Guide: Step-by-Step Process
Related Product
40 Steel Roller Track Yellow
The roller track can be installed with multiple accessories to create different slopes and configurations of flow racks.All steel conveyor 40 roller track accessories are engineered to perfectly fit the sliding rail.
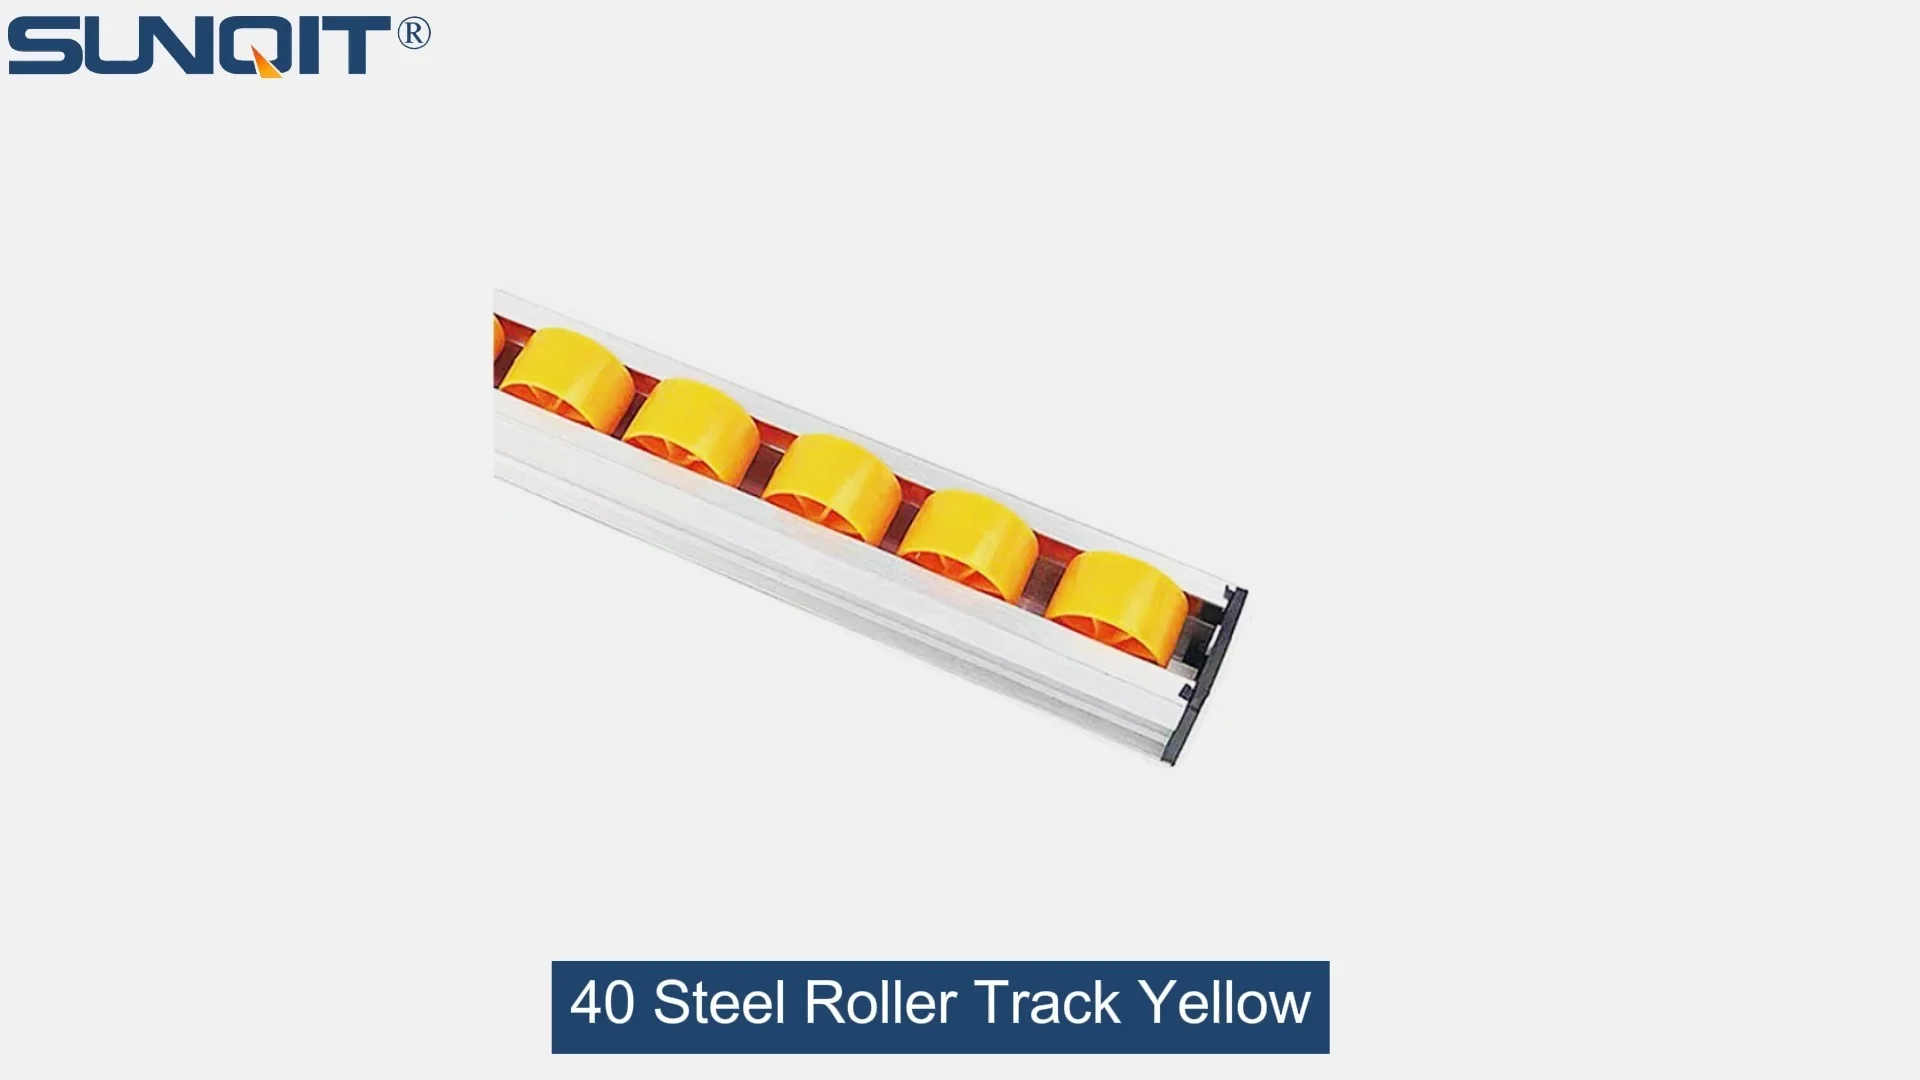
The 40 Steel Roller Track Yellow is a foundational component in modern lean manufacturing environments, designed to streamline material handling and enhance operational efficiency. Whether integrated into a flow rack for gravity-fed storage, a conveyor system for continuous production lines, or a lean pipe workbench for assembly stations, this roller track delivers reliable performance that aligns with the principles of sustainability and repeatability. This comprehensive guide will walk you through every detail of installing the 40 Steel Roller Track Yellow, ensuring a seamless setup that maximizes productivity and minimizes downtime.
Before diving into the installation process, it's important to understand the key benefits of this roller track. Its steel construction ensures durability, while the yellow color enhances visibility in busy workspaces. The rollers are designed to spin smoothly, reducing friction and allowing materials to move effortlessly. When combined with compatible components like roller track connectors and caster accessories, this track becomes a versatile solution for various industrial applications, from 3C assembly lines to warehouse logistics.
Tools and Materials Required
| Essential Tools | Necessary Materials |
|---|---|
| Phillips-head screwdriver (size #2) | 40 Steel Roller Track Yellow sections (cut to required length) |
| Flathead screwdriver (size 6mm) | Roller track connectors (matching the track model) |
| Adjustable wrench (8-12mm) | Mounting brackets (L-shaped or U-shaped, depending on setup) |
| Tape measure (metric) | M4/M5 screws and washers |
| Spirit level (24-inch) | Caster accessories (if integrating with mobile units) |
| Rubber mallet | Flow rack frames (if part of a flow rack system) |
| Safety goggles | Conveyor supports (if connecting to conveyors) |
| Work gloves | Cleaning cloth |
Note: Ensure all materials are compatible with the 40 Steel Roller Track Yellow. Check the manufacturer's specifications for weight limits and connection types to avoid mismatches that could compromise the system's integrity.
Safety Precautions Before Installation
- Always wear safety goggles and work gloves to protect against sharp edges and metal shavings during installation.
- Clear the workspace of debris, tools, and unnecessary items to prevent tripping hazards.
- Use proper lifting techniques for heavy components (like flow rack frames or conveyor supports) to avoid back injuries. Ask for assistance if needed.
- Disconnect any power sources if working near electrical equipment to prevent accidents.
- Inspect all tools before use to ensure they are in good condition and free from damage.
- Avoid over-tightening screws, as this can strip threads or damage the roller track components.
- Keep children and unauthorized personnel away from the installation area.

Step-by-Step Installation Process
Step 1: Prepare the Workspace
Begin by measuring the area where the roller track will be installed using a tape measure. Mark the positions of mounting brackets on the supporting structure (flow rack, conveyor frame, or lean pipe workbench) with a pencil. Ensure the marked positions are aligned correctly to accommodate the length of the roller track sections. Clear any obstacles that might interfere with the installation process.
Step 2: Unpack and Inspect Components
Carefully unpack all roller track sections and accessories. Lay them out on a flat surface and inspect each component for damage (e.g., bent tracks, broken rollers, missing connectors). Check that each roller spins freely without resistance. If any components are damaged or missing, contact the supplier immediately for replacements before proceeding.
Step 3: Install Mounting Brackets
Depending on your setup, attach the mounting brackets to the supporting structure. For a flow rack, align the brackets with the rack's horizontal beams. For a conveyor system, attach brackets to the conveyor's side frames. Use M4 or M5 screws and washers to secure the brackets tightly with a screwdriver or adjustable wrench. Ensure the brackets are spaced evenly (typically every 30-40cm) to provide adequate support for the roller track.
Step 4: Connect Roller Track Sections
Take the first section of 40 Steel Roller Track Yellow and place it onto the mounting brackets. For longer tracks, join multiple sections using roller track connectors. insert the connector into the end of one track section, then slide the next section onto the connector until it clicks into place. Secure the connector with screws to prevent separation during use. Repeat this process until all sections are connected.
Step 5: Align the Track
Place a spirit level along the length of the roller track to check for horizontal alignment. Adjust the mounting brackets if necessary by loosening the screws and repositioning them. A perfectly level track is critical for smooth material flow; even a slight incline can cause items to roll too fast or get stuck. Ensure the track is aligned both horizontally and vertically.
Step 6: Secure the Track to Brackets
Once aligned, fasten the roller track sections to the mounting brackets using the provided screws. Tighten each screw firmly but avoid over-tightening, which could warp the track or damage the brackets. Use a rubber mallet to gently tap the track into place if it doesn't sit flush on the brackets.
Step 7: Test the Rolling Function
Place a test item (e.g., a plastic bin or cardboard box) on the track and push it gently. It should roll smoothly from one end to the other without getting stuck or slowing down. If the item stops or rolls unevenly, check the alignment of the track and the tightness of the connectors. Clean any debris from the rollers if necessary.
Step 8: Integrate with Other Systems
If the roller track is part of a conveyor system, connect it to adjacent conveyor sections using compatible connectors. Ensure the height of the track matches the conveyor to avoid gaps. For a lean pipe workbench, position the track to facilitate easy transfer of parts between workstations. If using caster accessories for mobility, attach them to the base of the structure following the manufacturer's instructions, ensuring they are locked in place when stationary.
Step 9: Final Inspection
Double-check all connections and brackets to ensure they are secure. Verify that the track is level and that all rollers spin freely. Remove any tools, packaging, or debris from the workspace. Test the track again with different types of items to confirm its versatility and reliability.
Step 10: Document the Installation
Record the installation details, including the number of track sections used, the positions of brackets, and any adjustments made. This documentation will be useful for future maintenance or modifications. If the system is part of a larger lean solution, update the system diagrams to reflect the new installation.

Integration with Lean Manufacturing Systems
The 40 Steel Roller Track Yellow is a versatile component that integrates seamlessly with various lean systems, enhancing overall operational efficiency:
Flow Rack Integration
When installed on a flow rack, this roller track creates a gravity-fed storage system. Items placed on the higher end of the track roll down to the picking area, reducing the need for manual lifting and improving order fulfillment speed. This setup is ideal for warehouses and distribution centers, where quick access to parts is essential.
Conveyor System Integration
Connecting the roller track to conveyors forms a continuous material flow line. This is particularly useful in production lines, where parts need to move from one station to another without interruption. The yellow color of the track enhances visibility, making it easier for workers to monitor the flow of materials and identify bottlenecks.
Lean Pipe Workbench Integration
Integrating the roller track into a lean pipe workbench allows for seamless transfer of parts between assembly stations. This reduces the time spent moving materials manually, increasing productivity and reducing fatigue. The track can be positioned to feed parts directly to the worker's station, minimizing unnecessary movements.
Mobile Unit Integration with Caster Accessories
Adding caster accessories to the base of the structure turns the roller track setup into a mobile unit. This is perfect for flexible manufacturing environments where production lines need to be reconfigured quickly. The casters allow the unit to be moved easily, adapting to changing production needs without major disassembly.

Maintenance and Care Tips
Proper maintenance is essential to ensure the longevity and performance of the 40 Steel Roller Track Yellow. Follow these tips to keep your system running smoothly:
- Clean the track regularly: Use a cleaning cloth to remove dust, debris, and oil from the rollers and track surface. For stubborn dirt, use a mild detergent and water, then dry thoroughly to prevent rust.
- Lubricate rollers: Apply a small amount of silicone-based oil to the roller bearings every 3-6 months. Avoid using petroleum-based oils, which can attract dust and cause buildup.
- Check for loose connections: Inspect screws and connectors monthly to ensure they are tight. Loose components can cause the track to shift or malfunction.
- replace worn parts: If rollers become damaged or stop spinning, replace them immediately. Worn connectors or brackets should also be replaced to maintain the system's integrity.
- Avoid overloading: Adhere to the manufacturer's weight limits for the roller track. Overloading can cause the track to bend or break, leading to costly repairs.
- Store spare parts: Keep extra rollers, connectors, and screws on hand to quickly replace damaged components and minimize downtime.
Troubleshooting Common Issues
| Common Issue | Possible Cause | Solution |
|---|---|---|
| Rollers not spinning freely | Debris in roller bearings, lack of lubrication | Clean rollers with compressed air, apply silicone oil |
| Items get stuck on the track | Misaligned track, bent roller section | Adjust brackets to level the track, replace bent section |
| Track sections separate | Loose connectors, insufficient screws | Tighten connectors with screws, add additional connectors if needed |
| Noisy operation | Worn bearings, loose brackets | replace worn rollers, tighten bracket screws |
| Track shifts during use | Inadequate bracket spacing, loose screws | Add more brackets, retighten all screws |
Conclusion
Installing the 40 Steel Roller Track Yellow is a straightforward process that, when done correctly, significantly enhances material handling efficiency in lean manufacturing environments. By following this step-by-step guide, you can ensure a smooth and functional setup that integrates seamlessly with flow racks, conveyors, and lean pipe workbenches. Proper maintenance and regular inspections will keep the system running optimally for years to come, supporting the principles of sustainability and continuous improvement that are central to lean manufacturing.
Whether you're setting up a new production line or upgrading an existing one, the 40 Steel Roller Track Yellow is a reliable and versatile solution that meets the demands of modern manufacturing. Its durability, ease of installation, and compatibility with other lean systems make it an essential component for any business looking to improve operational efficiency and reduce waste.