- Company Articles
- Products and Technology
- Installation And Maintenance
- 40 Steel Roller Track Yellow: Installation Tools & Equipment Requirements

40 Steel Roller Track Yellow: Installation Tools & Equipment Requirements
Related Product
40 Steel Roller Track Yellow
The roller track can be installed with multiple accessories to create different slopes and configurations of flow racks.All steel conveyor 40 roller track accessories are engineered to perfectly fit the sliding rail.
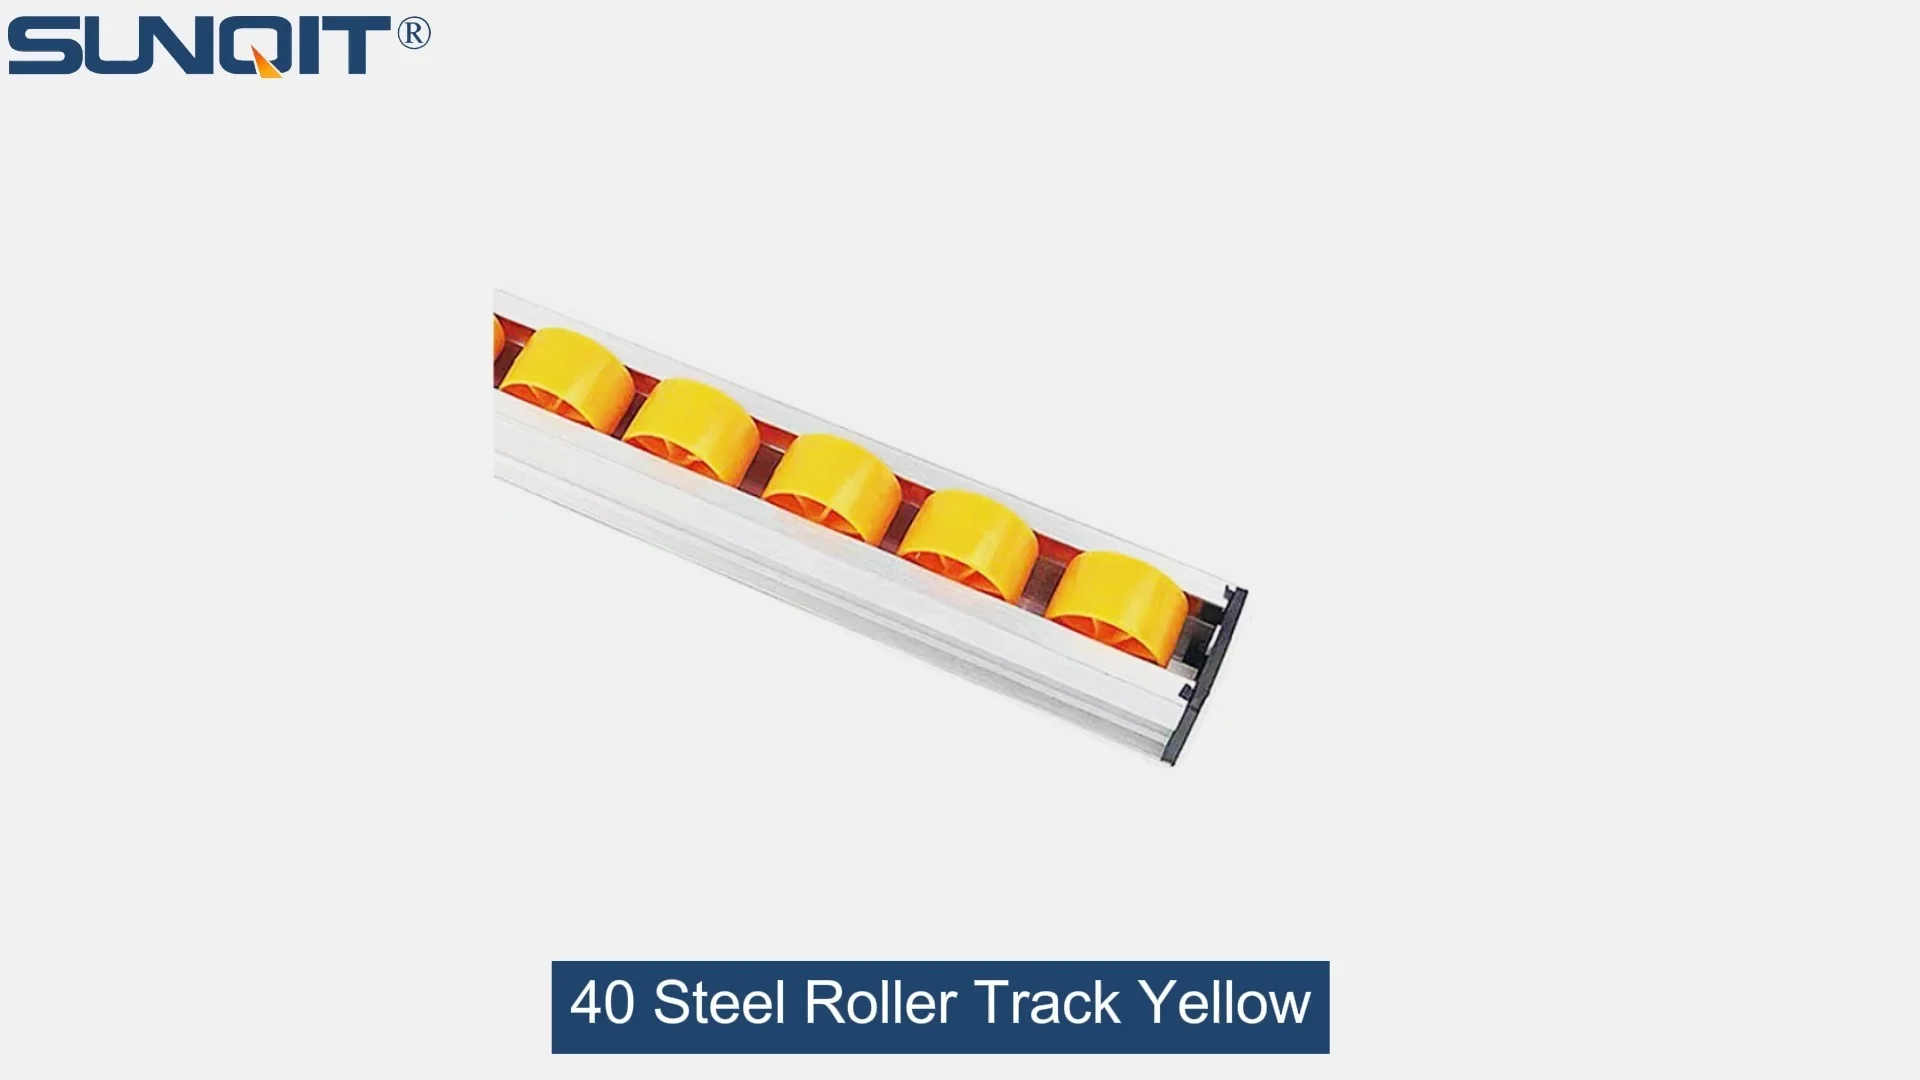
When it comes to optimizing material flow in manufacturing and warehousing, the 40 Steel Roller Track Yellow stands out as a reliable and efficient solution. This type of roller track is widely used in various industries, from automotive assembly lines to e-commerce fulfillment centers, thanks to its durability and smooth operation. Whether you're setting up a new flow rack or upgrading an existing conveyor system, understanding the right tools and equipment needed for installation is crucial to ensure a seamless process and long-lasting performance.
In this article, we'll dive deep into everything you need to know about installing 40 Steel Roller Track Yellow. From the essential tools you should have on hand to the step-by-step installation guide, we'll cover it all. We'll also discuss common challenges you might face during installation and how to overcome them, as well as maintenance tips to keep your roller track running smoothly for years to come.
Essential Installation Tools & Equipment Checklist
Before you start installing your 40 Steel Roller Track Yellow, it's important to gather all the necessary tools and equipment. Having the right tools not only makes the installation process faster but also ensures that the track is installed correctly, minimizing the risk of issues later on. Below is a comprehensive checklist of the tools and equipment you'll need:
| Tool/Equipment Name | Purpose | Notes |
|---|---|---|
| Tape Measure | To accurately measure the length of the track and the space where it will be installed. | Use a steel tape measure for precision; avoid flexible tapes that might stretch. |
| Level | To ensure the track is installed horizontally, which is critical for smooth material flow. | A bubble level or laser level works well; laser levels are more efficient for longer tracks. |
| Drill & Drill Bits | To drill holes for mounting brackets and fasteners. | Use drill bits suitable for metal (if mounting on steel frames) or wood (if mounting on wooden structures). |
| Screwdriver Set | To tighten screws and bolts for mounting brackets and track components. | Include both Phillips and flathead screwdrivers in various sizes. |
| Wrench Set | To tighten nuts and bolts, especially for heavy-duty installations. | Adjustable wrenches are versatile, but having a set of fixed-size wrenches is better for specific fasteners. |
| Rubber Mallet | To gently tap roller track sections into place without damaging the steel surface. | Avoid using a metal hammer as it can dent or scratch the track. |
| Safety Gear | To protect yourself during installation. | Include safety glasses, gloves, and steel-toe boots. |
| Mounting Brackets | To secure the roller track to the supporting structure (e.g., flow rack frame). | Choose brackets that are compatible with the 40 Steel Roller Track Yellow and the frame material. |
| Fasteners (Screws, Bolts, Nuts) | To attach the brackets to the frame and the track to the brackets. | Use corrosion-resistant fasteners if the installation is in a humid or outdoor environment. |
| Cleaning Supplies | To remove dust and debris from the track before installation. | A cloth and mild cleaning solution work well; avoid harsh chemicals that might damage the track's finish. |
In addition to these basic tools, you might need specialized equipment depending on the installation location and complexity. For example, if you're installing the track at a height, you'll need a ladder or scaffolding. If the track is part of a large conveyor system, you might need a forklift or pallet jack to move heavy components.
Step-by-Step Installation Guide for 40 Steel Roller Track Yellow
Now that you have all the necessary tools and equipment, let's walk through the installation process step by step. Following these steps carefully will ensure that your roller track is installed correctly and functions optimally.
Step 1: Prepare the Installation Area
First, clear the area where the roller track will be installed. Remove any obstacles, debris, or old equipment that might interfere with the installation. Clean the supporting structure (e.g., flow rack frame) to ensure there's no dust or grime that could affect the mounting brackets' adhesion.
Next, measure the space to confirm that it's the right size for the 40 Steel Roller Track Yellow. Mark the positions where the brackets will be mounted using a pencil or marker. Make sure the marks are aligned correctly to ensure the track is straight.
Step 2: Install Mounting Brackets
Take the mounting brackets and position them on the supporting structure according to the marks you made. Use a drill to create pilot holes for the screws or bolts. Then, attach the brackets using the appropriate fasteners. Tighten the fasteners securely, but be careful not to over-tighten them as this could damage the brackets or the frame.
For longer tracks, it's important to space the brackets evenly to provide adequate support. A general rule of thumb is to place a bracket every 24 to 36 inches. If the track is carrying heavy loads, you might need to place brackets closer together.
Step 3: Position the Roller Track Sections
Once the brackets are installed, it's time to place the 40 Steel Roller Track Yellow sections onto the brackets. Start by aligning the first section with the brackets. Gently lower the track onto the brackets, making sure it sits securely. Use a rubber mallet to tap the track into place if it's not fitting perfectly.
If you're installing multiple sections of track, connect them using the appropriate connectors. Most roller tracks come with pre-drilled holes or slots for connectors, so align the sections and insert the connectors. Tighten the connectors using a wrench or screwdriver to ensure the sections are firmly joined.
Step 4: Level the Track
After positioning the track, use a level to check if it's horizontal. Place the level on top of the track and adjust the brackets if necessary. If the track is not level, loosen the fasteners on the brackets and adjust their position until the track is level. Then, retighten the fasteners.
Leveling is crucial because an uneven track can cause materials to move too slowly or too quickly, leading to jams or damage. Take your time with this step to ensure the track is perfectly level.
Step 5: Test the Track
Once the track is installed and leveled, it's time to test it. Place a sample material (e.g., a box or pallet) on the track and push it to see if it moves smoothly. Check for any resistance or jams. If the material doesn't move smoothly, inspect the track for any misaligned sections or loose brackets. Adjust as needed and retest.
It's also a good idea to test the track with different load weights to ensure it can handle the intended capacity. If the track sags under heavy loads, you might need to add more brackets for additional support.
Step 6: Final Checks and Adjustments
After testing, do a final inspection of the installation.
Finally, clean the track again to remove any dust or debris that accumulated during installation. This will help ensure smooth operation and extend the track's lifespan.

Key Considerations During Installation
While the installation process is straightforward, there are a few key considerations to keep in mind to ensure a successful outcome:
1. Load Capacity
Before installing the 40 Steel Roller Track Yellow, make sure it's rated for the load capacity you need. Check the manufacturer's specifications to confirm the maximum weight the track can handle. If you're unsure, consult with the supplier to get the right track for your application.
Overloading the track can cause it to bend or break, leading to safety hazards and equipment damage. It's better to choose a track with a higher load capacity than you think you'll need to account for future increases in load size.
2. Environmental Factors
Consider the environment where the track will be installed. If it's in a humid or corrosive environment (e.g., a food processing plant), use corrosion-resistant fasteners and brackets. If the track is outdoors, make sure it's designed for outdoor use and has a protective coating to prevent rust.
Extreme temperatures can also affect the track's performance. For example, in very cold temperatures, the steel might become brittle, while in very hot temperatures, the rollers might expand. Choose a track that's suitable for the temperature range of your installation area.
3. Compatibility with Other Components
If the 40 Steel Roller Track Yellow is part of a larger system (e.g., a flow rack or conveyor), make sure it's compatible with the other components. Check the dimensions and specifications of the track to ensure it fits with the frame, brackets, and other parts of the system.
For example, if the track is part of a flow rack, the roller spacing should be compatible with the size of the boxes or pallets you're using. If the spacing is too wide, small boxes might fall through; if it's too narrow, larger pallets might not fit.
4. Safety
Safety should be a top priority during installation. Always wear the appropriate safety gear, including safety glasses, gloves, and steel-toe boots. Use ladders or scaffolding safely, and never stand on an unstable surface.
If you're working with heavy components, ask for help to avoid injury.

Troubleshooting Common Installation Issues
Even with careful planning, you might encounter issues during installation. Here are some common problems and how to fix them:
1. Track is Not Level
If the track is not level after installation, check the brackets. Loosen the fasteners and adjust the brackets until the track is level. Make sure the supporting structure is also level; if the frame is uneven, the track will be too.
2. Materials are Not Moving Smoothly
If materials are getting stuck or moving too slowly, inspect the track for misaligned sections. Check if the rollers are free to rotate; if they're stuck, clean them with a cloth and lubricate them if necessary. Also, make sure the track is clean and free of debris.
3. Track is Sagging Under Load
Sagging is usually a sign that the brackets are spaced too far apart or the track is not rated for the load. Add more brackets to provide additional support, or replace the track with one that has a higher load capacity.
4. Track Sections are Not Joining Properly
If the track sections are not fitting together correctly, check the connectors. Make sure they're inserted properly and tightened securely. If the sections are still not joining, the connectors might be damaged, so replace them with new ones.

Post-Installation Maintenance Tips
Proper maintenance is essential to keep your 40 Steel Roller Track Yellow running smoothly and extend its lifespan. Here are some maintenance tips to follow:
1. Regular Cleaning
Clean the track regularly to remove dust, debris, and grease. Use a cloth and mild cleaning solution to wipe down the track and rollers. Avoid using harsh chemicals that might damage the track's finish.
For hard-to-reach areas, use a brush or compressed air to remove debris. Regular cleaning prevents jams and ensures smooth material flow.
2. Lubrication
Lubricate the rollers periodically to reduce friction and wear. Use a lubricant that's suitable for steel rollers and the environment. For example, in food processing plants, use food-grade lubricants.
Follow the manufacturer's recommendations for lubrication frequency. Over-lubrication can attract dust and debris, so apply the lubricant sparingly.
3. Inspection
Inspect the track regularly for signs of wear or damage. Check the rollers for cracks or deformation, the brackets for loose fasteners, and the track for bends or scratches.
replace any damaged components immediately to prevent further issues. Early detection of problems can save you time and money in the long run.
4. Adjustments
Over time, the track might become misaligned or loose. Check the level of the track periodically and adjust the brackets if necessary. Tighten any loose fasteners to ensure the track is secure.
If the track is part of a flow rack, check the incline regularly to ensure materials are moving at the right speed. Adjust the incline if needed by raising or lowering one end of the track.
Applications of 40 Steel Roller Track Yellow
The 40 Steel Roller Track Yellow is versatile and can be used in a wide range of applications. Here are some common uses:
1. Flow Racks
Flow racks are a popular application for roller tracks. They allow materials to flow from the back to the front of the rack, making it easy to pick items in a first-in, first-out (FIFO) manner. The 40 Steel Roller Track Yellow is ideal for flow racks because it's durable and can handle heavy loads.
2. Conveyor Systems
Roller tracks are a key component of many conveyor systems. They're used to move materials from one part of the facility to another, such as from the production line to the packaging area. The 40 Steel Roller Track Yellow is suitable for both gravity and powered conveyors.
3. Workstations
Roller tracks are often used in workstations to move materials between workers. For example, in an assembly line, a roller track can be used to pass parts from one station to the next, improving efficiency and reducing manual handling.
4. Warehousing and Distribution
In warehouses and distribution centers, roller tracks are used to move pallets and boxes. They're part of picking systems, sorting systems, and shipping areas, helping to streamline operations and reduce labor costs.
5. Automotive Industry
The automotive industry uses roller tracks in assembly lines to move car parts from one station to another. The 40 Steel Roller Track Yellow is durable enough to handle heavy car parts and can withstand the harsh environment of an automotive plant.
Conclusion
Installing 40 Steel Roller Track Yellow doesn't have to be a complicated process. With the right tools, equipment, and knowledge, you can install the track quickly and correctly. By following the steps outlined in this article, you'll ensure that your roller track is installed properly, functions optimally, and lasts for years to come.
Remember to consider factors like load capacity, environmental conditions, and compatibility with other components before installation. And don't forget to maintain the track regularly to keep it running smoothly. Whether you're setting up a new flow rack or upgrading an existing system, the 40 Steel Roller Track Yellow is a reliable choice that will help you optimize your material flow and improve efficiency.
If you need help choosing the right roller track or have questions about installation, don't hesitate to contact a reputable supplier. They can provide you with the expert advice and support you need to get the most out of your roller track system.