- Company Articles
- Products and Technology
- Product knowledge
- 40 Steel Wheel Roller Track: How to Test Load Capacity

40 Steel Wheel Roller Track: How to Test Load Capacity
Related Product
40 Steel Wheel Roller Track
Heavy duty steel wheel roller track with cylindrical steel rollers for use in processing, logistics and materials handling operations. Ideal for transporting goods quickly and easily as well as for installing on shelving to aid in picking operations.
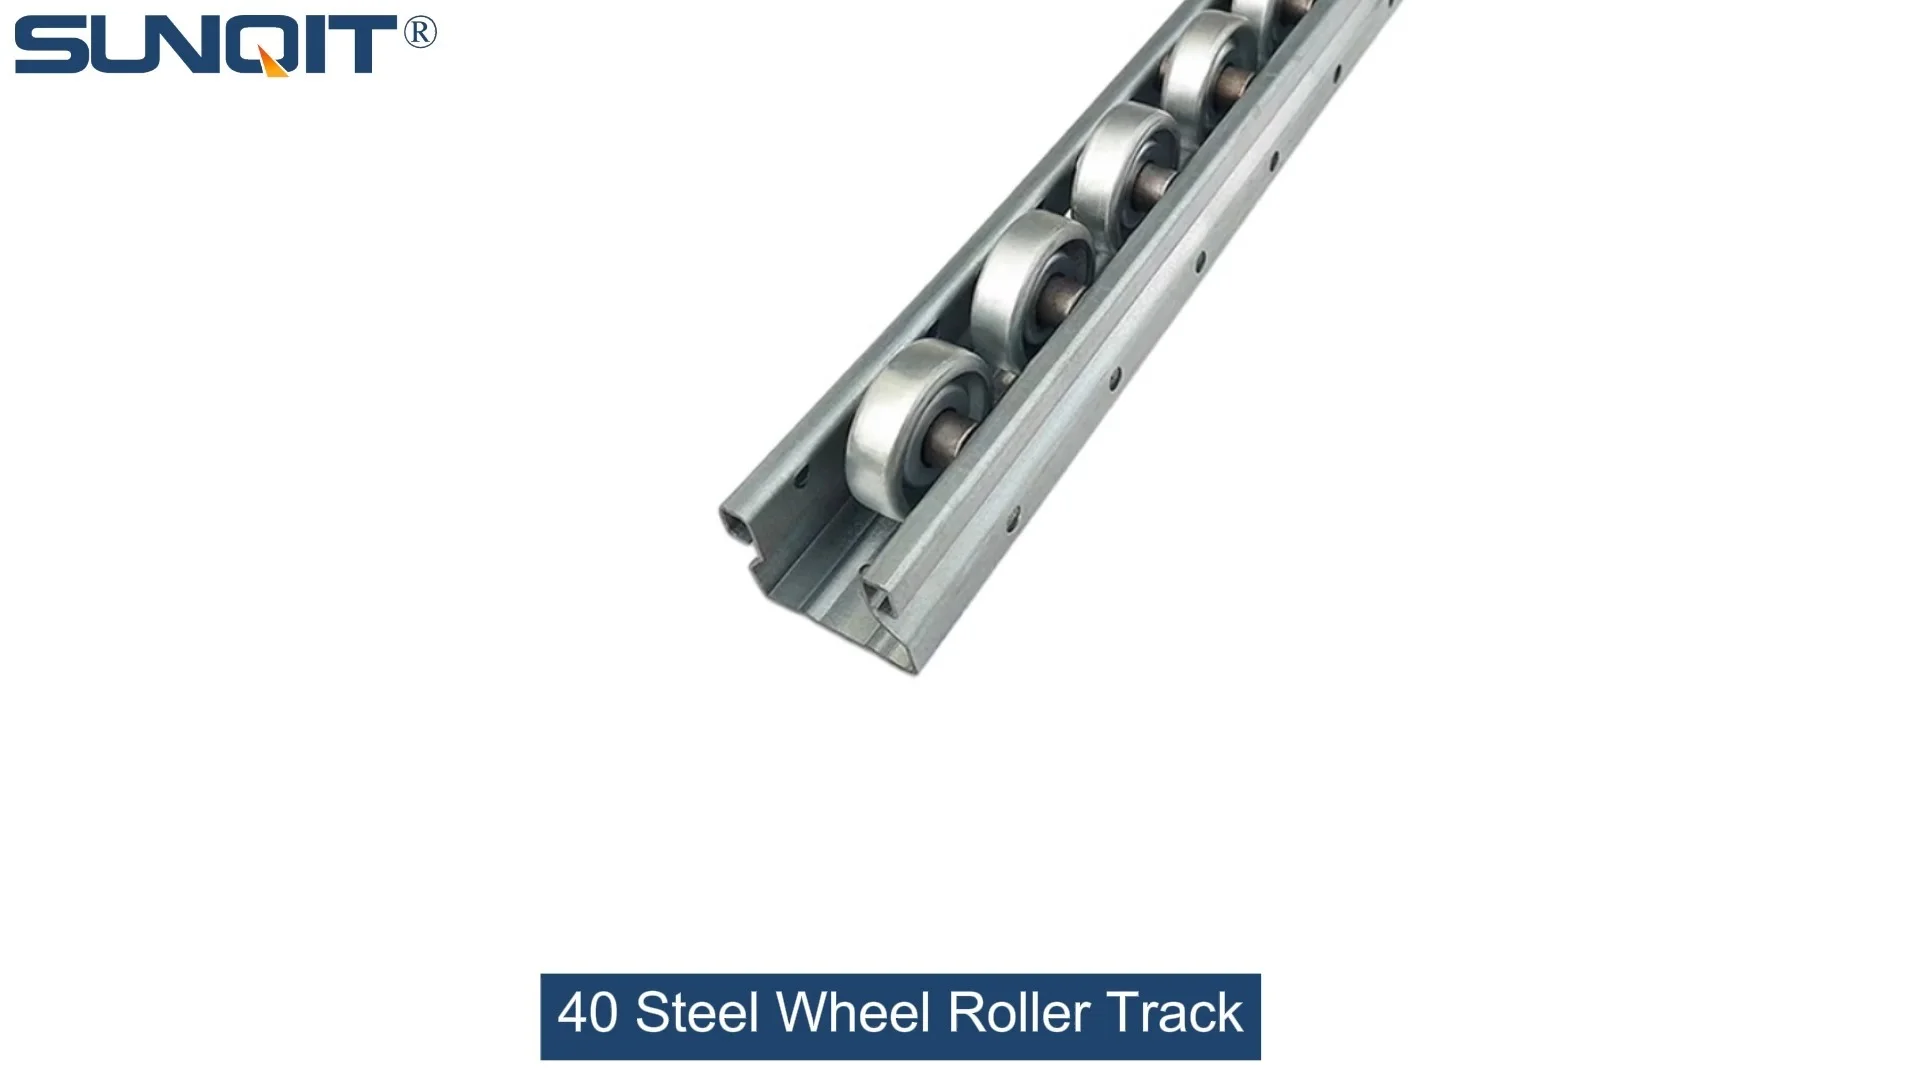
If you've ever walked through a manufacturing plant, warehouse, or assembly line, you've probably seen those metal tracks with small wheels gliding materials from one station to another. Chances are, you were looking at a roller track system—and if it's built with durability in mind, it might just be the 40 Steel Wheel Roller Track . This workhorse of material handling is everywhere in industries like automotive, 3C assembly, and logistics, quietly keeping production lines moving. But here's the thing: even the toughest roller tracks have their limits. That's where load capacity testing comes in. It's not just about checking if it can hold weight—it's about ensuring safety, preventing downtime, and making sure your lean system runs like a well-oiled machine. Let's break down everything you need to know about testing the load capacity of 40 Steel Wheel Roller Track, step by step.
1. First Things First: What Even Is 40 Steel Wheel Roller Track?
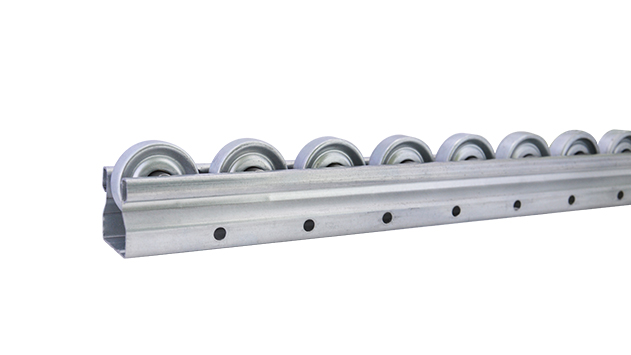
Before we jump into testing, let's make sure we're on the same page. The 40 Steel Wheel Roller Track is a type of conveyor component designed for heavy-duty material transport. The "40" here typically refers to the track width (in millimeters), and "steel wheel" tells you it's built with metal rollers—no flimsy plastic here. These tracks are often part of larger conveyor systems or integrated into lean system setups, where efficiency and reliability are non-negotiable. Think of it as the backbone of a factory's material flow: it carries everything from small electronic parts to heavy automotive components, so getting its load capacity right is critical.
Why Does Load Capacity Matter So Much?
Imagine this: You're running a 3C assembly line, and your roller track is supposed to handle 200kg of circuit boards per minute. If it's only rated for 150kg but you're pushing 200kg, you could end up with bent tracks, seized wheels, or worse—materials crashing to the floor. That's not just a production halt; it's a safety hazard. Load capacity testing helps you avoid these nightmares by defining exactly how much weight the track can handle under different conditions (static, dynamic, continuous use, etc.). It's like knowing the weight limit on a bridge before you drive a truck over it—better safe than sorry.
2. Pre-Test Prep: What You Need Before Getting Started
Testing load capacity isn't something you wing on a Tuesday afternoon. It requires planning, the right tools, and a clear understanding of what you're measuring. Let's walk through the prep work to ensure your test is accurate and reliable.
Tools and Equipment Checklist
You wouldn't bake a cake without a mixer, right? Same goes for load testing. Here's what you'll need:
| Tool/Equipment | Purpose | Pro Tip |
|---|---|---|
| Calibrated Weight Sets | To apply controlled loads (start with 50kg increments, go up to max expected weight) | Use certified weights to ensure accuracy—cheap scales can throw off results |
| Load Cells or Dynamometers | To measure real-time force/weight during testing | Wireless models are easier to use—no tripping over cords! |
| Digital Level | To check track alignment (even a small slope affects load distribution) | Look for levels with magnetic bases to attach directly to the track |
| Straightedge/Ruler | To measure track deflection (bending) under load | A laser level works too—for precise deflection readings |
| Safety Gear | Gloves, safety glasses, steel-toe boots (heavy weights = potential hazards) | Don't skip this—even a 50kg weight dropping on your foot hurts! |
| Stopwatch/Timer | To track duration of load application (for dynamic/continuous tests) | Use a phone app with lap timing for easy recording |
| Camera/Video Recorder | To document any visual changes (bending, wheel jamming, etc.) | Slow-mo mode helps catch subtle issues (e.g., wheel misalignment under load) |
Setting Up the Test Environment
Your test environment can make or break results. Here's how to set it up:
- Flat, Stable Surface: The track must be mounted on a level, rigid base (concrete floor, steel frame). Even a 1° slope can cause weights to shift, leading to uneven load distribution.
- Controlled Temperature/Humidity: Steel expands in heat and contracts in cold, which can affect track tightness. Aim for 20–25°C (68–77°F) and 40–60% humidity—standard factory conditions.
- Isolate the Track: Disconnect the track from the rest of the conveyor system if possible. This ensures you're testing only the roller track, not the entire line.
- Mark Reference Points: Use tape or markers to note the track's original position, wheel spacing, and support bracket locations. This helps spot shifts/deflection later.
Pro Note:
If you're testing a track that's already installed in a production line, schedule the test during a shutdown. Testing while the line is running risks damaging other equipment—and no one wants to explain to the boss why the assembly line is down because of a load test gone wrong.
3. Step-by-Step Load Testing: Let's Get to Work
Now that you're prepped, it's time to run the test. We'll break this into four phases: static load testing, dynamic load testing, overload testing (optional), and data analysis. Each phase tells you something different about the track's performance.
Phase 1: Static Load Testing (Weight at Rest)
Static testing measures how the track handles weight when it's not moving—think of a pallet sitting on the track overnight. This is critical for storage applications or situations where materials pause on the track. Here's how to do it:
- Baseline Inspection: Before adding any weight, check the track for existing damage (dents, bent wheels, loose brackets). Take photos—you'll compare these later to spot new issues.
- Apply Initial Load: Start with 25% of the manufacturer's rated capacity (e.g., if rated for 200kg, start with 50kg). Place the weights evenly across the track—don't pile them all in one spot (that's a stress test, not a load test!).
- Wait and Observe: Let the weight sit for 10–15 minutes. During this time, check for deflection (bending) using your straightedge/ruler. Most tracks will bend slightly—note how much (e.g., 1mm deflection at 50kg).
- Increase Load Gradually: Add weight in 25% increments (50kg → 100kg → 150kg → 200kg for our 200kg example). At each step, wait 10 minutes, measure deflection, and check for signs of stress (creaking, wheel slippage, bracket movement).
- Record Failure Point (If Any): If the track bends more than 3mm (industry standard for acceptable deflection) or components fail (wheels seize, brackets crack), stop and note the load at failure. This is your actual static load limit.
Example: If your track is rated for 200kg static load and only bends 1.5mm at 200kg with no damage, it passes static testing. If it bends 4mm at 180kg, your real static limit is 150kg (the last safe load).
Phase 2: Dynamic Load Testing (Weight in Motion)
Dynamic testing is where things get interesting—it measures how the track handles weight while moving, like materials being conveyed down the line. This is the most realistic test for production environments. Here's the process:
- Set Up Motion: If the track is part of a conveyor, power on the system at its standard operating speed (e.g., 0.5m/s). If it's a standalone track, use a manual push system to move weights at a steady pace.
- Apply Dynamic Load: Start with 50% of the static load limit (from Phase 1). For example, if static limit is 150kg, start with 75kg dynamic load.
-
Continuous Run:
Run the loaded track for 1 hour (mimicking a typical production shift). During this time, monitor:
- Wheel rotation (do all wheels spin freely? Any sticking?)
- Noise levels (unusual squeaking or grinding could mean misalignment)
- Track temperature (steel wheels can heat up with friction—keep it under 40°C)
- Deflection (even dynamic loads cause bending—check every 15 minutes)
- Increase Load and Repeat: Bump up the load by 25kg every hour, up to the static limit. If at any point wheels start skipping, the track vibrates excessively, or deflection exceeds 2mm (dynamic deflection is stricter than static), stop and record the max dynamic load.
Why is dynamic testing stricter? Because motion adds stress—wheels have to spin, bearings take more load, and vibration can loosen components. A track that handles 200kg static might only manage 150kg dynamically, and that's okay—you just need to know the difference.
Phase 3: Overload Testing (Pushing the Limits)
Overload testing is optional but useful if you want to know the track's "breaking point" (for safety margins). Only do this if you have spare tracks—you might damage the one you're testing! Here's how: After finding your dynamic limit (e.g., 150kg), increase the load by 10% increments (165kg, 181.5kg, etc.) until failure. Record the failure mode (bracket snap? wheel axle bend?)—this tells you which components are the weakest link for future design improvements.
Phase 4: Data Analysis—What Do the Numbers Mean?
Testing is useless if you don't analyze the data. Create a simple table to log results:
| Test Type | Load Applied (kg) | Deflection (mm) | Observations | Pass/Fail |
|---|---|---|---|---|
| Static | 50 | 0.5 | No issues, wheels free | Pass |
| Static | 150 | 1.8 | Slight creaking, no damage | Pass |
| Dynamic | 100 | 1.2 | Wheels spin smoothly, temp 32°C | Pass |
| Dynamic | 150 | 2.5 | Excessive deflection, wheel skipping | Fail |
From this table, you'd conclude the track's safe dynamic load is 100kg—even though static load was 150kg. Use this data to set operational limits: never exceed 80% of the dynamic limit in daily use (so 80kg in this case) to leave a safety buffer.

4. Common Issues and Troubleshooting: When Things Go Wrong
Even with perfect prep, tests can hit snags. Here are the most common issues and how to fix them:
Issue 1: Uneven Load Distribution
Problem: Weights shift to one side, causing the track to bend more on one end. Solution: Use a platform or pallet to spread the load evenly. If testing small parts, simulate real-world distribution (e.g., 3C components spread across the track, not piled in the center).
Issue 2: Wheel Seizure During Dynamic Testing
Problem: Wheels stop spinning, dragging the load and causing friction. Solution: Check for debris in wheel bearings (clean with compressed air) or lack of lubrication (apply a light machine oil before testing). If wheels still seize, they might be defective—replace them and retest.
Issue 3: Excessive Deflection at Low Loads
Problem: Track bends more than 2mm at 50% of rated load. Solution: Check track support brackets—they might be spaced too far apart. Most 40 Steel Wheel Tracks need supports every 600–800mm. Add extra brackets and retest.
Remember:
If you fix an issue mid-test, start over from the baseline. You can't trust results from a track that was repaired halfway through—it's like baking a cake, adding more flour, and expecting the first half to rise properly.

5. Real-World Applications: How This Affects Your Factory
Let's ground this in reality with two examples—one from 3C assembly and one from automotive manufacturing. These show why load testing isn't just a box to check, but a tool to optimize your lean system.
Example 1: 3C Assembly Line (Light to Medium Loads)
A 3C factory uses 40 Steel Wheel Roller Tracks to move circuit board trays (each tray = 20kg, 5 trays at a time = 100kg total). They tested static load and found the track handles 150kg, dynamic load 120kg. By setting their daily limit at 80% of dynamic load (96kg), they ensure no single run exceeds 4 trays (80kg), preventing overload. Result? Zero track failures in 6 months, 15% faster material flow (no more stopping to fix jams).
Example 2: Automotive Parts Conveyor (Heavy Loads)
An auto plant tests a 40 Steel Wheel Track for engine block transport (engine block = 300kg). Static load test shows failure at 280kg (bracket bending), so they add reinforced brackets. Retest: static load now 350kg, dynamic load 300kg. They set the limit at 240kg (80% of dynamic) and only run one engine block at a time. Result? Brackets hold, no downtime, and they avoid the $10k+ cost of a dropped engine block (plus repair time).
6. Maintenance Tips to Preserve Load Capacity
Load testing isn't a one-and-done deal. Over time, wheels wear, brackets loosen, and tracks bend—all of which reduce load capacity. Here's how to keep your track performing at its best:
- Weekly Inspections: Check for loose brackets, worn wheels (flat spots), and debris in tracks. Tighten bolts and clean tracks with a brush.
- Monthly Lubrication: Apply bearing grease to wheel axles—friction wears down components and reduces load capacity.
- Quarterly Realignment: Use your digital level to ensure the track is still flat. Floor settling can cause slopes, leading to uneven load distribution.
- Annual Retesting: Even well-maintained tracks degrade. Retest load capacity yearly to update your operational limits.
7. Wrapping Up: Why This Matters for Your Lean System
At the end of the day, load testing your 40 Steel Wheel Roller Track is about more than numbers—it's about building a lean system that's efficient, safe, and reliable. By knowing exactly what your track can handle, you avoid overloading, reduce downtime, and keep your production line moving smoothly. Whether you're in 3C assembly, automotive, or logistics, this small investment in testing pays off in big ways: happier workers (no more fixing broken tracks), lower repair costs, and a system that actually lives up to the "lean" promise of continuous improvement.
So grab your tools, set up your test, and give your roller track the attention it deserves. Your factory (and your bottom line) will thank you.