- Company Articles
- Products and Technology
- Installation And Maintenance
- 40 Steel Wheel Roller Track: Safety Guidelines for Installation

40 Steel Wheel Roller Track: Safety Guidelines for Installation
Related Product
40 Steel Wheel Roller Track
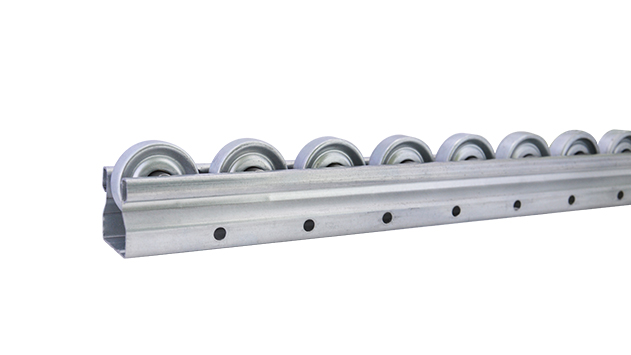
Heavy duty steel wheel roller track with cylindrical steel rollers for use in processing, logistics and materials handling operations. Ideal for transporting goods quickly and easily as well as for installing on shelving to aid in picking operations.
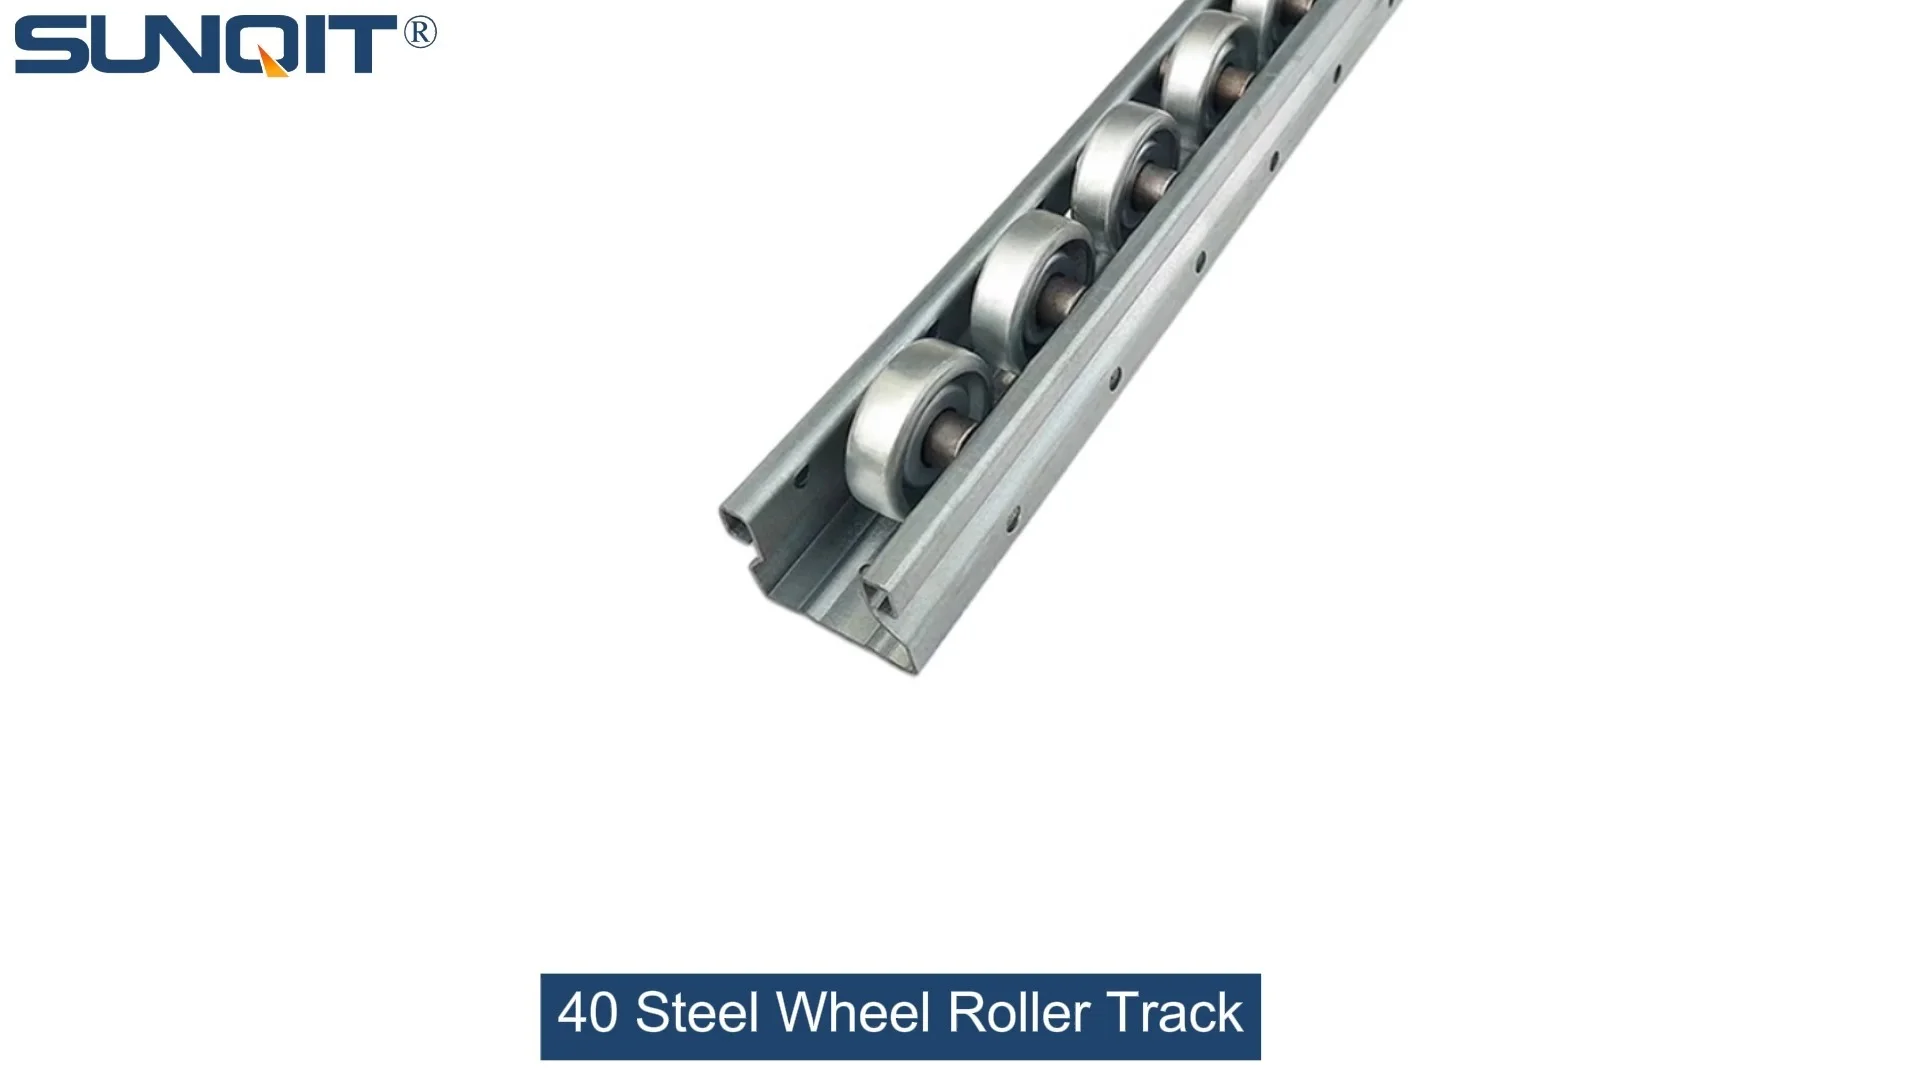
When it comes to setting up a smooth, efficient production line, the 40 steel wheel roller track stands out as a workhorse in manufacturing and logistics. Whether you're assembling electronics on an ESD workstation or moving materials across a warehouse, getting this component installed correctly isn't just about functionality—it's about keeping your team safe and your operations running without a hitch. Let's walk through the essential safety steps to ensure your roller track installation goes off without a problem, from unboxing to the final test run.
Why Safety Matters in Roller Track Installation
Before diving into the how-to, let's talk about why this guide matters. A poorly installed roller track isn't just an inconvenience—it's a hazard. Loose connections can cause materials to jam or tip, uneven alignment might lead to strain injuries when pushing loads, and overlooked weight limits could result in collapses. In busy environments like 3C assembly lines or medical device workshops, even a small mistake during installation can bring production to a halt or, worse, put someone at risk. That's why we're breaking down every step with safety at the forefront.
Pre-Installation Prep: Lay the Groundwork for Safety
Think of installation like baking a cake—skipping prep work leads to messy results. Here's what you need to check off before picking up a tool:
1. Site Assessment: Clear the Path
First, take a good look at where the roller track will go. Is the floor level? Are there any trip hazards like loose cables or debris? Even a small bump in the concrete can throw off the alignment of your track, leading to uneven material flow or increased wear on the steel wheels. Grab a level tool and check the surface—aim for a slope no steeper than 0.5% to keep materials moving steadily without slipping.
2. Material Inspection: Know Your Parts
Unpack the roller track components and lay them out on a clean, flat surface (a sturdy workbench works perfectly here). You should have the track rails, steel wheels, roller track connectors, end stops, and any mounting brackets. Inspect each part closely: Look for cracks in the steel rails, bent wheels, or stripped threads on the connectors. If a part looks off—don't force it. Using damaged components is like driving with a flat tire; it's only a matter of time before something goes wrong.
3. Team Readiness: Skills and Gear
Installing roller track isn't a one-person job, especially for longer sections. Make sure everyone on the team knows the basics: Who's holding the track steady? Who's tightening the bolts? And don't skimp on PPE—safety glasses to shield from metal shavings, gloves to protect hands from sharp edges, and steel-toe boots in case something heavy slips. Even if you've installed a dozen tracks before, a quick huddle to review roles can prevent mix-ups.
Essential Tools: What You Need (and How to Check Them)
Using the right tool for the job isn't just about efficiency—it's about safety. A loose wrench or a dull drill bit can slip, causing injuries or damaging parts. Here's a breakdown of the must-have tools and how to ensure they're ready to go:
| Tool Name | Use Case | Safety Check |
|---|---|---|
| Hex Key Set | Tightening roller track connectors | Check for bent or worn keys—they should fit snugly in bolts |
| Level (2ft or longer) | Ensuring track alignment | Bubble should rest centered when placed on a flat surface |
| Cordless Drill with Torque Control | Driving screws into mounting brackets | Test torque settings on scrap material to avoid over-tightening |
| Tape Measure | Spacing between tracks and mounting points | Ensure markings are clear and the blade retracts smoothly |
| Rubber Mallet | Gently seating wheels into track rails | Head should be secure—no cracks or loose parts |
Pro tip: Keep a small toolkit nearby with replacement bits, extra hex keys, and a wire brush to clean off rust or debris from connector threads. It'll save you trips to the toolbox and keep the installation flowing.

Step-by-Step Installation: Safety First, Always
Now that you're prepped and tool-ready, let's walk through the installation process. Take it slow—rushing leads to mistakes. We'll break it down into manageable steps, with safety reminders at every turn.
Step 1: Mark Mounting Points
Start by mapping out where the roller track will sit. Use a tape measure to mark the positions of the mounting brackets on the floor or workbench. If you're attaching it to an aluminum profile frame (common in lean systems), double-check the hole spacing to ensure brackets line up. Here's the thing: uneven mounting points will make the track slope or wobble, which is a recipe for jams or spills. Use a pencil to mark lightly—you can erase later, but a permanent marker might leave unsightly marks if you need to adjust.
⚠️ Safety Note: If installing on a raised platform, make sure the surface can support the weight of the track plus maximum load. A quick call to your facility manager to confirm weight limits never hurts.
Step 2: Secure Mounting Brackets
Next, attach the mounting brackets to the marked points. If you're using bolts, hand-tighten them first to ensure they thread in smoothly—cross-threading can strip the holes, making brackets loose. Once all brackets are in place, use a torque wrench to tighten them to the manufacturer's specs (usually 15-20 Nm for steel brackets). Don't overdo it—stripping a bolt is frustrating, and a loose bracket is dangerous. For concrete floors, use masonry anchors; for wooden surfaces, lag screws work best.
Step 3: Assemble Track Sections with Roller Track Connectors
Now it's time to put the track together. Lay out the steel rails on a flat surface (your workbench is ideal here) and connect them using roller track connectors. These small but crucial parts link sections together, so make sure they're seated fully. insert the connector into the end of one rail, then slide the next rail onto the exposed end. Give it a gentle tug to check for play—if it wiggles, the connector isn't seated right. Once connected, tighten the set screws on the connector with a hex key. Not too tight, though—you want a snug fit, not a crushed rail.
Pro Move: For longer tracks (over 6ft), have a teammate hold the sections steady while you connect them. Trying to balance a heavy rail alone increases the risk of dropping it on your feet.
Step 4: Mount Track to Brackets
With the track sections assembled, carefully lift them onto the mounting brackets. This is where teamwork really counts—two people can easily carry a 10ft section, but one person might strain their back. Align the track with the slots on the brackets, then secure it with the provided bolts or clips. Tighten each bolt a little at a time, alternating sides (like tightening a car tire) to keep the track centered. Once all bolts are tight, give the track a gentle shake—no movement means it's secure.
⚠️ Safety Note: If the track is above waist height, use a step stool or ladder (never a chair!) to reach. Keep one hand on the track and the other on the ladder for balance.
Step 5: Install Wheels and End Stops
Now, add the steel wheels to the track. Slide each wheel onto the rail, ensuring they roll freely without catching. If a wheel sticks, check for debris in the track or a bent axle—clean or replace as needed. Once all wheels are in place, attach the end stops to both ends of the track. These prevent materials from rolling off the edge, so make sure they're bolted tightly. A loose end stop could send a box crashing to the floor, risking damage or injury.
Step 6: Adjust and Test
Almost done! Grab your level and check the track from side to side and front to back. A slight downward slope (1-2 degrees) is okay for gravity-fed systems, but anything steeper will make materials speed up too fast. If it's uneven, adjust the mounting brackets by loosening the bolts, tapping gently with a rubber mallet, then retightening. Once level, test it with a sample load—push a box or tote along the track. It should roll smoothly, with wheels turning evenly. If you hear grinding or see wobbling, stop and check for misaligned wheels or loose connections.
Final Check: Have a second person walk the length of the track to confirm no wheels are sticking and end stops are secure. Two sets of eyes catch more than one!

Critical Safety Guidelines: Don't Skip These
Even with careful installation, overlooking small details can lead to big problems. Here are the non-negotiable safety rules to keep in mind:
- Weight Limits Are Non-Negotiable : The 40 steel wheel roller track is built for specific loads—usually 50-100 kg per linear meter. Exceeding this can bend the rails or snap wheels, causing materials to crash. Post a weight limit sign near the track as a reminder.
- Keep Hands and Loose Clothing Clear : When testing the track, never put fingers near moving wheels. Loose sleeves, jewelry, or hair can get caught, leading to injuries. Tie back long hair and roll up sleeves before starting work.
- ESD Considerations for Sensitive Environments : If you're using the track with an ESD workstation (common in 3C assembly or medical device production), ensure all metal components are grounded. Use ESD-safe wheels and connectors to prevent static discharge that could damage electronics.
- Regular Inspections During Installation : Pause after each step to inspect your work. After mounting brackets, check they're tight. After connecting tracks, verify alignment. Catching issues early saves time (and headaches) later.
- Emergency Stop Plan : If something goes wrong mid-installation—like a wheel popping off or a bracket cracking—know how to stop safely. Have a first-aid kit nearby, and make sure everyone knows where the emergency shut-off is for nearby machinery.
Troubleshooting Common Installation Issues
Even pros run into hiccups. Here's how to fix the most common problems without sacrificing safety:
Problem: Wheels Keep Sticking
Solution: Check for debris in the track (use compressed air to blow out dust) or misaligned wheels. If a wheel axle is bent, replace it—don't try to straighten it. Bent axles cause uneven wear and can jam the track over time.
Problem: Track Wobbles When Loaded
Solution: Tighten mounting brackets or add extra brackets for longer sections. If the floor is uneven, use shims under brackets (but never stack more than two shims—they can slip). For heavy loads, consider upgrading to reinforced brackets.
Problem: Connectors Won't Stay Tight
Solution: Clean the threads on both the connector and rail with a wire brush—rust or dirt can prevent a tight fit. If threads are stripped, replace the connector. Using thread-locking fluid (like Loctite) on set screws can also help, but avoid over-applying—it can make future adjustments hard.
Long-Term Safety: Maintenance Matters
Installing the roller track safely is just the start—keeping it in good shape ensures it stays safe and efficient for years. Here's a quick maintenance routine to follow:
- Weekly Checks : Wipe down wheels and tracks to remove dust and debris. Test roll a sample load to check for smooth movement.
- Monthly Inspections : Tighten loose bolts on brackets and connectors. Lubricate wheel axles with a light machine oil (avoid heavy greases—they attract dirt).
- Quarterly Deep Clean : Remove wheels and soak them in soapy water to dislodge built-up grime. Check for signs of wear like cracked wheels or bent rails—replace parts before they fail.
- After Heavy Use : If the track handles extra-heavy loads (like during peak production), do a quick inspection afterward. Heavy use can loosen connections or stress brackets.
Wrapping Up: Safety as a Habit
Installing a 40 steel wheel roller track might seem straightforward, but taking the time to prioritize safety at every step makes all the difference. From checking tools to double-testing alignment, these guidelines aren't just rules—they're ways to protect your team, your materials, and the efficiency of your entire operation. Whether you're a seasoned installer or new to lean systems, remember: a safe installation is a successful one. Now go out there and build something that runs smooth, lasts long, and keeps everyone out of harm's way.