- Company Articles
- Products and Technology
- Installation And Maintenance
- 85 Staggered Roller Track Installation Guide: Step-by-Step Process

85 Staggered Roller Track Installation Guide: Step-by-Step Process
Related Product
85 Staggered Roller Track
Triple staggered roller track is designed to enhance carton flow in various applications, such as flow racks and carton flow systems. This triple-staggered roller track is ideal for bins, boxes, or products that require smoother, more efficient rolling.
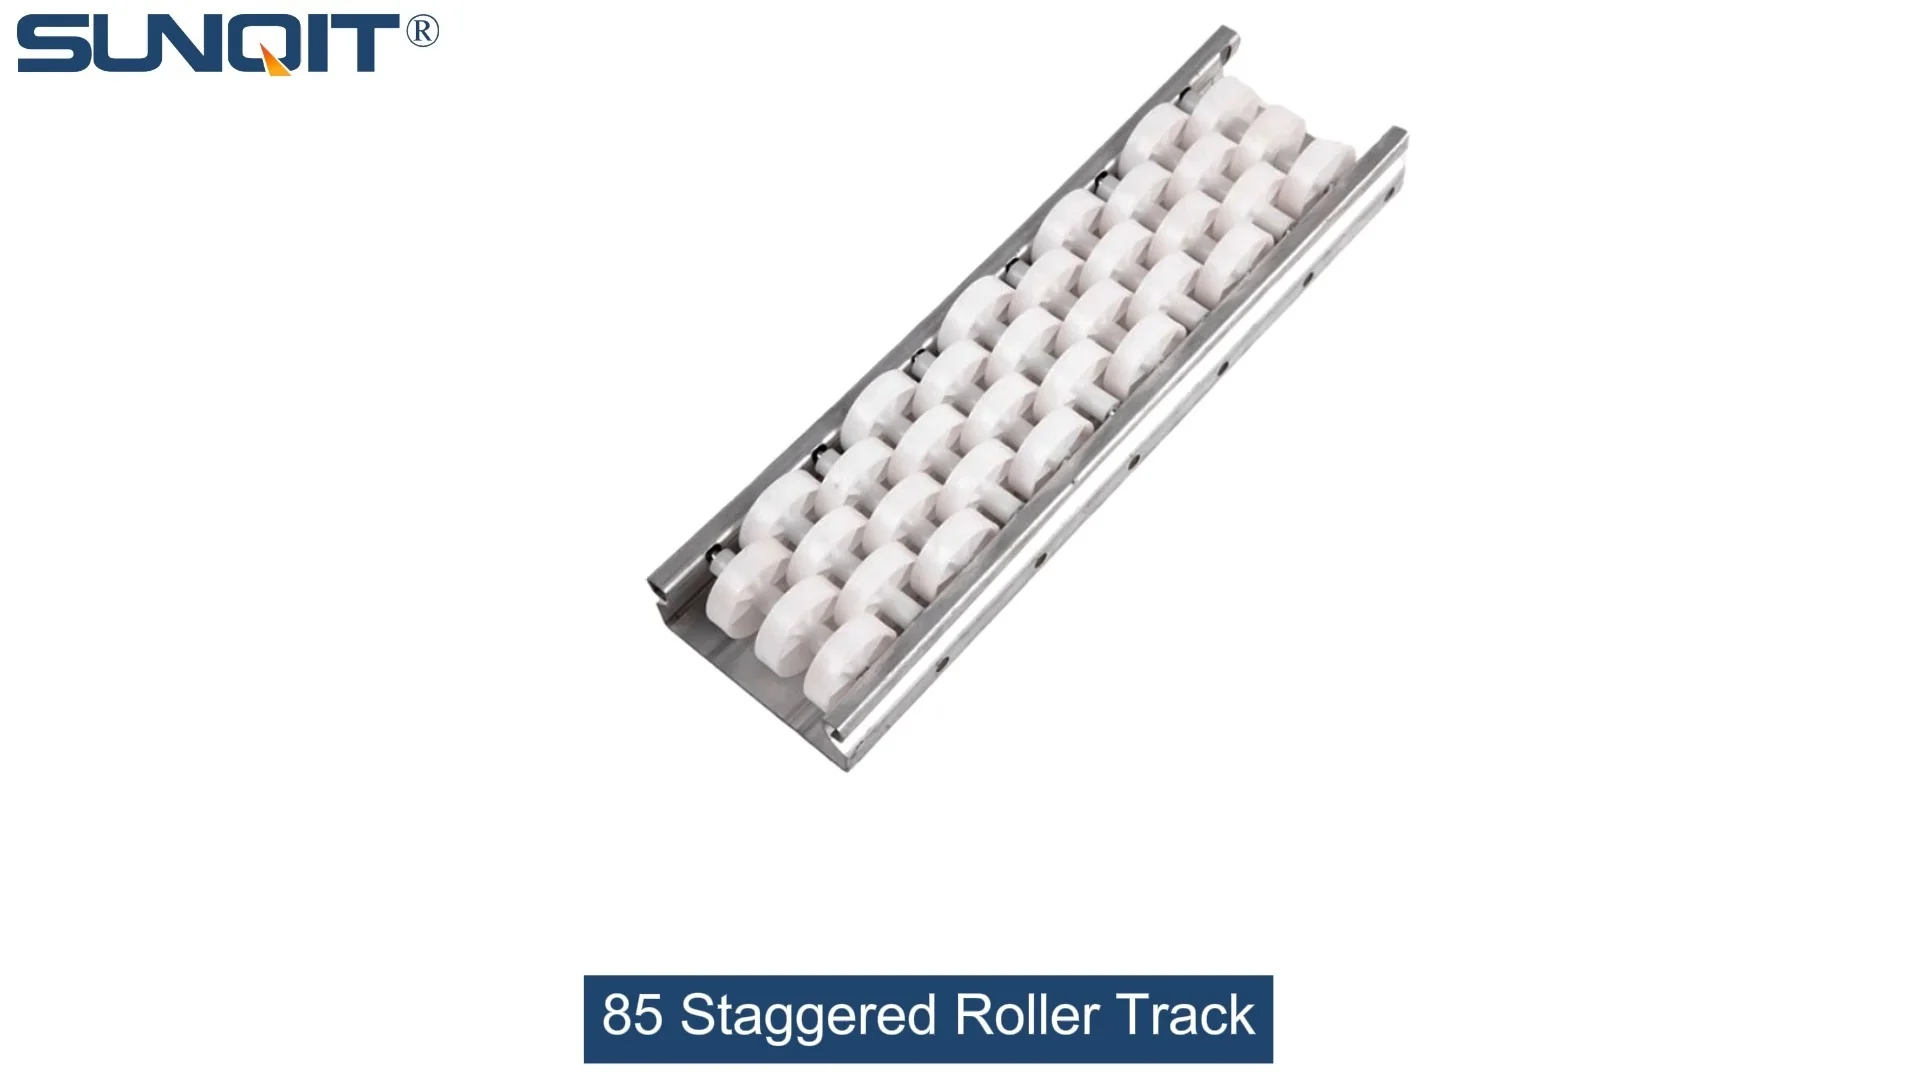
Let's set the scene: It's a busy Tuesday morning on your 3C assembly line. Your team's focus is sharp, tools are laid out, and the first batch of circuit boards is ready to move. But then—*screech*—a plastic bin catches on the old roller track. A technician pauses, adjusts it, and by the time they're back to assembly, you've lost 10 minutes. Sound familiar? We've been there too. That's why today, we're walking you through installing the 85 Staggered Roller Track—the unsung hero of smooth material flow in lean manufacturing. Whether you're upgrading an existing flow rack or building a new lean system from scratch, this guide will turn "almost there" into "effortless efficiency" in no time.
Why does this track matter? It's not just metal and rollers—it's the backbone of a workflow that respects your team's time, protects your materials, and keeps your production line moving like a well-choreographed dance. Let's dive in.
Gather Your Gear: What You'll Need (And Why)
Before we start turning wrenches, let's make sure you've got everything handy. Think of this as packing for a hike—forget a key tool, and you'll be scrambling mid-trail. Here's your checklist:
| Tool/Part | Quantity | Why You Need It |
|---|---|---|
| 85 Staggered Roller Track sections | As per your layout (measure twice!) | The star of the show—aluminum profile build means lightweight but tough enough for daily use. |
| Aluminum profile brackets | 1 pair per track section | Secures the track to your workbench or rack—think of them as the track's "feet." |
| Hex key set (metric) | 1 set | Most aluminum profile bolts use hex heads—skip the adjustable wrench; it'll slip and scratch the metal. |
| Level tool (2ft minimum) | 1 | Even a tiny slope will slow materials down. This ensures your track is perfectly horizontal. |
| Rubber mallet | 1 | Gently taps rollers into place without denting the aluminum—no brute force needed. |
| Measuring tape | 1 | To confirm spacing between brackets—"close enough" here leads to wobbly tracks later. |
| Anti-slip gloves | At least 1 pair | Aluminum edges can be sharp—protect your hands while handling parts. |
| Clean cloth + isopropyl alcohol | 1 set | Wipes away dust and oil from bracket mounting points—ensures bolts grip tight. |
Let's Get Building: Step-by-Step Installation
We've broken this down into 6 simple steps, with pro tips sprinkled in. Take it slow—rushing leads to mistakes, and we want this track to last for years (yes, *years*) of heavy use.
Step 1: Prep Your Workspace—Clear the Canvas
First, let's make space. Move any tools, boxes, or stray coffee mugs from the area where the track will go. If you're installing this on a flow rack or workbench, double-check that the surface is stable—no wobbly legs allowed! A quick shake test works: grab the rack and give it a gentle rock. If it moves, tighten the leveling feet (you did use adjustable leveling feet, right?) until it's steady as a table.
Pro Tip: Use painter's tape to mark where each track section will go. It's like drawing guidelines before coloring—keeps everything straight, and peels off without residue.
Step 2: Mount the Brackets—The Track's "Anchor Points"
Now, grab those aluminum profile brackets. Each track section needs two brackets: one at the start, one at the end. Hold a bracket against the rack (or workbench edge) where you marked the tape. Use your measuring tape to ensure the brackets are aligned—if they're off by even ½ inch, the track will slope, and materials will either get stuck or zoom too fast (neither is good).
Once positioned, use the hex key to tighten the bolts into the pre-drilled holes on the aluminum profile. Go slow here—over-tightening can strip the threads (we've seen it happen!). You'll know it's tight enough when the bracket doesn't wiggle, but the bolt still turns smoothly if you give it a gentle nudge.
Pro Tip: If your workspace has ESD requirements (looking at you, 3C and medical teams), use anti-static bolts here. It's a small step that prevents static damage to sensitive parts later.
Step 3: Place the Track—Time to Meet the Brackets
Lift the 85 Staggered Roller Track section and rest it on top of the brackets. The staggered rollers (they look like a zig-zag pattern) should face upward—this is what makes materials glide evenly, even if they're a little lopsided (we've all had that one misshapen bin).
Now, check the fit: The track should sit snugly in the bracket grooves. If there's a gap, double-check the bracket position—you might have mounted them too high or low. Once it's seated, use the rubber mallet to tap the track gently into place. Think of it like seating a puzzle piece—firm but not forceful.
Step 4: Secure the Track—Lock It In Tight
Each bracket has a small set screw (it's tiny—don't lose it!) that locks the track in place. Grab your hex key again and tighten these screws until they touch the track. You don't need to crank them—just enough to prevent sliding. Remember: aluminum is strong, but it dents if you overdo it.
Once secured, give the track a gentle push. It should stay put—no sliding, no tilting. If it moves, check the set screws or bracket tightness. Better to fix it now than during a busy production run.
Step 5: Test the Roll—The "Glide Check"
Here's the fun part: Grab a test bin (the kind you'll actually use on the line) and load it with some dummy parts (or a few heavy books—we won't tell). Place it at the start of the track and let go. It should roll smoothly, at a steady speed—no jerks, no stops, just a gentle glide to the end.
If it gets stuck, check the rollers: sometimes a stray piece of dust or a loose roller is the culprit. Spin each roller with your finger—they should turn freely. If one feels stiff, use a drop of lubricant (WD-40 works, but avoid over-spraying—you don't want oil on your parts!).
Pro Tip: Test with different weights! A bin full of small screws will roll slower than one with a heavy component. You want the track to handle both without issues.
Step 6: Connect Multiple Sections (If Needed)—Make It a Continuous Flow
If you're installing more than one track section (most of us are!), repeat steps 2-5 for each, then connect them. Use the roller track placon mount connectors (those small metal links in your parts bag) to bridge the gap between sections. They'll keep the tracks aligned so materials don't "bump" when moving from one section to the next.
Once all sections are connected, do a full-length test: roll a bin from the first track to the last. It should flow like water—no stops, no stutters. If it hesitates at the (connection point), adjust the connectors until it's smooth.

Keep It Rolling: Maintenance Tips for Long-Lasting Performance
You've installed the track—congrats! Now, let's make sure it stays in top shape. Think of this like caring for a car: regular check-ups prevent breakdowns.
Weekly Wipe-Down
Dust, oil, and tiny part fragments love to hide in the roller gaps. A quick wipe with a microfiber cloth (dampened with water, not chemicals!) every Friday afternoon keeps things gliding. For ESD areas, use an anti-static cloth—no exceptions.
Monthly Roller Check
Once a month, spin each roller by hand. If any feel sticky, add a drop of silicone-based lubricant (avoid oil-based lubes—they attract dust). If a roller is cracked or won't spin, replace it ASAP—one bad roller can slow the whole line.
Quarterly Tightness Test
Over time, vibrations from rolling materials can loosen brackets. Every three months, grab your hex key and gently tighten all bolts—just enough to snug them up. This prevents the track from shifting and keeps your alignment perfect.

Why This Matters: Beyond "Just a Track"
Let's zoom out. You didn't install this track just to cross "fix roller track" off your to-do list—you did it to build a leaner, more efficient workflow. Here's how it pays off:
- Smoother Flow, Happier Teams: No more pausing to unstick bins means your team stays focused on what they do best—building great products. Less frustration, more momentum.
- Safer Materials: The staggered rollers cradle bins gently, reducing the risk of parts sliding out or getting scratched. Fewer damaged parts = lower costs (and fewer headaches for QA).
- Scalable Lean System: This track plays well with others—add more sections, pair it with a conveyor, or integrate it into a full lean solution for your 3C or medical line. It's not a one-and-done; it's a building block.
- Durable by Design: Aluminum profile resists rust and dents, even in busy factories. Unlike old steel tracks that warp over time, this one will keep up with your production growth for years.

You're Ready to Roll—Literally
That's it! You've installed your 85 Staggered Roller Track, and your production line is about to get a whole lot smoother. Imagine Monday morning: bins glide from station to station, your team stays in the zone, and you're already ahead of schedule by 9 AM. That's the power of a well-installed lean system component—it turns small changes into big results.
Need extra help? Whether you're scaling up with more track sections or designing a full lean solution for your warehouse, we're here. drop us a line, and let's make your workflow work *for* you.
Here's to smoother days, happier teams, and production lines that hum like they mean it.