- Company Articles
- Products and Technology
- Installation And Maintenance
- Parallel Rotatory Lean Pipe Joints: Installation Mistakes to Avoid

Parallel Rotatory Lean Pipe Joints: Installation Mistakes to Avoid
Related Product
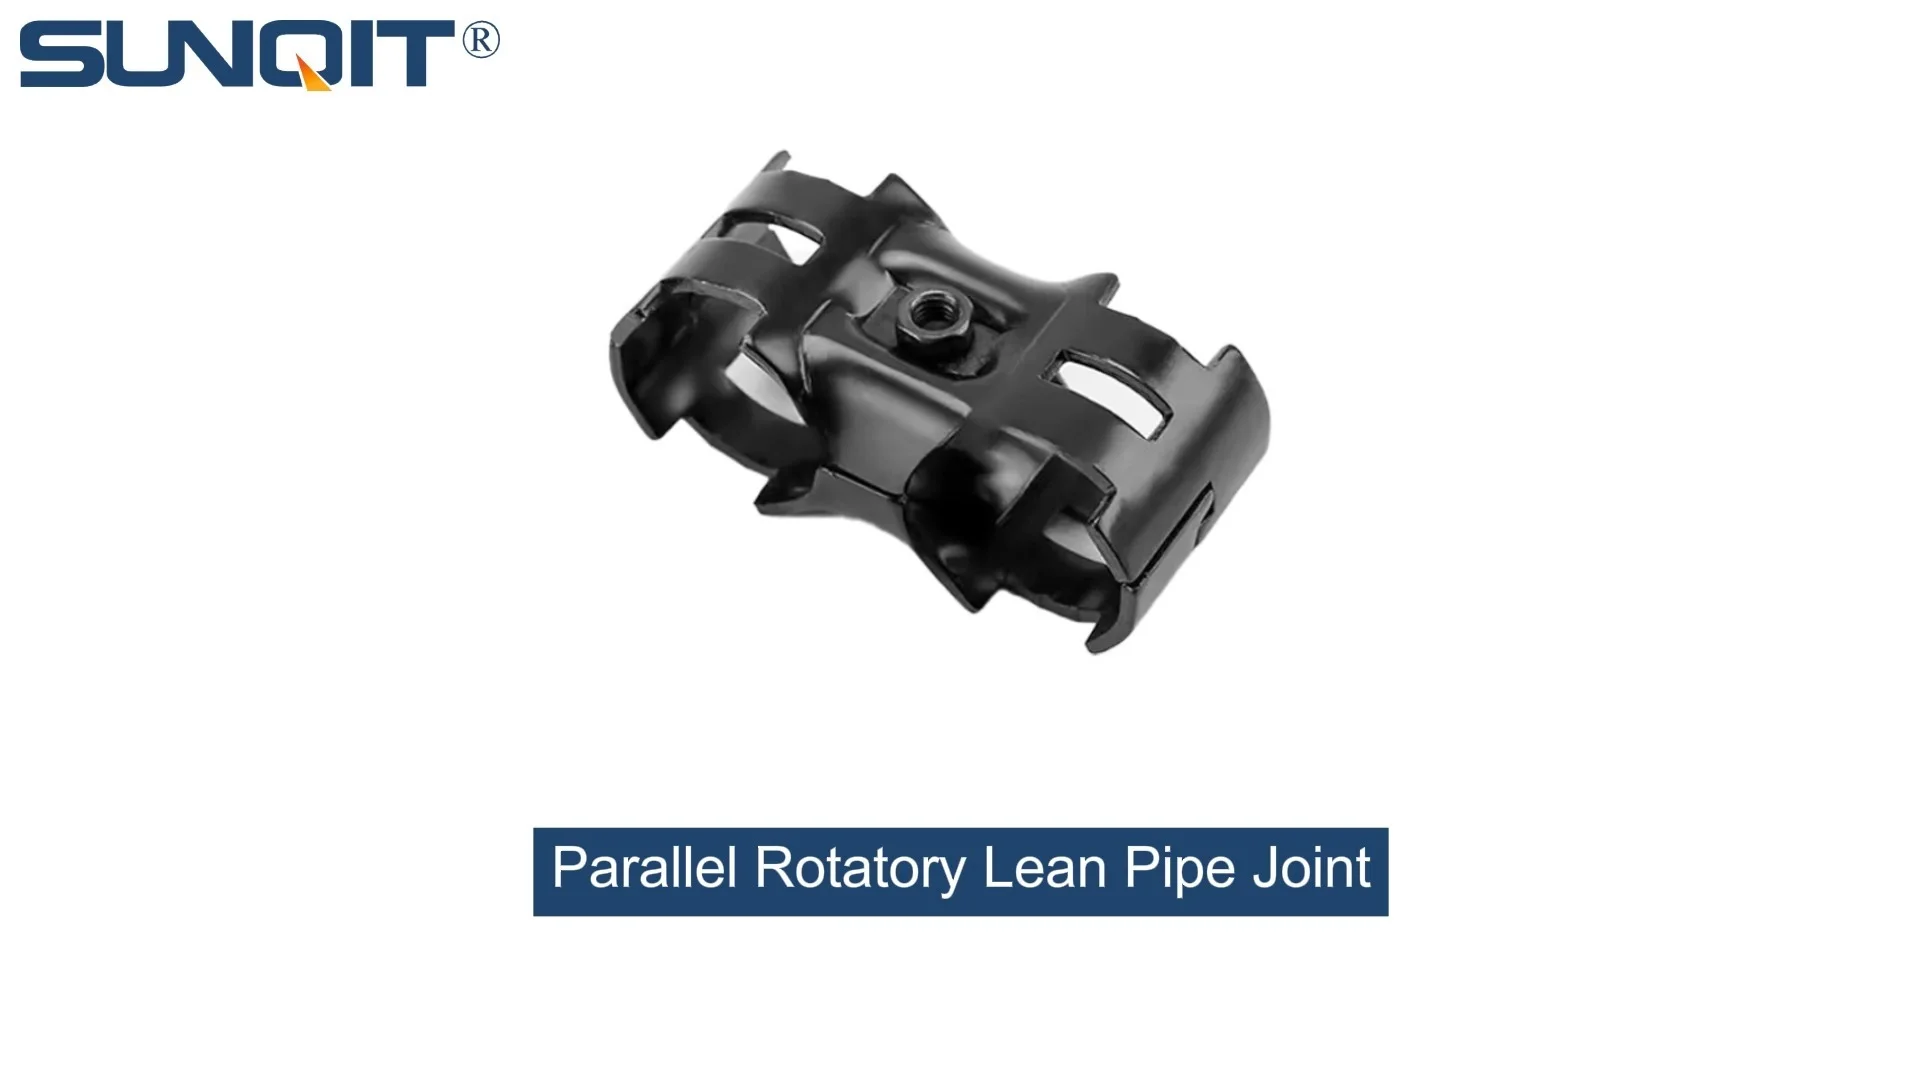
Parallel Rotatory Lean Pipe Joint
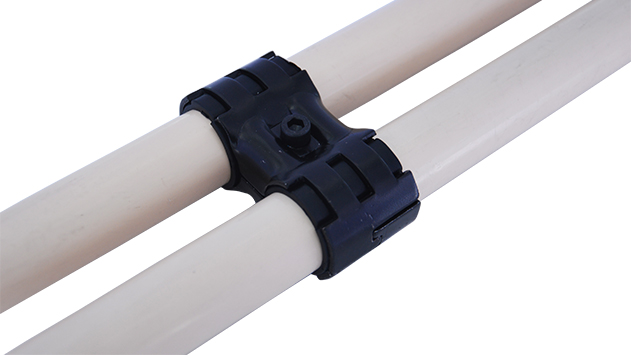
Parallel rotatory lean pipe joint, for 2 pcs pipe conenction in parallel direction with rotatory function.
Walk into any well-run manufacturing facility, and you'll notice something subtle but powerful: the flow. Materials glide from station to station, workbenches adjust to workers' needs, and every component seems to click into place like a well-oiled machine. At the heart of this harmony lies the lean system—a philosophy built on efficiency, adaptability, and precision. And if lean systems are the backbone of modern production, then parallel rotatory lean pipe joints are the unsung heroes holding it all together. These unassuming connectors allow for flexibility in building workbenches, material racks, and conveyor systems, letting teams reconfigure layouts on the fly to meet shifting demands. But here's the thing: even the best components can fail if installed wrong. A single misaligned joint or overlooked detail can turn a smooth workflow into a frustrating bottleneck, costing time, money, and even safety. Let's dive into the most common installation mistakes with parallel rotatory lean pipe joints—and how to steer clear of them.
Why Parallel Rotatory Lean Pipe Joints Matter
Before we jump into mistakes, let's take a moment to appreciate what these joints do. Unlike fixed joints, parallel rotatory lean pipe joints allow for controlled rotation along a single axis, making them ideal for applications where parts need to pivot, adjust, or align with moving components—think of a lean pipe workbench with a tilting table, or a roller track that feeds materials into a assembly line at just the right angle. Their design balances rigidity with movement, ensuring stability under load while still offering the flexibility lean systems demand. But this balance is delicate. Install them correctly, and they'll quietly support your operations for years. Cut corners, and you'll be dealing with wobbly structures, stuck rotations, or even catastrophic failures.
Real-World Impact: A mid-sized electronics manufacturer once reached out to us after a frustrating week. Their new assembly line kept jamming because the roller track feeding components to the workstations kept misaligning. Upon inspection, we found the culprit: parallel rotatory lean pipe joints connecting the roller track to the frame had been overtightened during installation, stripping the internal threads and locking the rotation. The result? The track couldn't adjust to minor shifts in material flow, causing parts to pile up. Fixing it meant replacing all the damaged joints and retraining the team on proper torque—costing them 16 hours of downtime. Don't let this be you.
Common Installation Mistakes (and How to Avoid Them)
Mistake #1: Over-Tightening the Joints—"Tighter = Better" Is a Myth
It's a natural instinct: when securing a joint, you want it to be tight. After all, loose joints mean wobbly structures, right? But with parallel rotatory lean pipe joints, there's a sweet spot between "secure" and "overkill." These joints are designed with precision threads and plastic or metal components that can crack, strip, or deform if subjected to too much force. Over-tightening is hands down the most common mistake we see, and it's often driven by the idea that "if a little torque is good, more must be better."
Here's what happens when you over-tighten: the internal threads of the joint (which are often made of nylon or reinforced plastic for smooth rotation) can strip, turning a snug fit into a loose, wobbly mess. Metal components, like the aluminum housing, might crack under pressure, especially if the joint is made of lightweight aluminum profile. Even if the joint doesn't fail immediately, the stress weakens it over time, leading to premature wear. Worse, over-tightening can lock the joint in place, defeating the purpose of its "rotatory" design—you'll end up with a joint that won't rotate at all, turning a flexible structure into a rigid (and useless) one.
How to Avoid It: Always follow the manufacturer's torque specifications. Most parallel rotatory lean pipe joints come with a recommended torque range (usually between 15-25 Nm for standard sizes). Invest in a good-quality torque wrench—digital ones are affordable and easy to use—and train your team to stop when the wrench clicks. If you don't have a torque wrench, use the "finger-tight plus a quarter turn" rule as a rough guide, but always verify with the manufacturer's specs. And remember: if the joint starts to resist turning smoothly during installation, back off. Resistance is a red flag that you're approaching over-tightening territory.
Mistake #2: Ignoring Material Compatibility—Mixing Metals (or Plastics) Leads to Disaster
Parallel rotatory lean pipe joints are made from a range of materials: aluminum, steel, reinforced plastic, even stainless steel for corrosive environments. The problem? Installers often mix and match these materials without checking compatibility, leading to chemical reactions, corrosion, or structural weakness. For example, pairing an aluminum profile joint with a steel lean pipe might seem harmless, but when these two metals come into contact in the presence of moisture (common in many workshops), they create a galvanic cell—essentially a tiny battery—that accelerates corrosion. Over time, the joint will weaken, and the connection will loosen.
Another compatibility issue is plastic components. Many parallel rotatory joints have plastic sleeves or bearings to reduce friction during rotation. If you pair these with abrasive materials (like uncoated steel pipes) or expose them to harsh chemicals (cleaners, oils, or coolants), the plastic can degrade, causing the joint to seize up. Even something as simple as using a steel caster wheel with an aluminum joint bracket can lead to wear if the materials aren't rated to work together.
How to Avoid It: Start by checking the material specifications for every component. Most manufacturers will list compatible materials in their product guides—for example, "use only with aluminum pipes or anodized steel." If you're unsure, reach out to your supplier (a good lean pipe supplier will be happy to help). When mixing metals is unavoidable (e.g., steel frame with aluminum joints), use insulating washers or coatings to separate them. For plastic components, avoid exposing them to chemicals outside their tolerance range, and opt for abrasion-resistant pipes when possible.
Mistake #3: Skipping Pre-Installation Cleaning—Dirt and Debris Ruin Rotation
You've unboxed the joints, gathered your tools, and are ready to build—so why waste time cleaning parts that look "clean enough"? Because even tiny bits of debris can sabotage a parallel rotatory joint's performance. Think about it: these joints rely on smooth contact between moving parts. A grain of sand, a fleck of paint, or a sliver of plastic from the packaging can get trapped between the bearing and the housing, causing friction, uneven rotation, or even scratches that lead to premature wear.
We once visited a workshop where the lean pipe workbench's adjustable shelf kept sticking. The team assumed the joint was faulty, but when we disassembled it, we found a small piece of foam packaging had gotten wedged in the rotation mechanism. That foam acted like a brake, making the shelf hard to move and eventually scoring the metal bearing. Cleaning the joint would have taken 30 seconds; replacing the bearing took 2 hours.
How to Avoid It: Make pre-installation cleaning a non-negotiable step. Wipe down the joint's internal and external surfaces with a lint-free cloth dampened with isopropyl alcohol (avoid harsh solvents that can damage plastic components). Inspect the bearing and rotation mechanism for debris—use a flashlight to check hard-to-see areas. For pipe ends, deburr them with a file or deburring tool to remove sharp edges that could catch on the joint. And keep the work area clean: lay out parts on a clean tarp or work mat, not directly on the shop floor where dust and grit can collect.
Mistake #4: Misaligning the Joint with the Pipe—"Close Enough" Isn't Close Enough
Parallel rotatory lean pipe joints are designed to work with specific pipe diameters (common sizes include 28mm or 30mm for standard lean pipes). If the pipe is bent, dented, or not cut squarely, even the best joint won't align properly. A pipe that's slightly off-center will put uneven stress on the joint, causing it to wear faster and rotate crookedly. Over time, this misalignment can lead to the entire structure leaning, which is a safety hazard—especially if the structure holds heavy tools or materials.
Another alignment issue is the angle of installation. Parallel rotatory joints are meant to rotate along a single axis; if you install them at a slight tilt (even 5 degrees), the rotation will bind, and the joint will be forced to twist instead of pivot. This is common when building structures "by eye" instead of using a level or square tool.
How to Avoid It: Start with straight, undamaged pipes. Inspect each pipe for bends or dents before installation—even a small kink can throw off alignment. Cut pipes with a pipe cutter or miter saw to ensure square, clean ends (a hacksaw can leave uneven edges). When assembling, use a bubble level to check that the pipes are plumb and level before securing the joints. For critical applications (like a roller track that needs to feed materials in a straight line), use a laser level to align the joints along the rotation axis. Taking an extra 5 minutes to check alignment can save hours of troubleshooting later.
Mistake #5: Forgetting to Account for Load Limits—"It Looks Strong Enough" Isn't a Test
Parallel rotatory lean pipe joints are rated for specific load capacities, both static (weight when stationary) and dynamic (weight when rotating). Ignore these limits, and you're asking for trouble. A joint rated for 50kg might handle 60kg for a day or two, but over time, the stress will cause the materials to fatigue. The first sign is usually increased friction during rotation, followed by looseness, and eventually, failure.
This mistake often happens when teams repurpose joints from old projects or "upgrade" a structure without checking specs. For example, a team might take a joint from a light-duty shelving unit and use it on a heavy-duty lean pipe workbench holding power tools—only to have it fail under the weight. Or, they'll add a caster wheel to a mobile workstation, forgetting that the additional movement (and dynamic load) increases stress on the joints.
| Aspect | Incorrect Approach (Ignoring Load Limits) | Correct Approach (Respecting Load Limits) |
|---|---|---|
| Joint Selection | Using a 50kg-rated joint for a 100kg workbench | Checking the manufacturer's load chart and selecting a 150kg-rated joint (adding a safety margin) |
| Dynamic Loads | Assuming static load rating covers moving loads (e.g., a rolling cart with a caster wheel) | Using joints with dynamic load ratings 20-30% higher than the expected moving weight |
| Reinforcement | Adding extra weight to a structure without adding support brackets | Using parallel rotatory joints in conjunction with fixed support joints to distribute load |
| Testing | "It feels sturdy" (subjective testing) | Gradually adding weight and monitoring rotation smoothness/structural stability |
How to Avoid It: Always start by calculating the maximum load the structure will bear, including dynamic loads (e.g., moving parts, vibration, or sudden impacts). Check the manufacturer's load ratings for your parallel rotatory lean pipe joints—these are usually listed in the product manual or on the supplier's website. When in doubt, over-engineer: choose a joint with a load rating 20-30% higher than your calculated maximum. And if you're modifying an existing structure, recheck the load limits—adding a single heavy tool can push the system over the edge.
Final Thoughts: Precision Pays Off
Installing parallel rotatory lean pipe joints might seem like a simple task—tighten a few bolts, connect the pipes, and you're done. But as we've seen, the details matter. Over-tightening, ignoring material compatibility, skipping cleaning, misaligning components, or exceeding load limits can all turn these versatile joints into liabilities. The good news? Avoiding these mistakes is straightforward: take your time, follow the specs, and prioritize precision over speed. Your lean system relies on every component working in harmony, and parallel rotatory lean pipe joints are no exception. Treat them with care, and they'll keep your workflow smooth, your team productive, and your operations running like clockwork.
Remember: in lean manufacturing, efficiency isn't just about speed—it's about doing things right the first time. And when it comes to parallel rotatory lean pipe joints, "right" means tight but not too tight, clean, aligned, and matched to the job. Now go build something great.