- Company Articles
- Products and Technology
- Installation And Maintenance
- Plastic Pipe Cover Installation Tools: Must-Have Equipment for Assembly

Plastic Pipe Cover Installation Tools: Must-Have Equipment for Assembly
Related Product
Plastic Pipe Cover
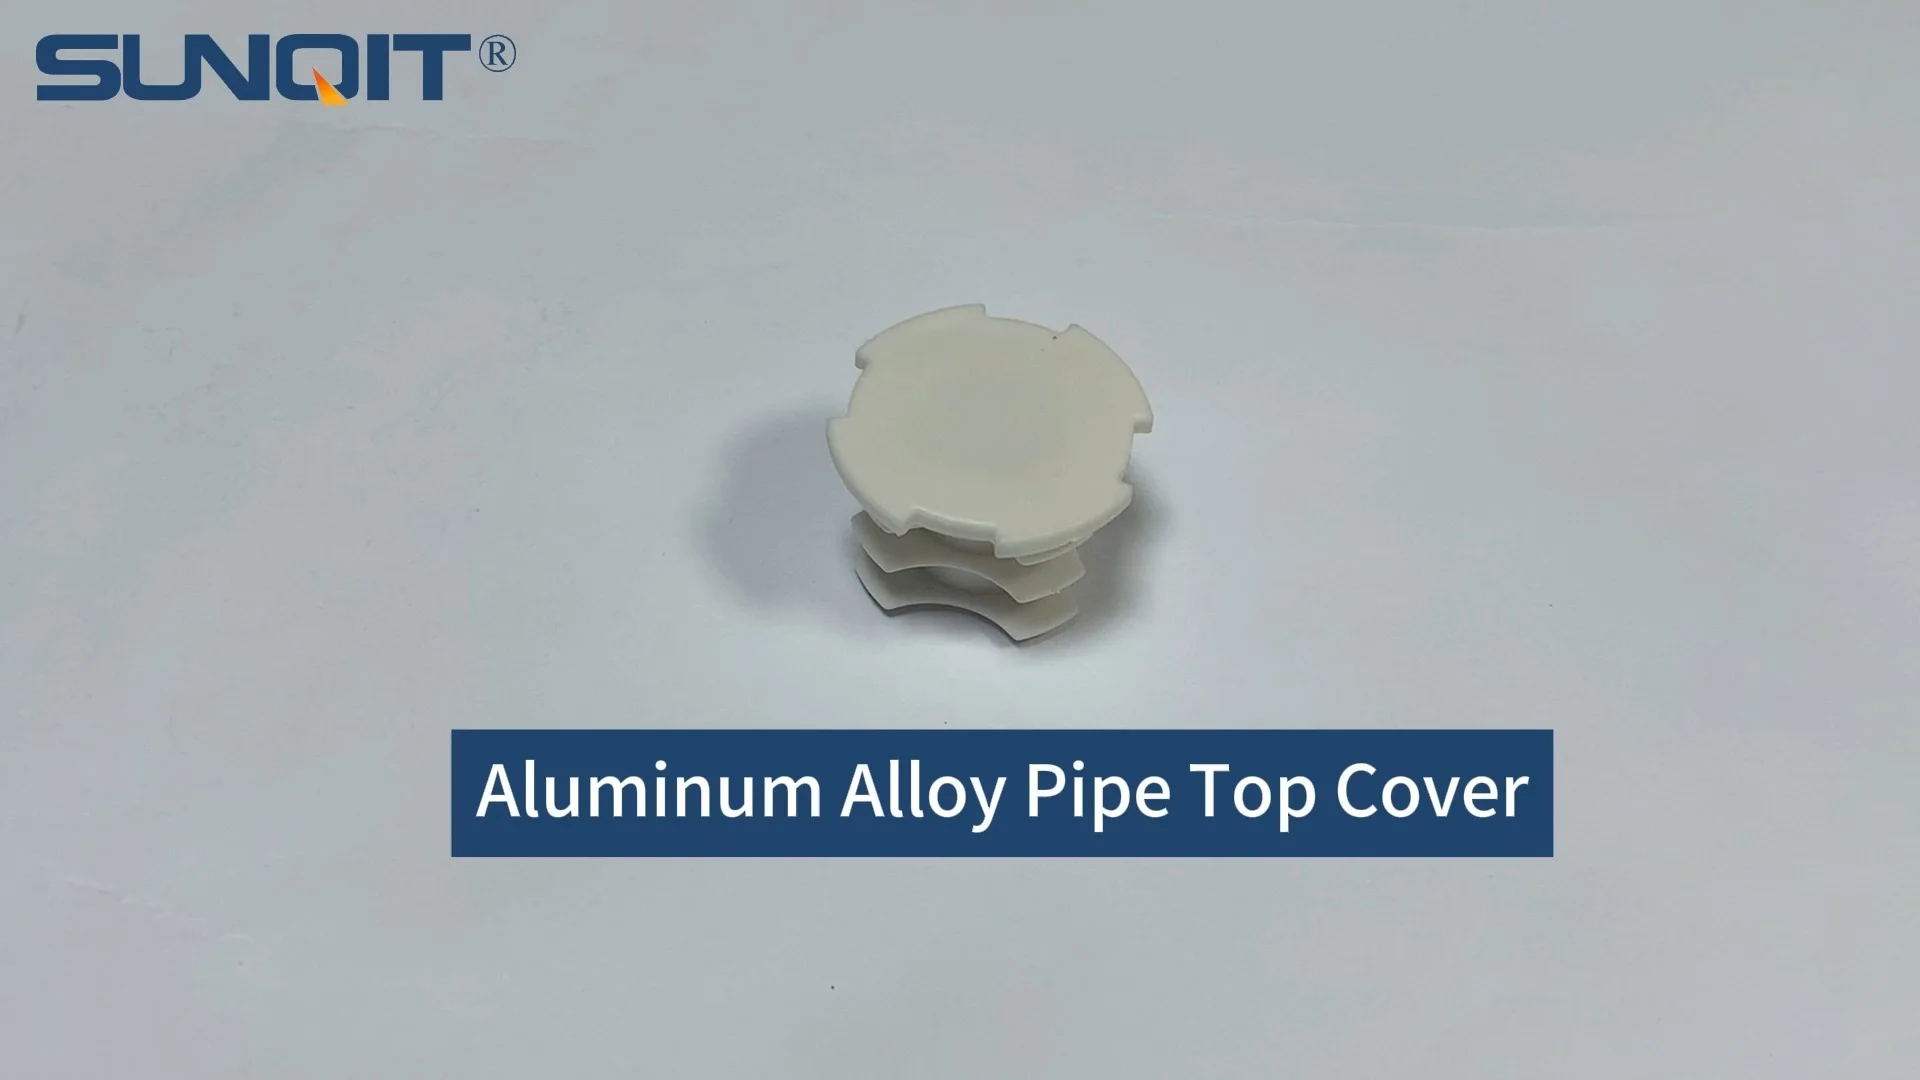
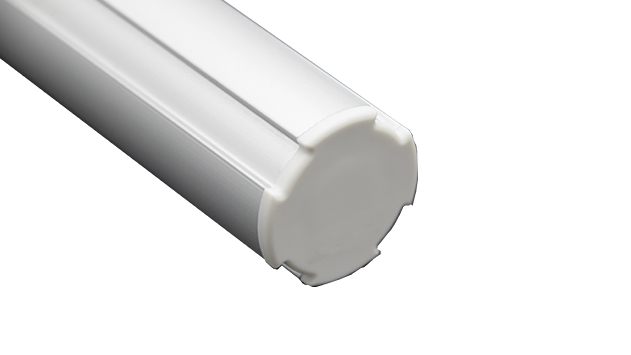
Plastic pipe cover to cover dia 28MM aluminum pipe end at workbench, flow rack, to prevent metal surface scratch material or worker.
If you've ever walked through a busy workshop, a manufacturing plant, or even a well-organized garage, you've probably noticed something subtle but crucial: the pipes running along walls, under workbenches, or overhead. More often than not, those pipes are wrapped in sleek, protective layers—plastic pipe covers. These unassuming accessories play a quiet but vital role in keeping operations running smoothly, protecting pipes from damage, reducing noise, and even preventing workplace injuries. But here's the thing: installing a plastic pipe cover isn't as simple as sliding it over a pipe and calling it a day. To do it right, you need the right tools. In this guide, we're diving deep into the must-have equipment for plastic pipe cover installation, why each tool matters, and how to use them effectively—whether you're setting up a lean system on the factory floor or sprucing up your home workshop.
Why Plastic Pipe Covers Deserve Your Attention
Before we jump into tools, let's take a moment to appreciate why plastic pipe covers are worth the effort. At first glance, they might seem like a "nice-to-have" rather than a "need-to-have," but in reality, they're workhorses in both industrial and residential settings. For starters, they protect pipes from the wear and tear of daily life. In production assemble lines, where machinery vibrates and materials are constantly moving, unprotected metal pipes can scratch, dent, or even corrode over time. A plastic cover acts as a shield, extending the life of your pipes and reducing maintenance costs down the line.
Safety is another big reason. Exposed pipes—especially those with sharp edges or rough surfaces—are accident waiting to happen. A worker rushing to meet a deadline might brush against a pipe and snag their sleeve, or a tool could slip and hit an unprotected pipe, causing a scrape or worse. Plastic pipe covers smooth out those edges, turning potential hazards into harmless surfaces. And let's not forget aesthetics: a bunch of bare pipes snaking through a workspace can look cluttered and unprofessional. Covers clean things up, giving your area a polished, intentional look that boosts morale and even impresses clients who tour your facility.
In lean systems, where efficiency and organization are king, plastic pipe covers fit right in. They help maintain a streamlined environment by hiding unsightly pipes, making it easier to focus on the tasks at hand. Plus, many covers are designed to be easy to remove and replace, which aligns with the lean principle of adaptability—if you need to access a pipe for repairs or reconfiguration, you can do so without a hassle.
The Toolkit: Essential Equipment for Plastic Pipe Cover Installation
Now that we've established why plastic pipe covers matter, let's talk about the tools that make installing them a breeze. Think of this as your "installation starter pack"—items you'll reach for again and again, whether you're a seasoned pro or a DIY enthusiast. We'll break them down by function, so you know exactly when and why to use each one.
1. Measuring Tools: Get the Fit Right the First Time
Ever tried to force a square peg into a round hole? That's what happens when you skip measuring before cutting a plastic pipe cover. Ill-fitting covers are loose, lopsided, or too short, which defeats the purpose of protection and looks sloppy. To avoid that, you'll need two basic measuring tools: a tape measure and a straightedge.
A good tape measure is non-negotiable. Look for one that's at least 25 feet long (longer if you're working with large pipes or long runs) and has clear, easy-to-read markings. A locking mechanism is a must—you don't want the tape retracting while you're trying to note a measurement. A straightedge, meanwhile, helps you draw clean, straight lines on the plastic cover before cutting. This could be a metal ruler, a yardstick, or even a sturdy piece of cardboard—anything that won't bend when you press a marker against it.
Pro tip: Measure twice, cut once. It's an old saying, but it's true. Pipes rarely run in perfectly straight lines, especially in older buildings or custom workspaces. Take measurements at multiple points along the pipe—near the top, middle, and bottom—to account for bends or bulges. And don't forget to add a tiny bit of extra length (about 1/4 inch) to your measurement. This "buffer" ensures the cover will slide on easily without being too tight, which can cause cracking over time.
2. Cutting Tools: Sharpness = Clean Edges
Once you have your measurements, it's time to cut the plastic pipe cover to size. The right cutting tool depends on the thickness and type of plastic you're working with. For thin, flexible covers (like those made from PVC or polyethylene), a simple utility knife will do the trick. Look for a retractable model with replaceable blades—dull blades tear plastic instead of cutting it, leaving ragged edges that are hard to smooth out.
For thicker or stiffer covers, step up to a manual pipe cutter. These tools look like small clamps with a rotating blade. You place the cutter around the cover, tighten it slightly, and spin it around the pipe. With each rotation, you tighten the cutter a little more, and the blade gradually slices through the plastic. The result? A clean, even cut that requires minimal sanding. If you're working with a lot of covers (say, in a large lean system setup), an electric pipe cutter can save you time and energy. These battery-powered tools zip through plastic with ease, but they're a bigger investment—only worth it if you'll be doing a lot of cutting regularly.
No matter which tool you use, always cut on a stable surface. A workbench with a non-slip mat works best—you don't want the cover sliding around mid-cut. And wear gloves! Plastic can get surprisingly sharp when cut, even with a clean blade. A pair of nitrile or leather gloves will protect your hands from nicks and scrapes.
3. Securing Tools: Keeping Covers in Place
A plastic pipe cover that slides off is worse than no cover at all—it's a waste of time and money, and it can even become a tripping hazard if it falls onto the floor. That's where securing tools come in. The most common option is a clamp, and when it comes to durability and versatility, aluminum pipe clamps are hard to beat. Unlike plastic clamps, which can crack under pressure or degrade in sunlight, aluminum clamps are strong, lightweight, and resistant to rust—perfect for both indoor and outdoor use.
Aluminum pipe clamps come in a range of sizes, so you'll need to match the clamp to the diameter of your pipe (and cover). Most clamps have a screw mechanism that lets you tighten them around the cover, holding it firmly in place without damaging the plastic. For extra security, especially in high-vibration areas like near heavy machinery, you can use two clamps per cover—one near each end. Just be careful not to over-tighten! Too much pressure can warp the cover or leave indentations, which weakens its protective properties.
If you're working with a plastic pipe sleeve (a type of cover that's more rigid and fits snugly over the pipe), you might not need clamps at all. Sleeves often have built-in tabs or adhesive strips that lock them in place. But for looser covers or those in high-traffic areas, clamps are a smart backup. Think of them as insurance—you'd rather have them and not need them than need them and not have them.
4. Finishing Tools: Polishing the Look
Even with the best cutting tools, you might end up with a few rough edges or small burrs on your plastic pipe cover. That's where finishing tools come in. A fine-grit sandpaper (220-grit or higher) is perfect for smoothing out cuts. Gently sand the edge in a circular motion until it's smooth to the touch—no need to press hard; plastic is soft, and too much pressure can create dents.
For covers that will be visible (like in a customer-facing area of your workshop), a heat gun can help you achieve a professional finish. Hold the heat gun a few inches away from the cover and move it back and forth quickly. The heat will slightly soften the plastic, allowing you to smooth out any minor imperfections. Just be careful not to overheat—too much heat can melt the plastic or cause it to warp. Keep the gun moving, and test it on a scrap piece of cover first to get the hang of it.
Step-by-Step: Installing a Plastic Pipe Cover Like a Pro
Now that you have your tools, let's walk through the installation process step by step. We'll use a typical scenario: installing a plastic cover on a metal pipe in a production assemble area. Follow these steps, and you'll have a secure, professional-looking cover in no time.
Step 1: Prep the Pipe
Start by cleaning the pipe. Dust, dirt, and grease can prevent the cover from sliding on smoothly and can even trap moisture against the pipe, leading to corrosion. Wipe the pipe down with a damp cloth and mild soap, then dry it thoroughly with a clean towel. If there's stubborn grime (like oil from machinery), use a degreaser—just make sure it's safe for plastic (check the label!).
Step 2: Measure and Mark
Using your tape measure, take the length of the pipe segment you want to cover. As we mentioned earlier, measure at three points and take the longest measurement. Add 1/4 inch to this number, then transfer the measurement to the plastic cover. Use a straightedge and a permanent marker to draw a straight line across the cover—this will be your cutting guide. Double-check the measurement before cutting—once you make the cut, there's no going back!
Step 3: Cut the Cover
Place the cover on your workbench, making sure the marked line is hanging over the edge (this gives you room to cut without damaging the bench). If using a utility knife, hold the straightedge firmly along the marked line and score the plastic with the knife. Apply gentle pressure—you're not trying to cut through in one go; you're creating a groove. After scoring, bend the cover slightly, and the plastic should snap cleanly along the groove. If there are rough edges, sand them down with fine-grit sandpaper.
If using a manual pipe cutter, position the cutter so the blade lines up with the marked line. Tighten the cutter until the blade touches the plastic, then spin it around the cover. After each full rotation, tighten the cutter a little more. Repeat until the cover is cut through. Wipe away any plastic shavings with a dry cloth.
Step 4: Slide On the Cover
Now comes the easy part: sliding the cover onto the pipe. If the cover is tight, try warming it up slightly with a hair dryer (on low heat) for 10-15 seconds. The heat will make the plastic more flexible, making it easier to slide on. Start at one end of the pipe and gently push the cover into place. If it gets stuck, don't force it—back it up and try again, wiggling it slightly as you go. Once it's in position, check that it's centered and straight—you can adjust it a little by pushing or pulling gently.
Step 5: Secure with Clamps
For added security, especially in high-traffic or high-vibration areas, secure the cover with aluminum pipe clamps. Place a clamp about 1 inch from each end of the cover. To install a clamp, open it wide enough to fit around the cover, position it where you want it, and tighten the screw until the clamp is snug but not too tight. You should be able to spin the clamp slightly with your hand—if it won't move, it's too tight. Repeat with additional clamps if the cover is longer than 3 feet (one clamp every 2-3 feet is usually enough).
Step 6: Inspect and Adjust
Take a step back and inspect your work. Is the cover straight? Are the edges smooth? Does it move when you gently tug on it? If everything looks good, you're done! If not, make adjustments: reposition the cover if it's crooked, sand any rough edges, or loosen/tighten clamps as needed. A little extra time here ensures the cover will last for years.

Common Mistakes to Avoid
Even with the right tools, it's easy to make small mistakes that can ruin your plastic pipe cover installation. Let's go over a few pitfalls and how to steer clear of them.
Mistake #1: Skipping the Prep Work Cleaning the pipe might seem like a chore, but it's non-negotiable. Dirt and grease act as barriers, preventing the cover from sliding on smoothly and creating gaps where moisture can seep in. Spend 2 minutes wiping down the pipe—your future self will thank you.
Mistake #2: Cutting Too Short Measure twice, cut once—we can't say it enough. If you cut the cover too short, you'll have to start over with a new piece, which wastes material and time. Always add that 1/4-inch buffer to your measurement. It's better to have a cover that's slightly too long (you can trim the excess) than one that's too short.
Mistake #3: Over-Tightening Clamps Aluminum pipe clamps are strong, but that doesn't mean you need to crank them until your knuckles turn white. Over-tightening can crack the plastic cover or leave permanent indentations. A good rule of thumb: tighten until the clamp stays in place when you shake the cover gently. If the cover moves, tighten a little more; if the plastic starts to bulge, loosen it.
Mistake #4: Ignoring Temperature Plastic expands and contracts with temperature changes. If you install a cover on a hot day, it might shrink in the winter and become loose. Conversely, a cover installed in cold weather might expand in the summer and crack. To avoid this, install covers in moderate temperatures (between 60-80°F if possible). If that's not an option, leave a tiny gap (1/8 inch) between the cover and any fixed objects (like walls or brackets) to allow for expansion.

Maintaining Your Plastic Pipe Covers (and Tools!)
Installing plastic pipe covers is just the first step—keeping them in good shape requires a little maintenance. Luckily, it's minimal. Every few months, wipe down the covers with a damp cloth and mild soap to remove dust and grime. If you notice any cracks or tears, replace the cover immediately—even a small hole can let moisture in, defeating the purpose of protection.
Don't forget about your tools, either! A dull utility knife or a rusty pipe cutter won't do you any favors. Clean your tools after each use: wipe off plastic shavings from cutters, oil the moving parts of pipe cutters to prevent rust, and replace utility knife blades when they start to drag. Store tools in a dry place—preferably a toolbox or cabinet—to keep them organized and protected from the elements.
Tool Comparison: Which Cutting Tool is Right for You?
| Tool Type | Best For | Skill Level | Pros | Cons |
|---|---|---|---|---|
| Utility Knife | Thin, flexible plastic covers (PVC, polyethylene) | Beginner | Inexpensive, portable, easy to use | Can leave rough edges; requires manual effort |
| Manual Pipe Cutter | Thicker, stiffer covers (ABS, rigid PVC) | Intermediate | Clean, even cuts; no electricity needed | Slower than electric cutters; requires hand strength |
| Electric Pipe Cutter | Large volumes of covers or very thick plastic | Beginner | Fast, effortless cuts; consistent results | Expensive; needs batteries or power source |
Final Thoughts: Invest in the Right Tools, Reap the Rewards
Installing plastic pipe covers might not be the most glamorous task, but it's one that pays off in spades. With the right tools—a tape measure, a good cutting tool, aluminum pipe clamps, and a little patience—you can protect your pipes, boost safety, and give your workspace a polished look. Whether you're setting up a lean system in a factory or organizing your home garage, taking the time to do the job right will save you headaches (and money) in the long run.
So, gather your tools, measure twice, and get to work. Your pipes (and your peace of mind) will thank you.