- Company Articles
- Products and Technology
- Installation And Maintenance
- Plastic Pipe Sleeve Installation Tools: Essential Equipment for Efficient Setup

Plastic Pipe Sleeve Installation Tools: Essential Equipment for Efficient Setup
Related Product
Plastic Pipe Sleeve
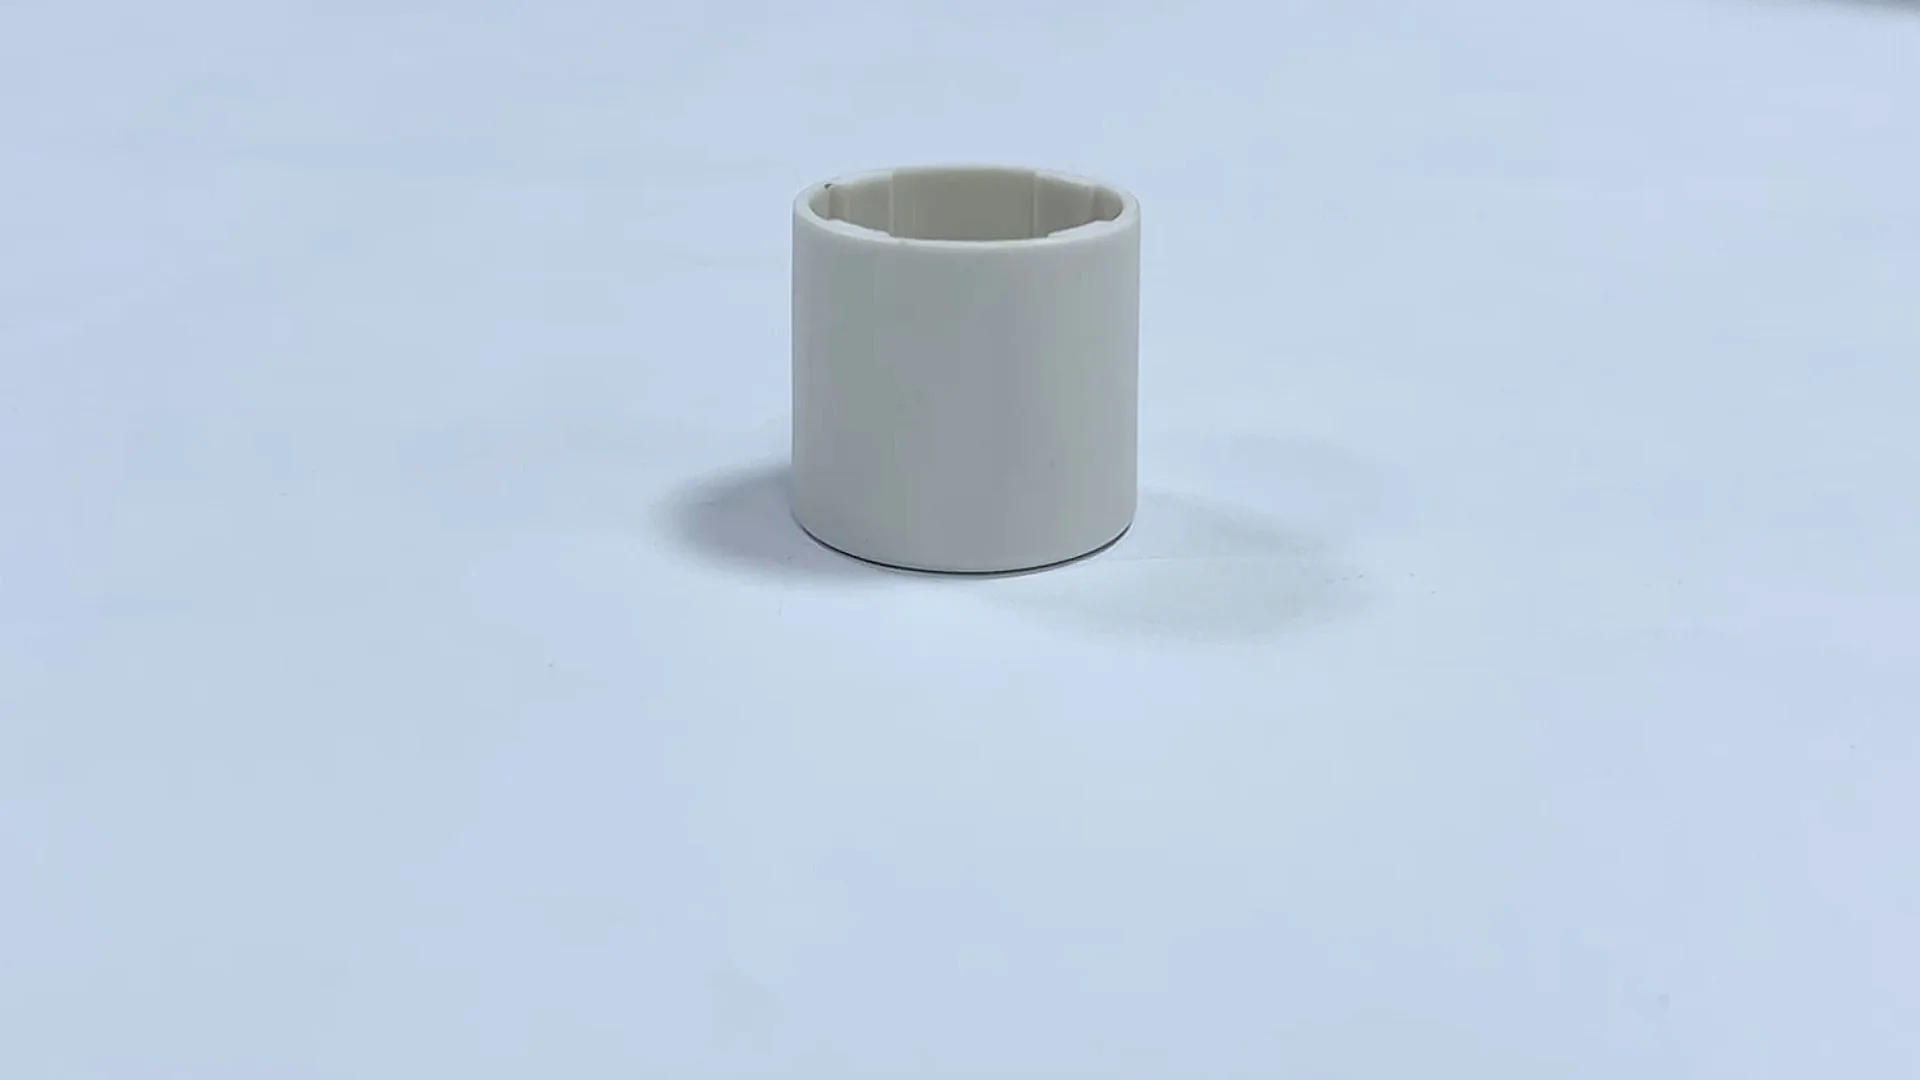
Plastic pipe sleeve to cover dia 28MM aluminum pipe end to contact with ground.
Introduction: The Unsung Heroes of Lean Workspaces
Walk into any modern manufacturing facility, warehouse, or workshop, and you'll likely spot a network of pipes, racks, and workbenches that keep operations running like clockwork. Behind this seamless functionality lies a humble yet critical component: the plastic pipe sleeve. These unassuming pieces play a quiet but vital role in holding everything together—protecting pipes from wear, reducing friction between moving parts, and ensuring that connections (like those with lean pipe joints) stay secure day in and day out. But here's the thing: even the best plastic pipe sleeve is only as good as the tools used to install it.
Anyone who's spent time setting up a material rack, assembling a workbench, or building a conveyor system knows the frustration of a botched installation. A sleeve that's cut unevenly might leave gaps, causing pipes to rattle loose. A joint that's not tightened properly could lead to wobbling shelves or, worse, safety hazards. And let's not forget the hours wasted trying to force a misaligned sleeve into place with a hammer and a prayer. The truth is, efficient setup starts with the right tools—and when it comes to plastic pipe sleeves, skimping on equipment is a false economy.
In this article, we'll dive deep into the world of plastic pipe sleeve installation tools. We'll explore why they matter, break down the essential equipment you need, walk through a step-by-step installation guide, and even touch on complementary accessories like aluminum pipe accessories that can take your setup to the next level. Whether you're a seasoned facility manager or a small business owner building your first workspace, this guide will help you avoid common pitfalls and achieve a setup that's not just functional, but built to last.
Understanding Plastic Pipe Sleeves: More Than Just "Covers"
Before we jump into tools, let's make sure we're all on the same page about what plastic pipe sleeves are and why they're worth caring about. At first glance, they might look like simple tubes of plastic, but their design and purpose are surprisingly nuanced.
What Are Plastic Pipe Sleeves?
Plastic pipe sleeves are cylindrical covers typically made from durable materials like polyethylene, polypropylene, or PVC. They're designed to fit over the ends or along the length of pipes—often lean pipes, aluminum pipes, or stainless steel pipes—to serve a few key functions:
- Protection: They shield pipes from scratches, corrosion, and impact damage, especially in high-traffic areas where carts or equipment might bump into them.
- Insulation: In some cases, they reduce heat transfer or electrical conductivity, which is crucial for ESD (electrostatic discharge) workstations where static control is a must.
- Connection Support: When paired with lean pipe joints, sleeves help create tight, secure connections between pipes, ensuring stability in structures like workbenches or material racks.
- Friction Reduction: On roller tracks or conveyor systems, sleeves can minimize friction between moving parts, allowing materials to glide smoothly without jamming.
Take, for example, a material rack B (3 row and 3 floor) setup—a common sight in warehouses. Each vertical and horizontal pipe in that rack relies on sleeves to connect to joints, distribute weight evenly, and prevent metal-on-metal contact that could weaken the structure over time. Without properly installed sleeves, that rack might start to wobble after a few months, putting inventory (and workers) at risk.

The Hidden Costs of Using the Wrong Tools
Let's set the scene: You've just received a shipment of plastic pipe sleeves, lean pipe joints, and aluminum pipe accessories. Your team is eager to assemble a new workbench for the production line, and you're on a tight deadline. To save time (and money, you think), you grab a utility knife to cut the sleeves, a regular wrench to tighten the joints, and a rubber mallet to tap everything into place. How does that story end?
Chances are, not well. The utility knife, while sharp, leaves jagged edges on the plastic sleeve, which catch on the pipe and make insertion a struggle. The wrench slips on the lean pipe joint, stripping the plastic and leaving the connection loose. The rubber mallet, meanwhile, dents the sleeve, creating weak points that will crack under pressure. By the end of the day, you've spent twice as long as planned, wasted half a dozen sleeves, and the workbench still (wobbles). worst of all, when you load it with tools the next day, a shelf gives way, sending parts crashing to the floor.
This scenario isn't just frustrating—it's costly. According to a survey by the Manufacturing Institute, 60% of unplanned downtime in factories is caused by equipment failure or poor setup, and a significant portion of that can be traced back to improper tool use. In the case of plastic pipe sleeves, the "hidden costs" add up quickly:
Material Waste:
Jagged cuts or cracked sleeves mean you'll throw away more parts than you use. A single sleeve might only cost a few dollars, but multiply that by 50 or 100 per project, and it adds up.
Time Loss:
Struggling with ill-fitting parts or stripped joints eats into productivity. What should take an hour could take three, delaying other tasks and missing deadlines.
Safety Risks:
Loose connections or damaged sleeves can lead to collapsed racks, falling tools, or tripping hazards. OSHA reports that 20% of workplace injuries involve faulty equipment setup—something easily avoidable with the right tools.
On the flip side, imagine using purpose-built tools: a ratchet pipe cutter that slices through sleeves cleanly, a hex key set designed for lean pipe joints, and a rubber-tipped installation tool that taps sleeves into place without damaging them. The workbench goes up in 45 minutes, the joints are tight, and the sleeves fit like a glove. No waste, no delays, no safety scares. That's the difference the right tools make.

Essential Plastic Pipe Sleeve Installation Tools: Your Must-Have List
Now that we've covered why tools matter, let's get into the specifics. Here are the essential tools you need to install plastic pipe sleeves efficiently and effectively, along with why each one is crucial:
1. Pipe Cutters: The Foundation of Clean Cuts
The first step in installing a plastic pipe sleeve is often cutting it to the right length. For that, you need a reliable pipe cutter. Not all cutters are created equal, though. Here are the two main types to consider:
- Manual Ratchet Pipe Cutters: These are ideal for plastic sleeves (and even aluminum pipes) because they use a ratcheting mechanism to apply steady pressure, resulting in clean, straight cuts with minimal effort. Look for models with replaceable blades and a cutting capacity that matches your sleeve diameter (most sleeves range from 0.5 inches to 2 inches in diameter).
- Rotary Pipe Cutters: Similar to ratchet cutters but with a circular blade that spins as you rotate the tool around the pipe. They're great for larger sleeves or when you need to make cuts in tight spaces, like inside a pre-assembled rack.
Avoid using utility knives, hacksaws, or scissors—they'll leave rough edges that make it hard to slide sleeves onto pipes or into joints. A good pipe cutter ensures the sleeve's end is perfectly perpendicular to its length, which is critical for a snug fit.
2. Deburring Tools: Smooth Out the Rough Spots
Even with the best pipe cutter, plastic sleeves can develop small burrs or rough edges after cutting. These might seem minor, but they can scratch pipes, catch on hands during installation, or prevent the sleeve from seating properly in a lean pipe joint. That's where a deburring tool comes in.
Deburring tools are small, handheld devices with sharp, curved blades that trim away burrs from the inside and outside edges of the sleeve. Some models have double-ended blades—one for inside deburring and one for outside—making them versatile. Think of it like sanding the edge of a piece of wood after cutting it: a quick pass with the deburring tool ensures the sleeve is smooth and ready to use.
3. Hex Key Sets (Allen Wrenches): Tightening Lean Pipe Joints
Most lean pipe joints (the connectors that hold pipes and sleeves together) use hex socket screws to tighten around the sleeve. A standard wrench won't fit these screws—you need a hex key set (also called Allen wrenches). Look for a set with both metric and imperial sizes, as joint manufacturers sometimes use different standards.
Pro tip: Invest in a set with ball-end hex keys. The ball-shaped tip allows you to turn the key at an angle, which is a lifesaver when joints are in tight corners (like under a workbench or between two vertical pipes in a material rack). Magnetic hex keys are another plus—they hold onto screws, preventing them from dropping into hard-to-reach gaps.
4. Installation Mallets: Tap, Don't Smash
Sometimes, sleeves need a gentle nudge to slide all the way onto a pipe or into a joint—especially if the pipe has a slight texture or the joint is new and tight. For this, you need an installation mallet, not a regular hammer. A rubber, plastic, or nylon-headed mallet delivers enough force to seat the sleeve without damaging the plastic (or the pipe underneath).
Avoid metal hammers at all costs—they'll crack or dent the sleeve, ruining it. A 16-ounce rubber mallet is usually sufficient for most sleeves; for larger or thicker sleeves, go up to 24 ounces. The key is to tap lightly and evenly around the sleeve's edge, not pound it directly in the center, which could cause it to warp.
5. Measuring Tapes and Markers: Precision is Key
You wouldn't build a house without a tape measure, and the same goes for installing plastic pipe sleeves. A retractable measuring tape (16 feet or longer is ideal) lets you measure pipe lengths accurately, ensuring sleeves are cut to the right size. Pair it with a fine-tipped permanent marker or a grease pencil to mark cut lines on the sleeve—just make sure the ink won't bleed through or stain the plastic (test it on a scrap piece first).
For extra precision, use a carpenter's square to draw straight lines across the sleeve before cutting. This ensures the cut is perfectly square, which is essential for sleeves that need to align with multiple joints (like in a grid-style workbench top).
6. Calipers or Diameter Gauges: Confirm the Fit
Not all pipes and sleeves are created equal—manufacturing tolerances can mean slight variations in diameter. A sleeve that's supposed to fit a 1-inch pipe might be a hair too small, leading to a struggle during installation. Calipers (digital or analog) let you measure the inner diameter of the sleeve and the outer diameter of the pipe to confirm they're compatible before you start cutting.
If you don't have calipers, a simple diameter gauge (a plastic card with cutouts for different sizes) works too. It's a small tool that can save you from wasting sleeves on pipes they won't fit.
7. Adjustable Wrenches: For Tightening Metal Components
While hex keys handle most lean pipe joints, some metal accessories—like caster wheel brackets or roller track connectors—might require a wrench for tightening. An adjustable wrench with a wide jaw (6 inches or larger) is versatile here. Look for one with a non-slip grip and a smooth adjustment mechanism to avoid scratching metal parts.
When using an adjustable wrench on plastic components, wrap the jaws in tape to prevent marring the surface. The goal is to tighten connections securely, not crush them.

Tool Comparison: Which Ones Are Right for You?
With so many tools on the market, it can be hard to choose. To help, here's a quick comparison of some popular options for the most essential tools:
| Tool Type | Example Product | Best For | Price Range | Pros | Cons |
|---|---|---|---|---|---|
| Manual Ratchet Pipe Cutter | IRWIN 1-1/4 inch Ratchet Cutter | Plastic sleeves, aluminum pipes (0.5-1.25 inch diameter) | $15-$30 | Clean cuts, easy to use, affordable | Not ideal for very large sleeves (>1.5 inches) |
| Rotary Pipe Cutter | REED 2-inch Rotary Cutter | Larger sleeves (1-2 inches), tight spaces | $25-$40 | Works in tight spots, no ratcheting needed | Requires more hand strength than ratchet cutters |
| Deburring Tool | WURTH Double-Ended Deburrer | Plastic, aluminum, and stainless steel sleeves | $8-$15 | Double-ended (inside/outside), compact | Blades can dull quickly with heavy use |
| Hex Key Set | Wera 9-piece Ball-End Hex Key Set | Lean pipe joints, aluminum profile accessories | $20-$40 | Ball-end for angled use, magnetic tips | More expensive than basic sets |
| Rubber Mallet | Stanley 16-ounce Rubber Mallet | Tapping sleeves into place, assembling racks | $10-$20 | Non-marring, comfortable grip | Heavier than plastic mallets (may cause fatigue) |
Step-by-Step Guide to Installing Plastic Pipe Sleeves
Now that you have your tools, let's walk through the installation process. We'll use a common scenario: installing sleeves on a set of pipes to build a simple workbench (workbench E, single deck without caster, for example). Follow these steps for a smooth, efficient setup:
Step 1: Gather Your Materials and Tools
Lay out all your components: plastic pipe sleeves, lean pipes (aluminum or steel), lean pipe joints, aluminum pipe accessories (like end caps or brackets), and your tools (pipe cutter, deburring tool, hex keys, etc.). Check that you have the right number of sleeves and joints—there's nothing worse than getting halfway through and realizing you're short a part.
Step 2: Measure and Mark the Sleeves
Using your measuring tape, determine how long each sleeve needs to be. For a workbench, sleeves might go over the horizontal pipes that connect the legs, so measure the distance between two lean pipe joints and add 1/4 inch to ensure the sleeve reaches both joints fully. Mark the sleeve with your marker, using a carpenter's square to draw a straight line around the circumference.
Step 3: Cut the Sleeves
Clamp the sleeve in a vice (if available) to hold it steady, or have a helper hold it. Position your pipe cutter around the sleeve, aligning the blade with your marked line. For ratchet cutters, squeeze the handles to engage the blade, then ratchet the tool around the sleeve, tightening slightly with each rotation. For rotary cutters, spin the tool around the sleeve while applying gentle pressure until it cuts through.
Take your time—rushing can lead to uneven cuts. If the cutter gets stuck, back off slightly and adjust the blade position before continuing.
Step 4: Deburr the Sleeves
Use your deburring tool to smooth both the inside and outside edges of the cut sleeve. insert the tool into the sleeve and twist gently to remove inner burrs; then run the outer blade along the edge to smooth the outside. Wipe the sleeve with a clean cloth to remove any plastic shavings.
Step 5: Test the Fit on the Pipe
Slide the sleeve onto the pipe to ensure it fits snugly but not too tightly. It should move freely enough to position over the pipe but not so loosely that it slides on its own. If it's too tight, check for remaining burrs or remeasure the pipe's diameter—you might have a sleeve that's slightly undersized. If it's too loose, you may need a thicker sleeve or to wrap the pipe with a thin layer of tape (though this is a temporary fix; better to get the right size sleeve).
Step 6: Assemble the Joints
Position the lean pipe joints on the pipe where the sleeve will connect. Slide the sleeve over the pipe until it covers the joint's connection point. Use your hex key to tighten the joint's screws, making sure the sleeve is fully seated inside the joint. Avoid over-tightening—plastic sleeves can crack under too much pressure. A good rule of thumb: tighten until you feel resistance, then give the key a quarter-turn more.
Step 7: Secure Additional Components
If your setup includes accessories like roller track guide rails or caster accessories, install them after the sleeves are in place. For example, on a workbench with a roller track, the sleeve might sit between the track's brackets and the main pipe, providing a stable base for the track to attach to.
Step 8: Inspect and Test
Once all sleeves are installed, give the structure a gentle shake to check for wobbling. Tug on the sleeves to ensure they don't slide on the pipes. If everything feels tight and stable, you're good to go! If not, check for loose joints or misaligned sleeves and adjust as needed.
Complementary Accessories: Beyond the Basics
While the tools above are essential, a few accessories can make plastic pipe sleeve installation even smoother. These aren't strictly "installation tools," but they work hand-in-hand with your setup to enhance durability and functionality:
Aluminum Pipe Accessories
Aluminum pipes are lightweight, corrosion-resistant, and often used with plastic sleeves in lean systems. Accessories like aluminum guide rails or aluminum profile end caps can protect pipe ends, making it easier to slide sleeves on and off during installation. For example, an aluminum guide rail A might act as a spacer between two pipes, ensuring the sleeves connecting them are perfectly aligned.
Caster Accessories
If your setup includes mobile equipment (like a turnover trolley or a workbench with casters), caster accessories like caster wheel locks or brake pedals are crucial. They prevent the structure from moving during sleeve installation, ensuring you can work safely without the pipes shifting.
Lean Pipe Joints with Rubber Inserts
Some lean pipe joints come with rubber or plastic inserts that grip the sleeve more securely, reducing the risk of loosening over time. These are especially useful in high-vibration environments, like near heavy machinery, where regular joints might work themselves loose.
Conclusion: Invest in Tools, Invest in Success
Plastic pipe sleeves might not be the most glamorous part of your workspace, but they're the backbone of stable, efficient lean systems. And like any backbone, they need the right support—starting with the tools used to install them. From pipe cutters that make clean cuts to hex keys that tighten joints without stripping, each tool plays a role in ensuring your sleeves fit snugly, your connections stay secure, and your workspace runs smoothly.
The next time you're tempted to skip investing in quality tools, remember the hidden costs of cutting corners: wasted materials, lost time, and safety risks. A set of good installation tools is an investment that pays off in faster setups, fewer repairs, and a workspace you can trust. Whether you're building a single workbench or outfitting an entire factory, the right tools make all the difference.
So, grab your pipe cutter, deburrer, and hex keys—and get ready to build something that lasts. Your plastic pipe sleeves (and your team) will thank you.