- Company Articles
- Products and Technology
- Product knowledge
- Preventing Leaks: Sealing Techniques for Three Way Aluminum Pipe Joints

Preventing Leaks: Sealing Techniques for Three Way Aluminum Pipe Joints
Related Product
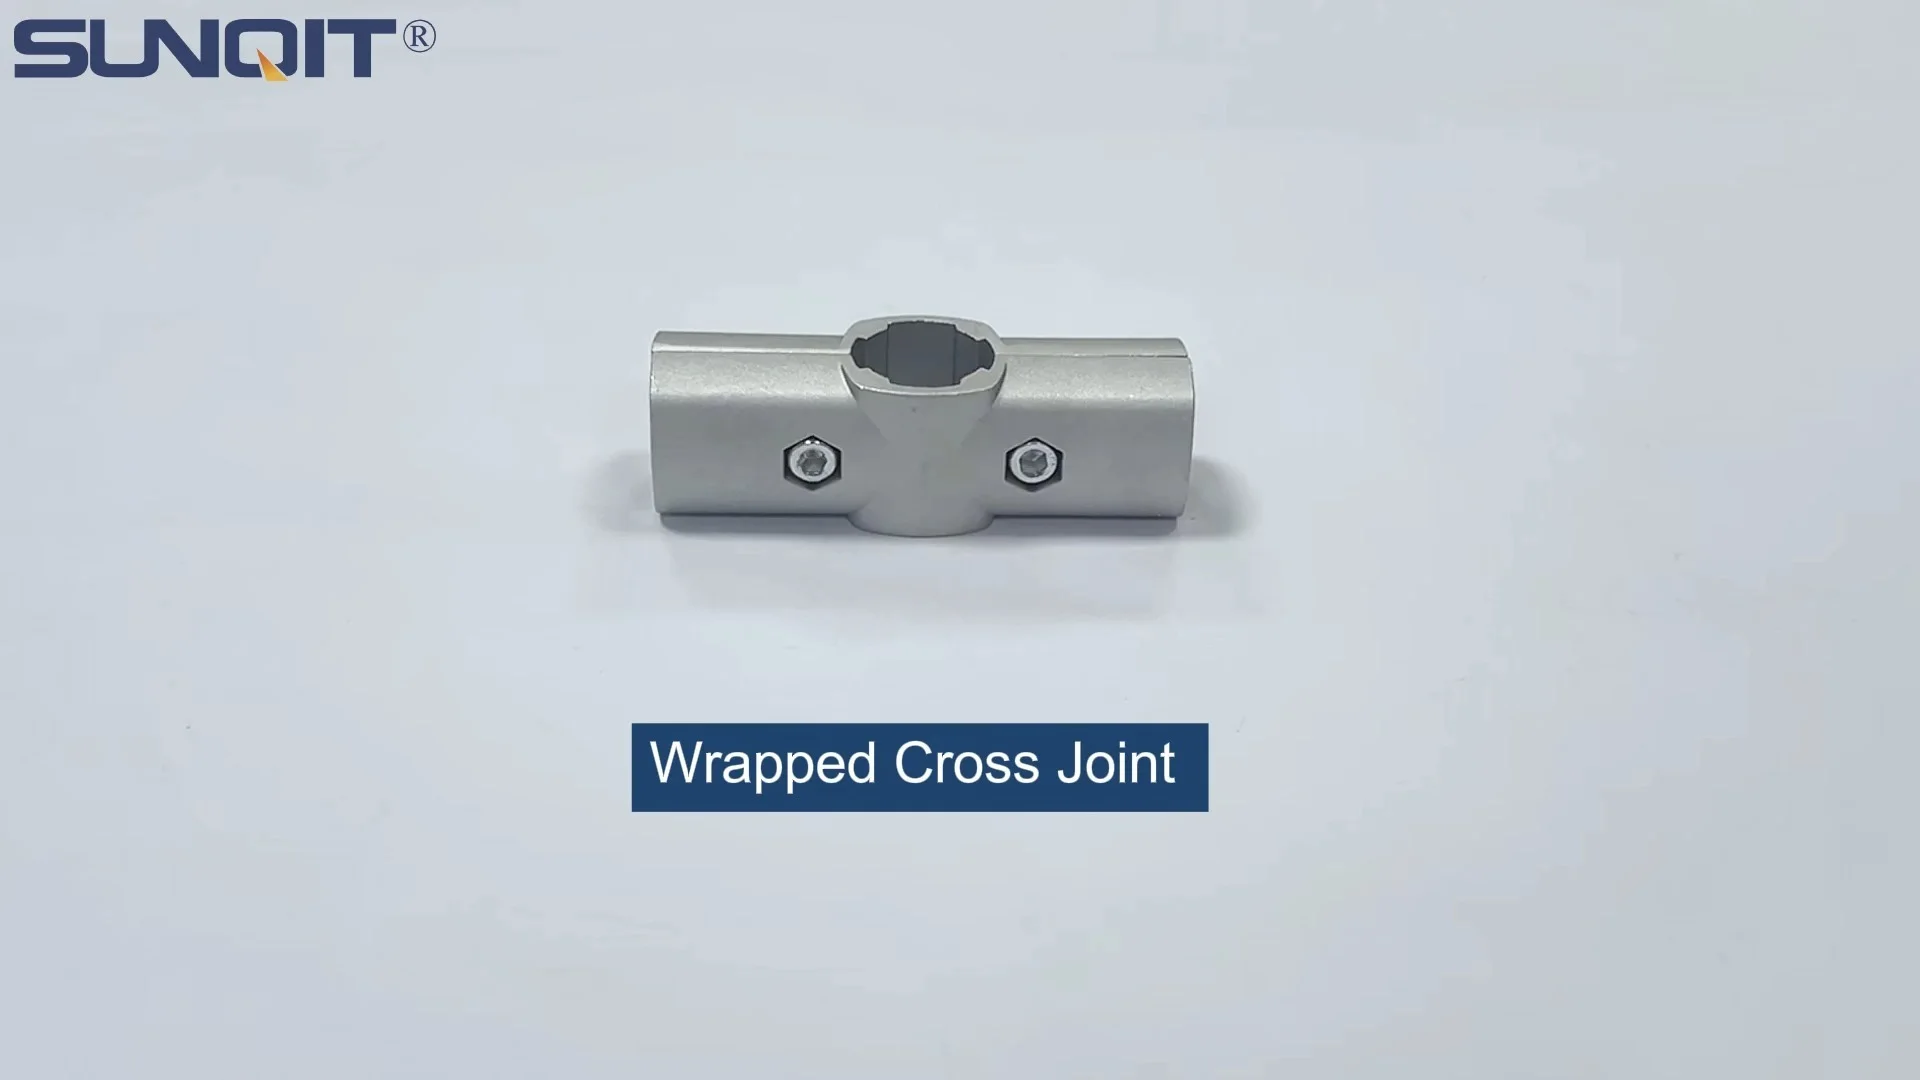
Three Way Aluminum Pipe Joint
Aluminum 3 way pipe joint for 28mm aluminum pipe connection in 3 direction.
Walk into any manufacturing plant, and you'll likely spot aluminum pipe systems weaving through workstations, material racks, and assembly lines. These systems, often the backbone of lean manufacturing setups, rely on strong, leak-free joints to keep operations running smoothly. From feeding coolant to machinery on a workbench to guiding parts through a material rack b (3 row and 3 floor), every connection matters. But when a three way aluminum pipe joint starts to leak—whether it's a slow drip or a steady stream—it's more than just a hassle. It can disrupt workflows, waste valuable resources, and even create slippery surfaces that risk employee safety. In this guide, we'll break down why these leaks happen, and more importantly, share practical, actionable sealing techniques to keep your aluminum pipe systems tight and reliable.
Understanding Three Way Aluminum Pipe Joints: The Unsung Heroes of Lean Systems
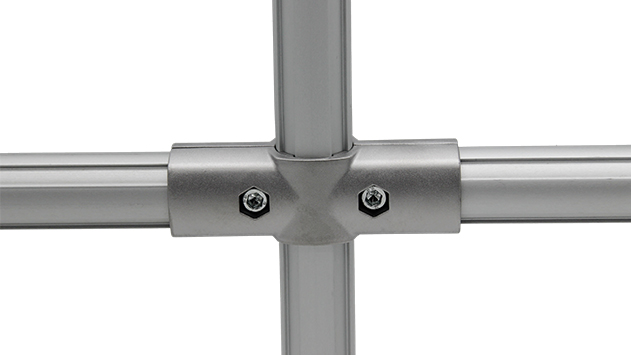
Before diving into sealing, let's take a moment to appreciate what three way aluminum pipe joints do. These unassuming components are the traffic directors of your pipe network, connecting three pipes at once to split or merge flows. Think of them as the intersections in a city—without them, you couldn't route materials, fluids, or air where they need to go. They're especially critical in lean systems, where efficiency is king. For example, in a material rack b (3 row and 3 floor), three way joints might branch pipes upward to support the second and third levels, ensuring the rack stays stable under heavy loads.
Aluminum is the material of choice here for good reason: it's lightweight, resistant to corrosion, and strong enough to handle the demands of most industrial environments. But even the best aluminum pipes and joints need proper sealing to perform. Unlike steel, aluminum is softer, so overtightening or using the wrong accessories can damage threads or create gaps—perfect spots for leaks to start. That's why understanding the unique needs of three way aluminum pipe joints is the first step to keeping your system leak-free.
Why Leaks Happen: Common Culprits Behind Loose Joints
Leaks rarely happen without reason. More often than not, they're the result of small oversights during installation, wear and tear over time, or mismatched components. Let's break down the most common causes:
- Poor Installation: Rushing through setup is a recipe for leaks. If a joint isn't tightened evenly or aligned properly, gaps can form between the pipes and the joint. Even something as simple as cross-threading—starting the threads at an angle—can strip the aluminum, leaving weak spots that won't seal.
- Damaged Threads or Sealing Surfaces: Aluminum threads are delicate. Dropping a joint, using a worn wrench, or forcing a misaligned pipe can scratch or dent the threads, making a tight seal impossible. Similarly, if the sealing surfaces (the flat or curved areas where gaskets or O-rings sit) are dirty or dented, they can't compress properly to block leaks.
- Mismatched Accessories: Not all aluminum profile accessories are created equal. Using a gasket that's too thick, an O-ring made from the wrong material, or a compression fitting designed for steel pipes can throw off the seal. For example, a rubber O-ring meant for low temperatures might harden and crack in a warm industrial environment, losing its ability to block leaks.
- Environmental Stress: Temperature swings cause aluminum to expand and contract, which can loosen joints over time. Vibration from nearby machinery is another culprit—constant shaking can gradually unscrew connections, especially if they weren't tightened to the right torque initially.
- Neglected Maintenance: Even well-installed joints need check-ins. Over months of use, O-rings degrade, gaskets compress permanently, and threads can collect debris. Ignoring these signs until a leak starts means you're already behind the curve.
Sealing Techniques: Step-by-Step Solutions to Stop Leaks
Now that we know why leaks happen, let's explore the most effective ways to seal three way aluminum pipe joints. The right technique depends on your system's needs—whether you need a temporary fix, a permanent seal, or something that can handle high pressure or temperatures. Here are five methods that work, along with when and how to use them.
1. Mechanical Sealing with O-Rings: Simple, Flexible, and Reliable
O-rings are a go-to for many aluminum pipe systems, and for good reason: they're affordable, easy to install, and work well in low to medium pressure applications. These small, circular rings (usually made of rubber, silicone, or nitrile) sit in grooves inside the joint, compressing when the joint is tightened to create a watertight barrier.
How to Do It Right:
- Choose the Right O-Ring: Size matters—measure the groove diameter and cross-section of your joint to get a snug fit. Material is key too: nitrile works for oils and fuels, silicone handles high temperatures, and EPDM is great for water and chemicals. Check your system's specs to avoid mismatches.
- Inspect and Clean: Before installing, check the O-ring for cracks, nicks, or hardening (a sign it's expired). Clean the joint's groove and sealing surfaces with a lint-free cloth to remove dirt, oil, or old sealant residue—even a tiny speck can prevent a tight seal.
- Install Carefully: Roll the O-ring into the groove (don't stretch it too much) and make sure it sits flat, without twists. Align the pipes with the joint, then tighten the connection gradually, alternating sides if it's a three way joint (this ensures even compression).
- Test: After tightening, run a quick pressure test (if possible) or check for leaks visually. If you spot a drip, loosen the joint, inspect the O-ring for damage, and try again—over-tightening can pinch the O-ring, ruining it.
2. Thread Sealants: Teflon Tape and Pipe Dope for a Sticky Fix
For threaded three way joints, thread sealants fill in the tiny gaps between male and female threads, creating a barrier that blocks leaks. The two most common types are Teflon tape (PTFE tape) and pipe dope (thread sealant paste). Both are easy to use and work well for low to medium pressure systems, like air lines or coolant loops.
Teflon Tape Tips:
- Wrap the tape in the direction of the threads (clockwise for most joints)—this prevents it from unraveling when you screw the joint on.
- Use 2-3 layers—too much tape can bunch up and block the pipe, too little won't seal.
- Press the tape firmly into the threads, but don't stretch it—this helps it conform to the threads when tightened.
Pipe Dope Tips:
- Apply a thin, even layer to the male threads (avoid getting it inside the pipe, where it can clog filters or valves).
- Let it sit for a minute to tack up before assembling—this helps it adhere better.
- Use pipe dope with Teflon for extra security in high-vibration areas.
Pro Note: Never mix Teflon tape and pipe dope on the same joint—they can react and break down, creating more leaks instead of fixing them. Stick to one or the other.
3. Compression Fittings: Snug and Secure for Movable Joints
Compression fittings are ideal if you need a seal that can handle some movement (like thermal expansion) or if you might need to disassemble the joint later. These fittings use a ferrule (a small metal ring) that compresses around the pipe when the nut is tightened, creating a tight seal without damaging the aluminum.
Installation Steps:
- Prepare the Pipe: Cut the pipe straight (a miter box helps) and deburr the edges with a file or deburring tool—sharp edges can tear the ferrule.
- Assemble the Fitting: Slide the nut and ferrule onto the pipe (nut first, then ferrule, with the ferrule's tapered end facing the joint).
- insert and Tighten: Push the pipe into the joint until it hits the stop, then hand-tighten the nut. Use a wrench to give it a 1/4 to 1/2 turn more—this compresses the ferrule into the pipe and joint. Don't over-tighten—aluminum is soft, and you can crush the pipe or strip the nut.
- Check for Leaks: If it drips, loosen the nut, pull the pipe out, and inspect the ferrule—if it's bent or deformed, replace it. If it looks good, try tightening another 1/8 turn.
4. Gaskets: Thick and Tough for High-Pressure Systems
For joints that handle higher pressure (like hydraulic lines) or where a more rigid seal is needed, gaskets are the way to go. These flat, flexible discs (made of rubber, fiber, or metal) sit between the joint and the pipe flanges, compressing to block leaks. Many aluminum profile accessories include gaskets designed specifically for three way joints, so they're a great choice if you're using OEM parts.
How to Install Gaskets:
- Choose the Right Gasket: Match the material to your fluid (e.g., neoprene for water, Viton for chemicals) and the pressure rating of your system. The gasket should be slightly larger than the flange opening to ensure full coverage.
- Clean and Align: Wipe the flange surfaces clean of old gasket material, rust, or debris. Place the gasket on one flange, making sure the bolt holes line up.
- Tighten Bolts Gradually: If the joint has bolts (common in flange-style three way joints), tighten them in a star pattern (like you would a car tire) to distribute pressure evenly. This prevents the gasket from buckling or tearing.
- Re-Tighten After Use: Gaskets can compress slightly after the first use, so check the bolts again after a few hours of operation and tighten if needed.
5. Soldering/Brazing: Permanent Seals for High-Temperature Applications
When you need a leak-proof seal that will last for years—even in high temperatures or high-pressure systems—soldering or brazing is the answer. These methods melt a filler metal (solder for lower temps, brazing rod for higher temps) into the joint, fusing the pipes and joint together permanently. It's more labor-intensive than other techniques, but it's ideal for critical systems, like steam lines or industrial ovens.
Basic Steps for Brazing (Most Common for Aluminum):
- Clean the Joint: Aluminum oxidizes quickly, so use a wire brush or sandpaper to remove the oxide layer from the pipe ends and joint. Apply a flux specifically for aluminum (this prevents new oxidation during heating).
- Assemble and Secure: Fit the pipes into the three way joint and clamp them in place (use a vice or C-clamps) to keep them aligned while heating.
- Heat the Joint: Use a propane torch or oxy-acetylene torch (adjust the flame to a neutral setting). Heat the joint evenly—not just the pipes—until the flux starts to bubble (this means it's ready).
- Add Filler Metal: Touch the end of the brazing rod to the joint (not the flame). When the joint is hot enough, the filler will melt and flow into the gaps, forming a strong bond. Move the rod around the joint to ensure full coverage.
- Cool and Clean: Let the joint cool naturally (don't quench it with water—this can crack the metal). Once cool, brush off any remaining flux with a wire brush.
Warning: Brazing requires skill and safety gear (gloves, goggles, fire extinguisher). If you're not experienced, leave this to a professional—overheating can warp the aluminum, and underheating won't create a proper seal.

Comparing Sealing Methods: Which One Is Right for You?
With so many options, it can be hard to choose the best sealing technique for your three way aluminum pipe joint. The table below breaks down the pros and cons of each method to help you decide:
| Sealing Method | Ease of Installation | Durability | Cost | Best For |
|---|---|---|---|---|
| O-Rings | Easy (5-10 mins) | Medium (1-3 years, replaceable) | Low ($0.50-$5 per O-ring) | Low to medium pressure, frequent disassembly |
| Thread Sealants (Tape/Dope) | Very Easy (2-5 mins) | Medium (1-2 years, may need reapplication) | Very Low ($0.25-$2 per roll/tube) | Threaded joints, low pressure (air, water) |
| Compression Fittings | Moderate (10-15 mins) | High (3-5 years, replaceable ferrules) | Medium ($5-$15 per fitting) | Medium pressure, systems with vibration |
| Gaskets | Moderate (10-20 mins) | High (2-4 years, replaceable) | Medium ($2-$10 per gasket) | Flanged joints, high pressure, OEM systems |
| Soldering/Brazing | Hard (30+ mins, requires skill) | Very High (5+ years, permanent) | High ($20-$50 for tools and materials) | High temperature/pressure, permanent installations |

Maintenance: Keeping Leaks at Bay Long-Term
Even the best sealing job won't last forever without a little care. Regular maintenance can catch small issues before they turn into big leaks, saving you time and money down the line. Here's a quick checklist to keep your three way aluminum pipe joints in top shape:
- Inspect Monthly: Walk through your system and check joints for signs of leaks (drips, dampness, or corrosion around the connection). Pay extra attention to joints near vibrating machinery—they're more likely to loosen.
- Tighten Loose Joints: If a threaded joint feels wobbly, gently tighten it with a wrench (don't overdo it—aluminum threads strip easily). For compression fittings, check the nut and retighten if needed.
- replace Wear Parts: O-rings, gaskets, and ferrules degrade over time—replace them every 1-3 years (sooner if you notice cracks or hardening).
- Clean Threads: If you disassemble a joint, clean the threads with a wire brush and apply fresh thread sealant when reassembling.
- Protect Unused Joints: If you're not using a port on a three way joint, cap it with a plug and seal it with Teflon tape to keep out dirt and moisture.
Final Thoughts: Leak-Free Joints, Smooth Operations
A leaky three way aluminum pipe joint might seem like a small problem, but in a lean system—where every second and every resource counts—it can have big consequences. Whether you're using O-rings, thread sealant, or brazing, the key is to choose the right technique for your system, install it carefully, and maintain it regularly. By taking the time to seal your joints properly, you'll keep your production line running smoothly, protect your equipment, and ensure your team stays safe.
Remember: quality matters. Using genuine aluminum profile accessories, like O-rings and gaskets designed for your specific joint, can make all the difference. And when in doubt, don't hesitate to reach out to your supplier—they can help you choose the right sealing method and materials for your needs. With a little attention to detail, you'll have leak-free joints that stand the test of time.