- Company Articles
- Products and Technology
- Installation And Maintenance
- Preventing Warping: Tips for Installing 3060 Aluminum Angle Yards

Preventing Warping: Tips for Installing 3060 Aluminum Angle Yards
Related Product
3060 Aluminum Angle Yards
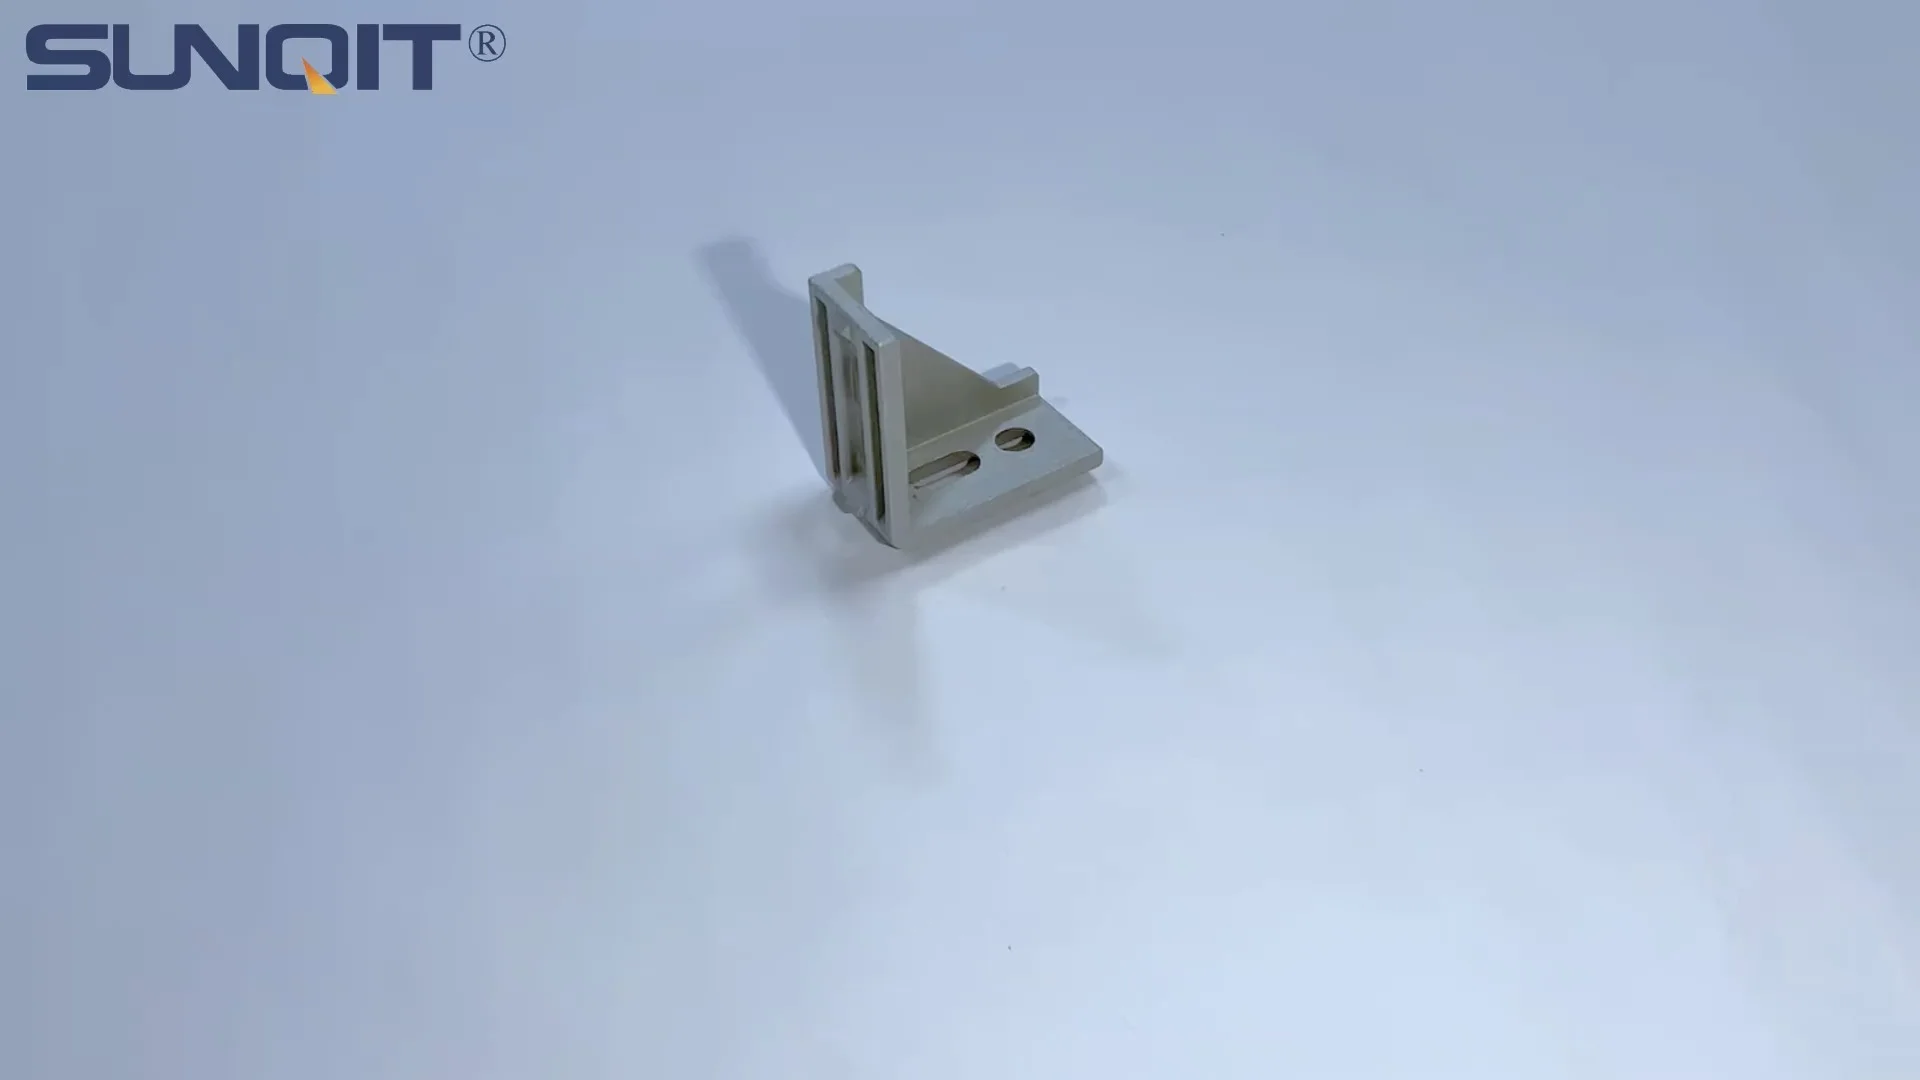
It used for 90° flat connection for 20 series aluminum profile.
If you've ever walked into a workshop and noticed a once-straight aluminum structure leaning to one side, or a material rack that's started to bow under the weight of tools and parts, you've seen warping in action. For anyone working with aluminum angle yards—especially the popular 3060 aluminum angle yards—warping isn't just a cosmetic issue. It can disrupt workflow, create safety risks, and even shorten the lifespan of your equipment. The good news? With the right installation techniques and a little attention to detail, warping is almost entirely preventable. Let's dive into how to install 3060 aluminum angle yards the right way, so your structures stay straight, strong, and reliable for years to come.
Understanding 3060 Aluminum Angle Yards: More Than Just Metal Bars
First, let's get clear on what we're working with. 3060 aluminum angle yards are a type of aluminum profile—a versatile, lightweight structural component widely used in manufacturing, warehouses, and workshops. The "3060" refers to their dimensions: typically 30mm in one leg and 60mm in the other, forming a right angle. What makes them so popular? Aluminum is naturally resistant to corrosion, lightweight enough to move and install without heavy machinery, yet strong enough to support tools, materials, and even workbenches. But here's the catch: aluminum's strength and stability depend heavily on how it's installed. Unlike steel, which is rigid and less prone to flexing, aluminum has a bit of give—making it more susceptible to warping if subjected to uneven stress, poor support, or mismatched accessories.
Think of it like building a bookshelf. If you skimp on the brackets or don't anchor it to the wall, it might stand straight for a week, but once you load it with books, it'll start to sag. The same logic applies to 3060 aluminum angle yards. They're designed to work with specific aluminum profile accessories—brackets, end caps, connectors—to distribute weight and maintain shape. Use the wrong parts, or skip key installation steps, and warping becomes almost inevitable.
Why Do 3060 Aluminum Angle Yards Warp? Common Culprits
Before we talk solutions, let's identify the enemy: what causes warping in the first place? In my years working with aluminum profile systems, I've seen a handful of repeat offenders:
- Uneven Weight Distribution: Hanging too much weight on one side of a structure (like piling all your heaviest tools on the left end of a workbench) creates uneven stress. Aluminum bends under pressure, and over time, that uneven pull can warp the angle yard.
- Poorly Fitted Accessories: Using generic or ill-fitting aluminum profile accessories is a recipe for trouble. For example, a bracket that's slightly too loose won't hold the angle yard securely, letting it shift and flex. Even something as small as a missing 3060 aluminum profile end cap can cause issues—without it, moisture or debris can seep into the profile, weakening the material over time.
- Thermal Expansion Overlooked: Aluminum is a great conductor of heat and cold. If you install angle yards on a freezing morning and then the workshop heats up to 80°F by afternoon, the metal expands. If there's no room for that expansion (like tight, unyielding joints), the angle yard will bow or twist to relieve the pressure.
- Over-Tightening Fasteners: It's tempting to crank down bolts until they won't turn anymore, thinking "tighter = stronger." But aluminum is softer than steel—over-tightening can actually bend or distort the angle yard at the joint, creating micro-warping that gets worse with use.
- Insufficient Support for Long Spans: A 3060 aluminum angle yard spanning 6 feet without a center support might look sturdy at first, but over time, gravity takes its toll. Without brackets or posts to prop up the middle, the angle yard will sag, starting a slow warp that's hard to reverse.
Now that we know what causes warping, let's walk through how to prevent it—step by step, from prep to installation to final checks.

Pre-Installation Prep: Set Yourself Up for Success
Warping prevention starts before you even pick up a tool. Taking 10-15 minutes to prep can save hours of frustration later. Here's what to do:
1. Inspect Your Aluminum Profile First. Not all angle yards are created equal. Before installation, lay the 3060 aluminum angle yard flat on a level surface (like a concrete floor or a sturdy table) and roll it gently. If it wobbles or curves as it rolls, it might already be slightly warped from manufacturing or shipping. A tiny bend is fixable, but a major curve means you should swap it out for a straight piece—starting with warped material is a losing battle.
2. Gather the Right Aluminum Profile Accessories. This isn't the time to "make do" with whatever's in your toolbox. For 3060 angle yards, use accessories designed specifically for that profile size: brackets that fit snugly into the T-slots, connectors rated for the weight you'll be supporting, and yes—don't forget the 3060 aluminum profile end cap. The end cap isn't just for looks; it seals the open end of the angle yard, preventing dust, moisture, and debris from getting inside and weakening the material. It also adds a tiny bit of structural support to the end, reducing flex.
3. Plan for Thermal Expansion. Measure your workspace's temperature range. If your shop gets hot in summer and cold in winter, note the difference. For every 10°F change, aluminum expands about 0.000012 inches per inch of length. That might sound small, but over a 10-foot angle yard, a 50°F swing adds up to 0.0072 inches of expansion. Not a lot, but enough to cause warping if joints are glued or welded shut. Instead, use adjustable connectors that let the angle yard "breathe."
4. Mark Support Points. For any span over 4 feet, plan to add a support bracket or post in the middle. Use a tape measure and a pencil to mark where these supports will go on both the angle yard and the surface you're mounting it to (wall, floor, or another structure). This ensures you won't forget mid-installation—and avoids the "oops, this is longer than I thought" panic.

Installation Tips: How to Mount 3060 Aluminum Angle Yards Without Warping
Now, the main event: installing the angle yards. Follow these steps, and you'll drastically reduce the risk of warping:
1. Start with a Level Base. I can't stress this enough: if the surface you're mounting to isn't level, the angle yard will warp trying to compensate. Use a 4-foot spirit level to check the wall, floor, or frame where you'll attach the angle yard. If it's off by more than 1/8 inch over 4 feet, shim it with thin metal or plastic shims until it's straight. A level base = a straight angle yard.
2. Use a Template for Consistent Spacing. If you're installing multiple angle yards (like for a shelving unit with two vertical sides and three horizontal shelves), create a simple template from cardboard or plywood. Mark where each bracket or connector should go, then use the template to ensure spacing is identical on both sides. Inconsistent spacing means uneven weight distribution—and you know what that leads to: warping.
3. Tighten Fasteners "Snug, Not Cranked." Here's a pro tip: use a torque wrench set to 15-20 in-lbs for aluminum profile bolts. If you don't have a torque wrench, tighten until the bolt is snug, then give it a quarter-turn more. Any tighter, and you risk deforming the angle yard's T-slot or bending the metal around the bolt hole. Remember: aluminum flexes, so bolts need to hold it securely without forcing it into an unnatural shape.
4. Add Center Supports for Long Spans. For any horizontal angle yard over 4 feet, install a center support bracket. Even if you're only putting light items on the shelf, that extra support prevents sagging. For example, if you're building a material rack with 6-foot horizontal rails, add a vertical post in the middle, connected to the rail with an aluminum profile accessory like a right-angle bracket. It's a small step that makes a huge difference in long-term stability.
5. Leave a Tiny Gap for Expansion. When connecting two angle yards end-to-end (like for a 12-foot span made from two 6-foot pieces), leave a 1mm gap between them. This gap gives the metal room to expand in heat without pushing against each other and warping. Cover the gap with a decorative trim if needed, but don't fill it with glue or caulk—let it breathe!
6. Install the 3060 Aluminum Profile End Cap Last. Once the angle yard is mounted and aligned, pop on the end cap. Press it firmly into place—most end caps are designed to snap or slide in, creating a tight seal. This keeps out moisture and debris, which can corrode the inside of the profile and weaken it over time. A quick visual check: if the end cap wobbles, it's not seated right—push it in until it's flush with the end of the angle yard.

The Role of Aluminum Profile Accessories: Don't Skimp on the Small Stuff
I've mentioned aluminum profile accessories a few times, but they're worth highlighting again. These small parts—brackets, connectors, end caps—are the unsung heroes of preventing warping. Here's why each matters:
- 3060 Aluminum Profile End Cap: Seals the profile, blocks moisture, and adds structural integrity to the end. Without it, the open end can act like a lever, bending under weight.
- Right-Angle Brackets: Distribute weight from the angle yard to the mounting surface (wall, floor, etc.). Look for brackets with gussets (triangular supports) for extra strength—they reduce flex at the joint.
- Adjustable Connectors: These let you fine-tune alignment after installation. If you notice a tiny warp starting, you can loosen the connector, straighten the angle yard, and retighten—no need to rebuild the whole structure.
- Rubber Gaskets: For outdoor or high-moisture environments, slip a thin rubber gasket between the angle yard and mounting surface. It absorbs vibrations (which can loosen fasteners over time) and prevents metal-on-metal corrosion.
Pro tip: Buy accessories from the same supplier as your aluminum profile. They're guaranteed to fit perfectly, reducing the risk of loose or misaligned parts.
Troubleshooting Early Warping: Catch It Before It Gets Worse
Even with perfect installation, life happens. Maybe a shelf gets overloaded, or a fastener works loose. The key is to spot warping early—before it becomes permanent. Here's a quick troubleshooting guide to common issues:
| Issue | What Might Be Causing It | Quick Fix |
|---|---|---|
| Slight sagging in the middle of a horizontal angle yard | Insufficient center support; overloaded with weight | Add a center support bracket; redistribute weight evenly across the span |
| Angle yard twists slightly at the joint (looks "crooked") | Loose connector; uneven tightening of bolts | Loosen the connector, realign with a level, then retighten bolts (snug, not tight) |
| End of the angle yard bends upward (away from the mounting surface) | Missing or loose 3060 aluminum profile end cap; moisture weakening the end | Install a new end cap; if the bend is minor, gently bend it back with a rubber mallet (support the middle to avoid kinking) |
| Angle yard bows outward in hot weather | No expansion gap at joints; thermal expansion trapped | Loosen connectors slightly to create a 1mm gap; avoid installing in direct sunlight on hot days |
Remember: aluminum is malleable, so minor warps (less than 1/4 inch over 4 feet) can often be bent back by hand or with a rubber mallet—just be gentle, and always support the surrounding area to avoid creating new bends.
Long-Term Maintenance: Keep Your Angle Yards Straight for Years
Preventing warping isn't a one-and-done job—it's an ongoing process. A few minutes of maintenance every month will keep your 3060 aluminum angle yards in top shape:
- Check Fasteners Monthly: Tighten any loose bolts or screws—vibrations from tools or machinery can wiggle them loose over time.
- Clean Profiles Seasonally: Wipe down angle yards with a damp cloth and mild detergent to remove grease, dust, or chemicals that can corrode the aluminum.
- Inspect for Signs of Stress: Look for small dents, cracks, or discoloration around joints—these are early warning signs that the angle yard is under too much stress.
- Adjust for Weight Changes: If you start storing heavier items on a shelf, add extra brackets or supports to compensate. Don't assume "it held before, so it will hold now."
Final Thoughts: Warping Prevention = Peace of Mind
Installing 3060 aluminum angle yards might seem straightforward, but taking the time to do it right—prepping properly, using the right aluminum profile accessories, and avoiding common pitfalls—makes all the difference. Warping isn't just about looks; it's about safety, efficiency, and getting the most out of your investment. A straight, sturdy angle yard keeps your tools organized, your workflow smooth, and your team safe. And isn't that worth a few extra minutes of care?
So the next time you're setting up a workbench, material rack, or assembly line with 3060 aluminum angle yards, remember: measure twice, support the spans, snug (don't crank) the bolts, and always, always install that 3060 aluminum profile end cap. Your future self—and your straight, warp-free structures—will thank you.