- Company Articles
- Products and Technology
- Installation And Maintenance
- Preventive Maintenance for Lean Pipe Clamp B: Scheduled Checks and Care

Preventive Maintenance for Lean Pipe Clamp B: Scheduled Checks and Care
Related Product
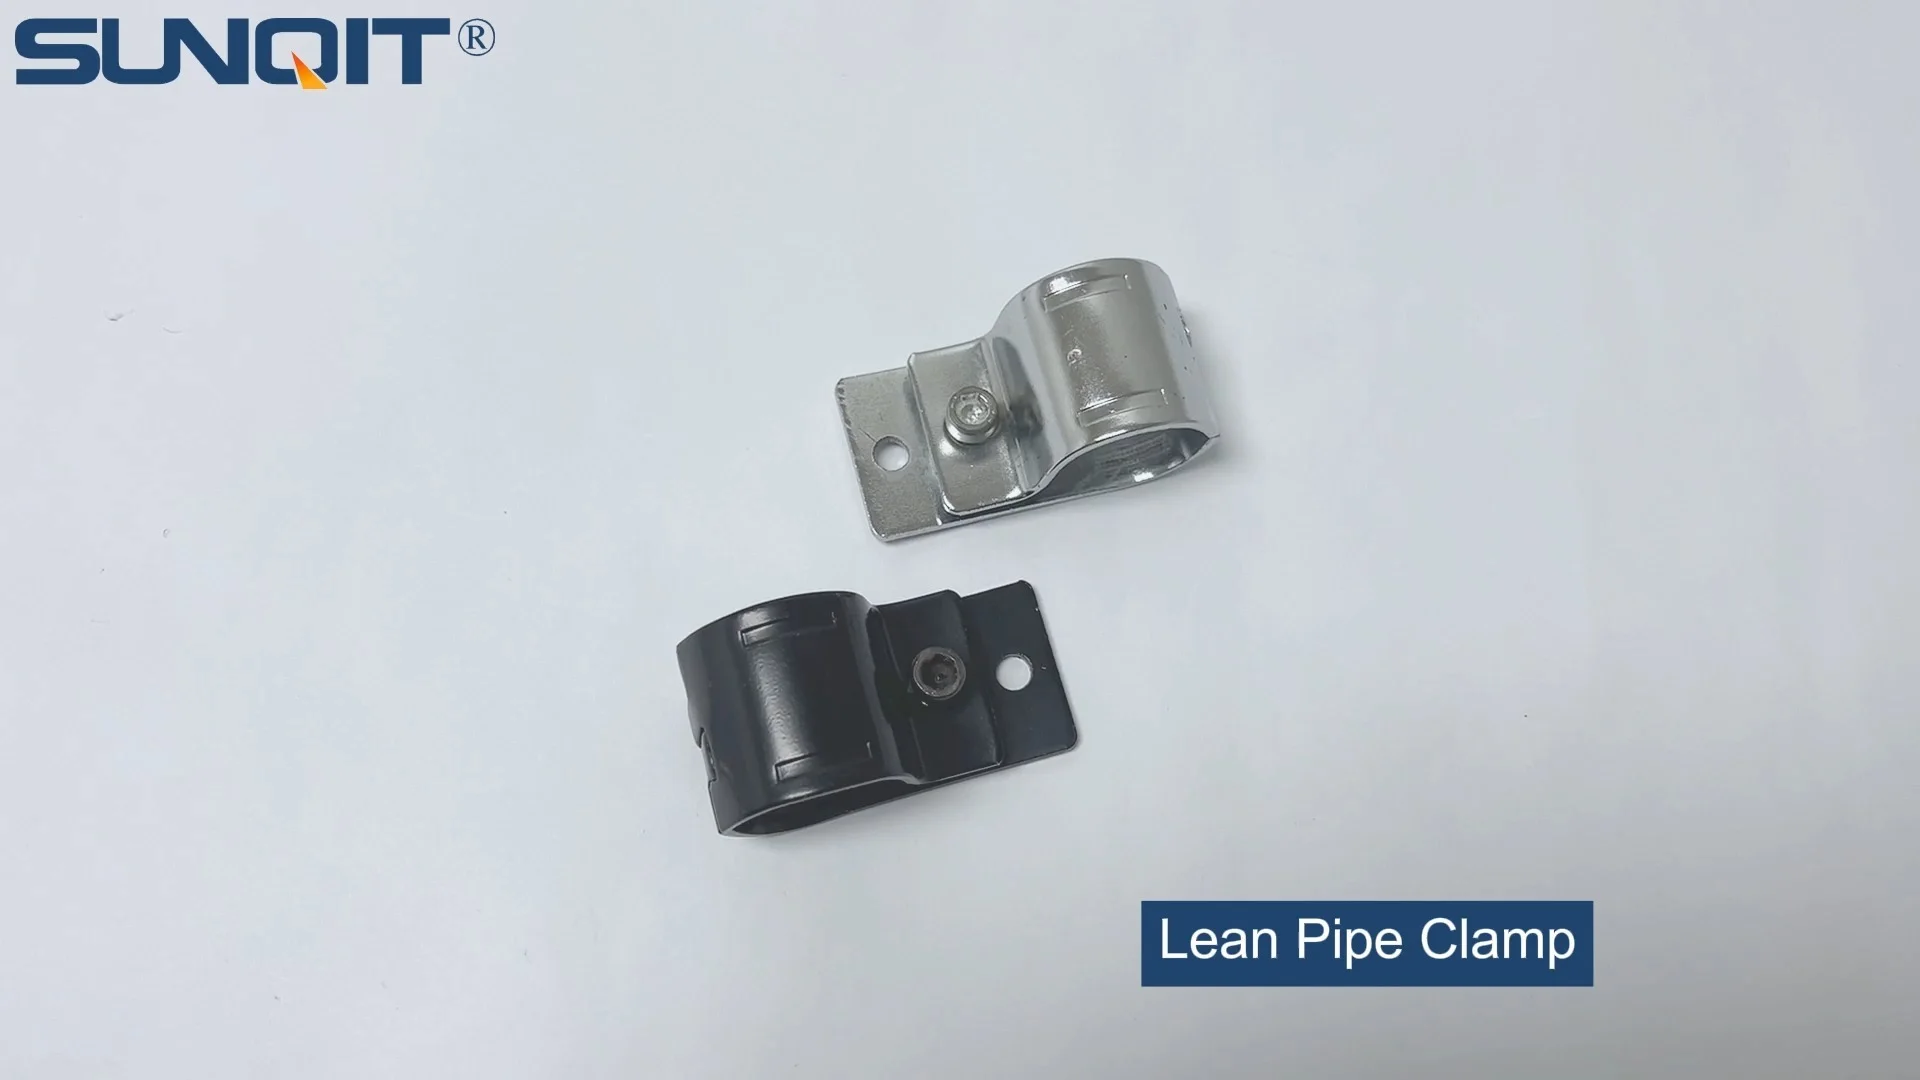
Lean Pipe Clamp
Lean pipe clamp is used for rack system hang monitor or other panel for workbenck, flowrack in production daily use.
Walk into any well-run manufacturing facility, and you'll notice something subtle but powerful: the quiet efficiency of a lean system at work. Conveyor belts glide smoothly, workbenches stand sturdy, and materials flow from one station to the next without a hitch. But behind that seamless operation lies a network of small, often overlooked components that keep everything together—components like the lean pipe clamp B. These unassuming connectors might not grab headlines, but they're the unsung heroes holding your lean pipe structures, from workbenches to flow racks, firmly in place. And here's the truth: neglecting their care is like ignoring a loose screw in a bicycle—eventually, the whole system starts to wobble.
In this guide, we're diving deep into preventive maintenance for lean pipe clamp B. We'll break down why these clamps matter, how to check them regularly, and the simple care steps that can extend their life (and save you from costly downtime). Whether you're a facility manager, a maintenance tech, or someone just starting to build out a lean workspace, this isn't just about "fixing things when they break"—it's about keeping your operations running like a well-oiled machine, one clamp at a time.
Why Lean Pipe Clamp B Deserves Your Attention
First, let's get clear on what a lean pipe clamp B actually does. These clamps are the linchpins of modular lean systems, designed to secure lean pipes (often aluminum or steel) to joints, workbenches, or other structures. Unlike generic clamps, they're engineered for the specific stresses of manufacturing environments—vibration from conveyor systems, weight from stacked materials, and the constant motion of turnover trolleys. When a lean pipe clamp B fails, it's rarely a small problem: a wobbly workbench might lead to product defects, a loose flow rack could cause materials to topple, or a sagging roller track might grind production to a halt.
Consider this scenario: A mid-sized electronics plant relies on a series of aluminum workbenches, each held together by lean pipe clamp B. Over six months, the maintenance team skips regular checks, assuming "if it ain't broke, don't fix it." One morning, during a peak production run, a clamp on the main assembly workbench snaps. The bench tilts, knocking over a bin of sensitive components and damaging a nearby roller track. By the time the team replaces the clamp and cleans up, they've lost 3 hours of production—and the cost of the damaged parts and labor adds up to thousands. All of this could have been avoided with a 2-minute weekly check.
Beyond avoiding disasters, preventive maintenance for lean pipe clamp B also boosts long-term efficiency. Well-maintained clamps keep structures aligned, which means smoother material flow, less wear on adjacent parts (like lean pipe joints or caster wheels), and a safer workspace for your team. When your clamps are tight and corrosion-free, your entire lean system operates as it was designed—fast, flexible, and reliable.
Scheduled Checks: Your Clamp's Health Calendar
Preventive maintenance isn't about random inspections—it's about consistency. Let's break down the checks your lean pipe clamp B needs, from quick daily scans to monthly deep dives. Think of it like caring for a car: you don't wait for the engine to seize before checking the oil, right?
Daily Visual Inspections: The "First Glance" Check
Every shift, before production ramps up, take 60 seconds to scan the lean pipe clamp B on high-traffic structures (think workbenches, material racks, or conveyor supports). You're looking for obvious red flags—no tools needed, just your eyes. Here's what to note:
- Looseness: Gently wiggle the pipe connected to the clamp. If it shifts more than 1-2 millimeters, the clamp might be loose. Pay extra attention to clamps near moving parts, like roller tracks, where vibration is highest.
- Damage: Look for cracks, dents, or deformation in the clamp body. Even small cracks can weaken the clamp under stress—imagine a plastic clamp that's been nicked by a forklift; over time, that nick turns into a break.
- Corrosion: Check for rust (on steel clamps) or white/greenish buildup (on aluminum). Corrosion eats away at strength—even a tiny rust spot can spread quickly in humid or dusty environments.
- Debris: Are there bits of dirt, grease, or product stuck in the clamp's crevices? Debris can hide damage or prevent the clamp from tightening properly.
Pro tip: Assign this check to the operator who uses the workstation daily—they know the "normal" feel of the setup and will spot anomalies faster than anyone. A quick verbal report ("Clamp on the left side of Bench 3 feels wobbly") can prevent bigger issues.
Weekly Tightness and Tension Checks
Once a week, grab a torque wrench or a standard wrench (depending on your clamp's fastener type) and check the tightness of your lean pipe clamp B. Over time, vibration from machinery or repeated loading/unloading can loosen bolts, even if the clamp looks fine visually. Here's how to do it:
- Identify critical clamps: Focus first on clamps that bear heavy loads (like those holding up a material rack with 3 rows and 3 floors) or are near high-vibration areas (like next to a belt conveyor).
- Check torque specs: Most lean pipe clamp B models come with a recommended torque (e.g., 15-20 Nm for aluminum clamps). If you don't have the specs, aim for "snug but not over-tight"—over-tightening can strip threads or crack the clamp body.
- Test for slippage: After tightening, try to twist the pipe slightly. If it still moves, the clamp might be worn, or the lean pipe joint it's connected to could be damaged (more on that later).
Fun fact: A study by the Lean Manufacturing Institute found that 40% of clamp-related failures stem from gradual loosening that goes unchecked. A weekly 10-minute tightening session can cut that risk in half.
Monthly Deep Cleaning and Lubrication
Dirt, grease, and metal shavings are the enemies of lean pipe clamp B. Over time, they grind away at moving parts (like the internal mechanisms of adjustable clamps) and trap moisture, corrosion. Once a month, set aside time for a deep clean—here's how:
- Disassemble (if needed): For clamps with moving parts (like swivel or rotatory joints), carefully take them apart. Use a small brush to dislodge debris from crevices—an old toothbrush works wonders here.
- Clean with mild detergent: Wipe down the clamp body and bolts with a cloth dampened in warm, soapy water. Avoid harsh chemicals (like bleach) that can damage coatings (e.g., the yellow or grey plastic on roller track guide rails).
- Dry thoroughly: Moisture is a corrosion magnet! Use a lint-free cloth or compressed air to dry every part, especially bolt threads and joint connections.
- Lubricate moving parts: Apply a thin layer of silicone-based lubricant (avoid oil-based lubes, which attract more dirt) to pivot points or threads. This keeps adjustments smooth and prevents seizing.
Pro tip: If your facility uses ESD workbenches (static-sensitive environments), use anti-static cleaning solutions to avoid damaging sensitive electronics. The same goes for stainless steel pipe series clamps—use a stainless steel cleaner to maintain their finish.

Pro Care Tips: Making Your Clamps Last Longer
Preventive maintenance isn't just about checks—it's about building habits that protect your lean pipe clamp B day in and day out. Here are some actionable tips to extend their lifespan:
Mind the Environment
Clamps in dusty warehouses, humid facilities, or areas with chemical exposure need extra love. For example:
- Humidity: If your workspace is damp (like near a wash station), coat steel clamps with a thin layer of rust-resistant spray (WD-40 works, but specialized anti-rust coatings last longer). Aluminum lean pipe clamps are more corrosion-resistant, but they still benefit from occasional cleaning to remove salt or chemical residue.
- Dust: In woodworking or metalworking shops, dust acts like sandpaper on clamp joints. Use a shop vac with a brush attachment to blow off clamps weekly, and consider adding a dust cover to unused lean pipe structures.
- Extreme temperatures: Clamps near ovens or freezers can expand/contract, leading to loosening. Check tightness more frequently (every 3-4 days) in these areas.
Handle with Care During Setup and Adjustments
Even the toughest clamps can be damaged by rough handling. When building or modifying lean structures (like reconfiguring a workbench E or material rack B), follow these rules:
- Align pipes first: Don't force a clamp onto misaligned pipes—it bends the clamp body and weakens the grip. Use a level to ensure pipes are straight before tightening.
- Use the right tools: Avoid using pliers or adjustable wrenches on hex bolts—they can round the edges, making future tightening impossible. Invest in a set of socket wrenches sized for your clamp hardware.
- Don't overload: Every lean pipe clamp B has a weight limit (check the manufacturer's specs!). Hanging too much weight (e.g., stacking 50kg bins on a shelf held by a single clamp) will stretch or crack the clamp over time.
Store Spare Clamps Properly
Spare lean pipe clamp B should be stored in a dry, organized area—preferably in a toolbox or plastic bin with dividers. Avoid tossing them loose in a drawer where they'll bang against other metal parts (this can chip coatings or bend bolts). If you're storing clamps long-term, wrap them in acid-free paper to prevent corrosion.

Troubleshooting Common Lean Pipe Clamp B Issues
Even with perfect maintenance, clamps can run into problems. Here's how to spot and fix the most common issues before they escalate:
Issue #1: The Clamp Won't Stay Tight
If you're tightening a clamp weekly but it still loosens, possible causes include:
- Worn threads: Check the bolt and nut—if threads are stripped, replace them immediately. A $5 bolt is cheaper than a $500 production delay.
- Damaged lean pipe joint: The clamp relies on a secure connection to the joint. If the joint is cracked or bent, the clamp can't grip properly. Inspect the joint (e.g., internal rotatary aluminum joint or 90° aluminum crossing joint) and replace if needed.
- Wrong clamp size: Using a clamp that's too small for the pipe diameter (e.g., a 0.5-inch clamp on a 1-inch aluminum pipe) will never hold tight. Double-check the pipe and clamp specs.
Issue #2: Corrosion or Rust
Rust on steel clamps or white oxidation on aluminum clamps isn't just unsightly—it weakens the metal. For minor corrosion:
- Steel clamps: Scrub with a wire brush, then apply a rust converter (like Naval Jelly) and repaint with rust-resistant paint.
- Aluminum clamps: Mix equal parts water and vinegar, wipe the affected area, then rinse and dry. For stubborn spots, use a specialized aluminum cleaner.
Note: If corrosion has eaten through more than 10% of the clamp's thickness, replace it. A compromised clamp is a safety hazard.
Issue #3: Cracks or Deformation
Cracks (even hairline ones) in the clamp body are non-negotiable—replace the clamp immediately. Deformation (e.g., a bent clamp from impact) also means the clamp can't distribute pressure evenly, so it's time for a new one. When replacing, opt for the same model from a reputable lean pipe supplier to ensure compatibility with your existing system.

Scheduled Maintenance Checklist
| Check Type | Frequency | Key Actions | Tools Needed |
|---|---|---|---|
| Visual Inspection | Daily | Check for looseness, cracks, corrosion, or debris. Wiggle connected pipes gently. | None (just your eyes and hands!) |
| Tightness Check | Weekly | Tighten bolts to recommended torque. Test for slippage after tightening. | Torque wrench or socket set |
| Deep Cleaning & Lubrication | Monthly | Disassemble (if needed), clean with soapy water, dry thoroughly, lubricate moving parts. | Small brush, lint-free cloth, silicone lubricant |
| Corrosion Check | Quarterly | Inspect for rust/oxidation. Treat minor corrosion; replace severely damaged clamps. | Wire brush, rust converter (for steel), vinegar (for aluminum) |
| Weight Load Test | Bi-Annually | Verify clamps are handling their rated load. Use a scale to test shelf/workbench capacity. | Weights or load cells |
The Long-Term Payoff: More Than Just Clamps
At the end of the day, preventive maintenance for lean pipe clamp B is about more than keeping a single component in good shape—it's about protecting the heart of your lean system. Every tight clamp, clean joint, and well-maintained workbench contributes to a culture of efficiency and reliability. When your team knows the tools and structures they rely on are cared for, morale stays high, and focus stays on what matters: making great products.
Think of it this way: A lean system is only as strong as its weakest link. For many facilities, that link is the small, humble components like lean pipe clamp B. By investing a little time each day, week, and month into their care, you're not just avoiding downtime—you're building a foundation for long-term success. And isn't that what lean manufacturing is all about? Eliminating waste, maximizing value, and creating systems that stand the test of time.
So grab your wrench, start that daily visual check, and give your lean pipe clamp B the attention it deserves. Your production line (and your bottom line) will thank you.