- Company Articles
- Products and Technology
- Installation And Maintenance
- Roller Track Placon Mount Brackets for Automated Storage Systems: Integration Tips

Roller Track Placon Mount Brackets for Automated Storage Systems: Integration Tips
Related Product
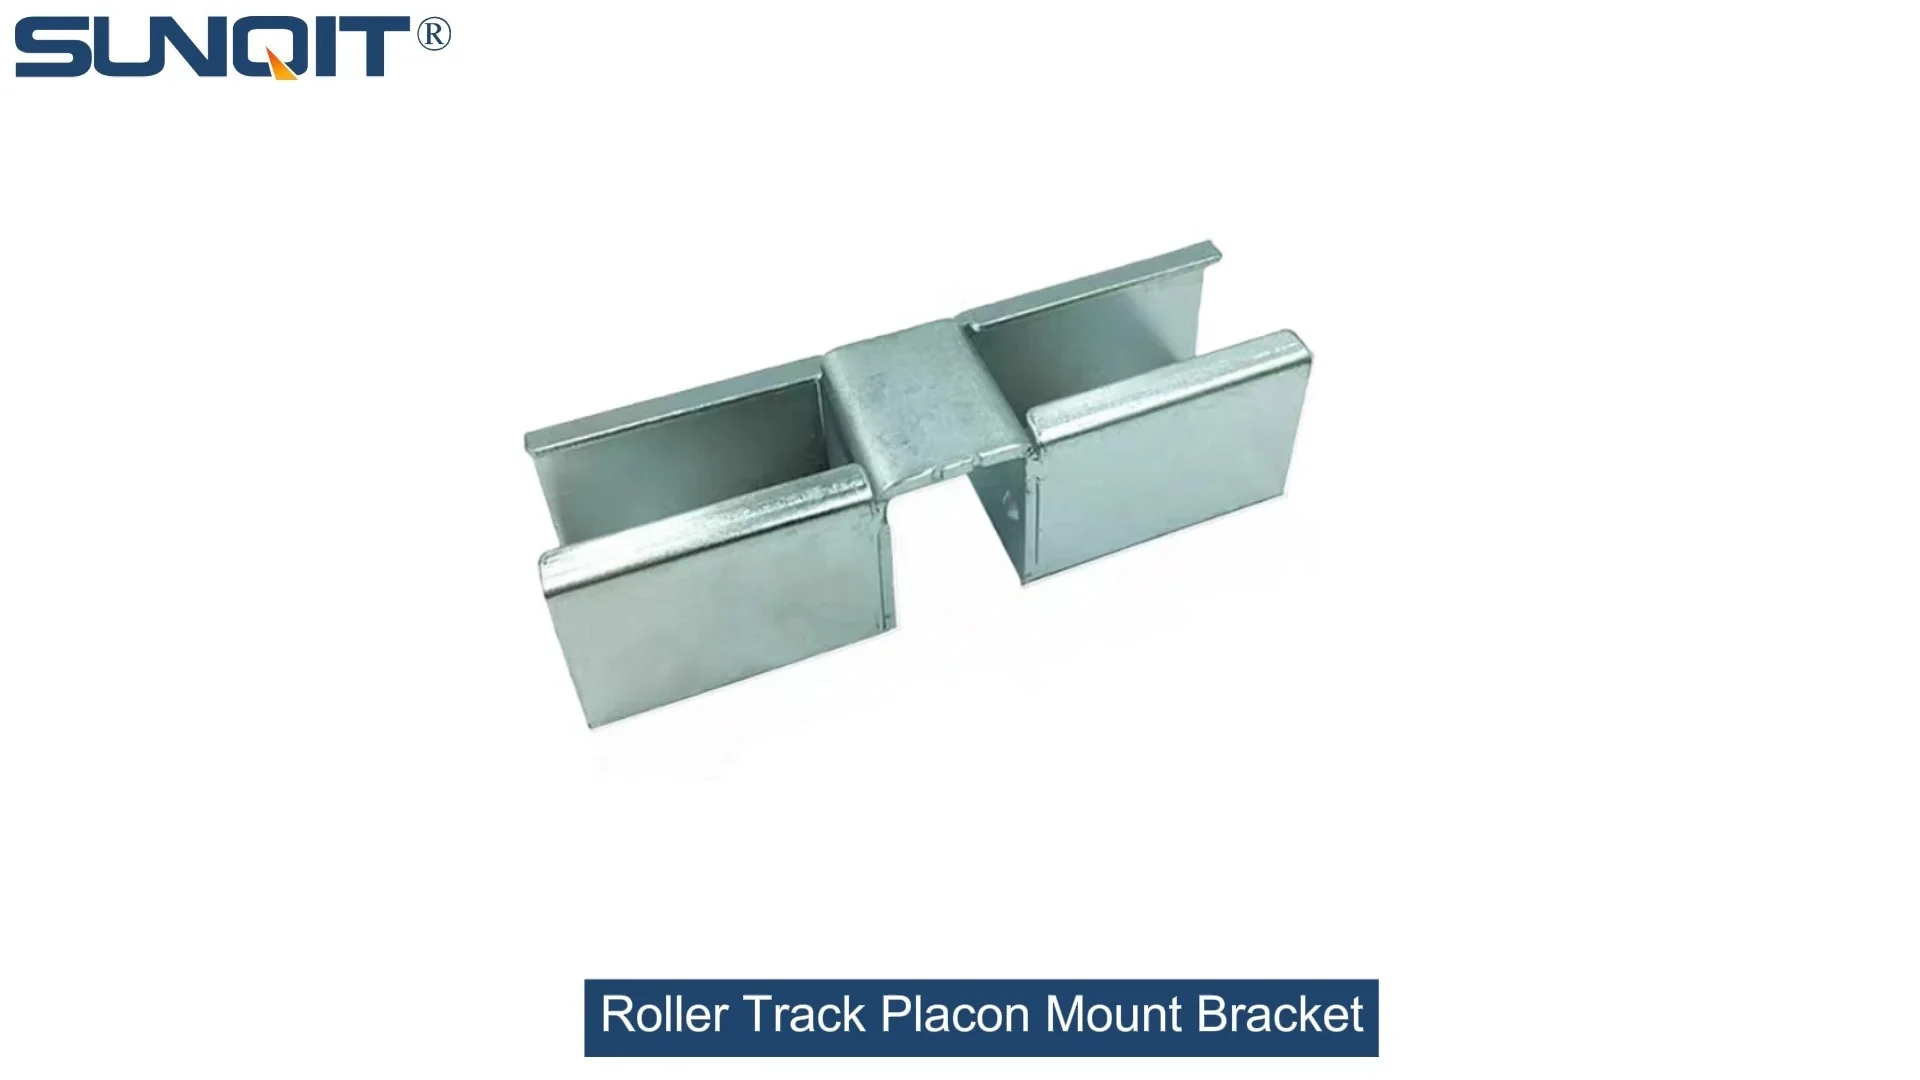
Roller Track Placon Mount Bracket
Roller track placon mount work as a connector for roller track and pipe or aluminum profile in rack syetem, it is a necessary parts in rack system which widely used in industrial plant and logistic,warehouse storage.
In today's fast-paced manufacturing world, where every second counts and efficiency isn't just a goal but a necessity, automated storage systems have become the backbone of smart factories. But here's the thing: even the most advanced system relies on small, often overlooked components to keep things running smoothly. That's where roller track placon mount brackets come in. These unassuming pieces might not grab headlines, but they're the quiet heroes that hold your roller tracks steady, ensure seamless material flow, and make or break your system's performance. If you've ever struggled with wobbly tracks, misaligned conveyors, or frequent breakdowns, you know exactly what I'm talking about. Let's dive into how to integrate these brackets like a pro—because getting this right isn't just about assembly; it's about building a storage system that grows with your needs, cuts downtime, and keeps your team focused on what really matters: creating great products.
What Are Roller Track Placon Mount Brackets, Anyway?
Before we jump into integration tips, let's make sure we're on the same page. Roller track placon mount brackets are specialized hardware designed to secure roller tracks to aluminum profiles, workbenches, or conveyor frames. Think of them as the "glue" that holds your material handling system together—strong, flexible, and adaptable. Unlike generic metal brackets, these are engineered with precision for roller track systems, meaning they fit perfectly with standard components and reduce the guesswork during installation.
Most placon mount brackets are made from high-grade aluminum (hello, aluminum profile durability!) or steel, coated to resist corrosion. This matters because automated storage systems deal with constant movement—boxes sliding, rollers spinning, vibrations—and flimsy brackets just won't cut it. The best part? They're designed with the lean solution mindset: modular, reusable, and easy to adjust. Need to reconfigure your track layout next month? No problem—these brackets won't fight you on it.
Key Components to Know Before You Start
Not all placon mount brackets are created equal. Depending on your setup—whether you're building a simple flow rack or a complex conveyor system—you'll need different types. Let's break down the most common ones and when to use them. (Pro tip: Bookmark this section for quick reference during your next installation!)
| Bracket Type | Best For | Key Advantage | Common Material |
|---|---|---|---|
| Roller Track Placon Mount for Aluminum Profile High | Elevated roller tracks (e.g., upper levels of racks) | Creates vertical space, ideal for multi-tier systems | Aluminum alloy |
| Roller Track Placon Mount for Aluminum Profile Flat | Ground-level tracks or workbench integration | Low profile, maximizes usable surface area | Aluminum alloy |
| Roller Track Placon Mount Center Support Bracket | Long roller tracks (over 6ft) | Prevents sagging in the middle, reduces track stress | Steel-reinforced aluminum |
| End Support for Roller Track Placon Mount with Stop | Track endpoints (e.g., where items exit the system) | Stops items from sliding off, adds safety | Aluminum with rubber stop |
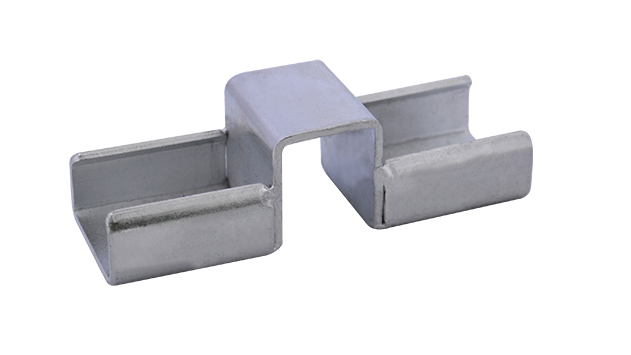
| Roller Track Placon Mount Connector | Joining two track sections | Ensures smooth transition, no gaps between tracks | Zinc-plated steel |
Step-by-Step Integration: From Plan to Perfect Flow
Now, let's get hands-on. Integrating roller track placon mount brackets isn't rocket science, but it does require attention to detail. Follow these steps, and you'll avoid the most common headaches I've seen in workshops and factories.
1. Start with a Clear Layout Plan (Yes, Paper and Pencil First!)
I can't stress this enough: measure twice, install once . Before you touch a single bracket, map out your automated storage system on paper (or use a digital tool like CAD). Note where the roller tracks will run, their height, and how they connect to conveyors or workbenches . Ask yourself: Where will items enter the track? Where will they exit? Are there any obstacles (like pillars or machinery) that might affect bracket placement?
For example, if you're designing a system for 3C assembly (think smartphones or laptops), you'll likely have small, lightweight components moving quickly—so you'll need closer bracket spacing to prevent track flexing. For heavier items, like automotive parts, opt for reinforced brackets and wider spacing to handle the load.
2. Choose the Right Bracket for the Job
Refer back to the table above! Matching the bracket type to your needs isn't just about fit—it's about longevity. Using a flat mount bracket for an elevated track might work temporarily, but over time, the stress will warp the track, leading to jams and broken parts. Save yourself the hassle and pick the right tool for the job.
Pro move: Check the bracket's load rating. Most manufacturers list this (e.g., "supports up to 50kg per linear meter"). Add 20% to your expected load to account for unexpected weight (because we all know that "one extra box" always finds its way onto the track).
3. Prep Your Aluminum Profiles and Tracks
Your brackets are only as good as the surfaces they're mounted to. Before installation, clean your aluminum profiles with a mild degreaser to remove dust, oil, or debris—this ensures a tight bond with the bracket's mounting hardware. For roller tracks, inspect each section for dents or bent rollers; even a tiny kink can cause items to get stuck later.
If you're using T-slot aluminum profiles (the most common type in lean systems), pre-thread the slots with nuts if needed. This speeds up installation and ensures the brackets sit flush against the profile.
4. Mount the Brackets: Alignment is Everything
Now, the fun part! Start by loosely attaching the brackets to the aluminum profiles using the provided screws. Don't tighten them all the way yet—you'll need wiggle room to adjust alignment. Use a level to ensure the brackets are straight horizontally and vertically. A laser level is a game-changer here, especially for long track runs.
Here's a trick I learned the hard way: Place a straightedge (like a long piece of aluminum extrusion) across the top of the brackets to check for even height. If one bracket is 2mm higher than the next, your track will slope unevenly, and items will slide to one side. Take the time to get this right—it's the difference between a system that runs like clockwork and one that needs constant babysitting.
5. Secure the Roller Track and Test
Once the brackets are aligned, slide the roller track into place. Most tracks have slots or grooves that fit into the brackets—line these up carefully. Then, secure the track to the brackets with the included clips or screws. Finally, tighten all bracket screws in a crisscross pattern (like you're tightening a car tire) to distribute pressure evenly.
Now, test it out! Roll a few sample items (similar to what you'll be storing) down the track. They should move smoothly, without stopping or veering off course. If something feels off, check the bracket alignment again—9 times out of 10, that's the culprit.

Real-World Applications: How Industries Are Using These Brackets
Let's look at how different industries are putting these integration tips into practice. These examples show just how versatile roller track placon mount brackets can be when paired with a little creativity.
Case 1: 3C Assembly Lines – Speed and Precision
A leading electronics manufacturer was struggling with slow component delivery to their assembly workbenches. Workers were constantly walking to fetch parts, wasting 2-3 hours per shift. They integrated roller track placon mount brackets with flat mounts under each workbench, creating a gravity-fed track system that delivered components directly to the line. By using center support brackets every 60cm, they ensured the tracks stayed straight even with the constant flow of small parts. Result? A 25% boost in assembly speed and happier workers (no more aching feet!).
Case 2: Medical Device Storage – Cleanliness and Compliance
A medical device company needed a storage system that met strict hygiene standards and allowed easy access to sterile tools. They used aluminum placon mount brackets (aluminum resists bacteria growth better than steel) with elevated mounts to keep tracks off the floor, reducing dust buildup. End support brackets with rubber stops prevented tools from sliding off and getting damaged. The modular design meant they could reconfigure the system when new tools were added—no need for a complete overhaul.
Case 3: E-Commerce Warehousing – Handling High Volume
An e-commerce fulfillment center was drowning in holiday orders, with packages piling up at their sorting stations. They installed a network of roller tracks using high-profile placon mount brackets to create multi-tiered sorting lanes. The brackets' steel reinforcement handled the weight of heavy packages, and connectors ensured smooth transitions between tracks. Within a week, they cut sorting time by 40%—just in time for the holiday rush.

Troubleshooting Common Issues (Because Even Pros Run Into Problems)
No matter how careful you are, issues can pop up. Here's how to fix the most common ones:
Problem: Items Get Stuck on the Track
Why it happens:
Misaligned brackets, bent rollers, or debris in the track.
Fix:
Check bracket alignment with a level. replace bent rollers. Clean the track with compressed air weekly to remove dust or small particles.
Problem: Brackets Loosen Over Time
Why it happens:
Vibrations from constant use can loosen screws.
Fix:
Use thread-locking fluid on screws during installation. Do a monthly "tightness check" with a torque wrench to keep brackets secure.
Problem: Tracks Sag in the Middle
Why it happens:
Brackets spaced too far apart or underrated for the load.
Fix:
Add center support brackets to reduce span between mounts. Upgrade to higher-load brackets if needed.
Final Tips for Long-Term Success
Integrating roller track placon mount brackets is just the start—keeping your system running smoothly takes a little ongoing care. Here's how to make your investment last:
- Train your team: Show operators how to spot loose brackets or track issues—they're the first line of defense.
- Keep spare brackets on hand: You don't want to halt production waiting for a replacement part.
- Embrace flexibility: As your business grows, reconfigure your tracks using the same brackets—lean systems are all about adaptability.
- Review and refine: Every quarter, walk through your storage system and ask: Is this layout still working? Could moving a bracket here or there improve flow? Small tweaks add up to big gains.
Wrapping Up: Your System Deserves the Best Brackets
Roller track placon mount brackets might not be the star of your automated storage system, but they're the unsung heroes that keep everything moving. By taking the time to plan, choose the right brackets, and install them with care, you're building a system that's efficient, flexible, and ready to handle whatever your business throws at it.
Remember, in manufacturing and warehousing, success is in the details. A well-integrated roller track system doesn't just move items—it moves your business forward. So grab your brackets, your level, and let's build something that lasts.