- Company Articles
- Products and Technology
- Installation And Maintenance
- Roller Track Placon Mount Connector for Material Racks: Usage Tips

Roller Track Placon Mount Connector for Material Racks: Usage Tips
Related Product
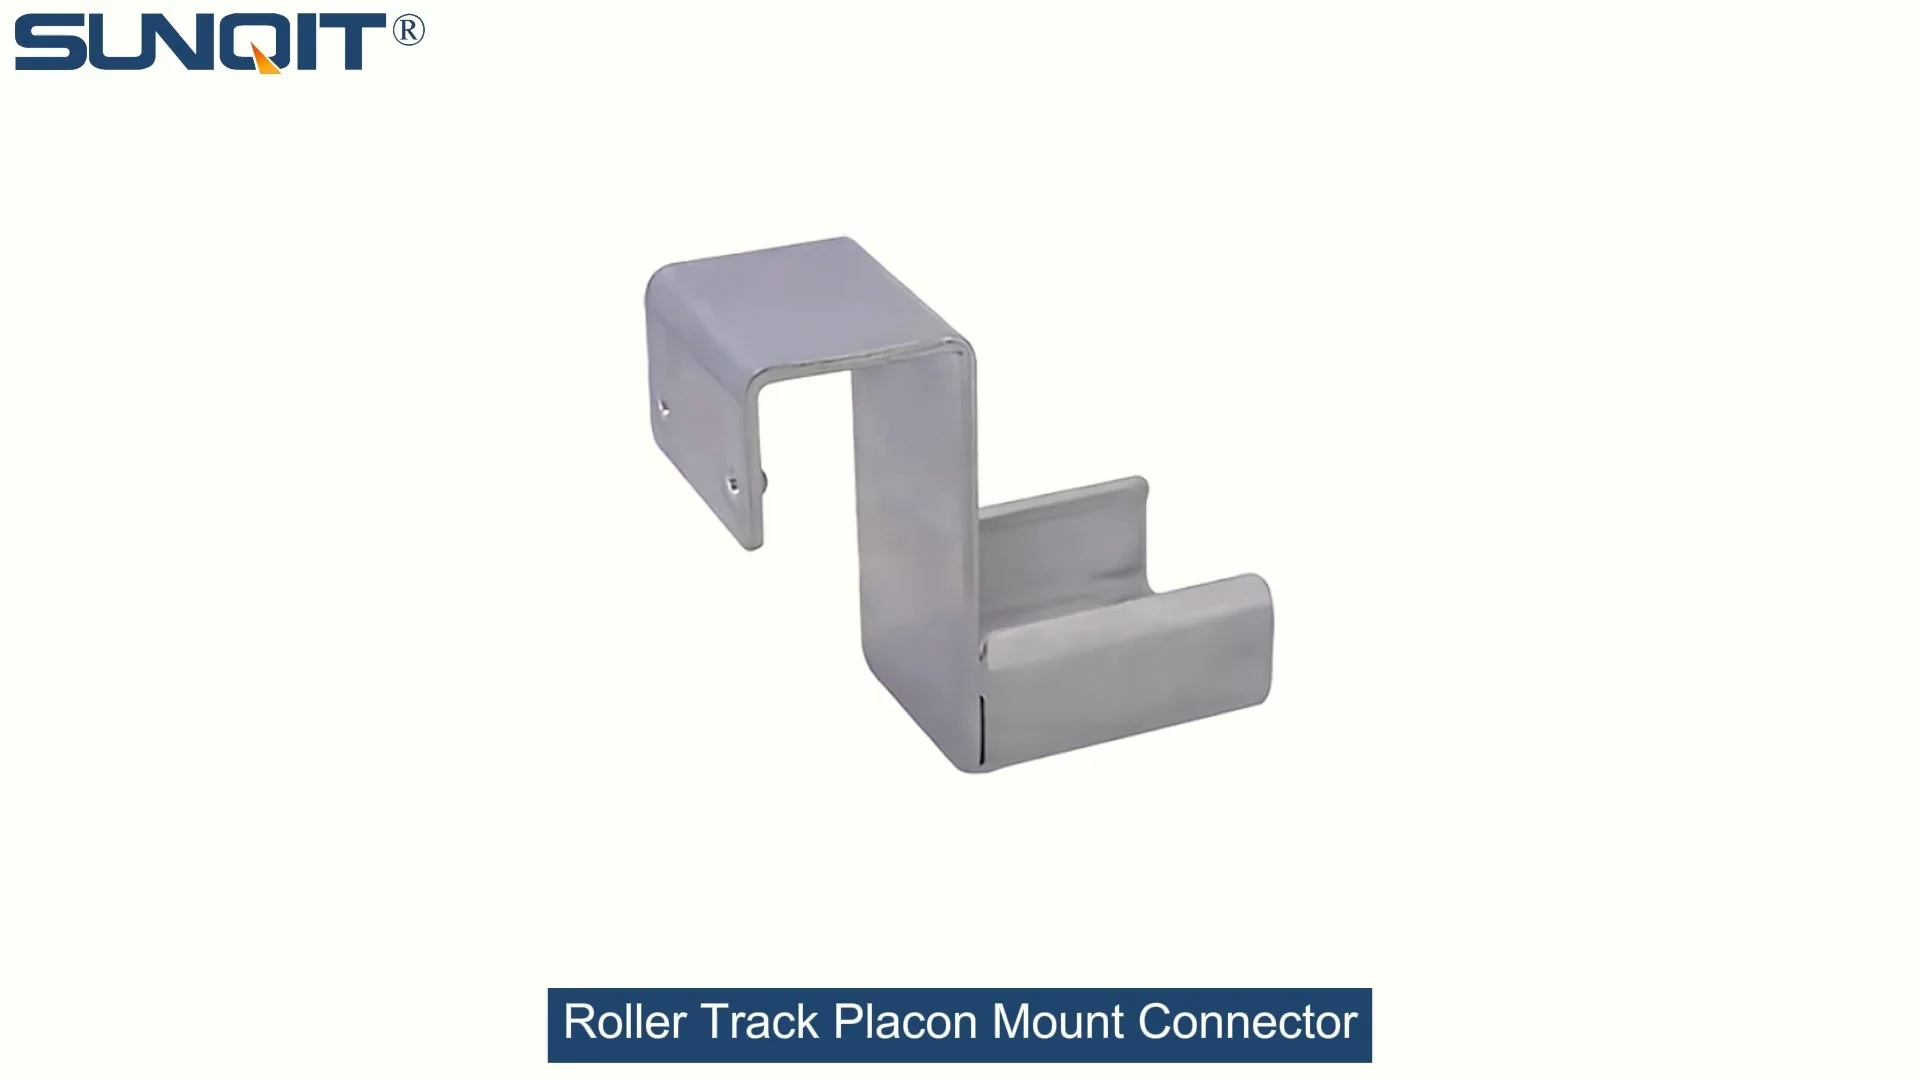
Roller Track Placon Mount Connector
Roller track placon mount work as a connector for roller track and pipe or aluminum profile in rack syetem, it is a necessary parts in rack system which widely used in industrial plant and logistic,warehouse storage.
In the busy world of manufacturing and warehousing, every small part plays a big role in keeping things running smoothly. When it comes to material racks, one component that often goes unnoticed but makes a huge difference is the roller track placon mount connector . This unassuming piece is the unsung hero that holds your roller tracks securely to the rack, ensuring materials glide seamlessly from one point to another. Whether you're setting up a new material handling system or upgrading an existing one, getting to know how to use this connector effectively can save your team time, reduce frustration, and boost overall productivity. Let's dive into everything you need to know about making the most of your roller track placon mount connectors.
What Is a Roller Track Placon Mount Connector?
First things first: let's clarify what this connector actually is. Simply put, a roller track placon mount connector is a specialized fitting designed to attach roller tracks (like the 40 roller track placon mount flat or 85 steel roller track you might already be using) to material racks or aluminum profiles. Think of it as the bridge between your track and the rack—without a strong, reliable bridge, even the best roller track won't perform well.
These connectors are typically made from durable materials like aluminum or steel, chosen for their strength and resistance to wear and tear. What makes them stand out is their smart design: they're built to be easy to install, adjustable, and reusable—qualities that align perfectly with the lean (lean philosophy) of minimizing waste and maximizing flexibility. Whether you're working with a basic material rack or a custom lean solution for 3C assembly or medical device production, these connectors adapt to your needs.
Why Does This Connector Matter for Your Material Racks?
You might be thinking, "Can't I just use any old bracket or bolt to attach the roller track?" The short answer is: you could, but you'll likely run into problems down the line. Traditional methods like welding or using generic bolts might seem sturdy at first, but they lack the flexibility modern manufacturing needs. Here's why the roller track placon mount connector is a better choice:
Flexibility to Adapt: Manufacturing needs change—product lines shift, order volumes fluctuate, and workflows evolve. A good lean system should adapt with you. These connectors are designed to be easily adjusted or removed, so you can reconfigure your material rack layout without having to rebuild everything from scratch. Need to move a roller track a few inches to the left? No problem—loosen the connector, adjust, and tighten it back up.
Stability You Can Trust: There's nothing more frustrating than a roller track that wobbles or shifts mid-operation. Loose tracks can cause materials to get stuck, slow down production, or even lead to accidents. Placon mount connectors are engineered to grip both the roller track and the rack (often made from aluminum profile ) tightly, ensuring a stable, vibration-resistant connection even when heavy loads are moving across the track.
Time and Cost Savings: Installing or reconfiguring material racks shouldn't eat up hours of your team's valuable time. These connectors are designed for quick assembly—no special tools or advanced technical skills required. And because they're reusable, you won't have to keep buying new brackets every time you adjust your setup. Over time, this adds up to significant savings in labor and material costs.

Step-by-Step Guide to Installing Roller Track Placon Mount Connectors
Installing these connectors is straightforward, but attention to detail is key to getting it right. Follow these steps to ensure a secure, long-lasting connection:
| Step | Tools Needed | Actions | Tips for Success |
|---|---|---|---|
| 1. Prepare Your Workspace | Measuring tape, marker, level | Clear the area around the material rack. Measure and mark where you want the roller track to sit—use a level to ensure the line is straight. This prevents the track from tilting, which can cause materials to jam. | Double-check measurements! A 1/4-inch error here can lead to big problems later. |
| 2. Attach the Connector to the Roller Track | Hex key (usually included with the connector) | Slide the placon mount connector onto the end of the roller track. Most models have a T-slot design that fits snugly onto the track's edges. Tighten the set screws gently to hold it in place temporarily. | Don't overtighten yet—you'll need to adjust the position once it's on the rack. |
| 3. Mount the Track to the Material Rack | Hex key, rubber mallet (optional) | Align the connector with the pre-marked line on the material rack or aluminum profile. insert the connector into the rack's T-slot or mounting holes, then tighten the screws firmly. If the fit is tight, tap the connector lightly with a rubber mallet to seat it properly. | For heavy-duty racks (like the material rack B with 3 rows and 3 floors), use two connectors per track section for extra stability. |
| 4. Test and Adjust | Level, sample materials (boxes, parts) | Place a level on the roller track to ensure it's flat. Roll a sample material along the track—if it moves smoothly without sticking or tilting, you're good to go. If not, loosen the connector, adjust the position, and retighten. | Test with the actual materials you'll be using day-to-day—different weights and sizes can behave differently. |
Pro tip: If you're working with ESD workbenches or ESD workstations (common in electronics manufacturing), choose connectors with anti-static properties to maintain a safe, static-free environment. Many suppliers offer ESD-compatible versions specifically for these sensitive applications.

Pairing with Other Lean Components for Maximum Impact
The roller track placon mount connector doesn't work alone—it's part of a larger ecosystem of lean components. To get the most out of your material rack, consider how it pairs with these key elements:
1. Aluminum Profiles and Lean Pipes
Most material racks are built using aluminum profiles (like the 4040 or 3030 EU standard profiles) or lean pipes (aluminum lean pipe or stainless steel pipe series). The placon mount connector is designed to integrate seamlessly with these systems. For example, if you're using aluminum guide rail A or B, the connector can attach directly to the rail's T-slot, creating a clean, secure setup. This compatibility means you can mix and match components to build a rack that fits your exact needs—no more forcing square pegs into round holes.
2. Roller Tracks and Accessories
Not all roller tracks are the same, and the connector you choose should match the track type. For instance, the 40 steel roller track with yellow wheels requires a different connector mounting style than the all-direction roller track. Check the specifications of your track (like the 40 roller track placon mount drop high or 38 aluminum roller track with side guide) to ensure you're using the right connector. Pairing the correct connector with your track ensures smooth material flow and prevents premature wear.
3. Casters and Leveling Feet
If your material rack is mobile (fitted with casters like the 360° swivel expanding stem casters with brake), the stability of the roller track becomes even more critical. A well-mounted connector prevents the track from shifting when the rack is moved. Similarly, adjustable leveling feet (like the anti-slip adjustable leveling feet) keep the rack steady on uneven floors, reducing stress on the connectors and extending their lifespan.

Real-World Applications: How This Connector Makes a Difference
To better understand how these connectors work in practice, let's look at a few common scenarios where they shine:
Case 1: 3C Assembly Line Material Rack
A 3C electronics manufacturer was struggling with slow material flow on their assembly line. Their old material rack used welded roller tracks, which meant they couldn't adjust the track position when introducing new phone models with different part sizes. After switching to roller track placon mount connectors, they could reposition the tracks in minutes, reducing changeover time by 40%. The connectors also made it easier to clean around the tracks, improving workplace hygiene—a big plus in electronics manufacturing where dust can damage sensitive components.
Case 2: Medical Device Warehousing
A medical device company needed a material rack system that could be easily sanitized and reconfigured for different product lines (like surgical tools vs. diagnostic equipment). The roller track placon mount connectors allowed them to quickly disassemble and clean the tracks and racks, meeting strict medical industry standards. Plus, the reusable connectors meant they could repurpose the racks for new products without buying new parts—aligning with their sustainability goals.
Case 3: Small Warehouse with Limited Space
A small parts warehouse was tight on space but needed to store a variety of components. By using adjustable roller track placon mount connectors, they could angle the roller tracks to fit into corner spaces, maximizing vertical storage. The connectors' lightweight aluminum construction also meant the racks were easy to move, allowing the team to rearrange the warehouse layout during peak seasons without heavy lifting equipment.
Maintenance Tips to Keep Your Connectors (and Racks) Working Like New
Like any tool, your roller track placon mount connectors need a little care to stay in top shape. Here are some simple maintenance habits to adopt:
- Regular Inspections: Every month, take a few minutes to check the connectors. Look for loose screws, cracks, or signs of wear (like bent edges). Tighten any loose screws immediately—small issues can turn into big problems fast.
- Keep Them Clean: Dust, grease, and debris can build up in the connector's T-slots or around the screws, making adjustments difficult. Wipe them down with a dry cloth or mild cleaner (avoid harsh chemicals that can damage the material).
- Lubricate Moving Parts (If Needed): Some connectors have moving components (like swivel joints). A drop of light machine oil every few months will keep them moving smoothly.
- replace Worn Connectors Promptly: If a connector is cracked, bent, or no longer tightens properly, replace it right away. Using damaged connectors puts your entire material handling system at risk—and the cost of a new connector is far less than the cost of a production delay or accident.
Choosing the Right Connector for Your Needs
Not all roller track placon mount connectors are created equal. With options like the roller track placon mount center support bracket, end support with stop, or joint connector, it's important to pick the right one for your setup. Here's how to decide:
Consider the Load: How heavy are the materials you'll be moving? For light loads (small parts, empty boxes), a standard connector works fine. For heavy loads (metal components, full cartons), opt for heavy-duty connectors like the roller track placon mount for aluminum profile high, designed to handle more weight.
Think About the Track Type: As mentioned earlier, match the connector to your roller track. For example, the 40 roller track placon mount drop high requires a connector that accounts for the track's height, while the all-direction roller track needs a connector that allows for multi-directional movement.
Check the Environment: Will the rack be in a wet area? Choose stainless steel connectors to prevent rust. In ESD-sensitive areas, look for ESD-rated options. For cleanrooms (like in medical device manufacturing), smooth, easy-to-clean aluminum connectors are best.
Don't Forget Compatibility: Ensure the connector fits your material rack's aluminum profile or lean pipe size. Most suppliers list compatible profiles (e.g., 2020, 3030, 4040) in their product specs—double-check this before buying.
Final Thoughts: Small Part, Big Impact
The roller track placon mount connector might not be the most glamorous part of your material handling system, but it's undoubtedly one of the most important. By taking the time to install it correctly, maintain it properly, and choose the right type for your needs, you'll create a material rack system that's efficient, flexible, and built to last—exactly what the lean solution (lean solution) is all about.
Remember, in lean manufacturing, success lies in the details. A well-connected roller track means smoother material flow, happier workers (no more struggling with stuck parts!), and a more productive operation overall. So next time you're setting up or upgrading your material racks, give these connectors the attention they deserve—your bottom line will thank you.