- Company Articles
- Products and Technology
- Product knowledge
- Roller Track Placon Mount Joints in Mechanical Assembly: Error Reduction Tips

Roller Track Placon Mount Joints in Mechanical Assembly: Error Reduction Tips
Related Product
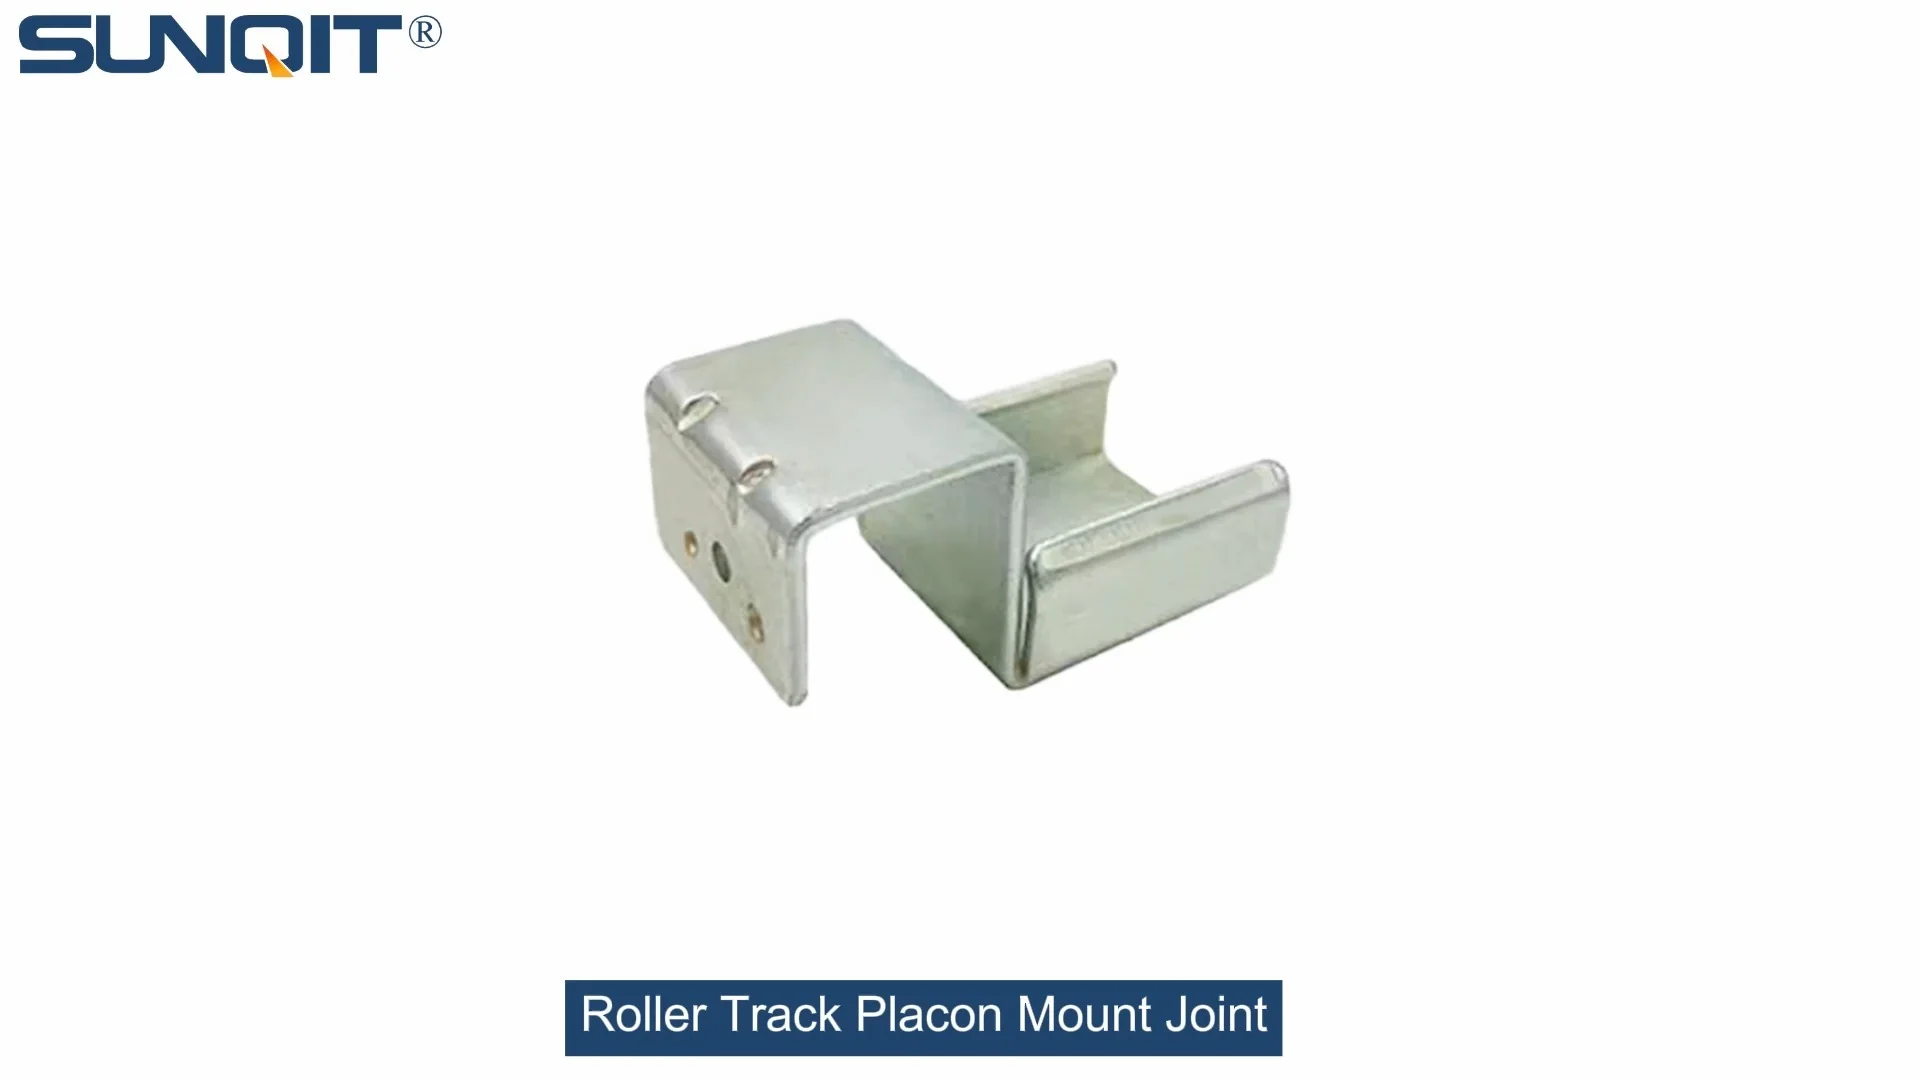
Roller Track Placon Mount Joint
Roller track placon mount work as a connector for roller track and pipe or aluminum profile in rack syetem, it is a necessary parts in rack system which widely used in industrial plant and logistic,warehouse storage.
In the fast-paced world of mechanical assembly, where every second counts and precision is non-negotiable, even the smallest components can make or break production efficiency. Among these unsung heroes are roller track placon mount joints—those unassuming connectors that hold together the roller tracks, conveyors, and workbenches forming the backbone of modern manufacturing lines. Whether you're building a lean assembly cell for 3C electronics or setting up a material flow system in automotive production, getting these joints right isn't just about "putting parts together"—it's about ensuring seamless workflow, reducing downtime, and upholding the standards of lean manufacturing. Let's dive into why these joints matter, the common mistakes that trip up teams, and actionable tips to keep your assembly line running smoother than ever.
What Are Roller Track Placon Mount Joints, Anyway?
If you've ever walked through a factory floor, you've probably seen them without realizing: the metal or plastic connectors that attach roller tracks to workbenches, conveyor frames, or aluminum profiles. These are placon mount joints—designed to secure roller tracks (those grooved rails that let bins and components glide effortlessly) to their supporting structures. Unlike generic fasteners, they're engineered for the specific demands of material handling: repeated impact from sliding loads, constant vibration from nearby machinery, and the need for quick adjustments when reconfiguring lines (a cornerstone of lean system principles).
Think of them as the "elbows" and "knees" of your production setup. A well-installed joint keeps roller tracks aligned, preventing jams when a circuit board tray glides from a workbench to a conveyor. A poorly installed one? It might start as a tiny wobble, then escalate into a stuck bin, a scratched component, or worse—a production line shutdown while your team troubleshoots. And in manufacturing, downtime isn't just frustrating; it's costly. That's why mastering these joints isn't optional—it's essential for anyone serious about lean, efficient production.
The Hidden Cost of Assembly Errors: Why These Joints Can't Be Ignored
You might be thinking, "They're just connectors—how much damage can one loose joint really do?" Let's break it down with real-world scenarios:
- Scenario 1: In a 3C assembly plant, a misaligned placon joint causes a roller track to dip by 2 degrees. A bin of smartphone screens slides down, hits the dip, and jolts—cracking two screens. That's $200 in scrap, plus 15 minutes of line stoppage to clean up and reset.
- Scenario 2: A warehouse uses roller tracks to feed parts to a packaging workbench. A joint with insufficient clamping force loosens over time, making the track shift. Workers start manually lifting bins instead of sliding them, increasing fatigue and slowing down by 10 units per hour.
- Scenario 3: In automotive parts manufacturing, a corroded placon joint (installed without checking material compatibility) fails during a rush order. The roller track collapses, damaging a batch of engine sensors worth $5,000. Now you're not just fixing the joint—you're scrambling to meet a deadline with a depleted inventory.
These aren't hypothetical. They're the kinds of issues that eat into profit margins and erode team morale. The good news? Most of these errors are preventable. Let's start by identifying the usual suspects.

Common Errors in Roller Track Placon Joint Assembly (and How to Spot Them)
| Error Type | How It Shows Up | Why It Happens | Quick Check Tip |
|---|---|---|---|
| Misalignment | Roller track dips, sags, or angles off-center; bins get stuck mid-slide. | Rushing installation without measuring; using worn-out alignment tools. | Place a straightedge along the track—gaps mean misalignment. |
| Under-Tightening | Joint wobbles when touched; track shifts under load. | Using "feel" instead of torque wrenches; ignoring material thermal expansion. | Try to wiggle the joint by hand—if it moves, it's too loose. |
| Material Mismatch | Joint corrodes, cracks, or strips; metal joints leave rust marks on aluminum tracks. | Mixing steel joints with aluminum profiles; using plastic joints for heavy loads. | Check the joint specs—look for "aluminum-compatible" or "ESD-safe" labels if needed. |
| Overcrowding | Joints overlap or are spaced too closely; track vibrates excessively. | Trying to "over-secure" the track; not following spacing guidelines. | Measure distance between joints—should match the track's recommended spacing (usually 30-50cm). |

5 Proven Tips to Reduce Assembly Errors
1. Start with the Right Tools (No, a Screwdriver Isn't Enough)
You wouldn't use a butter knife to tighten a bike chain, right? The same logic applies here. Placon mount joints often require specific tools to ensure precision: torque wrenches to avoid over-tightening (which can strip threads or crack plastic joints), laser levels to check alignment across long tracks, and deburring tools to smooth rough edges on aluminum profiles before attaching joints (sharp edges wear down joint gaskets over time).
Pro tip: Keep a "joint installation kit" at each workbench. Include a torque wrench calibrated for your joint size (most placon joints specify 4-6 Nm for steel, 2-3 Nm for plastic), a small bubble level, and a wire brush to clean dirt from bolt holes—debris trapped under the joint is a common cause of uneven mounting.
2. Think Like a Lean System: Plan Before You Drill
Lean manufacturing isn't just about minimizing waste—it's about eliminating unnecessary work. Rushing to mount joints without a plan is a classic example of "waste" in action. Before you pick up a tool, ask: Where will this track carry loads? How heavy are those loads? Will the line need to be reconfigured next quarter?
Sketching a quick layout (even on a whiteboard) helps. For example, if you're attaching a roller track to a workbench near a conveyor, mark where the joint will sit relative to the conveyor's entry point. Misalignment here could mean parts fall off the track when transferring to the conveyor—a mistake that's easy to avoid with 5 minutes of planning.
3. Check for Compatibility (Aluminum + Steel = Trouble)
This is a big one. If your roller track is made of aluminum (common for lightweight, corrosion-resistant setups), using a steel placon joint without a protective coating is asking for trouble. Aluminum and steel react chemically when in contact (a process called galvanic corrosion), which weakens the joint over time. Similarly, plastic joints might save cost upfront, but they'll warp under the heat of a factory with high-temperature processes (like automotive paint shops).
Solution: Match the joint material to your track and environment. Use aluminum joints for aluminum profiles, stainless steel for damp areas (like food processing), and reinforced plastic only for light loads (e.g., small electronic components on an ESD workbench). Most suppliers (including ours) list material compatibility in their specs—keep a cheat sheet handy!
4. Test, Then Test Again (Under Real Loads)
Here's a mistake even seasoned teams make: they tighten the joint, give it a gentle push, and call it good. But real-world conditions are tougher. A joint that holds when you nudge it might fail when a full bin of parts slams into it at 8 AM rush hour.
Do a "stress test" after installation: Load the track with the heaviest bin it will carry (plus 10%—better safe than sorry), then slide it back and forth 20 times. Check for movement in the joint, unusual noises, or track misalignment. If something shifts, re-tighten or adjust before production starts. It's 10 minutes well spent to avoid a 2-hour shutdown later.
5. Train Your Team to "Own" the Joints
Even the best tools and plans fail if your team isn't on board. Hold a 15-minute training session to show assembly workers how to spot loose joints: "If you see a roller track that's lower on one side, or a joint with rust around the bolts, tag it with a red flag and let the maintenance team know." Empower them to stop the line if they notice a problem—better a short pause than a major breakdown.
Post quick-reference guides near workstations: a checklist of "joint dos and don'ts," photos of good vs. bad installations, and who to contact for help. When everyone feels responsible for keeping joints in shape, errors drop dramatically.

From Errors to Efficiency: A Real-World Example
Let's put this into context with a case study from a 3C assembly plant we worked with last year. Their team was struggling with frequent jams on a roller track feeding components to an ESD workstation—specifically, a section where the track connected to a conveyor via placon mount joints. The issue? A mix of under-tightened joints (causing sag) and steel joints on aluminum tracks (causing corrosion). Errors were happening 2-3 times per shift, costing them ~8 hours of downtime monthly.
We helped them implement the tips above: switching to aluminum-compatible joints, training their line workers to use torque wrenches, and adding a 5-minute pre-shift joint inspection. Within 2 weeks, jams dropped to zero. Within a month, they reallocated those 8 hours of downtime to production, increasing output by 12%. And because the joints now lasted longer (no more corrosion), they cut replacement costs by 40%—a win for both efficiency and their bottom line.
Why This Matters for Your Lean System
At the end of the day, roller track placon mount joints are more than just hardware—they're a microcosm of lean manufacturing itself. Lean systems thrive on stability, flexibility, and continuous improvement. A joint that stays tight and aligned reduces waste (no more scrapped parts from jams). One that's easy to adjust lets you reconfigure lines quickly (hello, rapid response to new orders). And a team trained to spot issues? That's the "continuous improvement" engine in action.
So the next time you're setting up a roller track, take an extra minute with those joints. Measure twice, tighten with care, and train your team to notice the small stuff. Your production line (and your profit margin) will thank you.
Final Thoughts: Small Joints, Big Impact
Roller track placon mount joints might not be the flashiest part of your manufacturing setup, but they're proof that success lies in the details. By avoiding common errors, using the right tools, and fostering a culture of care, you can turn these tiny connectors into a source of strength for your production line. After all, in lean manufacturing, it's the little things that add up to big results.