- Company Articles
- Products and Technology
- Installation And Maintenance
- Saddle Pipe Clamp Installation Tools: What You Need for Efficient Setup

Saddle Pipe Clamp Installation Tools: What You Need for Efficient Setup
Related Product
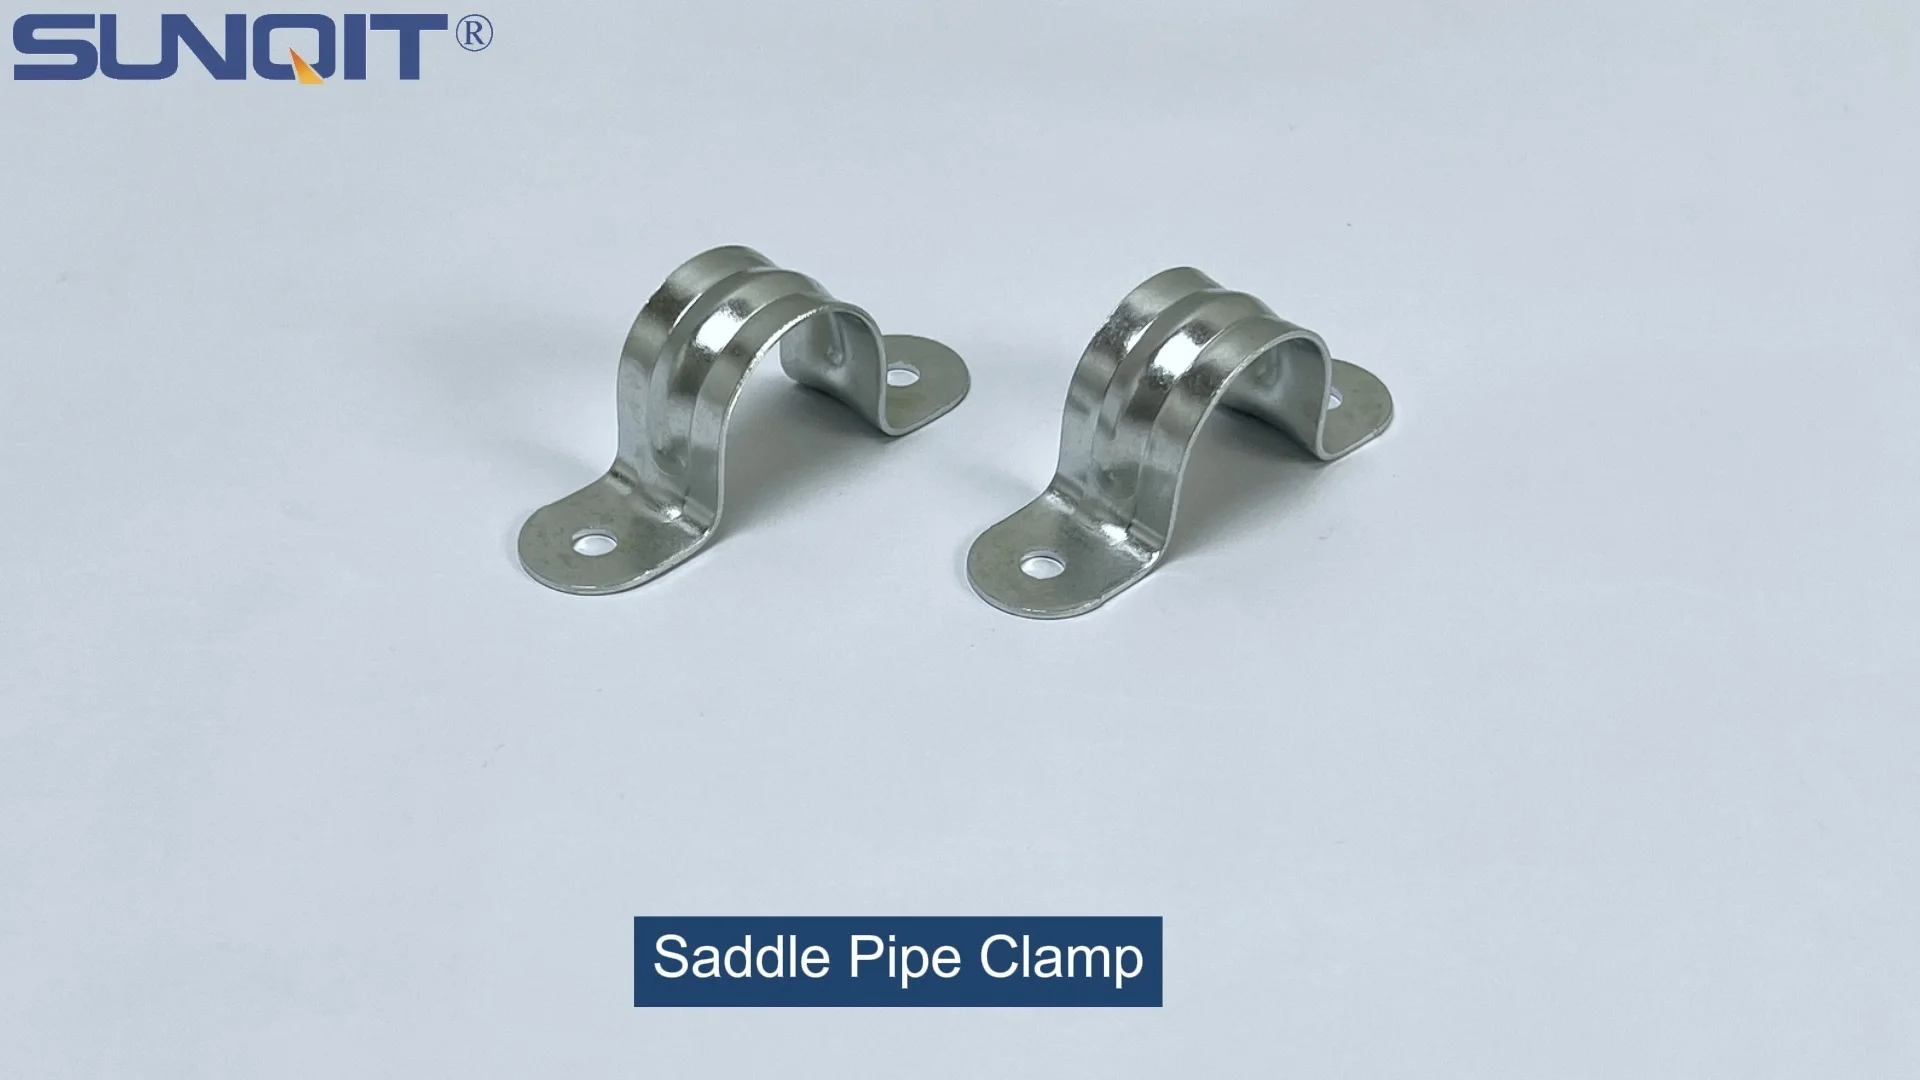
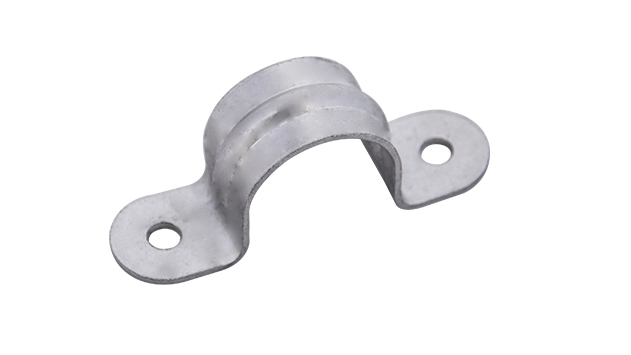
Saddle Pipe Clamp
Saddle pipe clamp, used for board connect with pipe, usually for table top installation.
In the world of lean manufacturing and production line setup, every component matters—especially the small ones that hold everything together. The saddle pipe clamp is one such unsung hero, quietly ensuring that your lean pipe structures, workbenches, and material racks stay stable and secure. But here's the thing: even the best saddle pipe clamp won't perform well if you don't have the right tools to install it. Whether you're a seasoned facility manager or a new technician setting up your first production cell, understanding the essential tools for saddle pipe clamp installation can save you hours of frustration, reduce errors, and keep your workflow running smoothly. In this guide, we'll walk you through everything you need to know—from the must-have tools to pro tips that make the process feel like second nature.
Why Saddle Pipe Clamp Installation Tools Matter More Than You Think
Before we dive into the tools themselves, let's take a moment to appreciate why this topic matters. Saddle pipe clamps are the backbone of many lean systems, used to connect pipes, secure workbenches, and build everything from flow racks to turnover trolleys. A poorly installed clamp can lead to wobbly structures, misaligned material flow, or even safety hazards—think tools sliding off an unstable workbench or a rack collapsing under the weight of materials. On the flip side, a properly installed clamp, done with the right tools, creates a rigid framework that can withstand daily use, vibrations, and heavy loads.
But here's the mistake many teams make: they treat saddle pipe clamp installation as a "good enough" task, grabbing whatever tool is handy—a random wrench, a screwdriver that sort of fits—and calling it a day. This approach might work in the short term, but over time, it leads to loose clamps, stripped screws, and costly rework. The right tools, on the other hand, ensure precision, speed, and durability. They turn a tedious chore into a quick, reliable process that you can trust will hold up under pressure.
Let's consider a real-world example: A manufacturing plant recently upgraded its assembly line to include new aluminum lean pipe workbenches. The team used a generic pair of pliers to tighten the saddle pipe clamps, assuming any tool that could grip the screws would work. Within a week, several clamps had loosened, causing the workbench surfaces to tilt. Materials slid off, slowing down production, and a technician even strained their wrist trying to retighten the stripped screws. The fix? Investing in a proper hex key set and a torque wrench. The result? No more loose clamps, faster installation times, and a safer workspace. The moral? Skimping on tools costs more in the long run.
The Essential Toolkit: Must-Have Tools for Saddle Pipe Clamp Installation
Now that we've established why the right tools matter, let's break down the toolkit you'll need. We'll cover everything from basic hand tools to specialty items that make the job easier, along with why each tool is critical and how to use it effectively.
1. Measuring Tape: The Foundation of Precision
You might think, "A measuring tape? That's obvious!" But you'd be surprised how many teams skip this step, eyeballing clamp positions and hoping for the best. Eyeballing might work for a temporary setup, but in a lean system where every inch affects workflow, precision is key. A measuring tape ensures that your saddle pipe clamps are placed exactly where they need to be—whether that's 12 inches apart on a flow rack or aligned with a lean pipe joint on a workbench.
Look for a retractable measuring tape with at least a 16-foot length (5 meters) and clear, easy-to-read markings. A locking mechanism is a must—you don't want the tape sliding back while you're marking positions. For one-handed use (since your other hand will be holding a pencil or marker), opt for a tape with a comfortable grip and a smooth retraction spring.
Pro Tip: When marking clamp positions on aluminum pipe or stainless steel pipe series, use a pencil with a soft lead (like a #2) instead of a marker. Markers can smudge or leave permanent stains, especially on light-colored aluminum, while pencil marks wipe off easily with a damp cloth if you need to adjust.
2. Hex Key Set: The Secret to Stripped Screw Prevention
Saddle pipe clamps are almost always secured with hex-head screws (also called Allen screws), and using the wrong tool to tighten them is a one-way ticket to stripped threads. A generic flathead screwdriver or a pair of pliers might fit, but they'll round off the screw heads over time, making the clamps impossible to tighten or remove later. That's where a hex key set comes in.
Invest in a high-quality set with both metric and imperial sizes—saddle pipe clamps can vary by manufacturer, and you don't want to be caught without the right size. Look for keys made from chrome vanadium steel, which is durable and resistant to bending. A foldable set (with keys that tuck into a handle) is more portable than a loose set, making it easy to keep in your tool belt or workstation drawer.
When using a hex key, push it firmly into the screw head before turning—this creates a tight grip and reduces the chance of slipping. Tighten the screws until they're snug, but avoid over-tightening, especially on plastic or aluminum pipe accessories. Over-tightening can crack the clamp or strip the threads in the pipe itself.
3. Level Tool: Keeping Your Structures Straight (and Safe)
Imagine assembling a flow rack with saddle pipe clamps, only to realize halfway through that the entire structure is tilted to one side. Not only does this look unprofessional, but it also disrupts material flow—items might slide off prematurely or get stuck. A level tool ensures that your pipes (and the clamps securing them) are perfectly horizontal or vertical, depending on the setup.
A bubble level (the most common type) is affordable and easy to use. Look for a 2-foot (60cm) model with at least two vials: one for horizontal alignment and one for vertical. Some levels also include a 45-degree vial, which is handy for angled structures like material racks. For larger setups (like a 3-row, 3-floor material rack B), a longer level (4 feet or 1.2 meters) will give you more accurate readings across longer pipe sections.
To use a level: Place it on top of the pipe where you've marked the clamp position. Adjust the pipe until the bubble in the vial sits exactly between the two lines. Double-check by rotating the level 180 degrees—if the bubble still centers, your pipe is straight. If not, there might be a bend in the pipe itself (which you should replace before installing the clamp).
4. Rubber Mallet: Gentle Persuasion for Misaligned Clamps
Sometimes, despite your best efforts, a saddle pipe clamp just won't slide into place perfectly. Maybe the pipe has a slight dent, or the clamp is snug against a lean pipe joint. In these cases, a rubber mallet is your best friend. Unlike a steel hammer, which can dent aluminum pipe or crack plastic clamp components, a rubber mallet delivers gentle, even force to nudge the clamp into alignment without damaging it.
Choose a mallet with a 16-ounce (450g) head—heavy enough to move the clamp but light enough to control. A wooden handle is more comfortable to grip than plastic, especially during extended use. When using the mallet, tap the clamp gently on the side (not directly on the screw heads or the pipe) to avoid warping the clamp's shape.
Warning: If the clamp still won't align after a few light taps, stop! Forcing it could bend the clamp or the pipe. Instead, check for obstructions—maybe a burr on the pipe end or a misaligned lean pipe joint. Use a deburring tool (see below) to smooth the pipe, or adjust the joint position before trying again.
5. Deburring Tool: Safety and Clamp Grip
When you cut aluminum pipe, stainless steel pipe, or even pe-coated lean pipe to length, the ends often have sharp burrs—tiny metal fragments that stick out. These burrs aren't just a safety hazard (they can slice your hands when handling the pipe); they also prevent saddle pipe clamps from seating properly. A clamp placed over a burr will sit unevenly, leading to gaps that weaken the connection.
A deburring tool is a small, handheld device with a rotating blade that shaves off these burrs, leaving smooth, clean pipe ends. Look for a tool with interchangeable blades (for different pipe diameters) and a comfortable grip. For aluminum pipe accessories, a manual deburring tool works fine; for thicker stainless steel pipe series, you might need a ratcheting model for extra leverage.
To use a deburring tool: insert the blade into the pipe end, applying light pressure, and twist the tool clockwise. The blade will cut off the burrs in a single rotation. After deburring, wipe the pipe end with a dry cloth to remove any metal shavings—you don't want them getting stuck between the clamp and the pipe.
6. Thread Locking Compound: Preventing Loose Clamps in High-Vibration Environments
In production lines with conveyors, roller tracks, or heavy machinery, vibrations are constant. Over time, these vibrations can loosen even the tightest hex screws, causing saddle pipe clamps to slip. That's where thread locking compound (also called thread locker) comes in. This adhesive-like substance is applied to screw threads before installation, creating a bond that resists vibration-induced loosening.
Choose a medium-strength thread locker (like Loctite Blue) for saddle pipe clamps. Avoid high-strength formulas (like Loctite Red), which are permanent and can make removing the clamps later nearly impossible without heat. Apply a small drop (about the size of a pinhead) to the screw threads before inserting them into the clamp—too much compound can seep out and stain the pipe or clamp.
Pro Tip: Thread locker takes about 24 hours to fully cure, so if you need to adjust a clamp immediately after installation, do it within the first hour. After that, you'll need to apply heat (with a heat gun) to break the bond before loosening the screw.
7. Caster Accessories: For Mobile Setups
While not a "tool" in the traditional sense, caster accessories are essential if you're installing saddle pipe clamps on mobile structures like turnover trolleys or portable workbenches. Casters (wheels) allow you to move the structure easily, but they need to be secured to the frame with saddle pipe clamps—and that requires the right accessories.
Common caster accessories include mounting plates, lock washers, and axle caps. Mounting plates attach the caster to the pipe frame, and saddle pipe clamps secure the plates in place. Lock washers (split or star washers) go between the clamp and the mounting plate to prevent slipping, while axle caps protect the caster wheel bearings from dust and debris.
When installing casters with saddle pipe clamps, ensure the clamps are positioned symmetrically—an off-center clamp can cause the trolley to wobble. Use a level to check that all four casters are touching the ground evenly, and test the brakes (if your casters have them) to make sure they engage smoothly without lifting the trolley.
Pro Tip from the Pros:
"Always test-fit a saddle pipe clamp before applying thread locker or tightening the screws all the way. Place the clamp on the pipe, insert the screws loosely, and check if it sits flat and aligns with any nearby lean pipe joints or roller track connectors. If it doesn't, adjust the position now—thread locker makes repositioning a hassle later!" — Maria Gonzalez, Lean Manufacturing Specialist with 15+ years of experience.
Step-by-Step Guide: Installing Saddle Pipe Clamps Like a Pro
Now that you have your toolkit assembled, let's walk through the installation process step by step. We'll use a common scenario: installing saddle pipe clamps to build a material rack B (3 row and 3 floor) using aluminum lean pipe and lean pipe joints. This process can be adapted for workbenches, flow racks, or any other structure that uses saddle pipe clamps.
Step 1: Gather Materials and Inspect Components
Before you start, lay out all your materials: aluminum lean pipe (cut to length), saddle pipe clamps, lean pipe joints, measuring tape, hex key set, level, and any other tools from your toolkit. Take a minute to inspect each component for defects:
- Saddle pipe clamps: Check for cracks, bent screw holes, or missing screws. A cracked clamp won't hold properly and should be replaced.
- Pipes: Look for dents, bends, or rust (on steel pipes). A bent pipe will throw off your alignment, so straighten it or replace it if needed.
- Lean pipe joints: Ensure the joint threads are clean and free of debris. If a joint is bent, it won't connect squarely to the pipe.
Organize your workspace by clearing a flat surface (like a workbench) and placing tools within easy reach. A tool tray or magnetic strip can keep small items like hex keys and screws from rolling away.
Step 2: Measure and Mark Clamp Positions
Using your measuring tape, mark where each saddle pipe clamp will go on the aluminum lean pipe. For a material rack B with 3 rows and 3 floors, you'll need clamps at the corners (where vertical and horizontal pipes meet) and along the horizontal pipes to support the shelves.
For example, if your vertical pipes are 6 feet tall, mark clamp positions at 2 feet and 4 feet from the bottom to support the middle and top shelves. Use your level to draw a straight horizontal line across the vertical pipe at each mark—this ensures the clamp will align with the horizontal shelf pipe.
On horizontal pipes, mark clamp positions 18 inches apart (or as specified by your design) to support the shelf boards. Double-check all measurements with the level to avoid tilting shelves.
Step 3: Deburr Pipe Ends (If Needed)
If you cut the aluminum lean pipe to length, use your deburring tool to remove burrs from the ends. Wipe the pipes with a dry cloth to remove metal shavings.
Step 4: Attach Saddle Pipe Clamps to Vertical Pipes
Slide a saddle pipe clamp onto a vertical pipe, aligning its screw holes with the horizontal line you marked. insert the hex screws into the clamp's holes, but don't tighten them yet—you'll need to adjust the clamp later to align with the horizontal pipe.
Repeat this for all vertical pipe clamps, ensuring each one is positioned at the correct height and aligned with the level marks.
Step 5: Connect Horizontal Pipes to Clamps
Take a horizontal aluminum lean pipe and place its end into a lean pipe joint. Slide the joint onto one end of the horizontal pipe until it's flush with the pipe end. Then, position the joint (and pipe) into the saddle pipe clamp on the vertical pipe, ensuring the horizontal pipe sits level (use your level tool to check).
Once the horizontal pipe is level, tighten the clamp's hex screws with your hex key. Tighten them until they're snug—about 2-3 turns after the screw head touches the clamp. Avoid over-tightening, as this can crush the aluminum pipe or strip the threads.
Repeat this for all horizontal pipes, working from the bottom shelf up to the top. After attaching each horizontal pipe, give it a gentle shake to check for movement. If it wobbles, loosen the clamp, realign the pipe, and retighten.
Step 6: Secure Lean Pipe Joints and Add Reinforcements
Once all horizontal and vertical pipes are connected with saddle pipe clamps, go back and tighten the lean pipe joints. Most joints have their own hex screws—use your hex key to snug them up, ensuring the pipes are fully seated in the joints.
For extra stability, especially on material racks that will hold heavy loads, add diagonal braces using shorter pipes and additional saddle pipe clamps. Braces prevent the rack from swaying side to side and distribute weight evenly across the structure.
Step 7: Test Stability and Make Final Adjustments
With the rack fully assembled, test its stability by pushing gently on each corner and shelf. It should feel solid, with no creaking or shifting. If a shelf tilts, check the level of the horizontal pipe and adjust the saddle pipe clamps as needed.
If you're using caster accessories to make the rack mobile, attach them now by securing the caster mounting plates to the bottom of the vertical pipes with saddle pipe clamps. Ensure the casters are all facing the same direction and that the rack sits level on all four wheels.
Step 8: Apply Thread Locking Compound (Optional)
If the material rack will be used in a high-vibration area (near a conveyor or roller track), apply a small drop of medium-strength thread locking compound to each clamp's hex screws. Let the compound cure for 24 hours before loading the rack with materials.

Troubleshooting Common Saddle Pipe Clamp Installation Issues
Even with the right tools and a careful process, problems can pop up during installation. Here are the most common issues and how to fix them quickly.
Issue 1: Clamp Won't Sit Flat on the Pipe
Cause: This is usually due to a burr on the pipe end, a bent clamp, or a misaligned lean pipe joint. If the pipe was cut but not deburred, the burr will create a bump under the clamp. A bent clamp (from rough handling) will have a warped saddle shape that doesn't conform to the pipe.
Solution: Deburr the pipe end with your deburring tool. If the clamp is bent, try gently bending it back into shape with pliers (wrap the clamp in a cloth to avoid scratching it). If it's too bent to fix, replace the clamp. For misaligned joints, loosen the joint, realign the pipe, and retighten.
Issue 2: Hex Screws Keep Stripping
Cause: Using the wrong size hex key, over-tightening, or using a worn-out hex key. A key that's too small will slip in the screw head, rounding it off. Over-tightening can strip the threads in the clamp or pipe.
Solution: Switch to the correct size hex key (check the screw head for size markings, usually in mm). If the screw is already stripped, use a screw extractor tool to remove it. replace the stripped screw with a new one—never reuse a stripped screw, as it won't hold securely.
Issue 3: Structure Wobbles After Installation
Cause: Clamps are too loose, pipes are misaligned, or diagonal braces are missing. Wobbling is common in tall structures (like a 3-floor material rack) without braces, as vertical pipes can flex under load.
Solution: Tighten all saddle pipe clamps with your hex key (snug but not over-tight). Check alignment with your level and adjust any pipes that are tilted. Add diagonal braces between vertical and horizontal pipes—this will significantly reduce wobble.
Issue 4: Caster Accessories Don't Align with Clamps
Cause: Caster mounting plates are bent, or the vertical pipes are uneven in length. If the pipes aren't cut to the same length, the mounting plates will sit at different heights, making the casters uneven.
Solution: Measure the vertical pipes to ensure they're all the same length. If one is shorter, replace it or add a shim (like a small aluminum washer) under the mounting plate. If the mounting plate is bent, straighten it with pliers or replace it.

Tool Maintenance: Keeping Your Kit in Top Shape
Your installation tools are an investment, and taking care of them will extend their lifespan and ensure they work when you need them. Here's how to maintain each tool:
Hex Key Set:
Wipe keys clean after use to remove oil or debris. Store them in their original case to prevent bending. If a key becomes bent, replace it—using a bent key increases the risk of stripping screws.
Measuring Tape:
Keep the tape dry—moisture can cause rust on the blade. After use, retract the tape slowly to avoid damaging the spring. If the blade becomes dirty, wipe it with a damp cloth and dry thoroughly.
Level Tool:
Store the level flat (not on its side) to prevent the vials from shifting. If the bubble doesn't center when the level is placed on a flat surface, it's out of calibration—replace it, as a misaligned level will throw off your entire setup.
Deburring Tool:
Clean the blade after each use to remove metal shavings. replace the blade when it becomes dull (you'll notice it takes more effort to deburr pipes).
Final Thoughts: Tools That Transform Your Lean System
Saddle pipe clamp installation might seem like a small part of building a lean system, but it's a critical one. With the right tools—measuring tape for precision, hex keys for secure screws, level for alignment, and the rest of your toolkit—you'll create structures that are stable, efficient, and built to last. Remember, the goal of lean manufacturing is to eliminate waste, and nothing wastes time like reworking loose clamps or replacing stripped screws. By investing in quality tools and following a careful process, you'll save time, reduce frustration, and create a workspace that supports your team's best work.
So the next time you reach for a saddle pipe clamp, take a minute to gather your tools, measure twice, and install with confidence. Your lean system (and your team) will thank you.
Tool Comparison Table: Choosing the Right Tools for Your Setup
| Tool | Best For | Budget Option | Premium Option | Key Feature to Look For |
|---|---|---|---|---|
| Measuring Tape | Marking clamp positions | Basic retractable tape ($5–$10) | Magnetic tip tape with rubber grip ($20–$30) | Locking mechanism and clear markings |
| Hex Key Set | Tightening clamp screws | Foldable carbon steel set ($8–$15) | Chrome vanadium set with rubber handle ($25–$40) | Precision-machined tips (no slop) |
| Level Tool | Aligning pipes horizontally/vertically | 12-inch bubble level ($10–$15) | 24-inch aluminum level with 3 vials ($30–$50) | Shock-resistant vials (won't break if dropped) |
| Deburring Tool | Smoothing pipe ends | Manual deburring tool with 1 blade ($10–$15) | Ratcheting tool with interchangeable blades ($25–$40) | Adjustable blade depth (for different pipe sizes) |
| Rubber Mallet | Nudging clamps into alignment | 16-ounce plastic handle mallet ($8–$12) | 20-ounce wooden handle mallet with replaceable head ($20–$30) | Non-marring head (won't scratch clamps) |