- Company Articles
- Products and Technology
- Installation And Maintenance
- Saddle Pipe Clamp Maintenance: Tips to Extend Lifespan in Heavy-Duty Use

Saddle Pipe Clamp Maintenance: Tips to Extend Lifespan in Heavy-Duty Use
Related Product
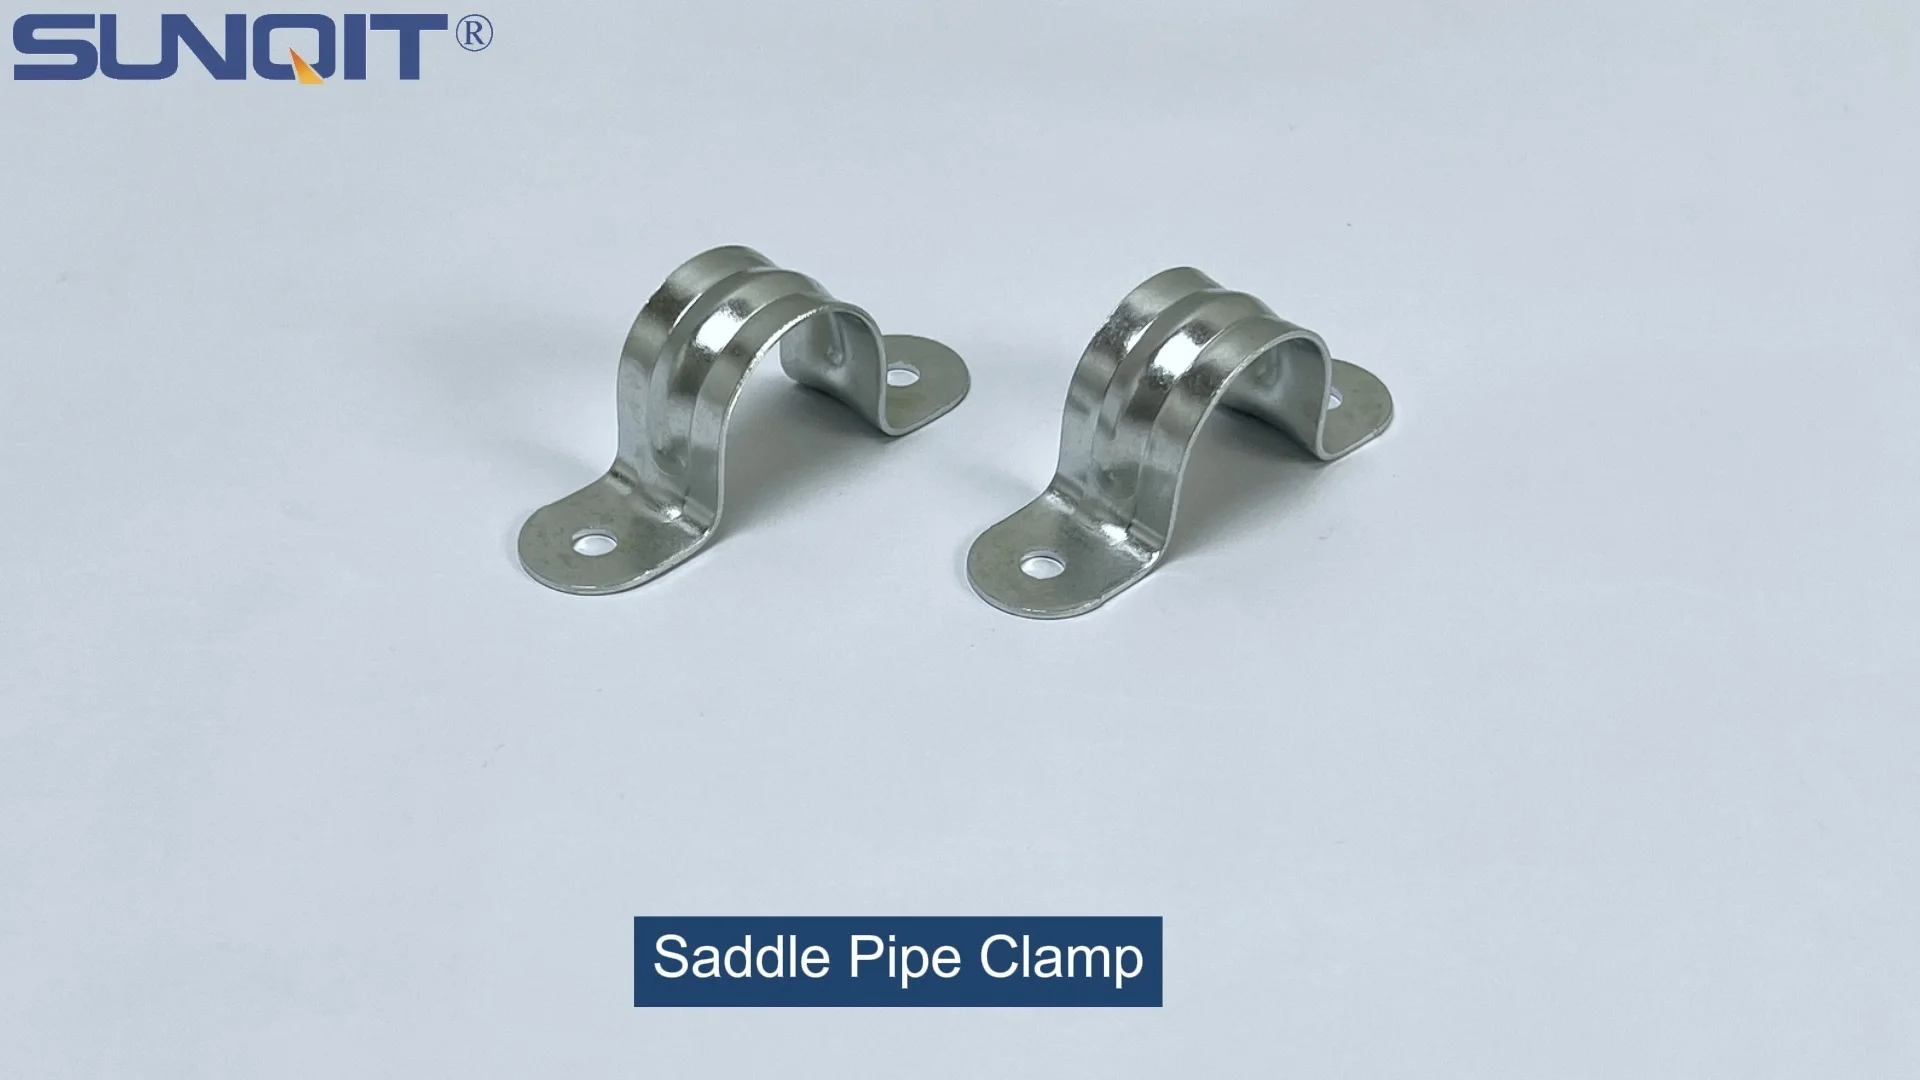
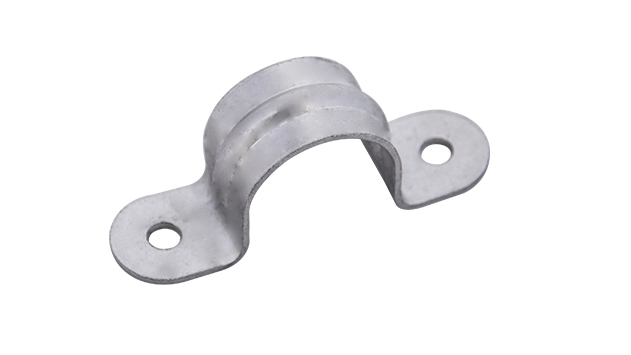
Saddle Pipe Clamp
Saddle pipe clamp, used for board connect with pipe, usually for table top installation.
Walk into any busy manufacturing plant, warehouse, or assembly line, and you'll notice a silent workhorse holding everything together: the saddle pipe clamp. These unassuming components might not grab headlines, but they're the backbone of lean pipe systems, securing everything from workbenches and flow racks to conveyors and material trolleys. When heavy-duty operations are in full swing—with constant vibration, heavy loads, and daily wear—these clamps take a beating. But with the right maintenance, you can significantly extend their lifespan, avoid costly downtime, and keep your lean system running like a well-oiled machine. Let's dive into how to care for these critical pieces, using insights from years of working with lean pipe setups and their accessories.
Understanding Saddle Pipe Clamps: More Than Just a "Clamp"
First, let's make sure we're on the same page: what exactly is a saddle pipe clamp? Think of it as the reliable handshake between two lean pipes. Designed to wrap around the outer diameter of a lean pipe (often steel, aluminum, or stainless steel), these clamps use bolts or screws to lock pipes into place, creating sturdy structures like workbenches or material racks. Unlike rigid welds, they offer the flexibility lean systems are known for—easy to assemble, disassemble, and reconfigure as your needs change. But that flexibility comes with a catch: if not maintained, the constant stress of heavy use can loosen bolts, corrode metal, or even crack the clamp itself.
Most saddle pipe clamps are made from metal (like steel with a zinc coating or stainless steel for corrosion resistance) or high-strength plastic for lighter applications. Their design varies slightly—some have a single bolt, others double—but the goal is the same: to create a tight, secure grip without damaging the lean pipe. When paired with compatible lean pipe joints, they form the building blocks of everything from simple workbenches to complex conveyor systems. And here's the thing: a failing clamp isn't just a minor inconvenience. If a clamp gives way on a loaded material rack or a workbench with tools, it could lead to equipment damage, product loss, or even safety hazards for your team. That's why maintenance isn't optional—it's essential.
Why Heavy-Duty Use Takes a Toll: The Hidden Wear and Tear
Heavy-duty environments are tough on equipment, and saddle pipe clamps are no exception. Let's break down the biggest culprits that shorten their lifespan:
Vibration and Movement: Imagine a conveyor belt running 8 hours a day, or a workbench where operators are constantly placing and removing heavy tools. Every vibration, jolt, or bump loosens bolts incrementally. Over time, that "minor" wobble in a workbench leg could turn into a full-on shift because the saddle clamp holding the lean pipe has lost tension.
Weight and Load Stress: Saddle clamps are rated for specific weight limits, but in busy operations, it's easy to overload a rack or workbench. When a clamp is forced to hold more than it's designed for, the metal fatigues. Cracks might start small—near the bolt holes or along the saddle curve—and grow until the clamp fails.
Environmental Factors: Dust, moisture, and chemicals are silent enemies. In factories with high humidity or exposure to oils (like automotive or machining shops), unprotected clamps corrode. Even in dry environments, dust and debris can build up between the clamp and the lean pipe, acting like sandpaper and wearing down both surfaces over time.
Frequent Reconfiguration: One of the perks of lean systems is their adaptability—you can take apart a workbench and rebuild it as a trolley in an hour. But every time you loosen and retighten a saddle clamp, you stress the threads on the bolts and the clamp itself. Cross-threading, stripped bolts, or misaligned clamps during reassembly are common issues that wear.
The good news? Most of these issues are preventable with regular maintenance. Let's get into the actionable steps you can take.
Essential Maintenance Tips: How to Keep Clamps Strong for Years
1. Regular Cleaning: Start with the Basics
You wouldn't expect a car engine to run well covered in grime—same goes for saddle pipe clamps. Dirt, grease, and debris can hide cracks, block bolt access, and trap moisture (hello, corrosion). Make cleaning a weekly habit:
Tools You'll Need: A stiff-bristled brush (to dislodge debris), a rag or microfiber cloth, mild detergent (like dish soap), and a small bucket of warm water. For hard-to-reach areas (like between the clamp and the pipe), use a toothbrush or compressed air to blow out dust.
How to Do It: Wipe down the clamp and surrounding lean pipe with the soapy rag, focusing on the bolt heads and the area where the clamp meets the pipe. Rinse with a damp (not wet) cloth to remove soap residue, then dry thoroughly. This simple step prevents corrosion and makes inspections easier—you can't spot a crack if it's covered in grease!
2. Thorough Inspections: Catch Problems Early
Cleaning is the perfect time to inspect your clamps. Aim for a visual check daily (quick scans during routine tasks) and a deeper dive weekly (10–15 minutes per workstation or rack). Here's what to look for:
Signs of Loosening: Gently wiggle the lean pipe where it's clamped. If there's movement, the clamp is loose. Check the bolt—Is it fully tightened? Are the threads stripped (you'll feel it spin without resistance)?
Cracks or Deformation: Look closely at the clamp's body, especially around the bolt holes and the curved "saddle" part that touches the pipe. Even tiny cracks (hairline or larger) mean the clamp is compromised and needs replacement. Deformation, like a bent saddle, is also a red flag—this means the clamp has been overstressed and can't grip properly.
Corrosion: Rust, pitting, or discoloration (like white spots on stainless steel) indicate corrosion. Surface rust can sometimes be cleaned, but if it's eating into the metal or causing the clamp to stick to the pipe, replace it immediately.
Misalignment: Is the clamp sitting straight on the pipe, or is it twisted? A misaligned clamp puts uneven pressure on the pipe and the clamp itself, leading to faster wear. This often happens after reconfiguration—double-check alignment when rebuilding structures.
3. Tightening with Precision: The Torque Matters
Loose bolts are the number one cause of clamp failure, but "tightening until it won't turn" is a rookie mistake. Over-tightening can strip threads, crack the clamp, or even dent the lean pipe (especially aluminum or thin-walled steel). Under-tightening leaves the clamp vulnerable to vibration-induced loosening. The solution? Use a torque wrench and follow the manufacturer's specs.
Most saddle pipe clamps come with recommended torque values (usually in Newton-meters or foot-pounds). For example, a standard steel clamp with an M8 bolt might require 15–20 Nm of torque. If you don't have the specs, a good rule of thumb is to tighten until the bolt is snug, then add a quarter-turn—just enough to compress the clamp against the pipe without overdoing it. Do this monthly as part of your maintenance routine, and after any heavy jolt or overload (like a dropped tool on the workbench).
Pro tip: Use thread locker (like Loctite) on bolts in high-vibration areas. A drop of medium-strength thread locker prevents loosening without making future disassembly impossible. Avoid permanent thread locker unless you never plan to reconfigure the system!
4. Lubrication: Keep Moving Parts Moving (and Non-Moving Parts Stuck)
Lubrication might seem counterintuitive for a clamp that's supposed to stay tight, but it's all about the right parts. Here's where to focus:
Bolt Threads: A light coating of anti-seize lubricant (like copper-based or graphite) on the bolt threads prevents corrosion and makes tightening/loosening easier. This is especially important in humid or chemical-exposed environments.
Clamp-Pipe Contact: Wait—don't lubricate here! You want friction between the clamp and the pipe to keep it from sliding. Lubricating the saddle surface would actually reduce grip. Stick to cleaning and ensuring the surface is dry and debris-free.
Do this quarterly, or more often if you notice bolts are hard to turn during inspections. A little lubricant goes a long way in preventing seized bolts and stripped threads.
5. Corrosion Prevention: Protect the Metal
Corrosion is a silent killer, but it's preventable. Here's how:
Choose the Right Material: If you're in a wet or corrosive environment, start with stainless steel or aluminum saddle clamps instead of standard steel. They cost a bit more upfront but last exponentially longer.
Touch-Up Paint/Coatings: For steel clamps with a zinc or powder coating, check for chips or scratches during inspections. A quick touch-up with rust-resistant paint or a corrosion-inhibiting spray (like WD-40 Specialist Long-Term Corrosion Inhibitor) seals the metal and stops rust in its tracks.
Keep Dry: If possible, shield clamp-heavy structures (like material racks near washdown areas) from direct moisture. Use drip pans or covers to prevent water from pooling on clamps.

Troubleshooting Common Issues: What to Do When Clamps Fail
Even with great maintenance, clamps can fail. Here's how to spot and fix common problems before they escalate:
Issue: Clamp is Loose, but Bolts Are Tight
Cause:
The clamp's saddle is worn or deformed, so it can't grip the pipe. Or the lean pipe itself is damaged (dented or bent), creating gaps between the pipe and clamp.
Fix:
replace the clamp. If the pipe is damaged, cut out the bent section and replace with a new lean pipe. Always pair new clamps with undamaged pipes for a tight fit.
Issue: Bolt Spins Without Tightening
Cause:
Stripped threads on the bolt or the clamp's nut (if it's a nut-and-bolt style).
Fix:
replace both the bolt and nut (or the clamp if the threads are in the clamp body). Never reuse stripped hardware—it's a safety risk.
Issue: Clamp is Stuck to the Pipe (Can't Loosen for Reconfiguration)
Cause:
Corrosion between the clamp and pipe, or over-tightened bolts that fused the threads.
Fix:
Apply penetrating oil (like PB Blaster) to the bolt threads and let it sit for 15–20 minutes. Tap the bolt gently with a hammer to break up corrosion, then try loosening with a wrench. If the clamp is fused to the pipe, cut it off with a hacksaw and replace it.
Issue: Cracks in the Clamp Body
Cause:
Over-tightening, overload, or metal fatigue.
Fix:
replace immediately! A cracked clamp can fail without warning. Don't try to "reinforce" it with tape or extra bolts—this is a temporary fix at best.

Real-World Example: How Maintenance Saved a Production Line
Let's put this into perspective with a story from a client I worked with—a mid-sized electronics manufacturer. They had a series of workbenches along their assembly line, each built with lean pipes, saddle clamps, and caster wheels for mobility. The team noticed that one workbench was wobbling more than usual, especially when moving it between stations. At first, they ignored it—"just a loose wheel," they thought. But during a weekly inspection, a technician checked the saddle clamps holding the workbench legs to the frame.
What he found was alarming: three out of four clamps had hairline cracks around the bolt holes, and the bolts were so loose they could be turned by hand. The caster wheels, which were locked during use, had been vibrating constantly during production, gradually loosening the clamps. Over time, the weight of the tools and components on the workbench (easily 100+ pounds) stressed the cracked clamps to the breaking point. If they hadn't caught it, the workbench could have collapsed mid-shift, damaging expensive circuit boards and risking injury.
The fix? They replaced all four clamps, tightened the new bolts to the correct torque with thread locker, and added a weekly torque check to their maintenance log. They also inspected the caster wheels, one had a worn bearing causing extra vibration—so they replaced that too. Total cost: less than $50 in parts and 30 minutes of labor. Compare that to the thousands in lost production and repairs if the workbench had failed. That's the power of proactive maintenance.
The Maintenance Schedule: Your Roadmap to Longevity
Consistency is key, so here's a handy schedule to follow. Adjust frequencies based on your environment (e.g., high-moisture areas need more frequent corrosion checks).
| Maintenance Task | Frequency | Tools Needed | Notes |
|---|---|---|---|
| Visual Inspection (looseness, cracks, corrosion) | Daily (quick scan) | Flashlight (for hard-to-see areas) | Focus on high-stress points: workbench corners, material rack joints, conveyor supports. |
| Clean Clamps and Pipes | Weekly | Stiff brush, rag, mild detergent, water | Remove dust, grease, and debris from clamp surfaces and bolt heads. |
| Torque Check and Bolt Tightening | Monthly | Torque wrench, thread locker (if needed) | Follow manufacturer torque specs. Re-tighten after heavy use or impacts. |
| Lubricate Bolt Threads | Quarterly | Anti-seize lubricant, rag | Apply a thin coat to threads; wipe excess to avoid attracting dust. |
| Corrosion Check and Treatment | Biannually (or quarterly in harsh environments) | Wire brush, rust remover, touch-up paint/anti-corrosion spray | Remove surface rust with a wire brush; treat with paint or spray. replace severely corroded clamps. |
| Full System Reconfiguration Inspection | After any rebuild/reconfiguration | Torque wrench, level (to check alignment) | Check all clamps, bolts, and lean pipe joints for tightness and alignment. |
Choosing the Right Clamps and Accessories: Start Strong to Last Long
Maintenance can only do so much if you start with low-quality clamps. When selecting saddle pipe clamps for heavy-duty use, prioritize these features:
Material: Stainless steel for corrosion resistance, galvanized steel for general use, or aluminum for lightweight (but strong) applications. Avoid cheap plastic clamps for heavy loads—they flex and crack under stress.
Design: Look for clamps with a deep saddle curve that matches your lean pipe diameter (e.g., 28mm for standard lean pipes). A wider contact area distributes pressure evenly, reducing pipe damage and clamp fatigue.
Compatible Accessories: Pair clamps with high-quality lean pipe joints that lock securely, reducing stress on the clamp. For mobile setups (like trolleys with caster wheels), choose locking casters to minimize unnecessary movement that loosens clamps.
Remember: You get what you pay for. A $2 clamp might seem like a deal, but replacing it every 6 months costs more in time and downtime than investing in a $5 high-quality clamp that lasts 5+ years with proper maintenance.
Final Thoughts: Maintenance = Savings, Safety, and Sanity
Saddle pipe clamps might be small, but their impact on your lean system's performance is huge. By taking 10–15 minutes a week to inspect, clean, and tighten, you'll extend their lifespan, reduce downtime, and keep your team safe. Think of it as an investment—one that pays off in fewer replacements, fewer accidents, and a smoother-running operation.
And here's the best part: maintenance isn't just for "broken" clamps. It's about catching small issues before they become big problems. A loose bolt today, a tiny crack tomorrow—these are warnings, not nuisances. Listen to them, act on them, and your saddle pipe clamps (and your entire lean system) will reward you with years of reliable service.
So grab your wrench, your rag, and start that inspection. Your future self (and your production line) will thank you.