- Company Articles
- Products and Technology
- Installation And Maintenance
- Saddle Pipe Clamp Tightening Torque: Best Practices to Avoid Over-Crimping Pipes

Saddle Pipe Clamp Tightening Torque: Best Practices to Avoid Over-Crimping Pipes
Related Product
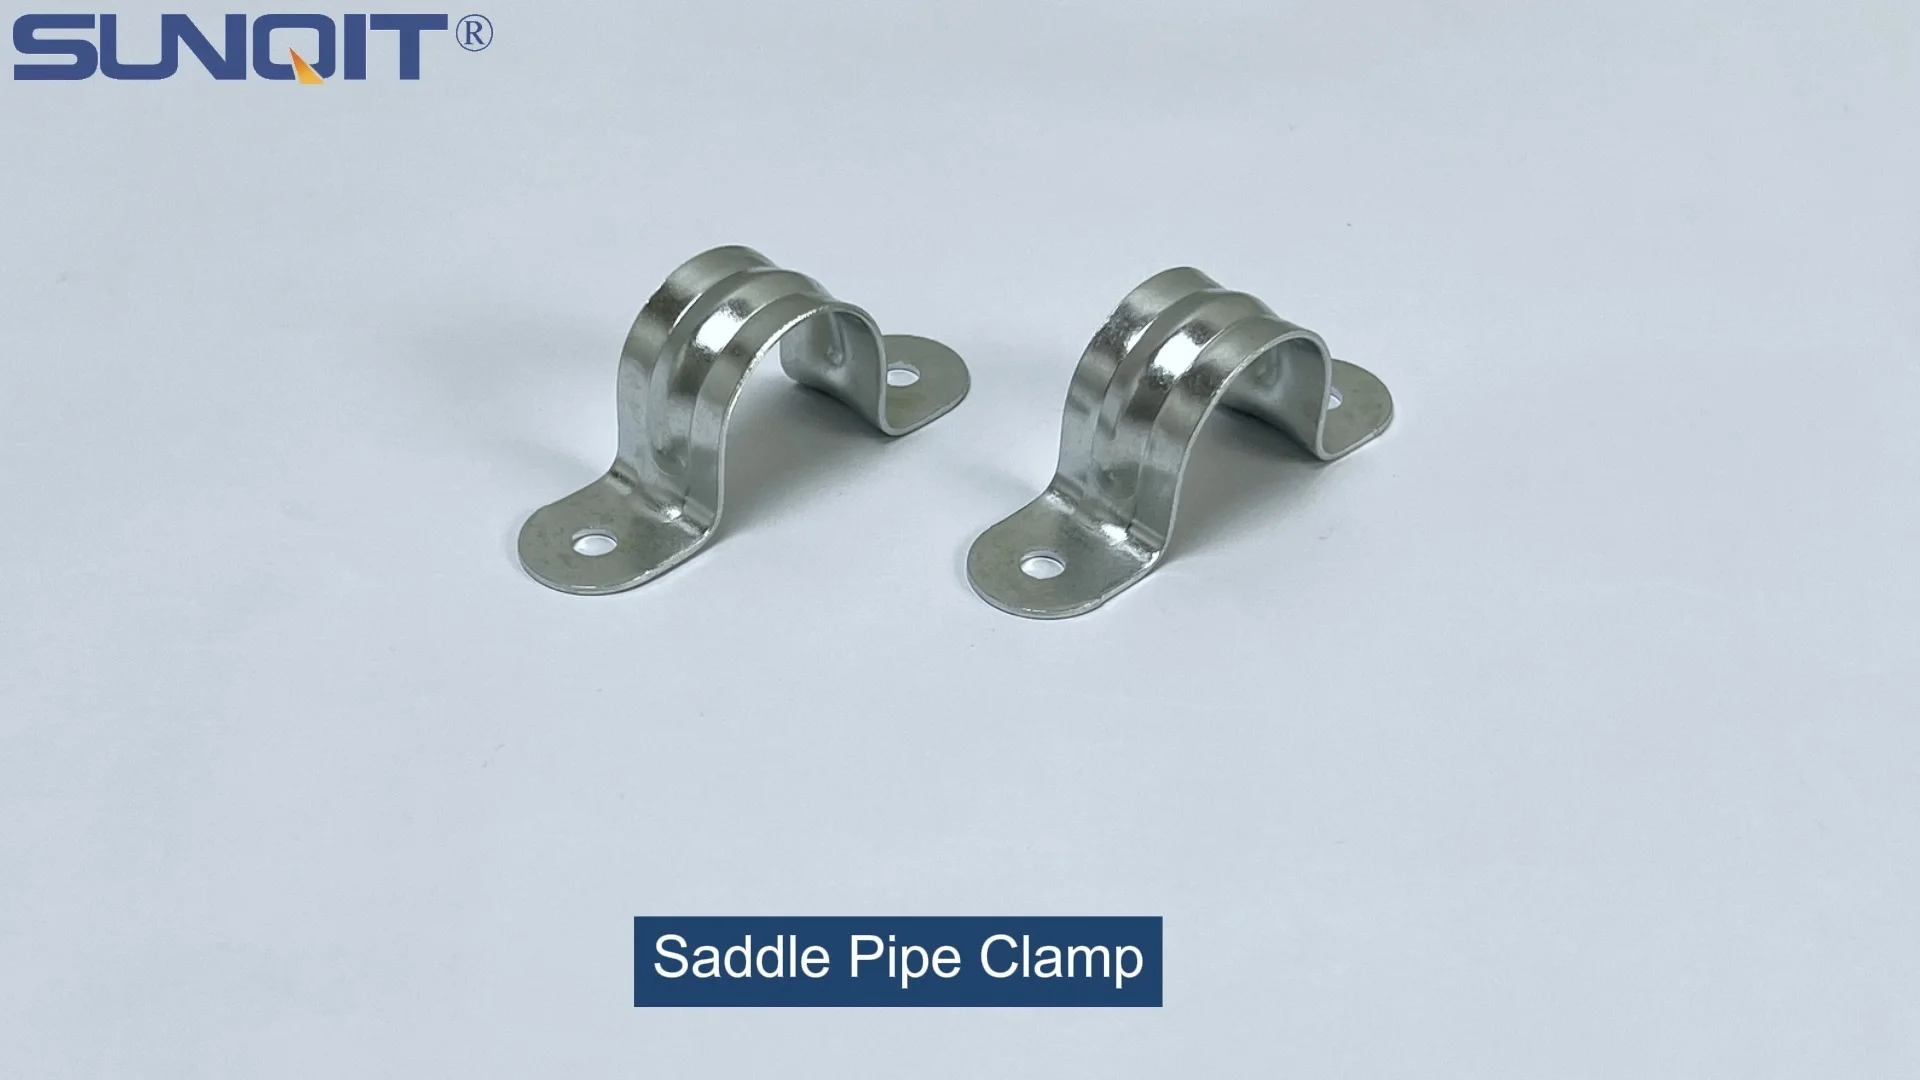
Saddle Pipe Clamp
Saddle pipe clamp, used for board connect with pipe, usually for table top installation.
Walk into any manufacturing plant, warehouse, or even a small workshop, and you'll likely spot a network of pipes, racks, and workbenches holding everything together. From the conveyor belts moving products along the line to the material racks storing components, these systems rely on one unsung hero: the humble pipe clamp. But not just any clamp—saddle pipe clamps, with their curved design that hugs pipes snugly, are the backbone of stability in these setups. Yet, for all their importance, one mistake can turn them from a solution into a problem: over-tightening. In this article, we'll dive into why saddle pipe clamp tightening torque matters, the risks of over-crimping, and the best practices to keep your pipes (and your operations) running smoothly—especially when working with common materials like lean pipe and aluminum pipe.
Understanding Saddle Pipe Clamps: More Than Just a "Clip"
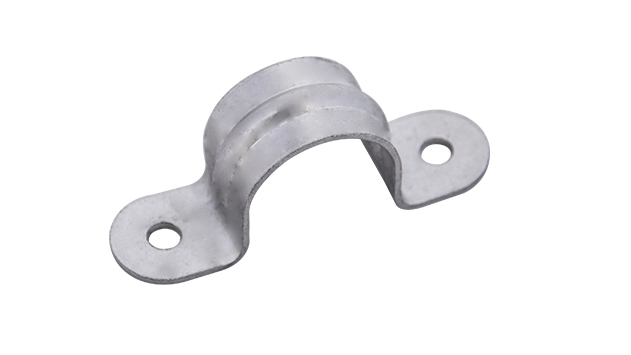
First, let's get to know the star of the show: the saddle pipe clamp. Unlike rigid brackets or U-bolts, saddle clamps are designed with a curved "saddle" that conforms to the shape of the pipe, distributing pressure evenly. This design makes them ideal for securing pipes to surfaces, joining two pipes at an angle, or mounting accessories like caster wheels onto workbench legs. They're used everywhere from conveyor systems to lean pipe workbenches, and they come in materials ranging from plastic (for light-duty tasks) to steel (for heavy loads).
What makes saddle clamps unique is their versatility. Whether you're working with thin-walled aluminum pipe in a lightweight assembly line or sturdy lean pipe in a high-traffic warehouse, there's a saddle clamp designed to fit. But here's the catch: their effectiveness depends entirely on how tightly they're secured. Too loose, and the pipe shifts, leading to wobbling racks or misaligned conveyors. Too tight, and you risk crushing the pipe—a problem known as over-crimping. And when you're dealing with lean pipe, which is often used in lean manufacturing systems where efficiency and durability are critical, over-crimping can derail production faster than a loose bolt.
The Hidden Dangers of Over-Crimping: Why "Tighter" Isn't Always Better
Picture this: A technician is installing a new material rack in a factory. They grab a saddle clamp, line it up with the aluminum pipe, and tighten the bolt with all their might—"better safe than sorry," they think. But a week later, the maintenance team notices the pipe has a hairline crack near the clamp. A month after that, the crack widens, and the rack collapses, spilling parts across the floor. This isn't just a hypothetical; over-crimping is a silent killer in industrial setups, and its consequences go beyond broken pipes.
1. Pipe Deformation: When the "Hug" Becomes a "Squeeze"
Pipes, especially those made of aluminum or thin-walled steel, aren't indestructible. Aluminum pipe, for example, is lightweight and corrosion-resistant, making it perfect for lean systems, but it's also more malleable than steel. When you over-tighten a saddle clamp, the curved saddle presses into the pipe's surface, compressing the material. At first, this might just leave a small indentation, but over time, that indentation weakens the pipe's structural integrity. In extreme cases, the pipe can collapse inward, creating a bottleneck in fluid systems or a weak point in load-bearing racks.
2. Leaks and Contamination (In Fluid Systems)
While saddle clamps are often used for structural support, they're also common in fluid-carrying systems—think coolant lines in a machining shop or air hoses in a pneumatic setup. Over-crimping here doesn't just deform the pipe; it can crack the seal between the pipe and any connected fittings. Even a tiny crack can lead to leaks, which waste resources, create slippery hazards on the floor, and contaminate products (a disaster in food or pharmaceutical manufacturing). Imagine a coolant leak dripping onto an electronic component on a lean pipe workbench—suddenly, a simple clamp mistake becomes a costly equipment failure.
3. Shortened Lifespan and Increased Maintenance Costs
Over-crimped pipes don't fail overnight—they fail slowly, costing you time and money along the way. A pipe with a weakened section will vibrate more under load, leading to loose lean pipe joints elsewhere in the system. This creates a domino effect: first, you tighten the clamp, then the joint, then another clamp, until you're stuck in a cycle of constant repairs. Eventually, the pipe will need to be replaced entirely, which means shutting down the line, ordering new materials, and paying for labor—all avoidable expenses if the clamp had been tightened correctly from the start.
What Determines the "Right" Torque? It's Not One-Size-Fits-All
So, how do you know how tight is "tight enough"? The answer depends on a handful of factors, each of which can change the ideal torque setting. Let's break them down:
Pipe Material: Aluminum vs. Steel vs. Lean Pipe
This is the biggest variable. Aluminum pipe, as we mentioned, is softer than steel, so it requires less torque. A good rule of thumb is that aluminum pipes (like those used in lightweight aluminum profile systems) need about 20-30% less torque than steel pipes of the same diameter. Lean pipe, which is often a steel pipe coated in plastic or rubber, falls somewhere in between—you need enough torque to grip the steel core but not so much that you tear through the coating, which protects against corrosion and reduces noise.
Clamp Material and Design
A plastic saddle clamp will flex more than a steel one, so it can't handle as much torque before deforming. Similarly, clamps with a wider saddle distribute pressure better, meaning you can tighten them slightly more without risk. Always check the manufacturer's specs—most reputable suppliers (like lean pipe suppliers or aluminum profile suppliers) will provide torque charts for their clamps.
Pipe Diameter and Wall Thickness
A 1-inch diameter pipe with a thick wall can handle more torque than a 0.5-inch pipe with a thin wall. For example, a 1-inch aluminum pipe with a 0.125-inch wall might require 15 ft-lbs of torque, while a 0.5-inch pipe with the same wall thickness might only need 8 ft-lbs. Ignoring diameter is a common mistake—technicians often assume "hand-tight plus a quarter turn" works for all sizes, but that's a recipe for over-crimping small pipes.
Environmental Factors: Heat, Cold, and Vibration
Pipes expand in heat and contract in cold, which can loosen clamps over time. In high-temperature environments (like near ovens or furnaces), you might need to tighten clamps slightly more initially, knowing they'll loosen as the pipe expands. Conversely, in cold storage facilities, over-tightening can cause the pipe to contract and crack. Vibration, common in conveyor systems with roller tracks, also plays a role—constant shaking can loosen clamps, but over-tightening to "prevent" this just accelerates wear.

Best Practices: How to Tighten Saddle Clamps Like a Pro
Now that we know what causes over-crimping, let's talk about how to avoid it. These best practices are simple, but they require attention to detail—and a willingness to ditch the "tighten until it won't move" mindset.
1. Start with a Clean, Aligned Setup
Before even touching the clamp, make sure the pipe and mounting surface are clean. Rust, dirt, or debris under the clamp can create uneven pressure, leading you to over-tighten to compensate. Also, align the pipe straight—if it's crooked, the clamp will pull it into place as you tighten, distorting the pipe. Take an extra 30 seconds to check alignment; it'll save hours of repairs later.
2. Use a Torque Wrench (Yes, Even for "Small" Jobs)
"I can tell by feel" is the most dangerous phrase in maintenance. Human hands are terrible at judging torque—what feels "tight" to one person might be twice the recommended value. A basic digital torque wrench costs less than $50 and pays for itself the first time it prevents a pipe failure. For lean pipe systems, where precision is key to maintaining workflow efficiency, a torque wrench isn't a luxury—it's a necessity.
3. Follow the "Two-Step Tightening" Method
Instead of cranking the bolt all at once, tighten it in two stages. First, snug the clamp until it just touches the pipe (hand-tight). Then, use the torque wrench to apply 70% of the recommended torque. Wait 10-15 seconds (this lets the materials settle), then apply the full torque. This prevents sudden pressure spikes that can crush the pipe.
4. Check for "Marring" After Tightening
After tightening, inspect the pipe around the clamp. A small, even indentation is normal—this means the clamp is gripping. But deep grooves, cracks, or discoloration (on coated pipes like lean pipe) are red flags. If you see these, loosen the clamp immediately and reduce the torque by 10-15% before re-tightening.
5. Document and Standardize Torque Settings
In large facilities, different technicians might have different "methods" for tightening clamps. Create a cheat sheet with torque values for common setups (e.g., "1-inch aluminum pipe + steel saddle clamp = 12 ft-lbs") and post it near workstations. Even better, program these values into digital torque wrenches so anyone can grab one and get it right the first time. Standardization is the enemy of over-crimping.

Torque Recommendations: A Quick Reference Table
To make things easier, here's a table of general torque guidelines for common pipe and clamp combinations. Note: Always check your clamp manufacturer's specs for exact values—this is a starting point!
| Pipe Material | Pipe Diameter (inches) | Clamp Material | Recommended Torque (ft-lbs) | Notes |
|---|---|---|---|---|
| Aluminum Pipe | 0.5 | Plastic | 5-7 | Use for light-duty racks or workbenches |
| Aluminum Pipe | 1.0 | Steel | 10-12 | Common in aluminum profile systems |
| Lean Pipe (PE-Coated Steel) | 0.75 | Steel | 8-10 | Avoid exceeding 10 ft-lbs to protect coating |
| Steel Pipe (Uncoated) | 1.0 | Steel | 15-18 | For heavy-duty applications like conveyor supports |
| Stainless Steel Pipe | 1.0 | Stainless Steel | 12-15 | Corrosion-resistant; use anti-seize on threads |
Tools of the Trade: What You Need to Get It Right
You don't need a fully equipped machine shop, but having the right tools makes accurate torque application a breeze. Here's what we recommend:
1. Digital Torque Wrench: Precision in Your Hand
Digital wrenches are easier to read than analog ones, and many let you set a target torque—they beep or vibrate when you reach it. Look for one with a range of 5-50 ft-lbs (covers most saddle clamp jobs) and a ¼-inch or ⅜-inch drive for smaller bolts.
2. Thread Lubricant: Reduce Friction, Increase Accuracy
Dry threads create more friction, meaning you might stop tightening before reaching the actual torque needed (or over-tighten to overcome the friction). A drop of anti-seize or thread lubricant on the clamp bolt's threads ensures the torque wrench measures the clamp force , not the friction.
3. Pipe Level: For Alignment
A small bubble level helps ensure the pipe is straight before clamping. Misaligned pipes lead to uneven stress, making over-crimping more likely.
4. Inspection Mirror: See the Unseen
In tight spaces (like under a workbench or behind a conveyor), a telescoping inspection mirror lets you check for marring or cracks without disassembling the setup.
Real-World Example: How One Factory Fixed Their Over-Crimping Problem
Let's end with a story from the field. A mid-sized electronics manufacturer was struggling with frequent breakdowns in their assembly line. Their material racks, made with lean pipe and aluminum pipe joints, kept collapsing—usually at the clamp points. The maintenance team blamed "cheap pipes," but the real issue was simpler: technicians were tightening the saddle clamps with impact drivers, assuming more power meant more stability.
After a particularly costly breakdown (a rack holding circuit boards collapsed, damaging $10,000 worth of parts), the plant manager brought in a consultant. The consultant noticed two things: first, the clamps were all over-tightened, with deep indentations in the lean pipe; second, there was no standard torque procedure. The fix? They invested in three digital torque wrenches, created a torque chart for their specific pipe/clamp combinations, and trained the team on the two-step tightening method. Within three months, breakdowns dropped by 80%, and the maintenance team reported spending half as much time on repairs.
The lesson? Over-crimping isn't just a "small mistake"—it's a systemic issue that costs time and money. But with the right knowledge and tools, it's entirely preventable.
Final Thoughts: Tighten Smart, Not Hard
Saddle pipe clamps might seem like simple components, but their role in keeping industrial systems running can't be overstated. Over-crimping them is a common mistake, but it's one that's easy to avoid with a little patience, the right tools, and a commitment to following torque guidelines. Whether you're working with aluminum pipe in a lightweight setup or lean pipe in a high-efficiency lean system, remember: the goal is to secure the pipe, not squeeze the life out of it. By tightening smart—not hard—you'll keep your lines moving, your racks stable, and your maintenance costs low. After all, in manufacturing, the best systems are the ones you don't notice—until they're working perfectly.