- Company Articles
- Products and Technology
- Installation And Maintenance
- Step-by-Step: Assembling a Conveyor System with Two Way Aluminum Pipe Joints

Step-by-Step: Assembling a Conveyor System with Two Way Aluminum Pipe Joints
Related Product
Two Way Aluminum Pipe Joint
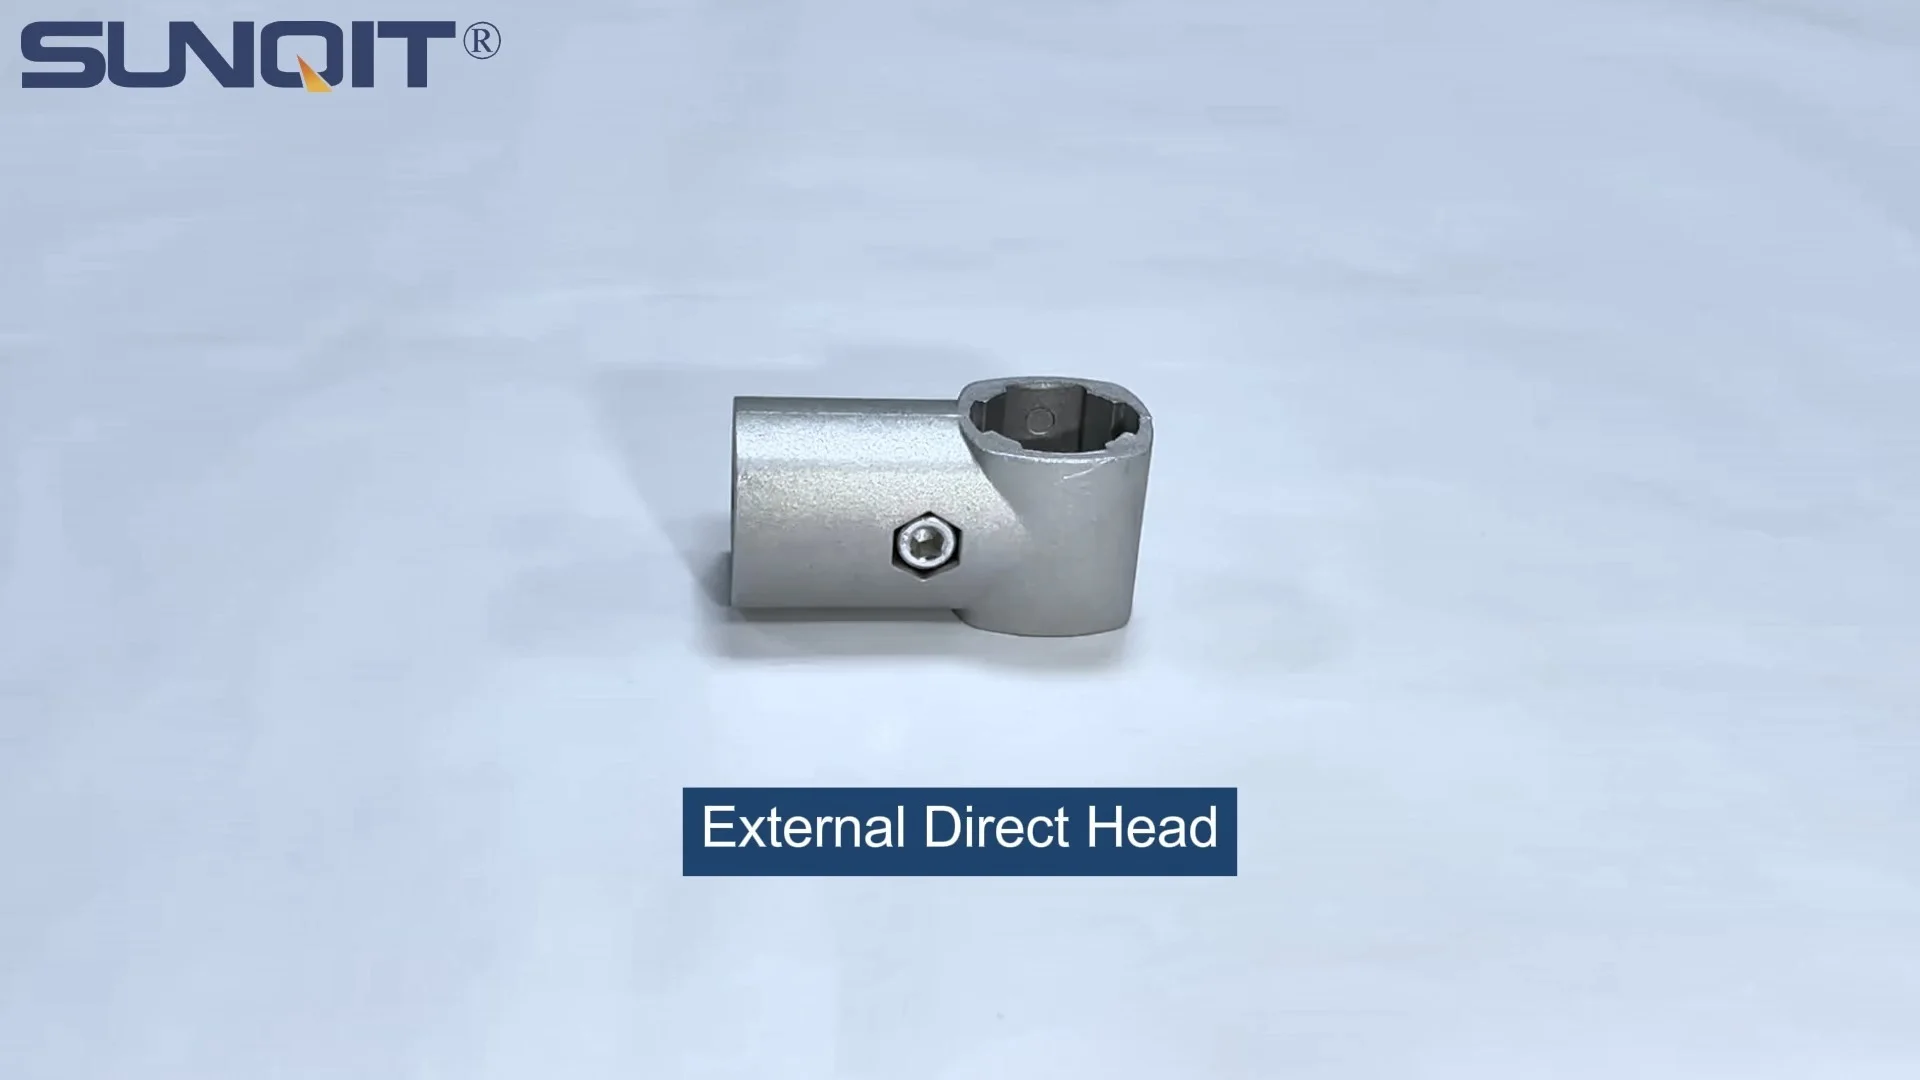
Aluminum 2 way pipe joint for 28mm aluminum pipe connection in 2 direction.
In the fast-paced world of production and assembly, efficiency isn't just a buzzword—it's the backbone of success. Every second saved, every movement streamlined, adds up to smoother operations, happier teams, and better bottom lines. That's where conveyor systems come in: silent workhorses that keep materials moving, reduce manual labor, and turn chaotic workflows into well-oiled machines. But not all conveyors are created equal. Today, we're diving into building a conveyor system that's as flexible as your needs, using one of the most versatile tools in modern manufacturing: two way aluminum pipe joints. Paired with aluminum profile and roller track, this setup offers durability, modularity, and a level of customization that rigid, one-size-fits-all systems can't match. Let's roll up our sleeves and build something that works for you.
Why Aluminum? The Secret Behind Modular Conveyors
Before we jump into assembly, let's talk about why aluminum is the unsung hero of production floor setups. Unlike heavy steel or flimsy plastic, aluminum strikes the perfect balance: it's lightweight enough to move (even when fully assembled) but strong enough to handle daily wear and tear. Its natural resistance to rust means it holds up in dusty, humid, or even slightly damp environments—critical for factories and warehouses. But the real magic? Aluminum extrusion profiles, those sleek, T-slotted beams you'll be working with, are designed for modularity. They snap together, adjust, and reconfigure with minimal effort, thanks to components like two way aluminum pipe joints. These joints act like the "Lego bricks" of your conveyor, letting you connect pipes at angles, extend lengths, or even break down and rebuild the system entirely if your needs change next month. It's not just a conveyor—it's a long-term investment in adaptability.
Meet Your Team: Key Components to Know
Before we grab our tools, let's get acquainted with the stars of the show. You don't need to memorize every part, but knowing what each piece does will make assembly feel like second nature.
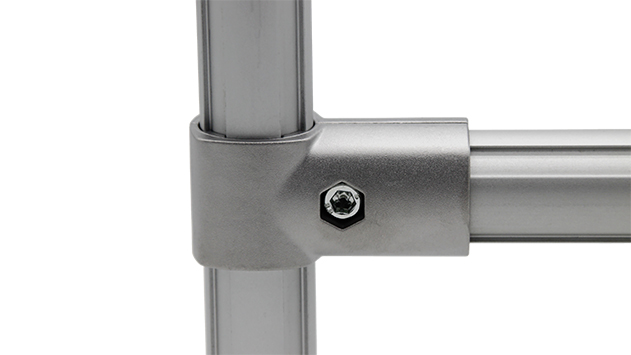
Two Way Aluminum Pipe Joints: These are your connectors, your problem-solvers, your "how did I ever build anything without these?" parts. Designed to link two aluminum profiles (pipes) at 90-degree angles (or sometimes adjustable angles, depending on the model), they're the reason your conveyor can be both sturdy and flexible. Look for ones with built-in tightening screws—these let you lock the joint in place once aligned, then loosen and reposition later if needed.
Aluminum Profile (Extrusion Profile): Think of these as the bones of your conveyor. These are the long, slender beams with T-shaped slots running along their length. The slots aren't just for show—they let you slide in brackets, connectors, or other accessories (like roller track mounts) without drilling holes. Most come pre-cut, but you can trim them to length if your project needs a custom fit.
Roller Track: This is where the action happens. Roller track is the surface your materials will glide along, made up of small, free-spinning rollers that reduce friction to almost nothing. It comes in sections, so you can piece together as much (or as little) as you need. Some tracks have built-in guides; others let you add plastic roller track guide rails (in colors like yellow or grey) to keep items from slipping off the sides.
Conveyor (The End Goal!): Once all these parts come together, you'll have a functional conveyor system—whether it's a small gravity-fed track for moving parts between workbenches or a longer setup for assembly line use. The beauty is, you're not stuck with one design: add a workbench at one end, extend the length later, or even reconfigure it into an L-shape. Modularity means endless possibilities.
Pre-Assembly Prep: Tools, Space, and Safety First
You wouldn't bake a cake without preheating the oven, right? Assembling a conveyor is no different. A little prep work saves time, reduces frustration, and keeps you safe. Let's start with the basics.
Tools You'll Need (and a Few Nice-to-Haves)
Gather these before you start—running to the hardware store mid-project is a mood-killer:
| Item | Purpose | Why You Need It |
|---|---|---|
| Hex Keys (Allen Wrenches) | Tightening joint screws | Two way aluminum pipe joints (and most aluminum profile accessories) use hex screws—no other tool will fit! |
| Measuring Tape & Pencil | Marking cuts, checking alignment | "Measure twice, cut once" isn't just a saying—it prevents wasting expensive aluminum profile. |
| Level (4-foot is best) | Ensuring the frame is flat/level | A wonky conveyor means items slide sideways or get stuck. A level keeps everything straight. |
| Rubber Mallet | Gently tapping joints into place | Aluminum is soft—using a metal hammer might dent it. A rubber mallet gives just enough force without damage. |
| Safety Goggles & Work Gloves | Protecting eyes and hands | Aluminum edges can be sharp (even pre-cut ones!), and metal shavings might fly if you trim profiles. |
| Rubber Mat or Cardboard | Protecting floors/work surface | Aluminum profile can scratch concrete or hardwood. A mat keeps your workspace (and your landlord) happy. |
Setting Up Your Workspace
Find a flat, open area—you'll need room to lay out all your parts and assemble the frame without tripping over tools. If possible, work near the final location of the conveyor to avoid moving a heavy finished product later. Clear the space of clutter, and lay down that rubber mat or cardboard to protect both the floor and your aluminum parts from scratches.
Safety First: A Quick Reminder
Aluminum is lightweight, but it's still metal. Wear gloves when handling profile to avoid cuts from sharp edges (even pre-cut pieces can have burrs). If you're trimming aluminum profile, wear safety goggles to shield your eyes from metal shavings. And keep a first-aid kit nearby—better safe than sorry!

Step-by-Step Assembly: Building Your Conveyor from the Ground Up
Okay, prep done—let's build! We'll break this into simple steps, starting with planning and ending with a fully functional conveyor. Take your time, and remember: if something doesn't fit, double-check the joint alignment before forcing it. Aluminum is tough, but it's not unbreakable.
Step 1: Plan Your Layout (Yes, Even a Rough Sketch Works!)
Before you start screwing parts together, ask: Where will this conveyor live? and What will it carry? Measure the space—length, width, and height (if it needs to align with a workbench). Sketch a quick diagram on paper or your phone. Even a stick figure drawing helps: mark where the conveyor starts, ends, and any turns (if you're feeling ambitious). For example, if you're building a small track to move circuit boards from a workbench to a testing station, you might need a 6-foot straight track, 30 inches high (to match the workbench surface). Write down these measurements—you'll reference them constantly.
Step 2: Sort and Inspect Your Parts
Dump out all your components (gently!) and sort them into piles: aluminum profile, two way aluminum pipe joints, roller track sections, brackets, and screws. Check for any damaged parts—bent profile, cracked joints, or rollers that don't spin. Most suppliers have great return policies, so swap out defective pieces now instead of struggling with them later. Pro tip: Lay out the aluminum profile pieces on the floor according to your sketch—this gives you a visual of the final size and helps spot missing parts early.
Step 3: Assemble the Frame (The "Skeleton" of Your Conveyor)
The frame is the foundation—get this right, and the rest is easy. Let's start with a simple straight conveyor (we'll add bells and whistles later). Here's how:
Start with the base rails: Take two pieces of aluminum profile (your "side rails") and lay them parallel on the floor, spaced the width you want your conveyor to be (typically 12–24 inches, depending on what you're moving). If your profile is too long, now's the time to trim it (use a miter saw with a metal-cutting blade—slow, steady cuts work best). Deburr the edges with a file to remove sharp bits.
Add cross rails with two way aluminum pipe joints: Grab two shorter pieces of profile (your "cross rails") and place them perpendicular to the side rails, one at each end. Now, attach a two way aluminum pipe joint to each corner: slide one end of a cross rail into the joint, then slide the joint onto the end of a side rail. Do this for all four corners, forming a rectangle. Tighten the joint screws just enough to hold the frame together—we'll fully tighten later once we check for level.
Check for level (and square!): Place your level on top of the frame. If it's tilting, gently push or pull the corners until the bubble centers. To check if the frame is square (all 90-degree angles), measure diagonally from corner to corner—both measurements should be equal. If not, adjust the corners until they are. Once level and square, fully tighten all two way joint screws—use a hex key and turn until snug, but don't overdo it (aluminum threads can strip if forced).
Add support beams (if needed): For longer conveyors (over 6 feet), add a middle cross rail (and two more two way joints) to prevent sagging. Attach it halfway between the end cross rails—this keeps the frame rigid, even when loaded with heavy materials.
Step 4: Mount the Roller Track (The "Muscles" That Move Materials)
Now that your frame is solid, it's time to add the roller track—the surface that makes materials glide. Here's how:
Attach roller track mounts to the frame: Roller track doesn't bolt directly to the aluminum profile—you'll use roller track placon mount brackets (fancy name for "holders"). These brackets slide into the T-slot of the aluminum profile. Position them along the side rails, spacing them every 12–18 inches (closer for heavier loads). Tighten the bracket screws lightly so you can adjust their position later.
Install the roller track sections: Lift a roller track section and place it on top of the mounts. Align the track so it's centered on the frame, then mark where the mounting holes line up with the brackets. Secure the track to the mounts using the screws provided (usually small hex screws). Repeat with additional track sections, overlapping them by 1–2 inches (if needed) to create a continuous surface. Pro tip: Test the rollers as you go—spin them with your finger to ensure they move freely. If a roller sticks, check for debris or a misaligned mount.
Add guide rails (optional but recommended): To keep items from sliding off the conveyor, snap on plastic roller track guide rails along the edges. Most rails click into place on the roller track, but some might need screws. Choose yellow for high visibility or grey for a sleek look—either works! Make sure the rails are straight and even; a wobbly guide rail will bump items off course.
Step 5: Test, Adjust, and Tighten Everything
You're almost there! Now it's time to make sure your conveyor works like a charm. Gently push the frame—if it wobbles, check the two way aluminum pipe joints (they might need a final tighten). Place a test item (a box, a part, or even a book) on the roller track and give it a light push. It should glide smoothly from one end to the other without stopping, tipping, or sliding off. If it gets stuck:
- Check for level: If the track tilts downward, items will speed up; tilt upward, and they'll slow down. Adjust the roller track mounts to level it out.
- Clean the rollers: Dust or debris can make rollers stick—wipe them with a dry cloth.
- Align the guide rails: If items bump into the rails, they might be too close together. Loosen the rail mounts and adjust for more space.
Once everything works, do a final pass with your hex key—tighten all joint screws, mount brackets, and track screws. Give the frame one last shake to ensure nothing moves. Congrats—you've built a conveyor!

Going the Extra Mile: Integrating with Workbenches and More
Your conveyor doesn't have to be a standalone system. Most production setups pair conveyors with workbenches for a seamless workflow. Here's how to connect them:
Align heights: Use extra aluminum profile and two way joints to raise or lower the conveyor so its surface matches the workbench. For example, if your workbench is 36 inches high, add legs (made from aluminum profile) to the conveyor frame until it hits 36 inches. Secure the legs with two way joints for stability.
Add a transfer plate: If there's a small gap between the conveyor and workbench, bridge it with a flat aluminum plate or a short section of roller track. This lets items slide smoothly from the bench to the conveyor (and vice versa).
Customize for your needs: Need a place to store tools? Attach a small shelf to the conveyor frame using aluminum profile and brackets. Want to sort items mid-conveyor? Add a split in the roller track with a diverter (using extra two way joints to create a Y-shape). The sky's the limit—modularity means you can tweak as you go.
Maintenance 101: Keeping Your Conveyor Running Smoothly
Your conveyor's built—now keep it in top shape. A little maintenance goes a long way:
Weekly checks: Inspect two way aluminum pipe joints for looseness—tighten any that wiggle. Wipe down roller track with a dry cloth to remove dust. Check rollers for debris; if they stick, spray a tiny bit of silicone lubricant (avoid oil, which attracts dirt).
Monthly deep clean: Remove roller track sections (if possible) and soak them in warm, soapy water to dislodge grime. Dry thoroughly before reinstalling. Tighten all screws again—vibration can loosen them over time.
replace worn parts: Rollers wear out, joints get stripped, and guide rails crack. The good news? Since everything's modular, you can swap out a single roller or joint without rebuilding the entire conveyor. Keep spare parts on hand (especially two way aluminum pipe joints—they're the most-used component!) to minimize downtime.
Troubleshooting: When Things Go Wrong (and How to Fix Them)
Even the best-built conveyors hit snags. Here are common issues and quick fixes:
Problem: Conveyor sags in the middle. Fix: Add more support brackets under the roller track or a middle cross rail to the frame.
Problem: Items slide off the track. Fix: Adjust guide rails to be wider apart or add a second rail on the opposite side.
Problem: Two way joints keep loosening. Fix: Check if the aluminum profile is the right size for the joint—some joints fit 20mm profile, others 30mm. Using mismatched parts causes slippage. If the size is right, add a drop of thread-locking fluid to the screw (just a tiny bit!)
Problem: Roller track is noisy. Fix: Lubricate rollers with silicone spray. If that doesn't work, check for misaligned tracks—banging against brackets causes noise.
Final Thoughts: You Built This—Now Own It!
Congratulations! You've gone from a pile of aluminum parts to a fully functional conveyor system, using two way aluminum pipe joints, aluminum profile, and roller track. Take a step back and admire your handiwork—this isn't just a piece of equipment; it's a tool that will make your workflow faster, safer, and more efficient. And remember, this is just the beginning. Want to add a curve? Swap out some two way joints for 90-degree ones. Need to extend it? Buy more profile and track. Modularity means your conveyor can grow and change with your needs.
So go ahead—load it up, hit "start" (or just give that first item a gentle push), and enjoy the fruits of your labor. Here's to smoother production, happier teams, and the satisfaction of building something with your own two hands. You've earned it!