- Company Articles
- Products and Technology
- Installation And Maintenance
- Step-by-Step: Assembling Workbenches with Parallel Lean Pipe Joint One Side Rotatory Chrome

Step-by-Step: Assembling Workbenches with Parallel Lean Pipe Joint One Side Rotatory Chrome
Related Product
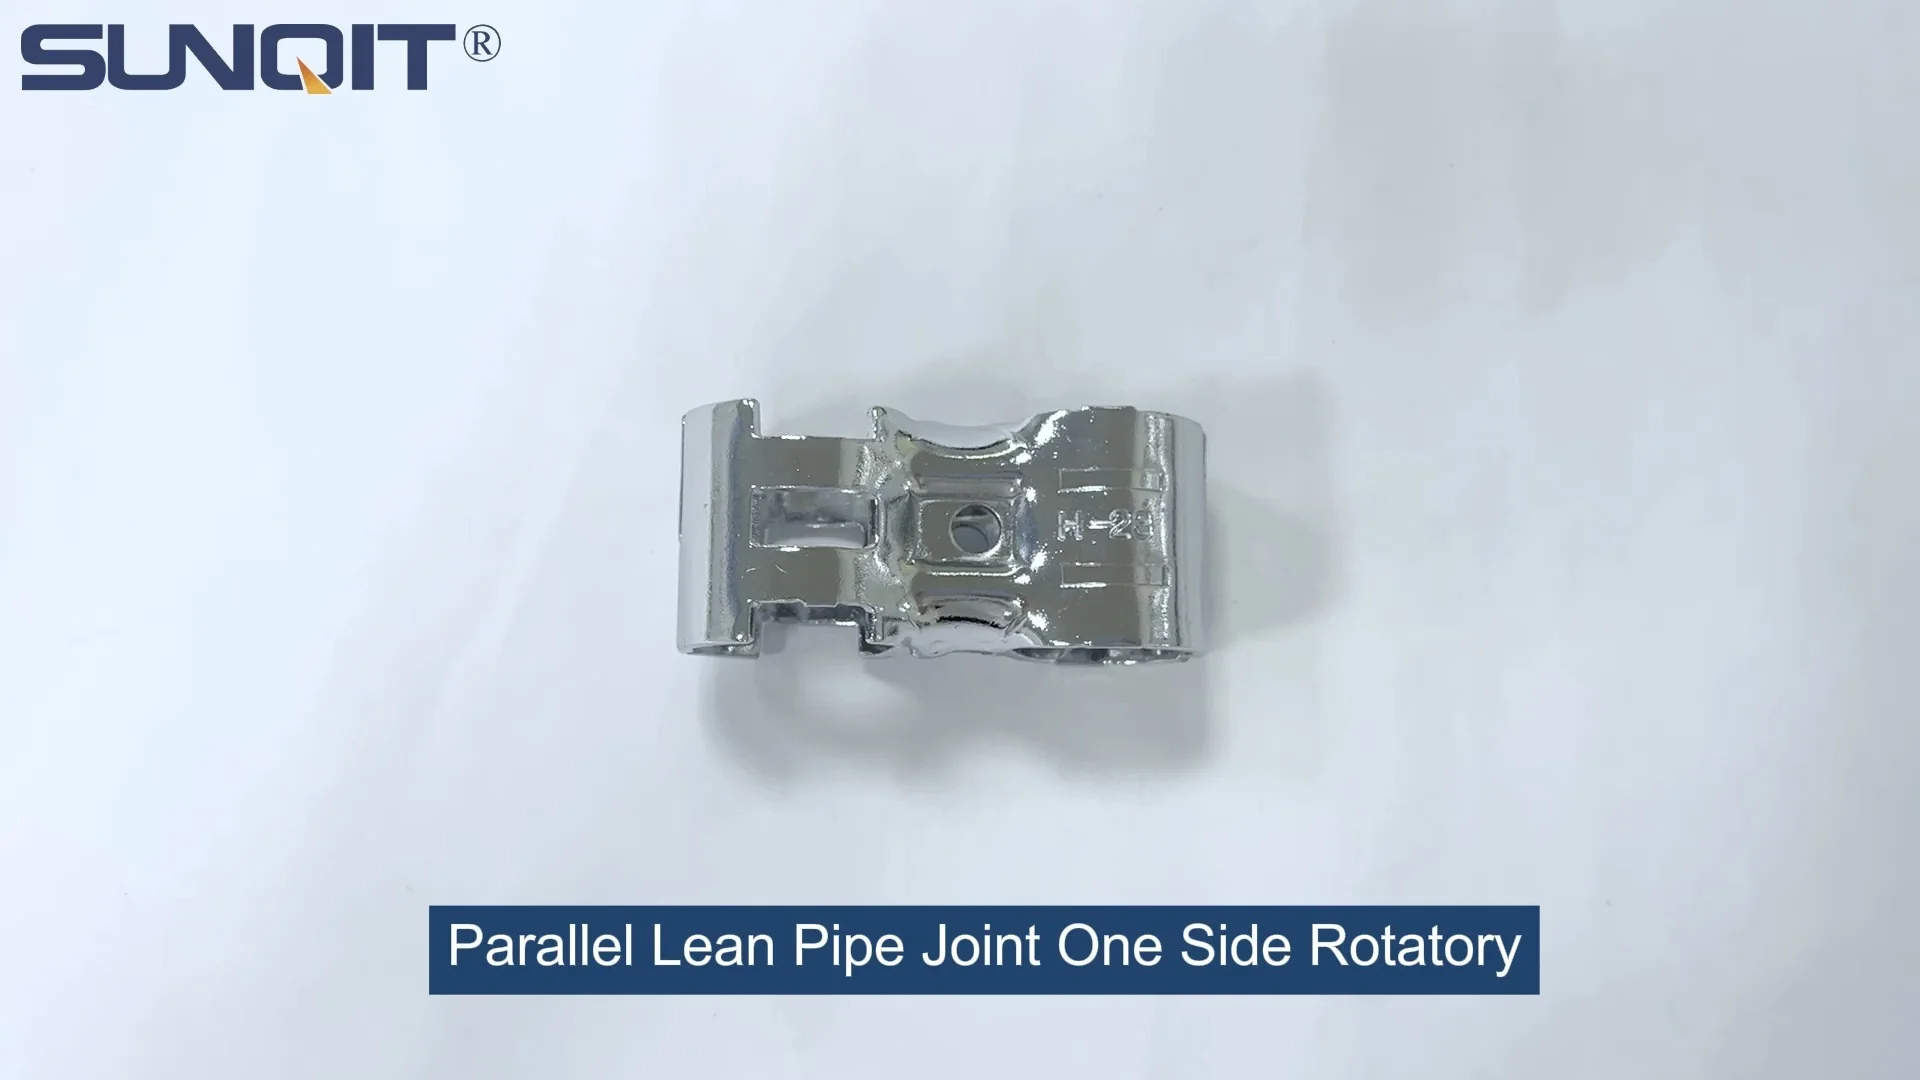
Parallel Lean Pipe Joint One Side Rotatory Chrome
Parallel rotatory lean pipe joint, for 2 pcs 28mm pipe conenction in parallel direction with one side rotatory function.
Why This Matters: The Heart of Your Production Line
Walk into any well-run factory or workshop, and you'll notice something crucial: the workbenches aren't just pieces of furniture. They're the silent workhorses of production assemble lines, holding tools, materials, and as teams turn ideas into finished products. But not all workbenches are created equal. A rickety, one-size-fits-all bench can slow down workflows, create frustration, and even compromise safety. That's where the right components come in—and today, we're focusing on one that makes all the difference: the Parallel Lean Pipe Joint One Side Rotatory Chrome .
Imagine building a workbench that adapts to your needs, not the other way around. One where you can adjust heights, add shelves, or reconfigure layouts in minutes, not hours. That's the promise of lean pipe systems, and this little joint? It's the unsung hero that makes that flexibility possible. Whether you're a small workshop owner or managing a large-scale manufacturing floor, understanding how to assemble a sturdy, adaptable workbench with this joint will save you time, reduce headaches, and keep your team working efficiently.
In this guide, we'll walk through every step of building a workbench using lean pipe, aluminum profile, and that star component: the Parallel Lean Pipe Joint One Side Rotatory Chrome. We'll cover tools, techniques, and pro tips to ensure your bench is not just functional, but built to last. Let's dive in.
First Things First: What Even Is a Parallel Lean Pipe Joint One Side Rotatory Chrome?
Before we start tightening bolts, let's get familiar with our key player. The Parallel Lean Pipe Joint One Side Rotatory Chrome might sound like a mouthful, but its purpose is simple: to connect lean pipes (those durable, lightweight tubes you see in workshops) in a way that's both strong and flexible. Unlike fixed joints that lock pipes at a rigid angle, this one has a clever trick up its sleeve: one side rotates. That means you can adjust the angle of connected pipes slightly, making it easier to align components or create custom shapes without bending pipes or using multiple joints.
Its chrome finish isn't just for looks, either. Chrome adds corrosion resistance, so even in busy, sometimes damp workshops, this joint won't rust or degrade over time. It's compatible with standard lean pipe sizes (think 28mm or 30mm diameter), and it works seamlessly with other lean pipe accessories—clamps, brackets, and even caster wheels for mobile workbenches. In short, it's the kind of component that makes lean system principles shine: efficiency, adaptability, and durability.

Gather Your Arsenal: Tools and Materials You'll Need
You wouldn't start a recipe without ingredients, and assembling a workbench is no different. Here's what you'll need to round up before you begin. (Pro tip: Lay everything out on a clean, flat surface—your future self will thank you.)
| Category | Items | Why You Need Them |
|---|---|---|
| Main Structure | Lean pipe (2-3 meters, depending on bench size), Aluminum profile (e.g., 4040 or 3030 for legs), Workbench top (plywood, aluminum honeycomb panel, or ESD-safe material) | The "bones" of your bench—lean pipe for flexibility, aluminum profile for sturdiness, and a flat top for working. |
| Key Joints & Connectors | Parallel Lean Pipe Joint One Side Rotatory Chrome (4-6 pieces), 90° aluminum profile connector, Lean pipe clamp | These hold everything together. The rotatory joint lets you adjust angles; the 90° connectors lock legs and frames in place. |
| Mobility (Optional) | Caster wheel (4 pieces), Caster installation base | Add casters if you want a mobile workbench—perfect for moving materials between stations. |
| Tools | Hex key set, Adjustable wrench, Level (bubble or digital), Tape measure, Rubber mallet, Deburring tool | Hex keys tighten T-slot bolts; a level ensures your bench isn't wobbly; deburring tool smooths sharp aluminum edges. |
| Finishing Touches | Aluminum profile end cap, T-slot rubber seal cover, Anti-slip adjustable leveling feet | End caps hide sharp edges; rubber covers protect T-slots from dust; leveling feet keep the bench steady on uneven floors. |
Pro Tip: Always buy a few extra joints and lean pipe clamps. It's better to have spares than to pause mid-project because you lost a tiny part!

Step-by-Step Assembly: Building Your Workbench from Scratch
Now, let's roll up our sleeves and get building. Follow these steps, and you'll have a functional workbench in no time.
1
Plan Your Bench: Measure Twice, Cut Once
Start by deciding on your bench dimensions. A standard workbench is usually 120cm long, 60cm deep, and 80cm high, but adjust based on your needs. Use a tape measure to mark where you'll cut the lean pipe and aluminum profile. If you're using pre-cut pipes, skip to the next step. If not, use a pipe cutter to trim lean pipes to length—remember to deburr the edges with a deburring tool to avoid sharp burrs that could scratch hands or materials.
2
Build the Frame: Start with the Legs
Your bench's legs will support everything, so they need to be sturdy. Take four pieces of aluminum profile (we'll use 4040 for this example—sturdy enough for most tasks) and cut them to your desired height (e.g., 80cm). Attach a 90° aluminum profile connector to the top of each leg—this will hold the horizontal frame pieces. Tighten the bolts with a hex key, but don't overdo it yet—you'll want a little wiggle room for adjustments later.
3
Connect the Legs with Lean Pipe: Enter the Parallel Joint
Now, it's time to connect the legs into a rectangle (the frame of your bench). Take two long pieces of lean pipe (matching your bench length, e.g., 120cm) and two shorter pieces (matching depth, e.g., 60cm). Here's where the
Parallel Lean Pipe Joint One Side Rotatory Chrome
shines: slide one end of a long lean pipe into the joint, then attach the joint to the 90° connector on one leg. The rotatory side lets you the angle, ensuring the pipe lines up perfectly with the next leg. Repeat for all four corners until the frame is square. Use a level to check—if it's wobbly, loosen the joints, adjust, and retighten.
4
Add the Workbench Top: Secure and Level
Lay your workbench top (we're using an aluminum honeycomb panel for lightweight strength) on top of the frame. Mark where the frame sits underneath, then drill pilot holes (if needed) and attach the top using aluminum profile fixings or T-slot bolts. If your top is larger than the frame, add extra supports using short lean pipe pieces and lean pipe clamps to prevent sagging in the middle.
5
Install Casters (If Mobile): Roll with It
Want to move your bench around? Flip the frame upside down and attach caster wheels to the bottom of each leg using caster installation bases. Make sure two of the casters have brakes—this keeps the bench steady when in use. Tighten the bolts securely—there's nothing worse than a wobbly caster mid-project!
6
Finishing Touches: Safety and Comfort
Smooth out sharp edges with aluminum profile end caps—no more scraped knuckles! Cover T-slots with rubber seal covers to keep out dust and debris. If your floor is uneven, screw in anti-slip adjustable leveling feet to the bottom of the legs (or casters) to stabilize the bench. Give everything one final tighten with your hex key—you want joints snug but not stripped.
7
Test It Out: Give It a Workout
The moment of truth! Place some weight on the bench (a toolbox, a stack of materials) to test stability. Wiggle the frame—there should be no creaking or shifting. If it feels solid, congratulations: you've built a workbench that's ready to tackle whatever your production line throws at it.
Pro Tips for a Bench That Lasts (and Looks Good Doing It)
You've assembled your bench—but let's make sure it stays in top shape for years. Here are some insider tips from seasoned lean system suppliers:
- Tighten Joints in a Cross Pattern: Like tightening lug nuts on a car, tighten the bolts on your Parallel Lean Pipe Joints in a cross pattern (top-left, bottom-right, top-right, bottom-left). This distributes pressure evenly and prevents warping.
- Use Thread Locking Fluid on Critical Joints: For high-vibration environments (think near heavy machinery), a drop of thread locking fluid on the bolts of your 90° aluminum profile connectors will keep them from loosening over time.
- Match Pipe and Joint Sizes: Not all lean pipe is the same diameter! A 28mm pipe won't fit properly in a joint meant for 30mm pipe. Check sizes before buying—most lean pipe suppliers list compatibility clearly.
- Label Your Pipes (Yes, Really): If you plan to reconfigure the bench later, label pipes with their lengths (e.g., "120cm top rail") using a permanent marker. It'll save you from measuring twice next time.
- Consider ESD Safety: If you're working with electronics, swap out standard materials for an ESD workbench top and ESD-safe caster wheels. Static electricity can damage sensitive components—don't skip this!
Troubleshooting: When Things Don't Go as Planned
Even the best-laid plans hit snags. Here's how to fix common issues:
Problem: The frame is wobbly, even after tightening all joints.
Solution: Check if your aluminum profile is bent. A slight bend in a leg or rail can throw off the entire frame. If it's minor, gently straighten it with a rubber mallet. If it's severe, replace the piece. Also, ensure your workbench is on a level surface—use a bubble level to confirm.
Problem: The Parallel Lean Pipe Joint won't rotate smoothly.
Solution: Debris or rust might be gumming up the works. Disassemble the joint, wipe it clean with a dry cloth, and apply a tiny drop of lubricating oil (like 3-in-1) to the rotating mechanism. Avoid heavy oils—they attract dust.
Problem: Casters keep locking up or squeaking.
Solution: Clean the caster wheels and axles with a brush to remove dirt. If they still squeak, apply a silicone-based lubricant (WD-40 works, but avoid getting it on the floor—it's slippery!). If the brake isn't engaging, check if the caster accessories (like the brake lever) are bent or misaligned.
Beyond the Bench: Building a Lean System That Grows with You
Your new workbench is just the beginning. Lean pipe systems are all about scalability. With the same Parallel Lean Pipe Joint One Side Rotatory Chrome, you can add shelves using rack components, attach tool holders, or even build a matching hand trolley for moving materials. Need more storage? Connect a material rack using 45° aluminum profile connectors. Want to separate work zones? Add a partition with aluminum hinge and nylon handle for easy access.
Many lean pipe suppliers offer pre-designed kits (like the Aluminum Workbench A or Rack B), but the beauty of building your own is customization. Maybe your team needs a taller bench for standing work, or a shorter one for detailed assembly—with these components, you can adjust on the fly. That's the power of lean manufacturing: systems that adapt to people, not the other way around.
Final Thoughts: Your Bench, Your Rules
Assembling a workbench with a Parallel Lean Pipe Joint One Side Rotatory Chrome isn't just about putting pipes together—it's about building a foundation for efficiency. Every tight joint, every level surface, and every smooth-rolling caster wheel contributes to a workspace where your team can focus on what matters: creating great products.
Whether you're a seasoned pro or a first-time builder, remember: the best workbenches are the ones that grow with your business. So don't be afraid to experiment, reconfigure, and make it your own. And if you ever need more components? Your local lean pipe supplier is just a call away—they'll have all the lean pipe and accessories you need to take your bench (and your production line) to the next level.
Now go out there and build something amazing.