- Company Articles
- Products and Technology
- Installation And Maintenance
- Step-by-Step Installation: Flat Swivel Castor Wheel with Brake on Lean Pipe Systems

Step-by-Step Installation: Flat Swivel Castor Wheel with Brake on Lean Pipe Systems
Related Product
Flat Swivel Castor Wheel With Brake
Chair Casters Ball Bearing Wheels Rubber Base with brake design. Resistant to abrasion, impact and corrosion. Heavy payload can hold 70Kgs per pcs,which can make it works at a stable and smooth status.
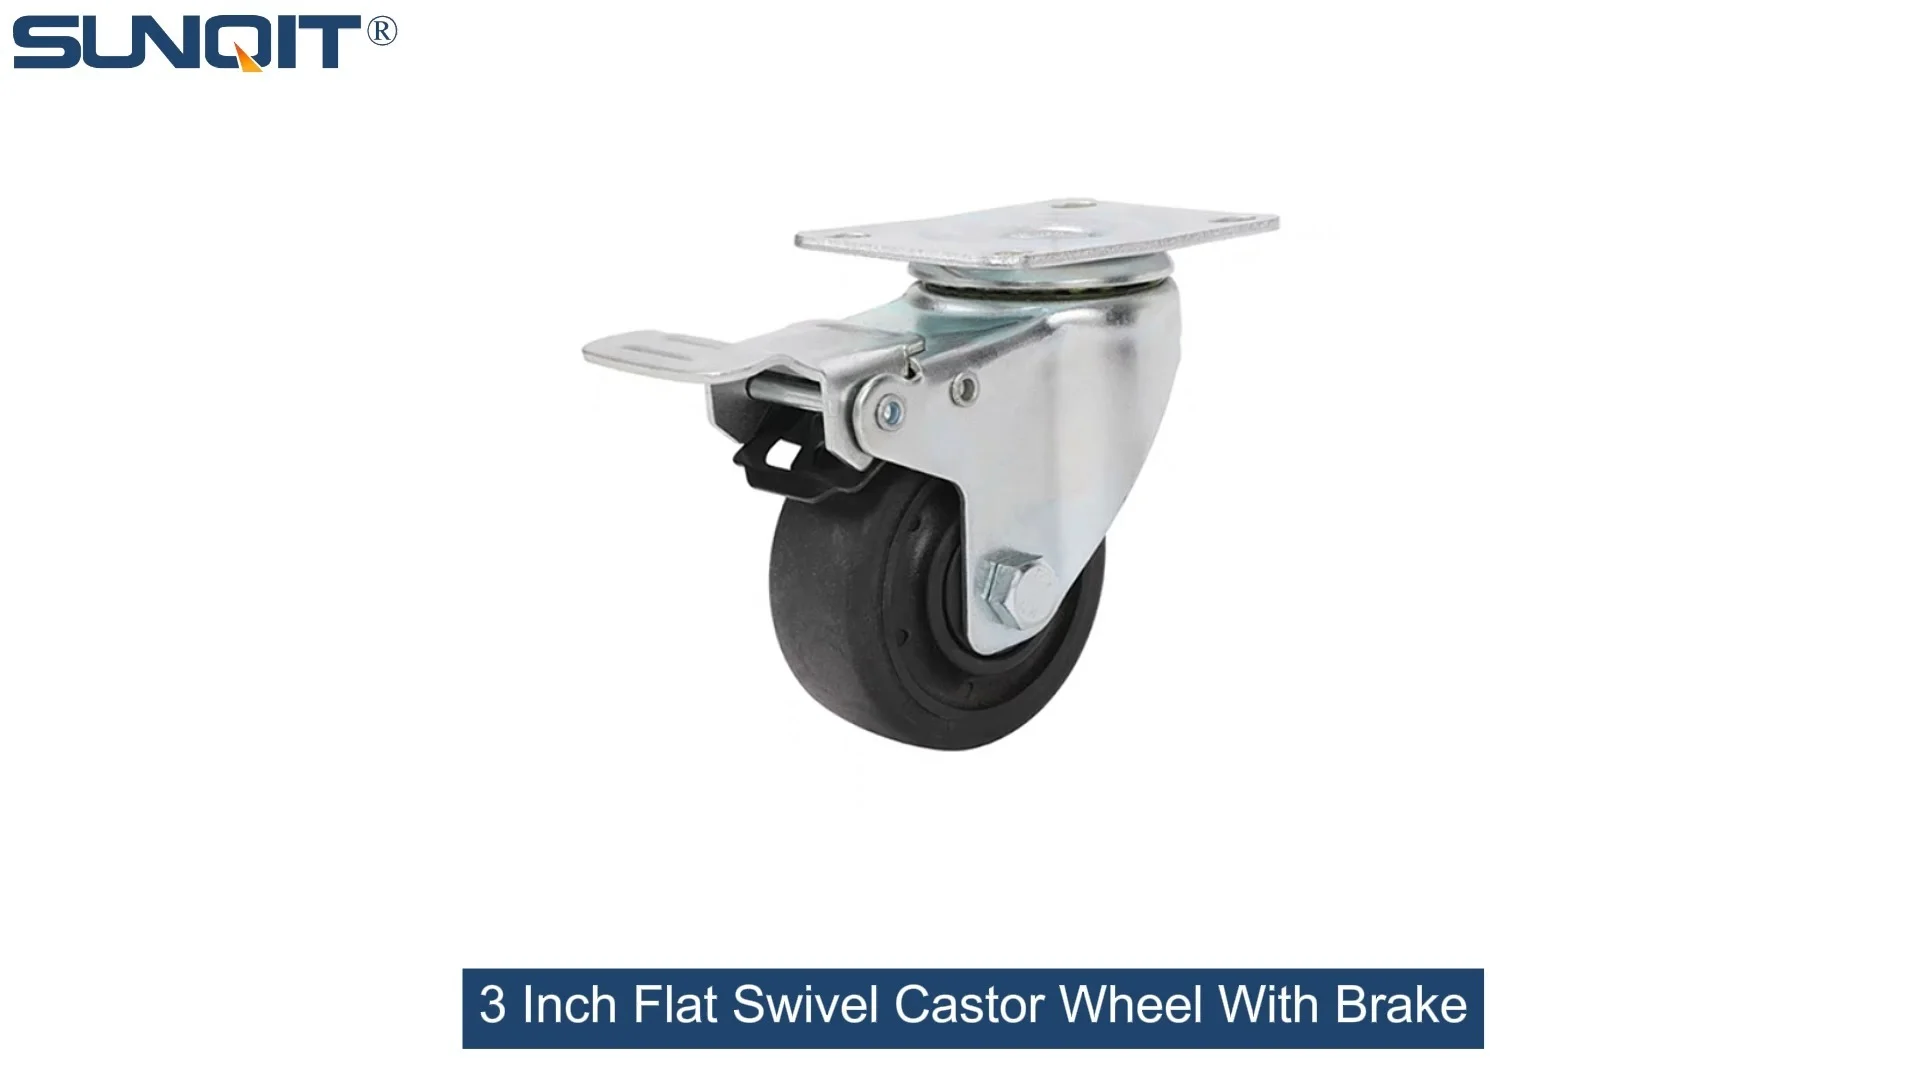
Let's talk about something that might not get enough attention in your workshop or production line, but makes a world of difference: the humble castor wheel. Specifically, the flat swivel castor wheel with brake —a small but mighty component that can turn a static lean pipe workbench into a mobile workstation, or a heavy material trolley into a maneuverable asset. In lean manufacturing, efficiency is everything, and being able to move tools, parts, or workbenches exactly where they're needed (and lock them in place safely) is a game-changer.
But here's the thing: installing these castors isn't as simple as slapping them on the bottom of a frame. Do it wrong, and you'll end up with wobbly workbenches, stuck brakes, or even damaged lean pipe joints. That's why we've put together this detailed, step-by-step guide. Whether you're a seasoned facility manager or a new team member tasked with setting up your first lean system , we'll walk you through the process with clear instructions, pro tips, and even troubleshooting advice. Let's dive in.
Tools & Materials You'll Need
Before you start, gather these items. Having everything on hand will save you trips to the toolbox and keep the process smooth. Don't worry if you don't have every single tool—we'll note alternatives where possible.
| Item | Purpose | Pro Tip |
|---|---|---|
| Flat swivel castor wheels with brake (4 per workbench/trolley) | The star of the show—choose ones rated for your load (e.g., 150kg per castor for a 600kg workbench). | Opt for polyurethane wheels if you're on concrete floors—they're quieter and gentler on surfaces than rubber. |
| Castor installation base (or "castor fixed plate") | Mounts the castor to the lean pipe frame. May come with the castor or sold separately. | Check if your base is compatible with your lean pipe diameter (most are 28mm or 30mm standard). |
| Hex bolts, washers, and lock nuts | Secures the castor to the installation base. | Use stainless steel hardware if you're in a humid environment to prevent rust. |
| Socket wrench set (or adjustable wrench) | Tightens bolts and nuts. | A torque wrench is ideal (set to 15-20 Nm for steel frames) to avoid over-tightening. |
| Spirit level (2ft or longer) | Ensures the frame is level before and after installation. | Place it across the top of the workbench to check for side-to-side and front-to-back levelness. |
| Tape measure | Measures distances to align castors evenly. | Mark castor positions with a pencil before drilling or mounting to avoid uneven spacing. |
| Rubber mallet | Gently taps components into place without damaging them. | Avoid using a steel hammer—you could dent the lean pipe or crack the castor housing. |
| Work gloves and safety glasses | Protects hands from sharp edges and eyes from debris. | Non-slip gloves also help when handling heavy frames or tight bolts. |
| Thread locker (e.g., Loctite Blue) | Prevents bolts from loosening due to vibration. | Apply a small drop to bolt threads before tightening—don't overdo it, as it can make future removal tricky. |
Safety First: Prep Your Workspace
Before you pick up a wrench, let's cover the basics to keep you and your team safe:
- Clear the area: Move tools, boxes, or debris out of the way. You'll need room to flip the frame (if needed) and maneuver around it.
- Stabilize the frame: If you're working on an existing lean pipe workbench, empty it completely. A 50kg workbench with tools on top can tip if you lift one end—ask a colleague to help hold it steady.
- Check for sharp edges: Lean pipe ends or cut aluminum profiles can have burrs. Use a file to smooth them down before handling.
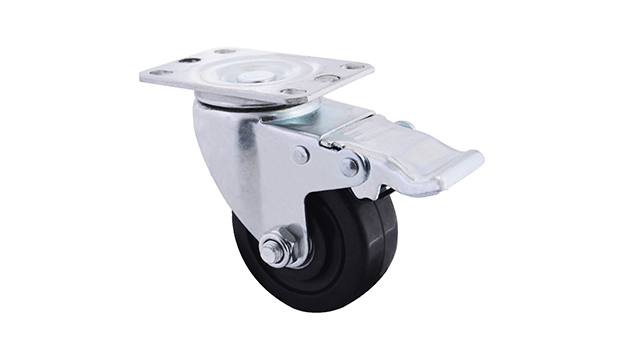
- Test the brakes first: Before installing, give the castor's brake lever a few squeezes. It should move smoothly and lock the wheel firmly. If it's stiff or loose, return it—no need to install a faulty part.
Pro Tip: If you're installing castors on a tall or top-heavy structure (like a material rack), lay it flat on a padded surface (e.g., a yoga mat or cardboard) to avoid scratching the frame or injuring yourself.
Step 1: Prep the Lean Pipe Frame
Your lean pipe frame—whether it's a workbench, trolley, or material rack—is the foundation here. If it's brand new, you'll need to assemble it first (following the manufacturer's instructions for lean pipe joints). If it's an existing frame, now's the time to inspect it.
1.1 Inspect the Frame for Damage
Check the lean pipe joints, legs, and crossbars for signs of wear: loose bolts, bent pipes, or cracked plastic/metal components. A wobbly frame will only get worse with castors added—fix issues now. For example, if a lean pipe joint is loose, tighten its locking screw with a hex key until it's snug (but not stripped).
1.2 Mark the Castor Positions
Castors should be mounted at the corners of the frame for stability. Measure the distance between the legs (e.g., 120cm wide x 80cm deep for a workbench). Mark the center of each leg's base—this is where the castor will go. Use a pencil or masking tape—avoid permanent markers, as they can stain lean pipe coatings.
Pro tip: For extra stability on larger frames (over 150cm wide), add a fifth castor in the center. But most standard setups use four—one at each corner.
1.3 Ensure the Frame is Level
Place your spirit level on the top surface of the frame. If it's not level, adjust the legs (many lean pipe workbenches have adjustable feet) or shim under the legs with small pieces of plywood until the bubble is centered. A level frame means even weight distribution on the castors—no single wheel will bear too much load.

Step 2: Install the Castor Mounting Base
The flat swivel castor wheel with brake attaches to the frame via a mounting base (or "fixed plate"). This base can be bolted, clamped, or welded to the frame—most lean pipe systems use bolt-on or clamp-on bases for flexibility.
2.1 Attach the Base to the Frame Leg
There are two common scenarios here:
- Scenario A: Frame legs have pre-drilled holes. Align the mounting base with the holes. insert a bolt through the base and leg, add a washer, then hand-tighten a lock nut. Repeat for all holes (usually 2-4 bolts per base).
- Scenario B: No pre-drilled holes (clamp-on base). These bases wrap around the lean pipe leg. Open the clamp, position it at your marked center point, then tighten the clamp screw with a wrench. Stop when the base feels secure—over-tightening can dent or crack the pipe (especially if it's PE-coated or aluminum).
Pro Tip: For PE-coated lean pipe , wrap a piece of cloth around the pipe before clamping. This prevents scratches that can lead to rust later.
2.2 Tighten the Base Securely
Use your socket wrench to tighten the bolts or clamp screws. For bolt-on bases, torque the nuts to 15-20 Nm (check the base manufacturer's specs). For clamp-on bases, tighten until the base doesn't rotate when you wiggle it—about 10-12 Nm. Avoid "gorilla tightening"—stripped threads or cracked bases are a headache to fix.

Step 3: Attach the Flat Swivel Castor Wheel with Brake
Now comes the exciting part: mounting the castor itself. Most castors have a plate on top with holes that line up with the mounting base.
3.1 Align the Castor with the Mounting Base
Flip the castor so the brake lever is facing outward (this makes it easier to reach later). Line up the castor's plate holes with the holes on the mounting base. If the holes don't align perfectly, don't force it—you may have mounted the base crooked. Loosen the base, adjust, and try again.
3.2 Secure the Castor with Bolts and Lock Nuts
insert a bolt through each aligned hole (from the bottom up, so the nut is on top of the castor plate). Add a washer, then a lock nut. Hand-tighten all nuts first to keep the castor in place, then use your wrench to tighten them evenly (crisscross pattern, like tightening a car tire). This ensures the castor sits flat and doesn't wobble.
Pro tip: Apply a drop of thread locker to each bolt thread before adding the nut. This prevents loosening from vibration—critical if you move the workbench often.
3.3 Repeat for All Castors
Install the remaining three (or more) castors using the same process. Take your time—rushing leads to mistakes. Once all are on, give each castor a gentle shake to check for looseness. If one wobbles, re-tighten its bolts.
Step 4: Test the Castors and Brakes
You're almost done, but don't skip this step! Testing ensures everything works as it should before you load the workbench with tools or materials.
4.1 Check Wheel Rotation
Stand the frame upright (get help if it's heavy). Push the workbench gently in all directions. The swivel castors should rotate smoothly without sticking. If a wheel is stiff, check for debris (e.g., a piece of tape or dirt) in the swivel joint—clean it with a dry cloth. If it's still stiff, add a drop of silicone lubricant to the joint (avoid oil-based lubes, which attract dust).
4.2 Test the Brakes
Engage the brake lever on each castor (usually a small pedal you push down with your foot). Try to move the workbench—if it slides, the brake isn't locking properly. Common fixes:
- Brake pad is dirty: Wipe it with a damp cloth to remove dust or grease.
- Brake lever is loose: Tighten the pivot bolt (on the side of the castor) with a wrench—just enough to firm it up, but not so much that the lever won't move.
- Wheel isn't fully seated: Loosen the castor bolts, realign the wheel, and re-tighten.
4.3 Load Test the Frame
Add some weight to the workbench—tools, boxes, or dummy weights (aim for about 70% of the castors' total load rating). Push it around again, engage the brakes, and check for wobbling or uneven rolling. If the frame sags in the middle, you may need to add crossbars for support (consult your lean pipe supplier for recommendations).
Step 5: Maintenance Tips to Keep Castors Rolling Smoothly
Installing castors is just the start—with a little care, they'll last for years. Here's how to maintain them:
- Clean regularly: Every 2-4 weeks, wipe the wheels and swivel joints with a dry cloth to remove dust, hair, or debris. For sticky wheels, use a toothbrush to dislodge gunk from the axle.
- Lubricate annually: Apply silicone lubricant to the swivel joint and wheel axle. Avoid over-lubricating—excess lube attracts dirt.
- Check brakes monthly: Ensure the brake lever moves freely and the pad makes full contact with the wheel. replace worn brake pads (available from your lean pipe supplier ).
- Tighten bolts quarterly: Vibration can loosen bolts over time. Give each castor's mounting bolts a quick tighten with your wrench.
Pro Tip: If you notice uneven wear on the wheels (e.g., one side is flatter than the other), rotate the castors (swap front-left with back-right) to extend their life.
Troubleshooting Common Issues
Even with careful installation, problems can pop up. Here's how to fix the most common ones:
- Wobbly workbench after installation: Check if all castors are the same height. If one is shorter, add a shim under the mounting base. Also, ensure the frame is still level—adjust adjustable feet if needed.
- Castor won't swivel: The swivel joint may be rusted or clogged. Clean with a wire brush, then apply silicone lubricant. If it's still stuck, the joint may be damaged—replace the castor.
- Bolts keep loosening: You probably skipped the thread locker! Remove the bolts, clean the threads, apply fresh thread locker, and re-tighten.
- Wheel cracks or chips: This usually happens from overloading or hitting obstacles. replace the wheel immediately—cracked wheels are unsafe.
Final Thoughts
Installing flat swivel castor wheels with brake on your lean pipe system might seem like a small task, but it's one that directly impacts efficiency, safety, and workflow. By following these steps—prepping the frame, aligning the base, securing the castor, and testing thoroughly—you'll create a workstation that moves when you need it to and stays put when you don't.
Remember, if you're ever unsure about a step, reach out to your lean pipe supplier —they can provide diagrams, replacement parts, or even technical support. And don't forget maintenance—those castors work hard for you, so give them a little love in return.
Now go roll that workbench into place, lock the brakes, and enjoy the smoother, more efficient workspace you've built. Happy manufacturing!