- Company Articles
- Products and Technology
- Installation And Maintenance
- Step-by-Step Installation Guide for 40 Steel Roller Track Black Wheel Systems

Step-by-Step Installation Guide for 40 Steel Roller Track Black Wheel Systems
Related Product
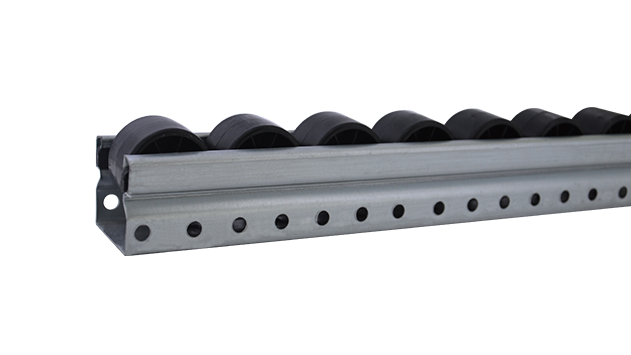
40 Steel Roller Track Black Wheel
The roller track can be installed with multiple accessories to create different slopes and configurations of flow racks.All steel conveyor 40 roller track accessories are engineered to perfectly fit the sliding rail.
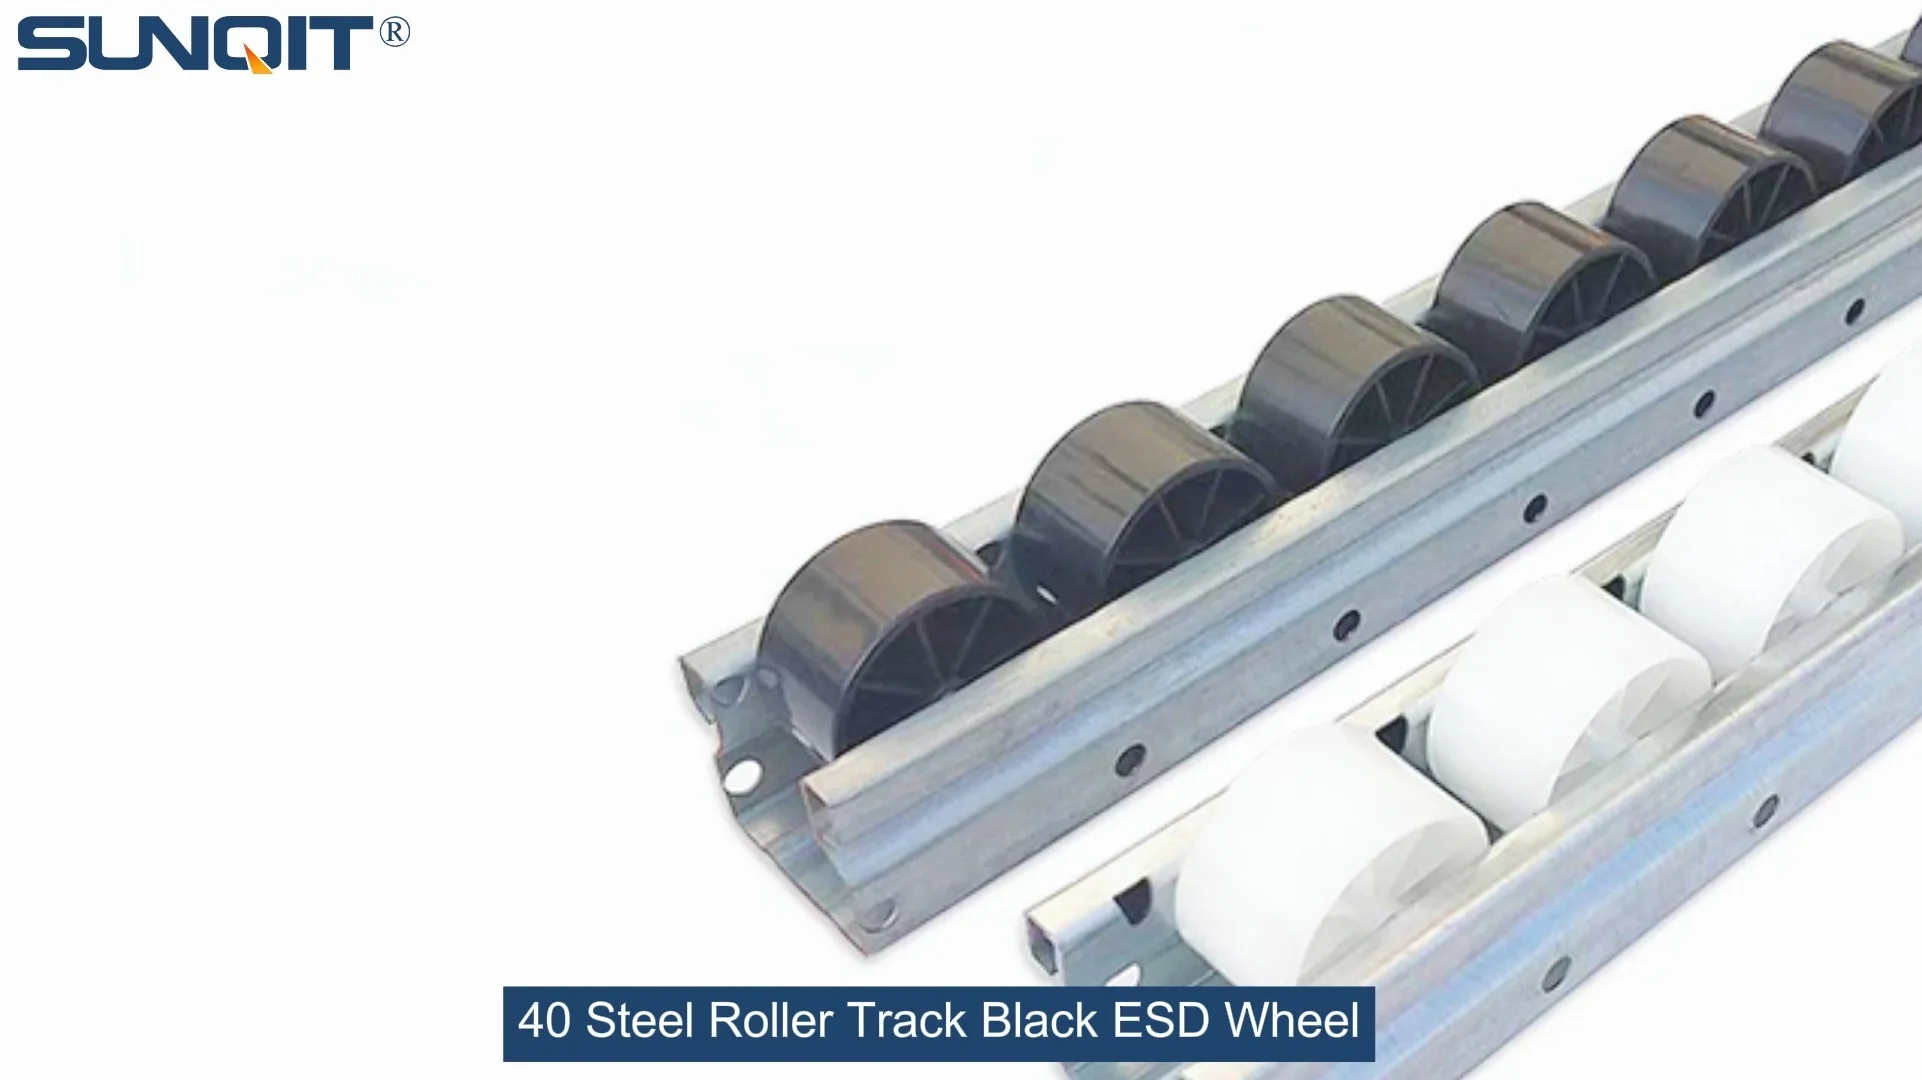
Let's build something that makes work easier—together. Whether you're setting up a new production line or upgrading your current workflow, this guide will walk you through installing your 40 Steel Roller Track Black Wheel System like a pro. No jargon, no stress—just clear steps and friendly tips to get you rolling (pun intended) in no time.
Before We Start: Gather Your Tools & Materials
Think of this as prepping for a cooking show—having everything ready means less fumbling and more focus on the fun part. Here's what you'll need:
| Tool/Material | Quantity | Why You Need It |
|---|---|---|
| 40 Steel Roller Track Sections (Black Wheels) | As per your order | The star of the show—these are the tracks where your materials will glide. |
| Aluminum Support Brackets | 1 pair per track section | They hold the track steady, like a good friend supporting you. |
| Hex Wrench Set | 1 set | For tightening those stubborn bolts (pro tip: label sizes to save time). |
| Level Tool | 1 | Ensures your track is straight—no wobbly rides for your materials! |
| Measuring Tape | 1 | Precision matters—measure twice, install once (your future self will thank you). |
| Rubber Mallet | 1 | Gently taps parts into place without scratching (no brute force needed). |
| Anti-Slip Gloves | 1 pair | Keeps your hands safe and gives you a better grip—safety first, always. |
| Aluminum Pipe Accessories (Connectors, End Caps) | As needed | Finishing touches that make your system sturdy and professional. |
Quick Check: Lay out all parts on a clean, flat surface first. This helps you spot missing pieces early—no mid-install panic!
Let's Get Rolling: 7 Simple Steps to Install Your Roller Track
Take it step by step, and remember: even pros started with the first bolt. We're in this together!
Step 1
Unbox & Inspect: Make Sure Everything's in Tip-Top Shape
First things first: open those boxes carefully (we know, the excitement is real). Lay out each track section, bracket, and bolt. Check for any dents, scratches, or bent wheels—if something looks off, reach out to your supplier before installing. It's better to fix a tiny issue now than deal with a wobbly track later.
Pro Move: Sort track sections by length. If you're installing multiple tracks, labeling them (e.g., "Left Side, Section 1") prevents mix-ups.
Step 2
Mark Your Spot: Measure & Mark the Installation Area
Imagine your roller track as a dance floor—materials need space to move without tripping. Use your measuring tape to mark where the tracks will go. For most setups, a 5-10cm gap between parallel tracks works best (adjust based on your material size).
Use a pencil to draw light lines on the floor or mounting surface. Then, place your level on the lines to ensure they're straight—even a tiny slope can make materials slow down or get stuck. If the surface isn't level, shims (small plastic or metal spacers) can help—think of them as tiny helpers leveling the playing field.
Why This Matters: A well-measured track means materials flow smoothly, reducing jams and keeping your team's workflow stress-free.
Step 3
Mount the Brackets: The Foundation of Stability
Brackets are the backbone of your roller track—they keep everything from wobbling like a table with a short leg. Place each aluminum support bracket along your marked lines, aligning the holes with your pencil marks.
Use the hex wrench to loosely attach the brackets to the mounting surface first (don't tighten fully yet!). This lets you adjust their position if needed. Once all brackets are in place, double-check with the level—side to side and front to back. When they're perfectly straight, tighten the bolts snugly (but not so tight you strip the threads—gentle but firm, like a handshake).
Pro Hack: If mounting on a concrete floor, use concrete anchors for extra hold. For wooden surfaces, wood screws work great—just make sure they're long enough to bite into the studs.
Step 4
Attach the Track Sections: Time to Build the "Road"
Now, let's add the track sections to the brackets. Lift one track section (get a friend to help if they're heavy!) and rest it on top of the brackets. Align the pre-drilled holes in the track with the holes in the brackets—this should feel like puzzle pieces clicking into place.
insert the bolts through the holes and hand-tighten them first. Once the track is sitting evenly, use the hex wrench to secure each bolt. Go in a "star" pattern (tighten one bolt, then the one diagonal to it) to keep the track from warping. Repeat this for all track sections, connecting them end-to-end if needed (use the provided connectors to link sections smoothly).
Fun Fact: The black wheels on these tracks are designed for low friction—so even heavy materials will glide with minimal effort once installed correctly!
Step 5
Install End Caps & Safety Stops: Protect Your Materials (and Sanity)
Ever had a book slide off a shelf? End caps prevent that! Snap the plastic end caps onto the ends of each track section—they cover sharp edges and keep materials from falling off. If your system needs safety stops (for example, to halt materials at a workstation), attach them to the end brackets using the included screws.
Test the stops by gently pushing a small box along the track—they should stop it smoothly, no loud crashes. Adjust the stop position if needed to match where your team will pick up materials.
Safety First: If kids or pets are around your workspace, end caps are non-negotiable—they turn "ouch!" moments into "phew, that was close."
Step 6
Test the Roll: Let's See How She Moves
The moment of truth! Grab a sample material (a box, a component, whatever you'll be moving) and place it on the track. Give it a gentle push—how does it roll? It should glide smoothly, without jerking or getting stuck.
If it's slow or wobbly, check for these issues:
- Wheels not spinning freely? A drop of lubricant (WD-40 works) on the wheel axles can fix that.
- Track tilted? Use the level again to adjust the brackets—even 1° can make a big difference.
- Sections misaligned? Loosen the connecting bolts, realign the tracks, and retighten.
Test with different weights (light, medium, heavy) to ensure the track handles all your needs. When it's working like a charm, you'll feel that lean system magic—materials moving where they need to be, when they need to be there.
Step 7
Fine-Tune & Celebrate: You Did It!
Take a step back and admire your handiwork—you just built a tool that will make your team's days easier. Walk along the track, checking for any loose bolts or wobbly brackets. Tighten anything that feels unstable, and wipe down the tracks with a dry cloth to remove dust (clean tracks = happy wheels).
Then, grab your team and show off! A quick demo of the rolling materials will get everyone excited about the new setup. Maybe even treat yourselves to a coffee—you earned it.
Pro Tips for Long-Lasting Performance
Your roller track is an investment—with a little care, it'll serve you for years. Here's how to keep it in top shape:
Clean Regularly
Wipe wheels and tracks weekly with a damp cloth to remove dirt and debris. For sticky spots, use mild soap—avoid harsh chemicals that can damage the black wheel coating.
Lubricate Seasonally
Every 3-6 months, add a drop of lubricant to each wheel axle. This keeps them spinning smoothly, even with heavy use.
Check for Wear
Inspect wheels monthly for cracks or flat spots. If a wheel looks damaged, replace it ASAP—one bad wheel can slow down the whole line.
Adjust as You Grow
Your needs might change! The beauty of a lean pipe system is flexibility—loosen brackets to reposition tracks, add sections, or adjust height as your workflow evolves.

Where Will Your Roller Track Shine?
This system isn't just a "one-trick pony"—it fits right into all kinds of workspaces. Here are a few places where it'll make a real difference:
3C Assembly Lines
Phone parts, laptop components—small, delicate items glide safely without scratches, keeping your products looking perfect.
Medical Device Warehouses
Precision tools and supplies need gentle handling—your roller track delivers, keeping critical items organized and accessible.
Warehouse Order Picking
Boxes move from storage to packing stations in seconds, cutting down on walking time and letting your team focus on what matters.
Lean Manufacturing Cells
Pair it with flow racks and conveyors for a full lean solution—materials arrive exactly when needed, reducing waste and boosting morale.

Got Questions? We've Got Answers
Q: Can I install this track outdoors?
A: We don't recommend it—rain and humidity can rust the steel over time. Stick to indoor, climate-controlled spaces for best results.
Q: How much weight can each track hold?
A: Each 40 steel roller track section can handle up to 150kg evenly distributed. For heavier loads, add extra brackets or upgrade to our heavy-duty model.
Q: My tracks are making noise—what's wrong?
A: Noisy wheels usually mean dirt buildup or dry axles. Clean the wheels and add lubricant—if that doesn't work, check for misaligned sections.
Q: Can I connect this to other lean pipe system components?
A: Absolutely! Our 40 steel roller track works seamlessly with flow racks, conveyors, and aluminum pipe accessories—mix and match to build your dream workflow.
You're Ready to Roll (Literally)
Installing a 40 Steel Roller Track Black Wheel System isn't just about putting parts together—it's about building a workspace that works for your team, not against them. When materials flow smoothly, stress drops, productivity rises, and everyone goes home feeling accomplished.
Remember, we're here if you need help. Whether it's troubleshooting a wobbly track or planning your next lean solution upgrade, your success is our success. Now go out there and make that workflow shine!