- Company Articles
- Products and Technology
- Installation And Maintenance
- Step-by-Step Installation Guide for Roller Track Placon Mount Connectors

Step-by-Step Installation Guide for Roller Track Placon Mount Connectors
Related Product
Roller Track Placon Mount Connector
Roller track placon mount work as a connector for roller track and pipe or aluminum profile in rack syetem, it is a necessary parts in rack system which widely used in industrial plant and logistic,warehouse storage.
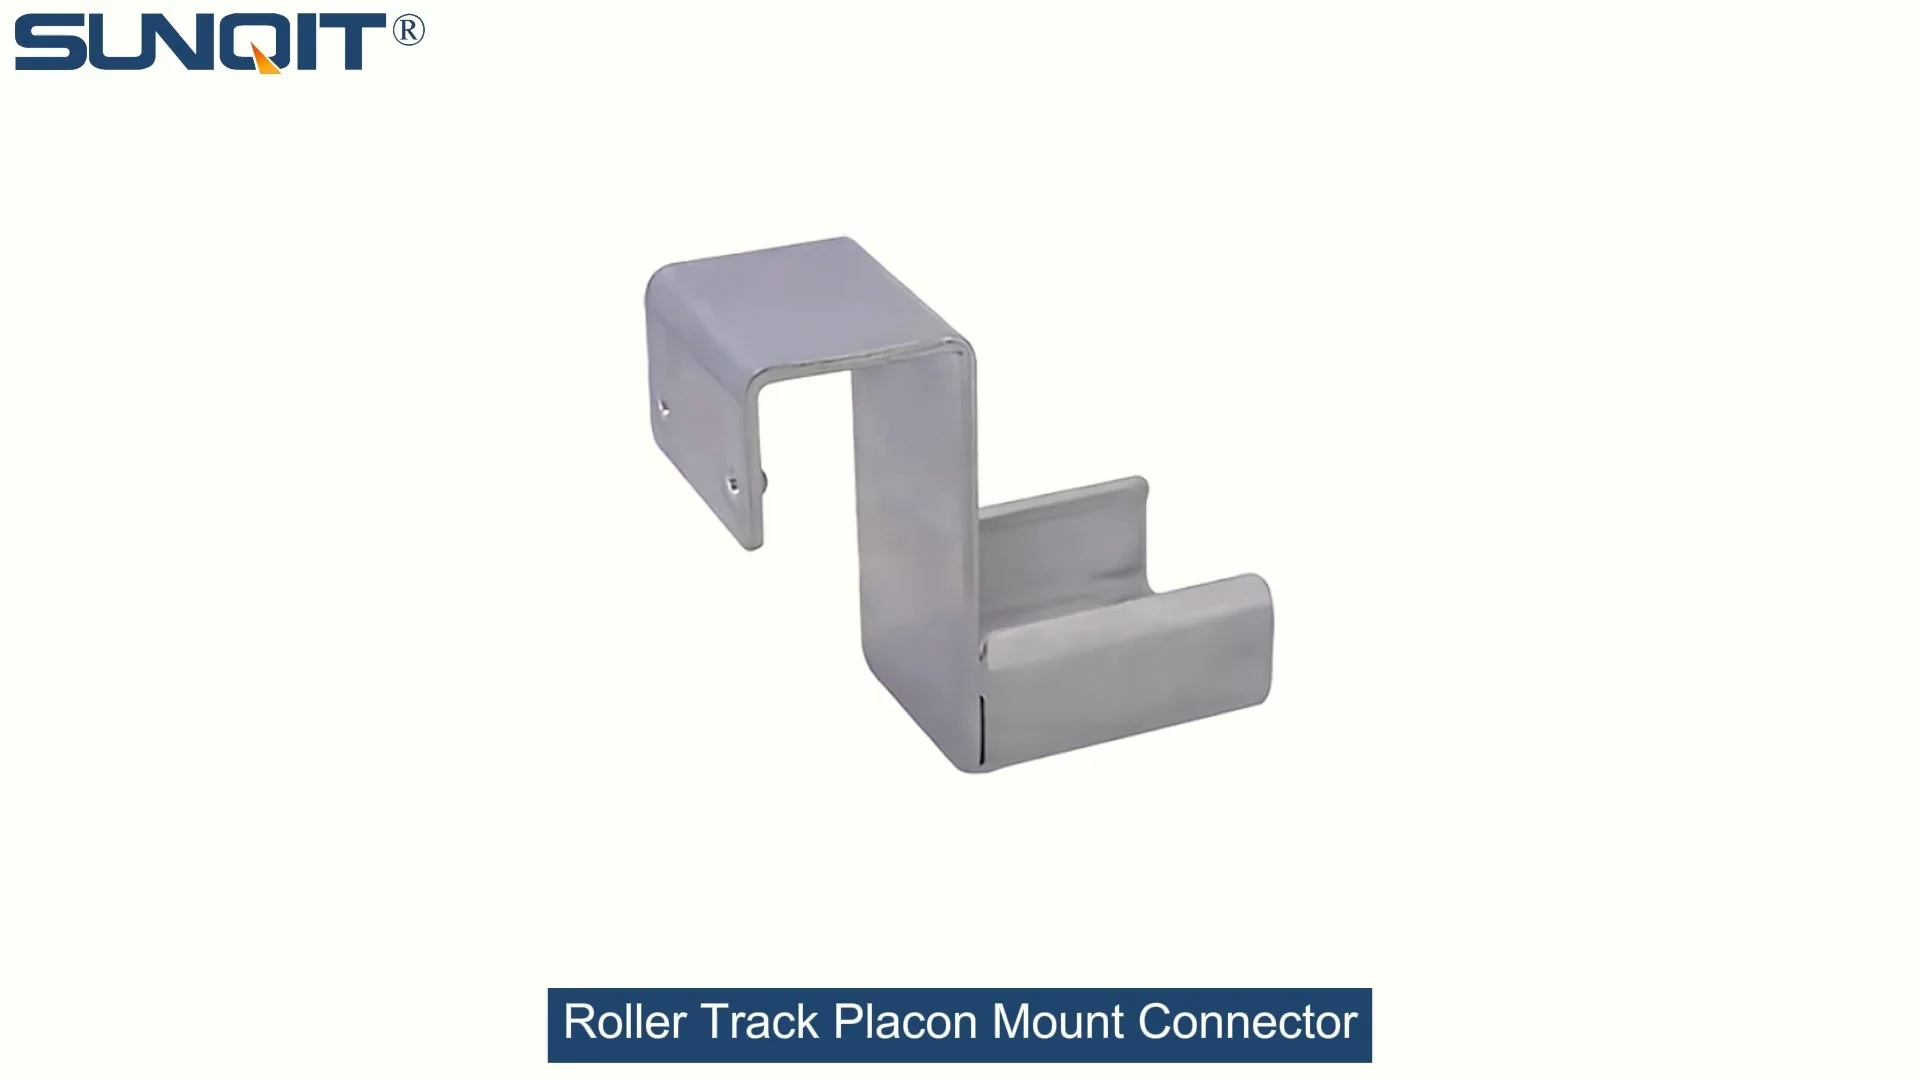
Ever tried building a roller track system only to struggle with wobbly connections or misaligned rails? If you've spent time in a factory or warehouse, you know how crucial smooth material flow is—one loose connector can slow down the entire line, mess up production timelines, and even risk worker safety. That's where roller track placon mount connectors come in. These small but mighty parts are the unsung heroes of lean manufacturing, linking roller tracks to aluminum profiles, ensuring your flow racks glide like butter, and keeping your production line running without a hitch.
Whether you're setting up a new lean system or upgrading an old one, nailing the installation of these connectors is key. Mess it up, and you'll deal with jamming roller tracks, uneven material flow, or worse—parts sliding off the rails. But don't worry, I've been there (more times than I'd admit), and I'm here to walk you through it step by step. No jargon, no confusion—just plain talk from someone who's installed more of these than I can count. Let's dive in.
Why These Connectors Matter (Spoiler: It's All About the Flow)
First, let's get why these connectors are a big deal. In a lean system , every second counts. Roller tracks move parts from one workstation to the next—if they're wobbly or misaligned, parts get stuck, workers waste time fixing it, and before you know it, your "lean" line is full of waste. Placon mount connectors are the glue (literally) that holds the roller track to the aluminum profile. They come in different styles: flat mounts for tight spaces, high mounts for extra clearance, center supports to keep long tracks from sagging—each designed for a specific job.
And let's not forget the aluminum profiles themselves. Most factories use aluminum profile frames because they're lightweight, strong, and easy to modify—perfect for the "sustainable improvement" part of lean. But even the best profile is useless if the connector between it and the roller track is shoddy. So, installing these right? It's not just about screwing parts together—it's about building a system that works today, tomorrow, and can adapt when your production needs change.
Tools You'll Need (Pro Tip: Don't Skip the Tape Measure)
Before you grab a screwdriver and start twisting, let's gather your tools. Trust me, nothing kills momentum like realizing you forgot the hex key halfway through. Here's what you'll need:
- A set of hex keys (most connectors use M5 or M6 screws—check the package!)
- A Phillips-head screwdriver (for those tricky cross-shaped screws)
- A tape measure (to make sure tracks are straight—"eyeballing it" doesn't work here)
- A level (bubble or digital, doesn't matter—just use it!)
- A rubber mallet (for gently tapping parts into place—no sledgehammers, please)
- Sandpaper (fine grit, to smooth out any burrs on aluminum profiles)
- A marker (to mark where screws go—avoids drilling in the wrong spot)
- Optional but helpful: A cordless drill with hex bits (speeds things up, especially for big installations)
Pro Tip: If you're installing a lot of connectors, grab a magnetic parts tray. Those tiny screws? They love rolling off the table and disappearing into the factory floor cracks. A $5 tray will save you 20 minutes of swearing.

Step 1: Unpack and Inspect (Yes, Even the Small Parts)
Okay, tools ready? Now, take the connector package and dump everything out on a clean surface. Most placon mount connectors come with the connector body, screws, washers, and sometimes a small instruction sheet (though let's be real, those are often more confusing than helpful). Here's what to check:
- Screws: Are they the right length? Too short, and they won't bite into the aluminum profile; too long, and they'll poke through the other side. If they're too short, grab longer ones (M5x16 or M6x20 are common spares).
- Washer: Should be a flat washer to distribute pressure—no washer means the screw might crack the plastic or aluminum over time.
- Connector Body: Look for cracks or bent tabs, especially if the package was dropped. A cracked connector won't hold—swap it out now instead of after installation.
- Compatibility: Double-check that the connector fits your roller track and aluminum profile. For example, a 40-series aluminum profile needs a connector with a 40mm base—if you bought a 30-series connector by mistake, it won't line up with the profile's T-slot.
Pro move: If you're installing multiple connectors (like for a long aluminum roller track ), lay them out in order on the floor. This way, you won't mix up a center support with an end stop—trust me, I've done that, and it's a pain to redo.

Step 2: Mark Your Spots (Measure Twice, Drill Once)
Now, let's prep the aluminum profile. You need to mark where the connector will go. Grab your tape measure and marker—here's how:
- Find the start and end points: If you're attaching a roller track to a profile, measure the length of the track and mark where the first and last connector should go. For a 1-meter track, I usually place connectors 15cm from each end and then every 30-40cm in between—this prevents sagging.
- Check for T-slots: Aluminum profiles have T-slots (the grooves where screws go). Make sure your marks line up with a T-slot! If you mark between slots, you'll have to drill a hole, which ruins the profile's "modifiable" vibe. Most profiles have slots every 20mm, so just count the notches if you're unsure.
- Use the level: Hold the level against the profile and draw a straight line across your marks. This ensures all connectors are aligned—no "drunken roller track" where parts slide to one side.
Quick Fix: If your marks are off by a few millimeters, don't panic. Aluminum profile T-slots are forgiving—just shift the connector a slot over. No need to erase and redraw unless it's more than 1cm off.

Step 3: Attach the Connector to the Aluminum Profile
Now the fun part: putting it all together. Let's break this down based on the connector type—since flat mounts and high mounts install a bit differently.
Substep 3.1: Flat Mount Connectors (For Low-Clearance Setups)
Flat mounts sit flush against the aluminum profile, great for when you need the roller track close to the frame (like on a workbench). Here's how:
- Slide the T-nut into the aluminum profile's T-slot at your marked spot. T-nuts are the little metal pieces with threads—they'll hold the screw in place.
- Place the flat mount connector over the T-nut, lining up the screw hole in the connector with the T-nut.
- Take the screw (usually M5 or M6) and hand-tighten it into the T-nut. Don't fully tighten yet—we'll adjust later.
- Repeat for all flat mount connectors along the track.
Substep 3.2: High Mount Connectors (For Extra Clearance)
High mounts have a spacer that lifts the roller track above the aluminum profile—useful if you need to run cables underneath or have taller parts on the track. The steps are similar, but with a twist:
- First, attach the spacer to the connector body with the small screws provided. These are usually self-tapping, so just twist them in until they're snug (don't overtighten—plastic spacers can crack).
- Slide the T-nut into the T-slot, then place the spacer+connector over it.
- Screw into the T-nut, again hand-tightening for now.
Substep 3.3: Center Support Brackets (Prevent Sagging on Long Tracks)
Long roller tracks (over 2 meters) need center supports to keep them from bending under heavy parts. These brackets have a "U" shape that cradles the track. Install them like this:
- Mark the center of the track (measure the total length and divide by 2—easy math).
- Attach the center support bracket to the aluminum profile using the same T-nut and screw method as above.
- Once the bracket is on, the roller track will rest in the "U"—no extra screws needed here; the weight of the track and parts will hold it in place.
Step 4: Mount the Roller Track to the Connectors
With the connectors attached to the aluminum profile, it's time to add the roller track. Most aluminum roller track has pre-drilled holes that line up with the connector's top holes. Here's how to do it without pinching your fingers:
- Get a helper if the track is long—trying to hold a 3-meter track by yourself is a recipe for bent connectors (or a sore back).
- Line up the track's holes with the holes on the connectors. Start at one end, then work your way to the other—don't force it if they don't line up; adjust the connectors slightly (remember, we left the screws hand-tight for a reason).
- Once aligned, insert the track screws (these are usually shorter than the profile screws—M4 or M5) and hand-tighten them. Again, not fully tight yet!
Pro tip: If the track is stubborn and won't line up, gently tap the connector with a rubber mallet to shift it. Aluminum is flexible, so a little nudge goes a long way. Just don't whack it—you don't want to bend the connector.
Step 5: Adjust, Tighten, and Test (The "Does It Roll?" Check)
Now it's time to make sure everything is straight, tight, and rolls like it should. Grab your level and follow these steps:
- Check level: Place the level on top of the roller track. If the bubble is off-center, loosen the profile screws, adjust the connectors up or down, then retighten. A level track means parts roll smoothly—no uphill battles for your materials.
- Tighten all screws: Now that it's level, go back and fully tighten the profile screws and track screws. Use a hex key or screwdriver, but stop when you feel resistance—stripping a screw is way harder to fix than a loose one.
- Test roll: Grab a test part (something similar to what you'll run on the line) and let it roll down the track. It should glide smoothly, no sticking or bouncing. If it gets stuck, check for misaligned rollers or a bent track—gently bend the track back into shape if needed (aluminum is forgiving here).
- Check for wobble: Grab the track and shake it gently. There should be no movement where the connector meets the profile. If it wobbles, the T-nut might not be seated right—loosen the screw, push the T-nut into the slot with a screwdriver, then retighten.
Step 6: Safety First (Don't Skip This—Seriously)
Before you call it a day, let's do a quick safety check. Factories are busy places, and a loose connector can turn into a hazard fast:
- Sharp edges: Run your hand along the aluminum profile and roller track—if there are any burrs (from cutting the profile or track), sand them down with fine sandpaper. No one wants a cut on their hand during a busy shift.
- Overhang: Make sure the track doesn't stick out past the aluminum profile frame—parts could fall off the end and hit someone below.
- Weight test: Put a heavy part (heavier than what you'll normally run) on the track and let it roll. If the connectors hold, you're good. If they bend or the track sags, add more connectors—better safe than sorry.
Maintenance Tips (Keep It Rolling for Years)
Installing is done, but lean systems are all about "sustainable improvement"—so let's keep these connectors (and your roller track) in top shape:
- Monthly check: Walk the line and wiggle the connectors—tighten any loose screws. Factory vibrations can loosen them over time.
- Clean the T-slots: Dust and debris in the aluminum profile's T-slots can make future adjustments hard. Blow them out with compressed air every few months.
- Lubricate rollers (not connectors): The connectors don't need lube, but the roller track's wheels do. A drop of machine oil every 6 months keeps them rolling smoothly.
- Swap out worn parts: If a connector cracks or a screw strips, replace it ASAP. Most suppliers (like us!) keep spares in stock—no need to wait weeks for a replacement.
Common Problems (And How to Fix Them—No Panic Required)
Even with the best instructions, things can go wrong. Here's a quick table of fixes for the most common headaches:
FAQs: Troubleshooting Your Roller Track Installation
| Problem | Why It Happens | Fix |
|---|---|---|
| Track is wobbly after tightening | T-nut wasn't seated in the T-slot properly | Loosen the screw, push T-nut into the slot with a flathead screwdriver, retighten |
| Parts get stuck halfway down the track | Track isn't level, or a roller is bent | Use level to adjust track; replace bent roller with a spare |
| Connector cracks when tightening | Screw was overtightened, or plastic connector was weak | replace with a new connector; use a torque screwdriver to avoid overtightening |
| Track sags in the middle | Not enough center supports for long track | Add a center support bracket every 1.5 meters (instead of 2 meters) |
Wrapping Up: You've Built More Than a Track—You've Built a Lean System
There you have it—your roller track placon mount connectors are installed, tested, and ready to roll. But let's take a second to appreciate what you've done. You didn't just put together some metal and plastic parts—you built a piece of a lean system that will help your team work faster, safer, and with less waste. That's the beauty of lean: small details (like a well-installed connector) add up to big results.
And remember, this isn't a "set it and forget it" deal. As your production needs change, you can adjust the aluminum profile, swap out the roller track, or add more connectors—all without rebuilding from scratch. That's the "sustainable improvement" part in action.
So, go ahead—grab that test part, let it roll down the track, and smile. You did good. Now, pass this guide to the next person on your team—sharing knowledge is just as lean as a well-installed connector.