- Company Articles
- Products and Technology
- Installation And Maintenance
- Step-by-Step Installation of M10*56 Rubber Leveling Feet for Lean Workbenches

Step-by-Step Installation of M10*56 Rubber Leveling Feet for Lean Workbenches
Related Product
M10*56 Rubber Leveling Feet
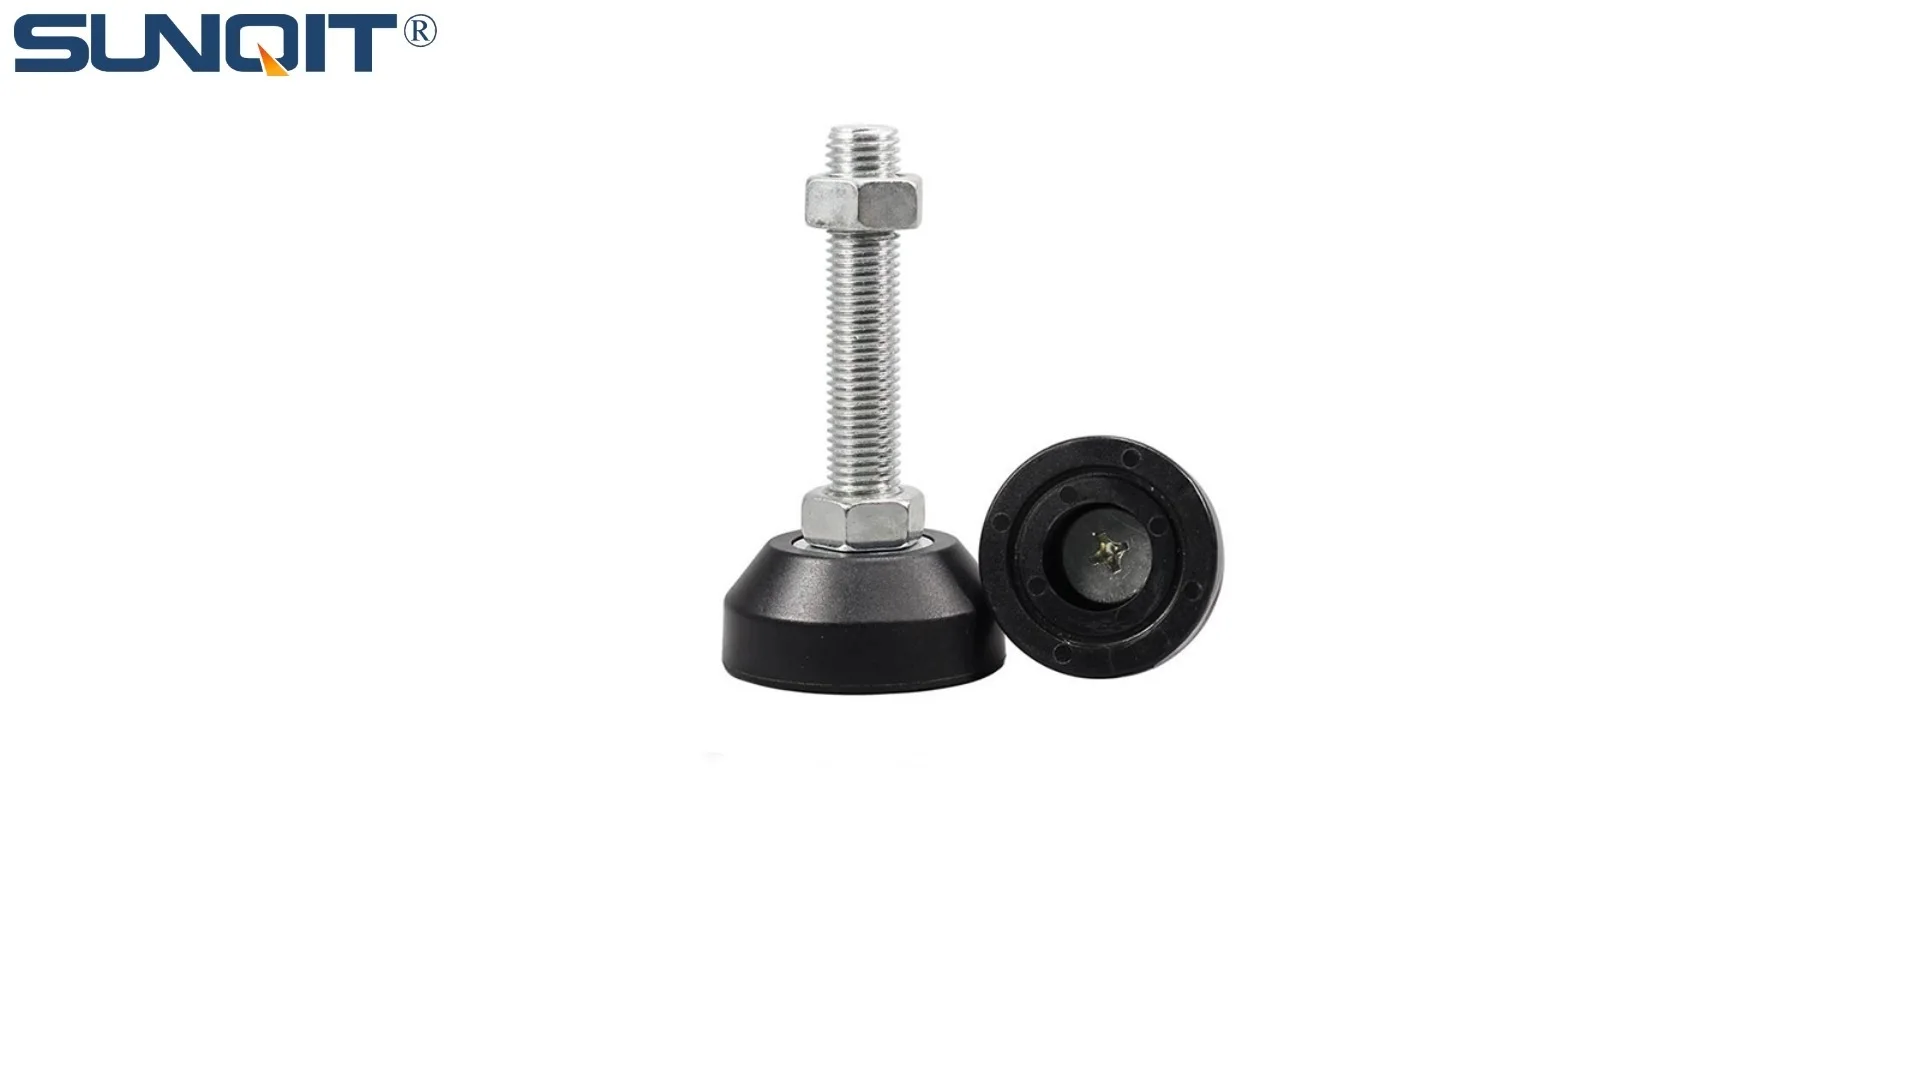
Adjustable leveling feet are designed to keep machines level when placed on uneven or sloped ground. Otherwise known as adjustable equipment feet, they are available to order in a wide variety of size and load capacity combinations.
There's a quiet frustration that lingers in workshops and production lines everywhere: the wobbly workbench. You're in the middle of assembling a delicate component, or maybe organizing tools for the day, and with every movement, the surface shifts. A screwdriver rolls off. A part teeters. It's not just annoying—it's a small but constant drain on efficiency, precision, and even safety. That's where the humble M10*56 rubber leveling foot comes in. These unassuming components are the unsung heroes of stable workspaces, turning a frustratingly uneven surface into a rock-solid foundation for productivity. In this guide, we'll walk through exactly how to install these leveling feet on a lean pipe workbench, step by step. Whether you're a seasoned facility manager or a new workshop technician, by the end, you'll have the know-how to banish wobbles for good—and maybe even gain a new appreciation for the little details that make big differences in a lean system.
Understanding M10*56 Rubber Leveling Feet: What Makes Them Essential?
Before we dive into the installation, let's take a moment to get to know the star of the show: the M10*56 rubber leveling foot. At first glance, it might look like just a metal rod with a rubber cap, but every part of its design serves a purpose. Let's break it down:
The "M10" refers to the metric thread size—10mm in diameter—which is standard for many workbench legs, especially those in lean pipe systems. The "56mm" is the length of the threaded rod, giving you enough adjustability to compensate for uneven floors (and trust us, even the "level" floors in workshops can have hidden dips). The rubber base is key: it's non-slip, so it grips the floor instead of sliding; it dampens vibrations, which is crucial for precision tasks; and it protects both the floor and the workbench from scratches or dents.
Now, why rubber specifically? Unlike metal feet, rubber won't leave marks on concrete or tile, and it's gentler on delicate workshop floors. Unlike plastic, it holds up better to heavy loads—important for a workbench that might be supporting tools, materials, or even assembly projects. And in a lean system, where every component is chosen for efficiency, these feet check all the boxes: durable, adjustable, and cost-effective.
Pre-Installation Prep: What You'll Need (and Why It Matters)
Installing leveling feet isn't complicated, but rushing into it without the right tools or prep work is a recipe for frustration. Let's gather what you'll need first. Think of this as setting the stage for success—you wouldn't bake a cake without preheating the oven, right? Here's your checklist:
| Tool/Item | Purpose | Quick Tip |
|---|---|---|
| M10*56 Rubber Leveling Feet (1-4, depending on workbench legs) | The main component—one per workbench leg. | Buy a few extras! It's better to have spares than to pause mid-installation if one is damaged. |
| Adjustable Wrench or Socket Wrench (17mm or 19mm, depending on the nut size) | To tighten the leveling feet securely after adjustment. | A socket wrench with a ratchet will save time and effort compared to a standard adjustable wrench. |
| Spirit Level (24-inch or longer) | To check if the workbench is level from front to back and side to side. | Magnetic levels are handy—they'll stick to metal workbench frames, leaving your hands free. |
| Clean Cloth or Brush | To clean debris, dust, or old grease from the workbench leg threads. | A wire brush works great for stubborn grime in the threads—you don't want dirt gumming up the adjustment later. |
| Gloves (Optional but Recommended) | To protect your hands from sharp edges on the workbench legs or threads. | Nitrile gloves are best—they're durable and won't slip on metal parts. |
| Marker or Tape (Optional) | To mark the initial position of the leveling feet if you need to reset adjustments. | Masking tape works well—just a small strip on the thread to note where you started. |
Now, a quick safety note: Before you start, clear the area around the workbench. Remove any tools, materials, or clutter that might get in the way. If the workbench is near electrical outlets or equipment, double-check that nothing is plugged in or powered on—you don't want to accidentally knock something over during installation. Safety first, efficiency second!

Step-by-Step Installation: From Wobbly to Stable in 7 Steps
Now, let's get to the hands-on part. We'll walk through each step slowly, with tips to avoid common mistakes. By the end, your lean pipe workbench will stand firm, no matter what the floor throws at it.
Step 1: Position the Workbench for Easy Access
Start by moving the workbench to a spot where you can easily reach all four legs. You don't need to drag it across the room—just shift it a few inches away from walls or other equipment so you can kneel or crouch comfortably next to each leg. If the workbench is heavy, ask a colleague for help moving it—no need to strain your back!
Step 2: Clean the Threaded Holes in the Workbench Legs
Over time, dust, grease, and even small metal shavings can build up in the threaded holes at the bottom of the workbench legs. If you skip cleaning these, the leveling feet might not thread in smoothly, or worse, the debris could damage the threads. Grab your clean cloth or wire brush and gently scrub the inside of each hole. For stubborn grime, you can use a small amount of rubbing alcohol on the cloth—just let it dry completely before moving on.
Once clean, take a quick look at the threads. Are they bent, stripped, or rusted? If so, you might need to repair or replace the leg before installing the leveling feet. A stripped thread won't hold the foot securely, and that's a safety hazard. If the threads look good, move on to the next step.
Step 3: Hand-Tighten the Leveling Feet into the Legs
Now, take one M10*56 rubber leveling foot and align the threaded end with the hole in the workbench leg. Start twisting it by hand—clockwise, like you're tightening a jar lid. The key here is to
hand-tighten first
. Using a wrench right away can cross-thread the foot (meaning the threads don't line up properly), which will ruin both the foot and the leg.
Keep turning until you feel resistance—usually when the rubber base is about 1-2cm away from the leg. You want the foot to be snug, but not so tight that you can't adjust it later. Repeat this for all four legs. At this point, the workbench will probably still be wobbly—that's okay! We'll adjust the height next.
Step 4: Use a Spirit Level to Identify High and Low Spots
Now, place your spirit level on the workbench surface. Start with the lengthwise direction (front to back), then check the width (side to side). The bubble in the level will tell you where the workbench is high or low. For example, if the bubble drifts toward the front left leg, that leg is higher than the others. If it drifts toward the back right, that leg is lower.
For extra precision, you can also check the diagonal corners: place the level from the front left to the back right, then front right to back left. This helps catch unevenness that might not show up in straight-line checks. Jot down which legs need to be raised or lowered—maybe "Front Left: Lower," "Back Right: Raise"—to keep track.
Step 5: Adjust the Feet to Level the Workbench
Let's tackle the adjustments one leg at a time. To
raise
a leg, turn the leveling foot
counterclockwise
(this extends the threaded rod, making the leg longer). To
lower
a leg, turn it
clockwise
(shortening the rod). Start with the lowest leg first—raising it until the bubble in the level starts to center. Then move to the opposite leg, adjusting as needed.
Go slow here. Small adjustments make a big difference. After each turn, check the level again. It's normal to go back and forth a few times—floors are rarely uneven in just one spot! Once the bubble stays centered in both lengthwise and widthwise checks, you're getting close.
Pro Tip:
If the floor is extremely uneven, you might need to extend the leveling feet more than 56mm. In that case, you can use a spacer (like a metal washer) between the foot and the leg to add extra height. Just make sure the spacer is sturdy and fits the thread size.
Step 6: Secure the Feet with a Wrench (But Don't Over-Tighten!)
Once the workbench is level, it's time to lock the leveling feet in place. Grab your adjustable wrench and gently tighten each foot—clockwise—until you feel resistance. The goal is to prevent the foot from loosening over time, but
don't crank it as tight as possible
. Over-tightening can damage the rubber base or strip the threads. A good rule of thumb: tighten until you feel the wrench "give" slightly, then stop.
As you tighten each foot, double-check the level again. Sometimes tightening can shift the foot slightly, throwing off your hard work. If the bubble moves, loosen the foot a quarter-turn and readjust. Better to take an extra minute now than to have to redo the whole process later.
Step 7: Test for Stability (The "Shake Test")
You're almost done! Now, give the workbench a gentle shake. Push on the corners, lean on the surface—simulate the kind of movement it would get during a typical workday. Does it wobble? If yes, check the level again—you might have missed a spot. If not, congratulations: you've installed your M10*56 rubber leveling feet!

Troubleshooting: Common Issues and How to Fix Them
Even with careful prep, things can go wrong. Here are the most common issues you might run into during installation—and how to solve them:
Issue 1: The Leveling Foot Won't Thread In Smoothly
If the foot feels "sticky" or won't turn by hand, stop! This is usually a sign of cross-threading. Back the foot out completely, check the threads on both the foot and the leg for damage, and realign them. Try again, turning more slowly. If it still sticks, the threads might be misaligned, or the leg could have a manufacturing defect. In that case, contact the workbench supplier for a replacement leg.
Issue 2: The Workbench Still Wobbles After Adjustment
If the level shows the surface is even, but the workbench still shakes, the problem might be the floor itself. Some floors have "soft" spots (like areas where the concrete is cracked or uneven under the surface). Try placing a small, rigid shim (like a metal washer or a piece of plywood) under the rubber base of the problematic foot. The shim will distribute the weight more evenly, reducing wobble.
Issue 3: The Rubber Base Cracks or Tears
Rubber is durable, but it can crack if over-tightened or if the workbench is overloaded. If you notice a crack in the base, replace the leveling foot immediately. A damaged base won't grip the floor properly, and that's a safety risk. When replacing, make sure to check the weight capacity of the new foot—most M10*56 feet can handle 100-200kg per leg, but confirm with the supplier if your workbench is extra heavy.

Maintenance: Keeping Your Leveling Feet (and Workbench) Stable for Years
Installing the leveling feet is just the first step—with a little maintenance, they'll keep your workbench stable for years. Here's what to do:
Monthly Check:
Once a month, give the leveling feet a quick inspection. Are they loose? Tighten them with a wrench (gently!). Is the rubber base cracked or worn? replace it. Sweep or vacuum around the feet to remove dust and debris that could cause slipping.
Quarterly Level Check:
Floors can shift over time—especially in busy workshops with heavy equipment rolling over them. Every three months, grab your spirit level and check if the workbench is still even. Adjust the feet as needed.
Clean the Rubber Bases:
Over time, oil, grease, or floor cleaner can build up on the rubber, reducing its grip. Wipe the bases with a damp cloth and mild soap every few months to keep them clean and sticky.
replace When Needed:
Even the best leveling feet wear out eventually. If you notice the rubber is hardening (losing its flexibility) or the threads are starting to strip, don't wait to replace them. A $10 part is a small price to pay for avoiding a dangerous, wobbly workbench.
Conclusion: Small Adjustments, Big Impact on Lean Efficiency
Installing M10*56 rubber leveling feet might seem like a minor task, but it's a perfect example of how lean systems thrive on attention to detail. A stable workbench isn't just about comfort—it's about reducing waste (no more chasing rolling tools!), improving precision (no more wobbly measurements!), and keeping your team safe. When every component of your workspace is optimized—from the lean pipe frame to the leveling feet—productivity follows naturally.
So the next time you walk past that now-stable workbench, take a second to appreciate the M10*56 feet holding it up. They're not glamorous, but they're essential. And now, you're the expert who knows exactly how to install and maintain them. Here's to smoother workflows, fewer frustrations, and workbenches that stay steady—no matter what the day brings.