- Company Articles
- Products and Technology
- Installation And Maintenance
- Step-by-Step Installation Tutorial for Lean Pipe Clamp B

Step-by-Step Installation Tutorial for Lean Pipe Clamp B
Related Product
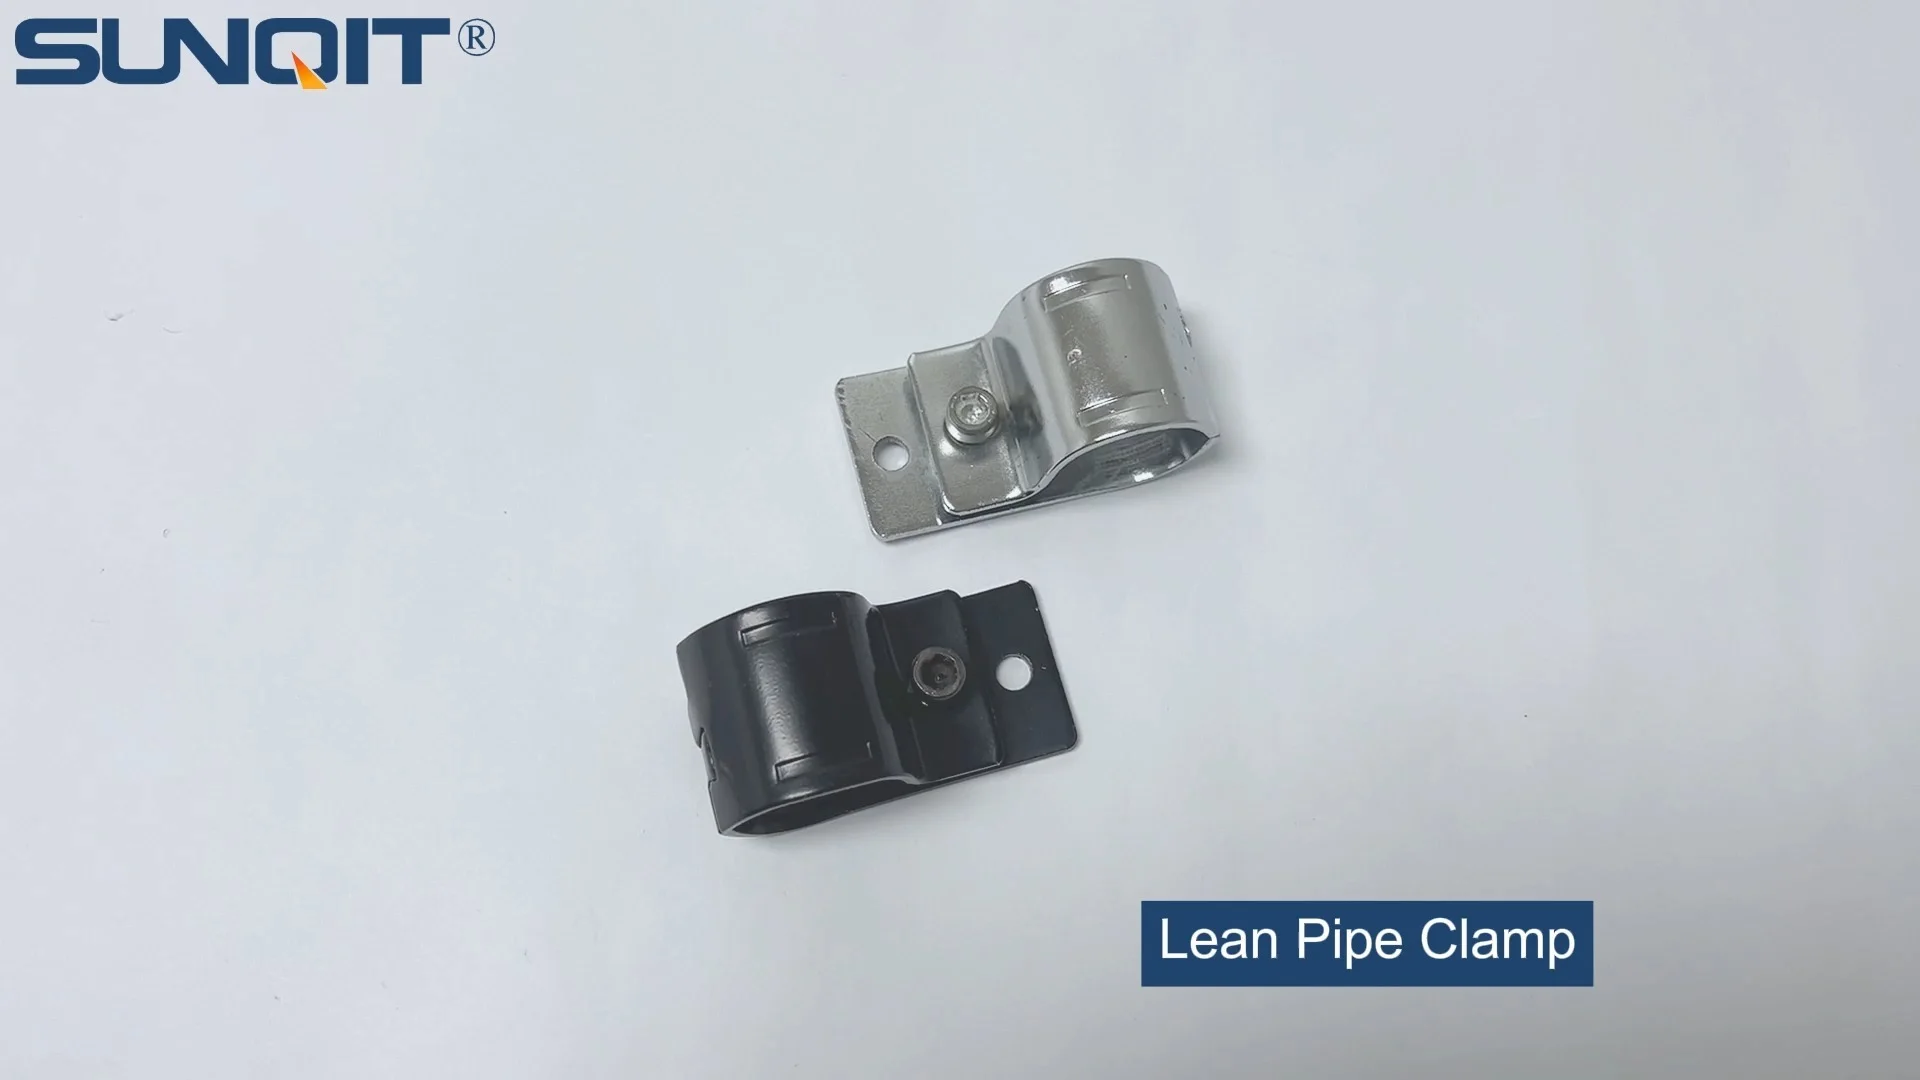
Lean Pipe Clamp
Lean pipe clamp is used for rack system hang monitor or other panel for workbenck, flowrack in production daily use.
If you've ever spent hours assembling a workbench or flow rack only to have it wobble, shift, or fail under weight, you know the frustration of poor-quality connections. In the world of lean manufacturing, where efficiency and stability are non-negotiable, the humble lean pipe clamp B plays a starring role. This unassuming but critical component is the glue that holds together lean pipe systems—whether you're building a sturdy workbench, a smooth-rolling turnover trolley, or a precision flow rack. Installing it right isn't just about "getting it done"; it's about ensuring your entire setup stands the test of daily use, reduces downtime, and keeps your workflow running like clockwork.
In this guide, we'll walk through every detail of installing a lean pipe clamp B, from gathering tools to testing the final connection. Whether you're a seasoned facility manager or a new team member tasked with setting up your first lean system, this step-by-step breakdown will turn a potentially tricky process into a straightforward, confidence-building task. Let's get started.
What You'll Need Before You Start
Like any good DIY project, installing a lean pipe clamp B starts with having the right tools and parts on hand. Skipping this step often leads to halfway stops, stripped bolts, or misaligned connections—none of which help your lean system perform at its best. Here's your checklist:
- Lean Pipe Clamp B (obviously!) – Check that the clamp is undamaged, with no cracks in the plastic or metal components.
- Lean Pipe – Typically 28mm in diameter (common for lean systems), clean and free of dents or rust.
- Aluminum Profile – The frame you'll attach the clamp to (we'll use a 4040 EU standard aluminum profile here, a popular choice for workbenches and racks).
- Hex Key Set – Most clamps use M5 or M6 bolts; have both metric sizes handy to avoid stripping.
- Rubber Mallet – For gentle tapping to align parts without damaging them.
- Measuring Tape & Pencil – To mark positions accurately (a 1mm misalignment now can cause big issues later).
- Level – A small 2-foot spirit level ensures your clamp (and the whole structure) stays straight.
- Wrench – For tightening nuts if your clamp uses them (some models have built-in knobs, but a wrench adds extra security).
- Clean Cloth – To wipe dust or grease off the lean pipe and aluminum profile; dirt here can weaken the clamp's grip.
Pro Tip: If you're installing multiple clamps (like for a workbench with multiple shelves), lay out all parts on a flat surface first. Group clamps, bolts, and aluminum profile sections by where they'll go—this saves time and prevents mix-ups.
Pre-Installation Prep: Why Rushing Here Costs You Later
You might be eager to start twisting bolts, but taking 5 minutes to prep will save you from redoing the work later. Here's what to focus on:
1. Inspect Your Lean Pipe Clamp B
Flip the clamp over and check the inner teeth (the grippy part that holds the lean pipe). If they're worn, bent, or covered in plastic shavings from the factory, the clamp won't grip well. A quick pass with a clean cloth or a small brush (an old toothbrush works!) removes debris. Also, check the bolt holes—if they're misaligned or cracked, swap the clamp for a new one. A faulty clamp is a weak link in your entire lean system.
2. Prep the Lean Pipe and Aluminum Profile
Run your clean cloth along the length of the lean pipe. Even a little oil or dust can make the clamp slip over time. For the aluminum profile, check the T-slots (the grooves where bolts slide in). If there's paint, rust, or debris stuck in them, use a small flathead screwdriver to gently scrape it out—this ensures the clamp's bolts seat properly.
3. Mark Your Positions
Grab your measuring tape and pencil. Let's say you're attaching the clamp to a vertical aluminum profile to hold a horizontal lean pipe (common for workbench shelves). Measure up from the bottom of the profile to where you want the shelf—say 30cm—and mark a light line with the pencil. Then, measure the width of the clamp (usually around 45mm) and mark a second line 45mm above the first. This gives you a clear zone for placing the clamp, so it sits exactly where you need it.

Step-by-Step Installation: Let's Get That Clamp Secure
Now for the hands-on part. Follow these steps, and you'll have a rock-solid lean pipe clamp B in no time. We'll use a typical setup: attaching the clamp to a vertical aluminum profile to hold a horizontal lean pipe (think: a shelf on a workbench).
Step 1: Position the Clamp on the Lean Pipe
Take your lean pipe and slide the clamp onto it. The clamp should sit loosely at first—you'll tighten it later. Make sure the "open" side of the clamp (where it attaches to the aluminum profile) is facing the direction of the profile. For example, if the profile is to the right of the pipe, the clamp's mounting plate should face right. Wiggle the clamp a little to ensure it's centered on the pipe—off-center clamps create uneven stress, which can loosen over time.
Step 2: Align the Clamp with the Aluminum Profile
Hold the lean pipe (with the clamp) up to the aluminum profile, lining up the clamp's mounting plate with the pencil marks you made earlier. The plate should sit flat against the profile—no gaps! If it's tilting, gently twist the pipe until the clamp is straight. Now, take your level and place it across the lean pipe. The bubble should sit in the middle—this means the pipe is horizontal, and the clamp isn't skewed. If the bubble is off, nudge the pipe up or down until it's level, then hold it steady with one hand.
Step 3: insert the Bolts into the Aluminum Profile's T-Slots
Most lean pipe clamp B models come with two bolts that slide into the aluminum profile's T-slots. Take one bolt and slide it into the top T-slot of the profile, aligning it with the top hole on the clamp's mounting plate. Do the same with the second bolt in the bottom T-slot, lining it up with the bottom hole. Push the bolts in until they're flush with the profile—you should feel them "click" into place in the T-slot, which means they won't slide out while you work.
Step 4: Hand-Tighten the Bolts to Secure the Clamp
With one hand holding the pipe steady, use your hex key to start tightening the bolts into the clamp's mounting plate. Turn them clockwise until they're snug—but don't crank them yet! You want the clamp to stay in place, but still be able to adjust it slightly if needed. Once both bolts are hand-tight, double-check the level on the lean pipe. If it's shifted, loosen the bolts a quarter-turn, realign, and retighten by hand.
Step 5: Tighten the Clamp Around the Lean Pipe
Now, focus on the part of the clamp that wraps around the lean pipe. Most clamps have a small bolt or lever here—turn it clockwise with your hex key. You'll feel resistance as the clamp's teeth dig into the pipe. Tighten it until you can't twist the pipe by hand—about 2-3 full turns after it starts to grip. Be careful not to overtighten! Stripping the bolt here means you'll need a new clamp, so stop if you feel the bolt getting stuck.
Step 6: Final Tightening and Stability Check
Go back to the bolts attaching the clamp to the aluminum profile. Using your hex key (or wrench, if needed), give each bolt a final 1/4-turn clockwise. This "snugging up" ensures the clamp won't shift under weight. Now, give the lean pipe a gentle shake—side to side, up and down. It should feel solid, with no wobble. If it moves, check the bolts: maybe the T-slot bolts are loose, or the pipe clamp bolt needs another turn. If the pipe twists, the clamp might be off-center—loosen the pipe bolt, realign, and retighten.

Troubleshooting: Common Issues and How to Fix Them
Even with careful prep, things can go wrong. Here's how to solve the most common lean pipe clamp B installation headaches:
| Issue | Why It Happens | Fix |
|---|---|---|
| Clamp slides on the lean pipe | Teeth on the clamp are dirty or worn; pipe is greasy; clamp bolt not tight enough. | Clean the pipe and clamp teeth with a cloth. replace the clamp if teeth are worn. Tighten the pipe bolt an extra 1/4-turn (but don't strip it). |
| Clamp tilts on the aluminum profile | Bolts in T-slots are misaligned; clamp mounting plate is bent. | Loosen bolts, realign the clamp with the level, and retighten. If the plate is bent, gently straighten it with pliers (or replace the clamp). |
| Bolts won't tighten in T-slots | Debris in T-slots; bolts are the wrong size; T-slot is damaged. | Clean T-slots with a screwdriver. Check bolt size (most use M5 for 4040 profiles). If the slot is damaged, use a different slot on the profile. |
| Clamp feels "spongy" when shaken | Both pipe and profile bolts are under-tightened; clamp is cracked. | Tighten both sets of bolts. Inspect the clamp for cracks—if found, replace immediately (cracked clamps are unsafe). |

Pro Tips for Long-Lasting Performance
Want your lean pipe clamp B to outlast the workbench it's attached to? Try these expert tricks:
- Use Thread Locking Fluid (Sparingly): For clamps in high-vibration areas (like near conveyor belts), add a drop of blue thread locker to the bolts before tightening. It prevents loosening but is easy to remove later if you need to adjust the setup.
- Check Tightness Monthly: Lean systems get jostled daily. Spend 2 minutes each month tightening clamp bolts—this small step prevents big failures.
- Pair with Quality Lean Pipe Joints: The clamp is only as strong as the joints connecting the lean pipe to other components. Use heavy-duty lean pipe joints (like 90° fixed joints) to reduce stress on the clamp.
- Don't Overload the Clamp: Every clamp has a weight limit (usually 50-80kg). Check the specs, and don't stack heavy tools or materials beyond that—overloading bends the clamp and weakens the grip.
- Match Clamp to Pipe Material: Using a steel clamp on an aluminum pipe? No problem. But if you're using a plastic-coated lean pipe, avoid overtightening the clamp—it can crack the plastic coating, exposing the pipe to rust.
From Clamp to System: Building a Lean Workbench
A single lean pipe clamp B is just a part—but when you combine multiple clamps, aluminum profile, lean pipe, and other components, you get a full lean system. Let's say you're building a basic workbench (like "Workbench E (single deck-without caster)" from many supplier catalogs). Here's how the clamp fits in:
The workbench has four vertical aluminum profile legs. Between them, horizontal lean pipes run front-to-back and side-to-side, held in place by lean pipe clamp Bs. Each shelf (the "single deck") is supported by clamps attaching the shelf's frame to the vertical legs. Add a few lean pipe joints to connect the horizontal pipes at the corners, and you've got a sturdy, customizable workbench—all thanks to properly installed clamps.
If you later add caster wheels (using caster accessories like mounting plates and bolts), the clamps ensure the legs stay rigid, even when the bench is rolled around. And if you need to reconfigure the bench (taller shelves, extra supports), just loosen the clamps, adjust, and retighten—no need for cutting or welding. That's the beauty of lean systems: flexibility, all starting with a simple clamp.
Wrapping Up: Your Clamp, Your Lean Success
Installing a lean pipe clamp B might seem small, but it's the foundation of a reliable lean system. Take the time to prep, align, and tighten properly, and you'll avoid wobbly shelves, stuck conveyor parts, or collapsed racks. Remember: a well-installed clamp isn't just about stability—it's about making your workflow smoother, your team more efficient, and your facility truly "lean."
Now go grab your tools, and start building. And if you run into trouble? Refer back to this guide—we've got your back. Here's to clamps that stay tight, systems that work, and a workspace that keeps up with you.