- Company Articles
- Products and Technology
- Installation And Maintenance
- Step-by-Step: Installing Castor Installation Base on Turnover Carts for Medical Industry

Step-by-Step: Installing Castor Installation Base on Turnover Carts for Medical Industry
Related Product
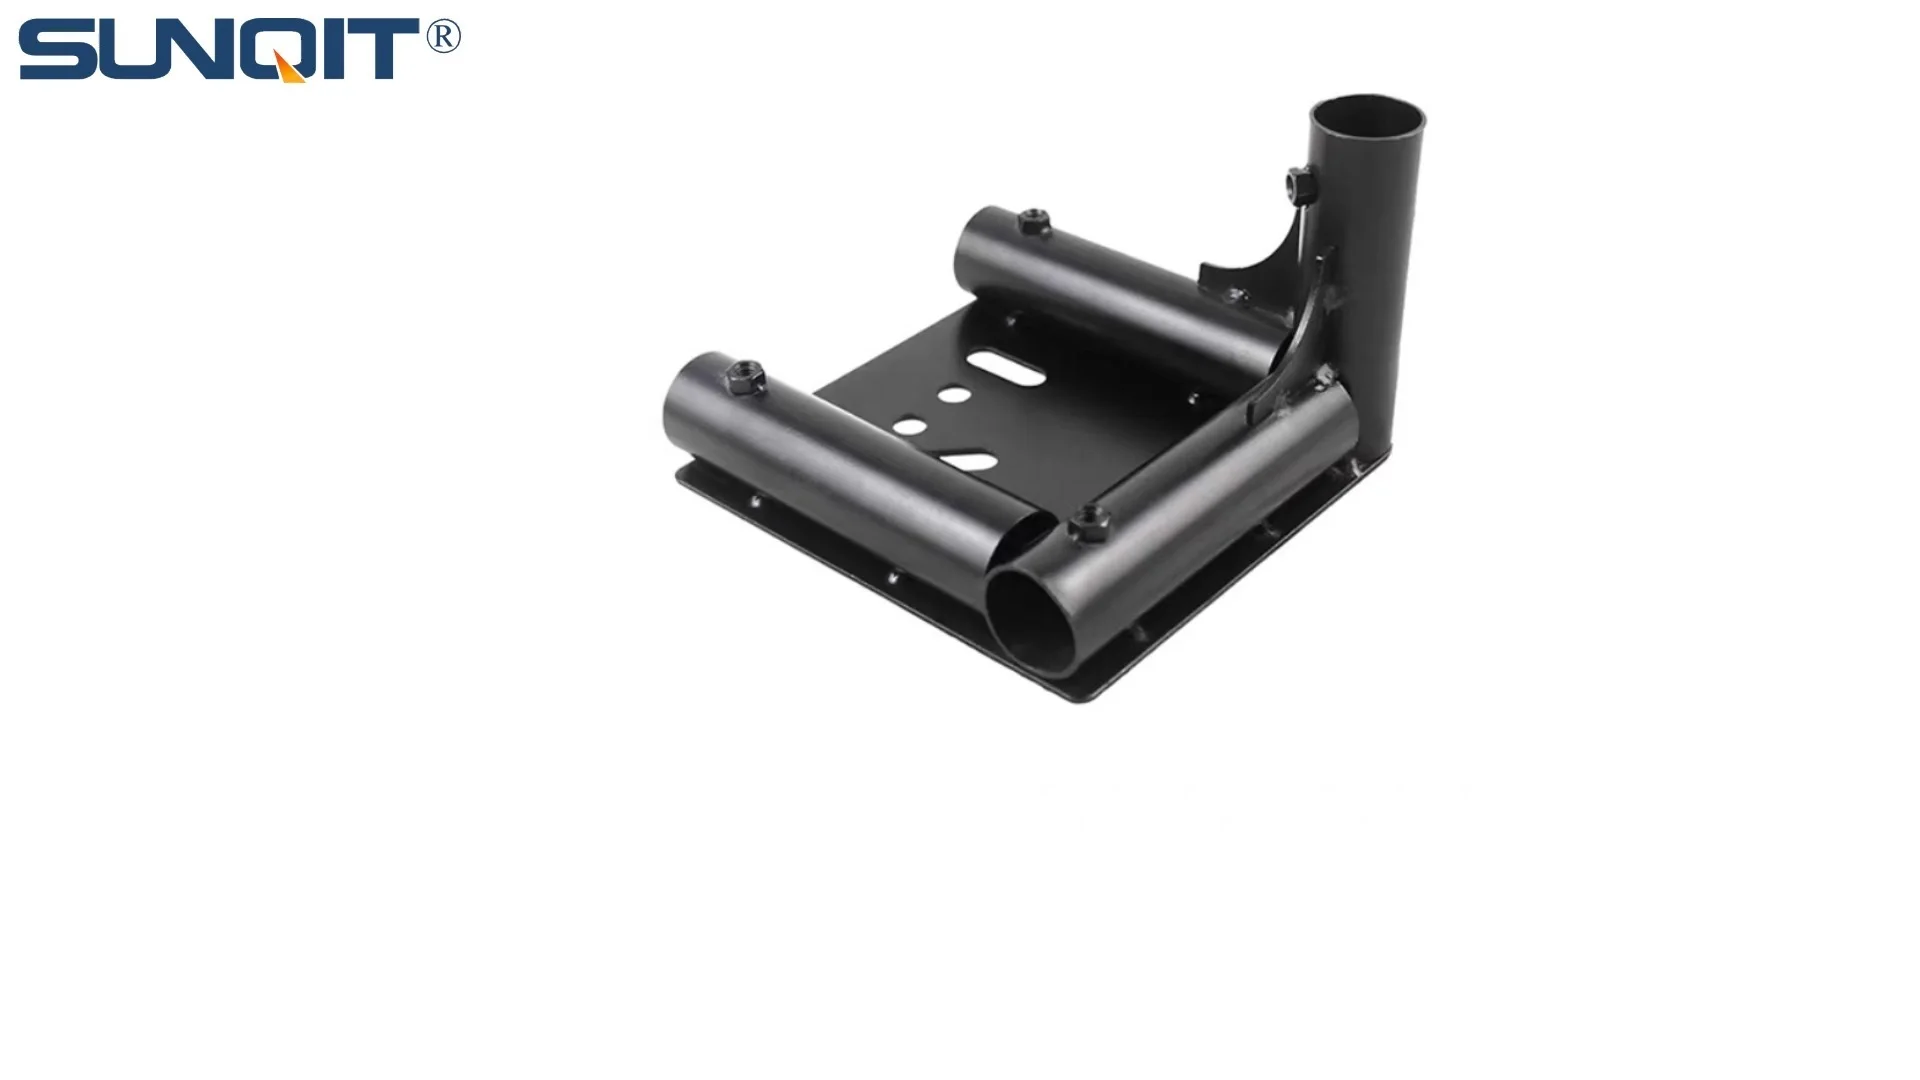
Castor Installation Base
Pipe fitting castor installation base,Well made, precise and strong. Made of high quality of steel,black painting surface treatment for greater resistance to corrosion. It is used for castor or foot lever connection with lean pipe.
Ensuring smooth, safe movement for critical healthcare supplies
Introduction: The Unsung Hero of Medical Logistics
Picture this: It's 3 AM in a busy hospital. A nurse sprints down the corridor, pushing a turnover cart loaded with emergency meds for a patient in critical condition. The cart glides silently, no wobbles, no sticking wheels—just smooth, steady movement. Behind that seamless motion? A well-installed castor installation base, paired with reliable caster wheels and accessories. In the medical world, where every second counts and safety is non-negotiable, the humble turnover trolley and rack isn't just a piece of equipment—it's a lifeline.
Whether it's transporting sterile instruments to an operating room, lab samples to a testing facility, or linens to patient rooms, these carts are the workhorses of healthcare logistics. But their effectiveness hinges entirely on one component: the base that connects the cart to its wheels. A loose castor base can lead to spills, delays, or even accidents. A misaligned one? It might jam halfway down a hallway, forcing staff to waste precious time maneuvering it free. That's why installing the castor installation base correctly isn't just a "nice-to-have"—it's a critical step in keeping healthcare operations running safely and efficiently.
In this guide, we'll walk through the process of installing a castor installation base on a medical turnover cart, step by step. We'll cover everything from prepping your tools to testing the finished cart, with tips gleaned from years of working with healthcare facilities to optimize their material handling. Whether you're a facility manager, a maintenance tech, or someone tasked with assembling new equipment, this guide will help you ensure your carts roll smoothly, reliably, and safely—because in healthcare, there's no room for "good enough."
Step 1: Pre-Installation Preparation – Setting Yourself Up for Success
Before you even pick up a wrench, preparation is key. Rushing into installation without the right tools or checks is a recipe for mistakes—and in a medical setting, mistakes can have serious consequences. Let's break down what you'll need to gather and inspect before getting started.
Tools and Materials You'll Need
First, round up your supplies. Having everything within arm's reach saves time and frustration. Here's a quick checklist:
| Tool/Material | Purpose | Pro Tip |
|---|---|---|
| Socket Wrench Set | Tightening bolts on the castor installation base and caster wheels | Use a torque wrench if available to avoid over-tightening (common in medical equipment!) |
| Phillips and Flathead Screwdrivers | Loosening packaging, adjusting small screws on caster accessories | Magnetic tips help prevent dropping screws into hard-to-reach cart corners |
| Level (2ft or longer) | Ensuring the castor base is mounted evenly to prevent cart wobble | A digital level gives precise readings—worth the investment for medical gear |
| Cleaning Supplies (Isopropyl Alcohol, Lint-Free Cloths) | Wiping down the cart frame and castor base to remove dust, grease, or debris | Medical environments demand sterility—don't skip this step! |
| Replacement Bolts/Washers (Stainless Steel) | Backups in case original hardware is stripped or missing | Stainless steel resists corrosion, critical for carts near sinks or cleaning stations |
| Safety Gloves and Goggles | Protecting hands from sharp metal edges on the cart or castor base | Disposable nitrile gloves work well and keep surfaces sterile |
Safety First: Inspect Your Workspace
Next, set up a clean, well-lit workspace. If you're assembling the cart in a storage room or maintenance area, clear clutter to avoid tripping hazards. If you're working near patient areas, post a "Caution: Equipment Maintenance" sign to alert staff. Remember: a wobbly ladder or dim lighting increases the risk of mistakes. Take 5 minutes to organize—your future self (and the nurses who'll use the cart) will thank you.
Inspect the Parts: Don't Assume "New" Means "Perfect"
Even brand-new castor installation bases and caster accessories can have defects. Open the packaging and check for:
- Cracks or dents in the castor installation base (these weaken the structure)
- Bent or stripped bolt holes on the base or cart frame
- Damaged caster wheels (e.g., cracks in the rubber, seized bearings)
- Missing caster accessories (like locking pins or washers—common in bulk shipments)
I once worked with a hospital that skipped this step, only to find a hairline crack in the castor base after installing it. The cart failed a load test, and they had to start over. Save yourself the hassle: inspect first!

Step 2: Inspecting the Turnover Trolley Frame – The Foundation Matters
Now that you're prepped, turn your attention to the turnover trolley itself. The frame is the foundation for your castor installation base—if it's damaged or uneven, even the best base won't perform. Let's dive in.
Check for Structural Damage
Flip the cart upside down (gently!) to examine the bottom frame where the castor base will mount. Look for:
- Rust or corrosion (especially if the cart was stored in a damp area)
- Bent metal rails or warped mounting plates (common if the cart was dropped during delivery)
- Loose or missing welds (a major red flag—welds should be smooth and crack-free)
Why does this matter? A warped frame will cause the castor base to sit unevenly, leading to wobbly movement and premature wear on caster wheels. If you spot damage, contact your supplier immediately—don't try to "fix" it with bending or makeshift solutions. Medical carts need to meet strict safety standards!
Clean the Mounting Surface
Even if the frame looks intact, it's probably covered in dust, factory grease, or packing residue. Grab your isopropyl alcohol and lint-free cloth, and give the mounting area a thorough wipe-down. Pay extra attention to the bolt holes—debris here can prevent bolts from seating properly, leading to loosening over time.
Pro tip: Use a pipe cleaner or small brush to clean out the bolt holes. I've seen dirt clogs cause bolts to "feel" tight when they're actually just stuck—then the base comes loose a week later. Not ideal when the cart is carrying blood samples!
Measure Mounting Points to Ensure Alignment
Take a tape measure and check the distance between the mounting holes on the cart frame. Compare this to the hole pattern on your castor installation base. They should match exactly! If the holes are off by even 1/8 inch, the base won't mount squarely, and you'll struggle to tighten bolts without stripping threads.
If the holes don't align, double-check that you have the right base for your turnover trolley model. Medical carts often have custom frames, so mixing bases (e.g., using a "universal" base on a specialized medication cart) is a common mistake. When in doubt, check the cart's manual or contact the manufacturer.

Step 3: Prepping the Castor Installation Base – Ready, Set, Align
With the cart frame prepped, it's time to focus on the star of the show: the castor installation base. This metal plate (or set of plates) connects the cart to the caster wheels, so getting it ready is crucial.
Clean and Inspect the Base
Just like the cart frame, the castor base needs a once-over. Wipe it down with alcohol to remove fingerprints, oil, or shipping residue. Then, check for:
- Burrs or sharp edges (sand them down with fine-grit sandpaper to avoid cutting hands during installation)
- Distorted bolt holes (if the base was bent in shipping, holes may be oval instead of round—replace the base!)
- Missing or damaged mounting tabs (these secure the base to the cart frame)
One hospital I advised had a base with a bent tab, and they tried to hammer it straight. Big mistake—the tab snapped during use, and the cart collapsed. Learn from their error: if the base is damaged, replace it.
Test-Fit the Base on the Cart Frame
Before tightening any bolts, do a dry fit: place the castor installation base on the cart frame and line up the bolt holes. Does it sit flat? Are there gaps between the base and frame? If yes, double-check for debris or a warped frame (we covered that in Step 2!).
A tip from the pros: Use temporary bolts (or even screws) to hold the base in place during the test fit. This lets you adjust alignment without committing to permanent bolts. Once it sits flat and holes align, you're good to go.

Step 4: Attaching the Castor Installation Base – Tight, Level, and Secure
Now comes the moment of truth: mounting the castor base to the cart. This step requires patience—rushing leads to uneven bases, wobbly carts, and headaches down the line.
Start with Hand-Tightening Bolts
insert the bolts through the castor base and into the cart frame's mounting holes. Hand-tighten them first—this lets you adjust alignment before fully securing. Use washers if included (they distribute pressure and prevent the bolt head from digging into the base).
Pro tip: Tighten bolts in a "star" pattern (like tightening lug nuts on a car). This ensures even pressure, preventing the base from warping. For example, if there are 4 bolts, tighten the top-left, then bottom-right, then top-right, then bottom-left. Simple, but effective!
Use a Level to Ensure Even Mounting
Once bolts are hand-tight, place your level across the castor base. Is it perfectly horizontal? If one side dips, gently loosen the bolts and adjust the base until the bubble is centered. A level base prevents uneven weight distribution, which can cause caster wheels to wear out faster or the cart to tip when loaded.
Medical carts often carry heavy loads—think 50+ pounds of meds or equipment. An unlevel base will make the cart pull to one side, straining the wheels and making it hard to push. Trust me, nurses don't have time to fight a stubborn cart during a code blue.
Tighten Bolts to Spec (and Don't Overdo It!)
Now, grab your socket wrench and tighten the bolts. If your cart came with a manual, check for torque specs (e.g., "25 ft-lbs"). If not, aim for "snug but not stripped"—you should feel resistance, but the bolt shouldn't bend or the threads shouldn't strip.
Over-tightening is a common mistake. I've seen techs crank bolts until they snap, leaving the base loose. If you're unsure, stop when the bolt head is flush with the base and doesn't wiggle. Better to check later and tighten a bit more than to break something!
Step 5: Installing Caster Wheels and Accessories – The Final Touch
With the castor installation base secured, it's time to add the wheels and caster accessories. This is where the cart starts to feel "finished"—and where the magic of smooth movement happens.
Choose the Right Caster Wheels for Medical Use
Medical environments have unique needs: floors are often smooth (linoleum) but may have transitions to carpet (in offices or waiting areas). Caster wheels should:
- Be non-marking (no scuffing floors!)
- Have a locking mechanism (critical for keeping the cart stationary during loading/unloading)
- Roll smoothly over both hard and soft surfaces
Most medical carts use 3-4 inch caster wheels with rubber or polyurethane treads. Avoid plastic wheels—they're noisy and don't absorb shocks as well, which can jostle fragile samples.
Attaching the Wheels to the Castor Base
Line up each caster wheel with the mounting holes on the castor installation base. insert the axle bolt (usually included with the wheel) through the wheel and base, then secure with a nut. Tighten until the wheel spins freely but doesn't wobble side-to-side.
Don't forget the caster accessories! Many wheels come with brake levers, dust covers, or bearing protectors. Install these now—they prevent debris from gumming up the wheel mechanism, which is a big deal in dusty storage rooms.
Pro tip: Test the brake before fully tightening. Step on the lever—does it lock the wheel solidly? If it slips, adjust the position of the brake pad (often a small screw on the wheel housing) until it grips firmly.
Step 6: Post-Installation Testing – Make It Roll (and Stop!) Like a Pro
You're almost done! Now it's time to test your handiwork. This step ensures the cart is safe, stable, and ready for the chaos of a busy hospital.
Basic Rolling Test
Flip the cart right-side up (ask for help if it's heavy!) and give it a gentle push. How does it feel? It should roll smoothly, with no jerking or squeaking. If it pulls to one side, check:
- Are the caster wheels all facing the same direction? (Swivel wheels can get twisted during installation)
- Is the castor base level? (A quick level check can save you from rework!)
- Are any wheels rubbing against the cart frame? (Adjust the wheel position if needed)
Load Testing (Critical for Medical Use!)
Medical carts carry heavy loads, so simulate real-world use. Stack the cart with items it might typically transport: for a medication cart, use water bottles (each 16oz bottle = ~1lb) to mimic pill bottles. Aim for 75-100% of the cart's rated capacity (check the manual!).
Push the loaded cart across different floor surfaces—linoleum, carpet, even a small threshold (like between a hallway and patient room). Does it still roll smoothly? Do the brakes hold when engaged? If the cart wobbles under load, the castor base may be loose—double-check your bolts.
Safety Checks
Finally, do a safety once-over:
- Shake the cart side-to-side—no rattling or loose parts allowed
- Lock the brakes and try to push the cart—it shouldn't budge
- Inspect all bolts and caster accessories for tightness
One last thing: Label the cart with the installation date and your initials. This helps maintenance teams track when it was last serviced—a small detail that makes a big difference in long-term care.
Step 7: Maintenance Tips – Keeping Your Cart Rolling for Years
Congratulations—your turnover cart is installed and ready to go! But the work doesn't stop here. Regular maintenance keeps it performing like new, even in the busiest hospitals.
Weekly Inspections
Have staff do a quick check:
- Are caster wheels spinning freely? (Lubricate with silicone spray if they're squeaking)
- Are brakes working? (Tighten brake pads if they slip)
- Is the castor base still tight? (A quick wrench check on bolts prevents loosening)
Monthly Deep Cleans
Wipe down the cart and caster wheels with disinfectant (critical for infection control!). Pay attention to the castor base—dust and grime can build up here, leading to corrosion. Remove the wheels occasionally to clean out hair, lint, or thread (yes, thread! It wraps around axles and causes wheels to seize).
replace Worn Parts Proactively
Caster wheels and accessories wear out over time. If you notice:
- Flat spots on wheels (from sitting in one place too long)
- Sticky brakes
- Cracks in the castor base
Conclusion: Smooth Rolling = Better Care
Installing a castor installation base on a medical turnover cart might seem like a small task, but it's one that impacts every aspect of healthcare logistics. A well-installed base means nurses spend less time fighting with stuck carts and more time with patients. It means lab techs can transport samples without spills, and pharmacists can restock meds efficiently.
By following these steps—prepping carefully, inspecting thoroughly, and testing rigorously—you're not just building a cart. You're contributing to a safer, more efficient healthcare environment. And in the end, that's what matters most.
So go ahead—roll that cart out with confidence. You've earned it.