- Company Articles
- Products and Technology
- Installation And Maintenance
- Swivel Stem Caster Wheel with Brake Maintenance: Tips to Extend Lifespan

Swivel Stem Caster Wheel with Brake Maintenance: Tips to Extend Lifespan
Related Product
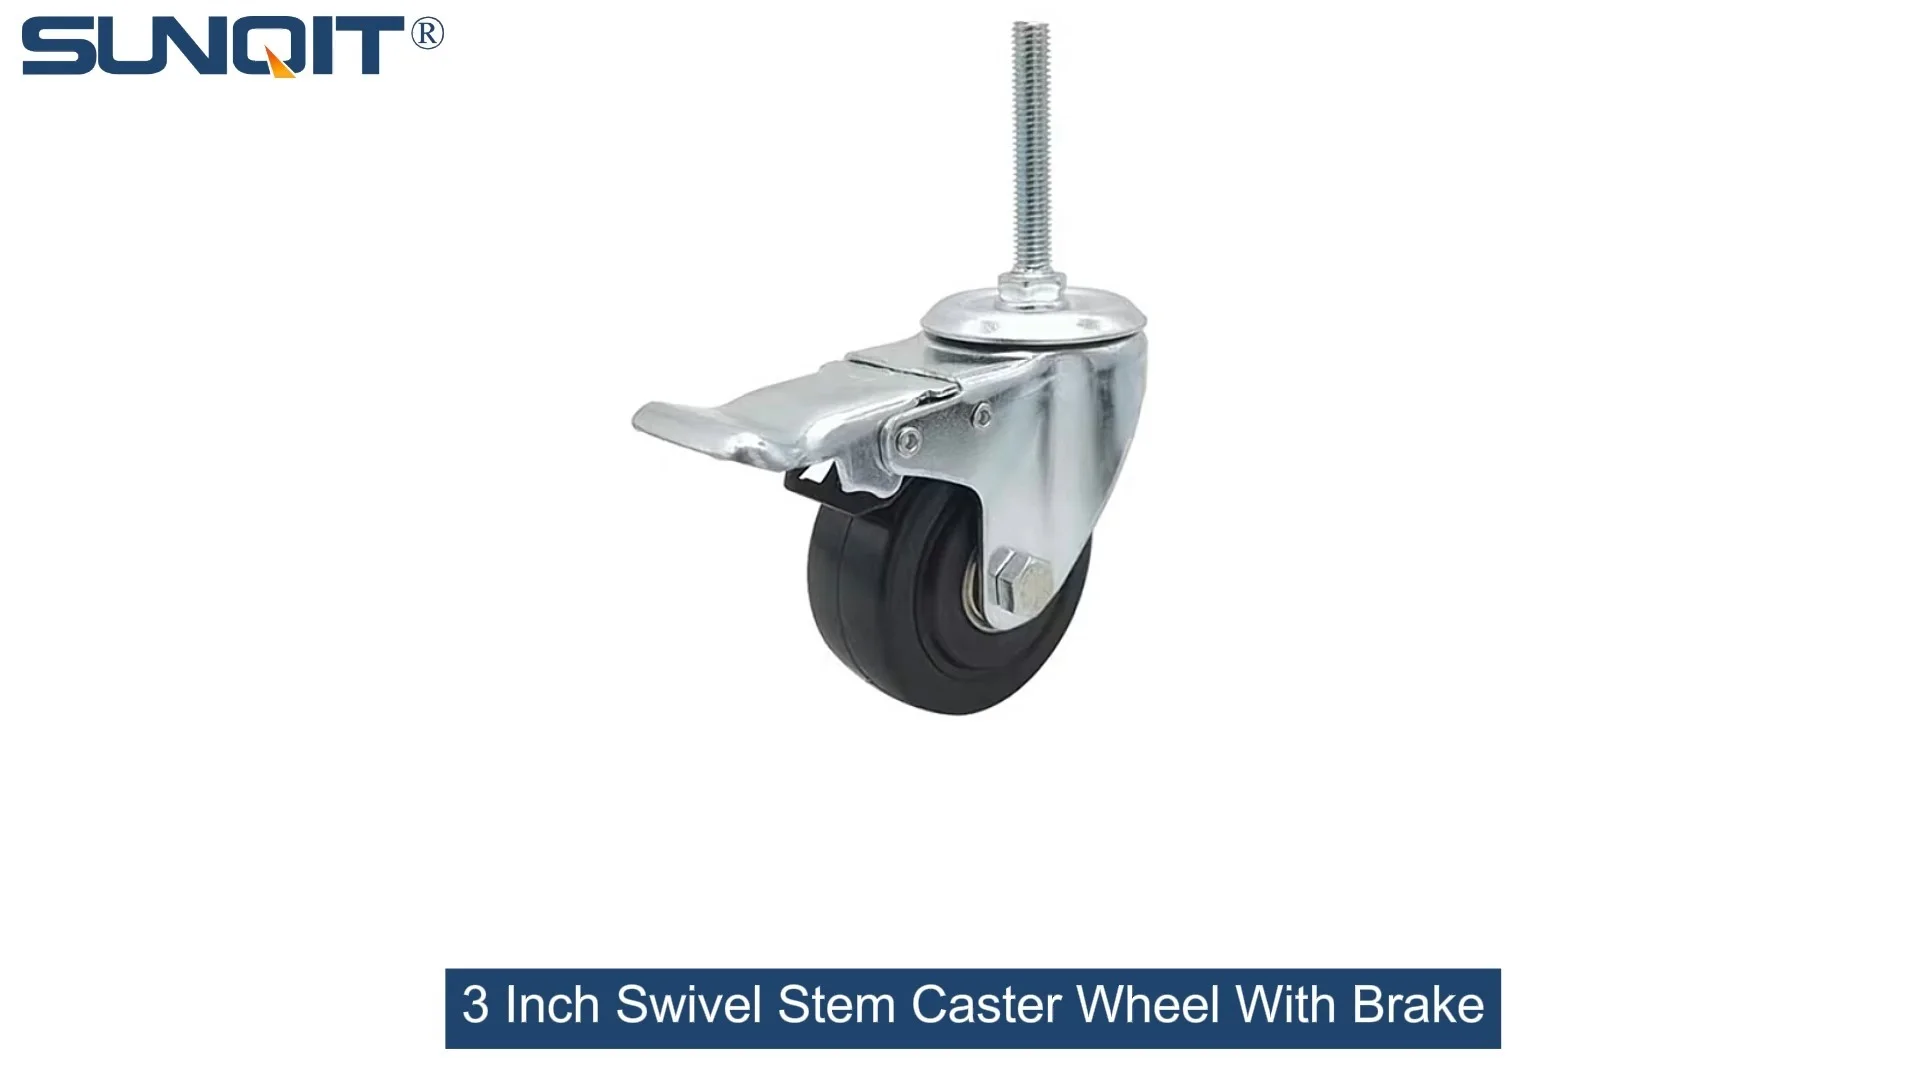
Swivel Stem Caster Wheel with Brake
360 Degree Swivel Stem Caster with brake. Threaded-post mount design, castors diameter 3 inch.Each swivel caster wheels loading 70KGS. Heavy enough and widely suit for carts, chairs, cabinet, flow rack, workbench, turnover rolley.
Let's talk about something that's probably rolling around your workspace right now—caster wheels. They're the unsung heroes of any busy factory, workshop, or warehouse. Think about it: that workbench you push to rearrange your assembly line? It's on casters. The turnover trolley ferrying parts from the stockroom to the production floor? Casters again. And when those casters have a swivel stem and a brake? They're not just wheels—they're the control center of mobility and stability. But here's the thing: even the best caster wheels won't last forever if you ignore them. Today, we're diving deep into maintaining swivel stem caster wheels with brakes, because keeping them in top shape isn't just about saving money (though that's a big plus). It's about keeping your workflow smooth, your team safe, and your operations running like a well-oiled machine. Let's get started.
Why Bother with Caster Maintenance? Spoiler: It's Not Just About the Wheels
First off, let's get real: when was the last time you stopped to look at your caster wheels? If you're like most people, it's probably when one starts squeaking, wobbling, or—worst case—locks up mid-roll. But waiting for a problem is like waiting for a flat tire before checking your air pressure. By then, you're already dealing with downtime, frustrated team members, and maybe even a safety hazard. Swivel stem casters with brakes are especially important because they do double duty: they let you move heavy equipment with ease, and then lock it down tight when you need stability. A faulty brake? That workbench might drift during a precision assembly. A worn wheel? Pushing that turnover trolley suddenly feels like dragging a boulder. And let's not forget the stem itself—the part that connects the wheel to the equipment. If that loosens, you're looking at a wobbly mess that could damage both the caster and whatever it's attached to.
Here's another angle: caster wheels aren't cheap, and replacing them frequently adds up. A little maintenance now can extend their lifespan by years. Plus, well-maintained casters reduce strain on your team. Pushing a trolley with smooth-rolling wheels is way easier than wrestling with one that's stuck—less fatigue, fewer injuries, and more time spent on actual work. So, maintenance isn't just about the wheels. It's about keeping your entire operation efficient, safe, and cost-effective. Got it? Good. Now, let's break down how to do it right.
Step 1: Start with the Basics—Regular Inspection
Inspection is the foundation of caster maintenance. You don't need fancy tools—just a few minutes and a keen eye. Let's walk through what to check, and when to check it. Aim for a quick visual inspection every week, and a more thorough once-over once a month. Trust me, those few minutes will save you hours of hassle later.
What to Look For During Inspection
1. Debris and Gunk Buildup : Casters roll through all kinds of environments—dust, metal shavings, plastic bits, even spilled liquids. Over time, that gunk gets stuck in the wheel bearings, around the swivel stem, or between the wheel and the brake mechanism. If you see hair, threads, or chunks of debris, that's your first clue something's off. For example, a plastic roller track guide rail might shed small plastic bits that get caught in the wheel grooves—annoying, but easy to fix if you catch it early.
2. Wheel Condition : Take a close look at the wheel itself. Are there cracks, chunks missing, or uneven wear? Rubber wheels might harden or develop flat spots if left in one position too long. Plastic wheels can crack if they hit heavy objects. Steel wheels? They might rust if exposed to moisture. Even small damage can throw off the caster's balance, leading to squeaking or uneven rolling.
3. Brake System Check : The brake is what makes these casters indispensable. Test it: lock the brake and try to move the equipment. It should stay put—no sliding, no rocking. Then unlock it and make sure it releases smoothly. Look at the brake pads (if it has them) for wear. If they're thin, cracked, or covered in debris, they won't grip properly. Also, check the brake lever or pedal—does it move freely, or is it sticky? A sticky brake could mean the mechanism is rusted or clogged.
4. Swivel Stem Tightness : The swivel stem is the part that lets the wheel rotate 360 degrees. Grab the wheel and try to wiggle it side to side. A little play is normal, but if it's loose enough to wobble significantly, the stem might be coming loose from the mounting plate. That's a big red flag—loose stems can cause the caster to detach, which is dangerous if the equipment is heavy.
5. Caster Accessories : Don't forget the small parts! Things like caster accessories—washers, nuts, or the mounting plate itself—can loosen over time. Check if the caster is securely bolted to the equipment. If the mounting plate is bent or cracked, that's a problem too—even a strong wheel won't perform if it's attached to a weak base.
Pro Tip: Keep a small notebook or a phone note to jot down inspection findings. Note which casters need attention, what issues you see, and when you checked them. Over time, you'll start to spot patterns—like a certain caster on the workbench near the door gets more debris because of foot traffic. That way, you can adjust your maintenance routine to target problem areas.

Step 2: Cleaning—Because Dirt is the Enemy of Smooth Rolling
Okay, so you've inspected your casters and found some gunk. Now what? Time to clean them. Cleaning might seem like a no-brainer, but there's a right way and a wrong way, depending on the wheel material and the type of debris. Let's break it down.
Tools You'll Need
You don't need a garage full of equipment. Here's a basic toolkit: a stiff-bristled brush (an old toothbrush works great for small crevices), a rag or paper towels, mild soap (dish soap is fine), water, and maybe a can of compressed air for hard-to-reach spots. For sticky or greasy debris, a degreaser (like WD-40 or a citrus-based cleaner) can help, but be careful—some harsh chemicals can damage rubber or plastic wheels.
Cleaning Different Wheel Types
Rubber Wheels : Rubber is soft, so avoid abrasive brushes or harsh chemicals. Start by brushing off loose dirt with a soft-bristled brush. Then mix a little mild soap with warm water, dampen a rag, and wipe the wheel down. Pay extra attention to the treads—debris loves to hide there. If there's sticky residue (like oil or tape), use a small amount of degreaser on a rag, but rinse it off afterward to prevent the rubber from drying out.
Plastic Wheels : Plastic is more durable than rubber, but it can still scratch. Use a stiff-bristled brush to dislodge dirt from the treads, then wipe with soapy water. For stubborn grime, a toothbrush works wonders on the nooks and crannies. Avoid using hot water, as it might warp the plastic.
Steel or Metal Wheels : These are tough, so you can be a bit more aggressive. Use a wire brush to remove rust or caked-on debris (but go easy if the wheel has a coating). Soapy water will clean off most dirt, and a degreaser can tackle grease. After cleaning, dry the wheel thoroughly to prevent rust—moisture is steel's worst enemy.
Don't Forget the Swivel Stem and Brake
The wheel gets most of the attention, but the swivel stem and brake mechanism need love too. Use compressed air to blow out dust from the swivel joint—the part where the stem meets the wheel assembly. If you can't get to it with air, use a toothbrush to gently brush away debris. For the brake, wipe down the lever and the area around the brake pads. If the brake is sticking, a little cleaning might be all it needs—sometimes dirt builds up and prevents the pads from making full contact with the wheel.
Once everything is clean, dry all parts thoroughly. Moisture left on casters can lead to rust, mold, or slippery wheels. A quick wipe with a dry rag should do the trick.

Step 3: Lubrication—The Secret to Squeak-Free Rolling
Ever pushed a cart that squeaks like a mouse in a haunted house? Chances are, it needs lubrication. Lubrication reduces friction between moving parts—like the swivel stem, wheel bearings, and brake mechanism—keeping everything rolling smoothly and quietly. But not all lubricants are created equal, and where you apply them matters just as much as what you use.
Choosing the Right Lubricant
Here's a quick guide to common lubricants and when to use them:
- Graphite Powder : Great for metal-on-metal parts, like the swivel stem joint. It's dry, so it won't attract dirt, which is perfect for dusty environments. Avoid using it on rubber or plastic, though—it can degrade those materials.
- Silicone Spray : Ideal for rubber or plastic wheels and brake mechanisms. It's water-resistant and won't damage soft materials. Use it on the swivel stem if the caster is attached to a plastic workbench, for example.
- Lithium Grease : Heavy-duty and long-lasting, lithium grease is good for wheel bearings and high-load casters (like those on a turnover trolley carrying heavy parts). A little goes a long way—too much can attract dirt.
- WD-40 : Not technically a lubricant (it's a water displacer and light cleaner), but it can work in a pinch to loosen stuck parts. However, it evaporates quickly, so follow up with a proper lubricant if you use it.
Where to Apply Lubricant
Swivel Stem Joint : This is the part that lets the caster rotate. Apply a small amount of lubricant (graphite or silicone, depending on materials) where the stem meets the yoke (the U-shaped part that holds the wheel). Rotate the caster a few times to work the lubricant in.
Wheel Bearings : If your caster has sealed bearings, you might not need to lubricate them—they're pre-greased and designed to be maintenance-free. But if the bearings are open (you can see the metal balls or rollers), apply a dab of lithium grease. Spin the wheel to distribute it evenly.
Brake Mechanism : The brake lever and pivot points can get sticky. A light spray of silicone lubricant will help the lever move smoothly. Avoid getting grease on the brake pads, though—grease reduces friction, which is the opposite of what you want for braking!
Pro Tip: Lubricate casters after cleaning—you don't want to trap dirt under the lubricant. And remember: more isn't better. Excess lubricant will just drip off or attract dust, turning into a gritty mess. A thin, even layer is all you need.

Step 4: Brake Maintenance—Because "Locked" Should Mean "Locked"
The brake is what turns a mobile caster into a stationary one, and if it's not working, that stability goes out the window. Let's say you're using a workbench with swivel stem casters—you lock the brakes to keep it steady during assembly, but if the brake slips, the bench moves, and suddenly that precision part you're installing is misaligned. Not good. So, how do you keep the brake in top shape?
Adjusting the Brake Tension
Most swivel stem casters with brakes have an adjustment mechanism—usually a nut or a screw near the brake lever. If the brake feels loose (it doesn't lock the wheel tightly) or too tight (it's hard to engage), adjusting this can help. Here's how: engage the brake, then look for a small nut on the brake assembly. Turn it clockwise to tighten the brake (more tension) or counterclockwise to loosen it (less tension). Test it after each adjustment—you want the brake to engage firmly but not require superhuman strength to lock or unlock.
Replacing Worn Brake Pads
Brake pads are the unsung heroes of the brake system—they're the part that presses against the wheel to stop it from rolling. Over time, they wear down, get glazed (smooth and shiny from heat), or crack. If your brake isn't gripping like it used to, check the pads first. To replace them: first, remove the caster from the equipment (you might need a wrench for this). Then, look for the screws or clips holding the brake pad in place. Remove them, take out the old pad, and pop in the new one. Tighten the screws back up, reattach the caster, and test the brake. Pro tip: Keep a few spare brake pads on hand—they're cheap, and having them ready means you won't have to wait for a replacement part.
Cleaning the Brake Contact Area
Even if the brake pads are in good shape, the wheel's contact area (where the pad presses) can get dirty or greasy. A clean surface means better grip. Wipe the wheel's braking surface with a rag and a little degreaser to remove oil, dirt, or grime. Dry it thoroughly before testing the brake—you'll be surprised how much better it works with a clean surface.
Step 5: Handling Wear and Tear—When to Repair vs. replace
No matter how well you maintain your casters, they'll eventually wear out. The key is knowing when to repair a part and when to replace the whole caster. Let's break down common wear issues and what to do about them.
Worn Wheels
Wheels take the brunt of the abuse—they roll over rough floors, hit curbs, and carry heavy loads. Signs of wear include: flat spots (from sitting in one place too long), cracks, chunking (bits missing from the tread), or uneven wear (one side is thinner than the other). If the wheel is cracked or chunked, replace it—those damages can't be fixed, and they'll only get worse. For flat spots or uneven wear, sometimes rotating the wheel (if it's reversible) can help, but that's a temporary fix. Eventually, you'll need a new wheel. Most casters let you replace just the wheel, not the entire assembly—check if your caster has a removable wheel (look for a pin or a nut holding it in place).
Loose or Bent Stems
The swivel stem is the backbone of the caster. If it's loose, tighten the mounting bolts first—sometimes that's all it takes. If tightening doesn't work, or if the stem is bent, cracked, or stripped (the threads are worn), it's time to replace the caster. A bent stem will cause the wheel to wobble, leading to uneven wear and potential failure. Don't try to bend it back—you'll weaken the metal, making it more likely to break later.
Faulty Swivel Joints
If the caster won't swivel smoothly, even after cleaning and lubricating, the swivel joint might be worn. The joint has bearings or races that can wear out over time. Some casters let you replace the swivel joint, but it's often easier (and more cost-effective) to replace the entire caster. If you're handy, check the manufacturer's instructions—some high-quality casters have replaceable joint parts.
When to replace the Whole Caster
Sometimes, it's better to cut your losses and replace the entire caster. Signs it's time: multiple parts are worn (e.g., wheel, stem, and brake all need repair), the caster is bent or damaged beyond repair, or it's an older model that's no longer safe (e.g., the brake design is outdated). When buying a new caster, match the size, load capacity, and stem type to the old one. And don't skimp on quality—investing in a durable caster now will save you money and hassle later.
Step 6: Proper Usage—Because Even the Best Casters Can't Survive Abuse
Maintenance is half the battle—the other half is using your casters properly. Even the most well-maintained caster will fail if you overload it, drag it over rough surfaces, or ignore the brake. Here are some simple habits to keep your casters happy:
Respect the Weight Limit
Every caster has a load capacity—usually listed on the manufacturer's label or in the product specs. Exceeding that limit is a recipe for disaster. A caster rated for 500 lbs shouldn't carry 600 lbs—overloading causes the wheel to wear faster, the stem to bend, and the brake to fail. If you're unsure of the weight, use a scale! It's better to be safe than to replace a caster (or worse, deal with an accident) because you guessed wrong.
Lock the Brake When Stationary
This seems obvious, but you'd be surprised how many people forget to lock the brake when they're working. If the equipment is supposed to stay still, lock the brakes! Not only does it prevent the equipment from drifting, but it also reduces stress on the caster—constant small movements (even from vibrations) can wear down the swivel joint and wheel bearings over time.
Avoid Dragging When Brakes Are Locked
We've all done it: you go to move a workbench, forget to unlock the brake, and start pulling anyway. The caster skids, making a terrible noise, and you end up yanking it free. Big mistake. Dragging a locked caster can tear up the wheel tread, damage the brake pad, and even bend the stem. Always unlock the brakes before moving—your casters (and your ears) will thank you.
Watch the Floor Surface
Casters are designed for specific floor types. Rubber wheels work great on concrete, but they'll wear quickly on rough asphalt. Plastic wheels are good for smooth floors but can crack on gravel. If your workspace has mixed floor types, consider casters with polyurethane wheels—they're durable and work on most surfaces. Also, keep floors clean! Loose screws, nails, or debris can get stuck in wheels, causing damage. A quick sweep or vacuum of high-traffic areas goes a long way.
Bonus: Caster Accessories and Extras That Make Maintenance Easier
Okay, so we've covered the basics—inspection, cleaning, lubrication, brake care, and handling wear. But there are a few caster accessories and related parts that can make your life easier and extend caster lifespan even more. Let's talk about them.
Adjustable Leveling Feet: Stability When You Need It
Here's a pro move: if you have equipment that stays in one place most of the time (like a workbench), consider adding adjustable leveling feet alongside the casters. Leveling feet let you lift the casters off the ground when the equipment is stationary, reducing wear on the wheels and brakes. They also add stability—no more wobbly workbench during precision tasks. Most leveling feet are easy to install: just drill a hole in the equipment base, screw in the foot, and adjust the height as needed. They're affordable, and they'll save your casters from unnecessary wear.
Caster Guards: Protecting Wheels from Debris
If your workspace is extra dusty or has a lot of loose debris (like a woodworking shop with sawdust), caster guards are a game-changer. These are plastic or metal shields that attach to the caster, blocking debris from getting into the wheel bearings and swivel joint. They're especially useful for casters on turnover trolleys that move through messy areas. Most guards are universal and easy to install with a few screws.
Replacement Parts Kits
Why wait for a single part to fail when you can have a kit on hand? Many caster suppliers sell replacement parts kits that include common items like brake pads, washers, nuts, and even small lubricant packets. Keep a kit in your toolbox, and you'll be able to fix most issues in minutes, not days. It's like a first-aid kit for your casters.
Maintenance Schedule Table: Your Caster Care Calendar
To make it easy, here's a quick-reference table for how often to perform each maintenance task. Adjust based on how heavily your casters are used—if they're on a turnover trolley that's used 10 times a day, you'll need to inspect and clean more often than casters on a workbench that moves once a week.
| Maintenance Task | Light Use (1-3 times/week) | Medium Use (daily) | Heavy Use (multiple times/day) |
|---|---|---|---|
| Visual Inspection | Monthly | Weekly | Daily |
| Cleaning | Quarterly | Monthly | Bi-weekly |
| Lubrication | Quarterly | Monthly | Bi-weekly |
| Brake Adjustment/Inspection | Quarterly | Monthly | Weekly |
| Wheel/Bearing Check | Semi-annually | Quarterly | Monthly |
Wrapping It Up: Your Casters Deserve Love Too
At the end of the day, swivel stem caster wheels with brakes are more than just parts—they're the backbone of your workspace mobility. Taking care of them isn't just a chore; it's an investment in your team's productivity, safety, and sanity. By following these tips—regular inspection, thorough cleaning, proper lubrication, brake maintenance, and smart usage—you can extend their lifespan by years, save money on replacements, and keep your operations running smoothly. Remember, a little attention now prevents big problems later. So, the next time you walk past that workbench or turnover trolley, take a second to look at the casters. Give them a quick wipe, check the brake, and maybe even a little lubricant. They'll roll better, last longer, and keep your workspace moving forward. Happy rolling!