- Company Articles
- Products and Technology
- Installation And Maintenance
- Troubleshooting Common Installation Mistakes with Three Way Aluminum Pipe Joints

Troubleshooting Common Installation Mistakes with Three Way Aluminum Pipe Joints
Related Product
Three Way Aluminum Pipe Joint
Aluminum 3 way pipe joint for 28mm aluminum pipe connection in 3 direction.
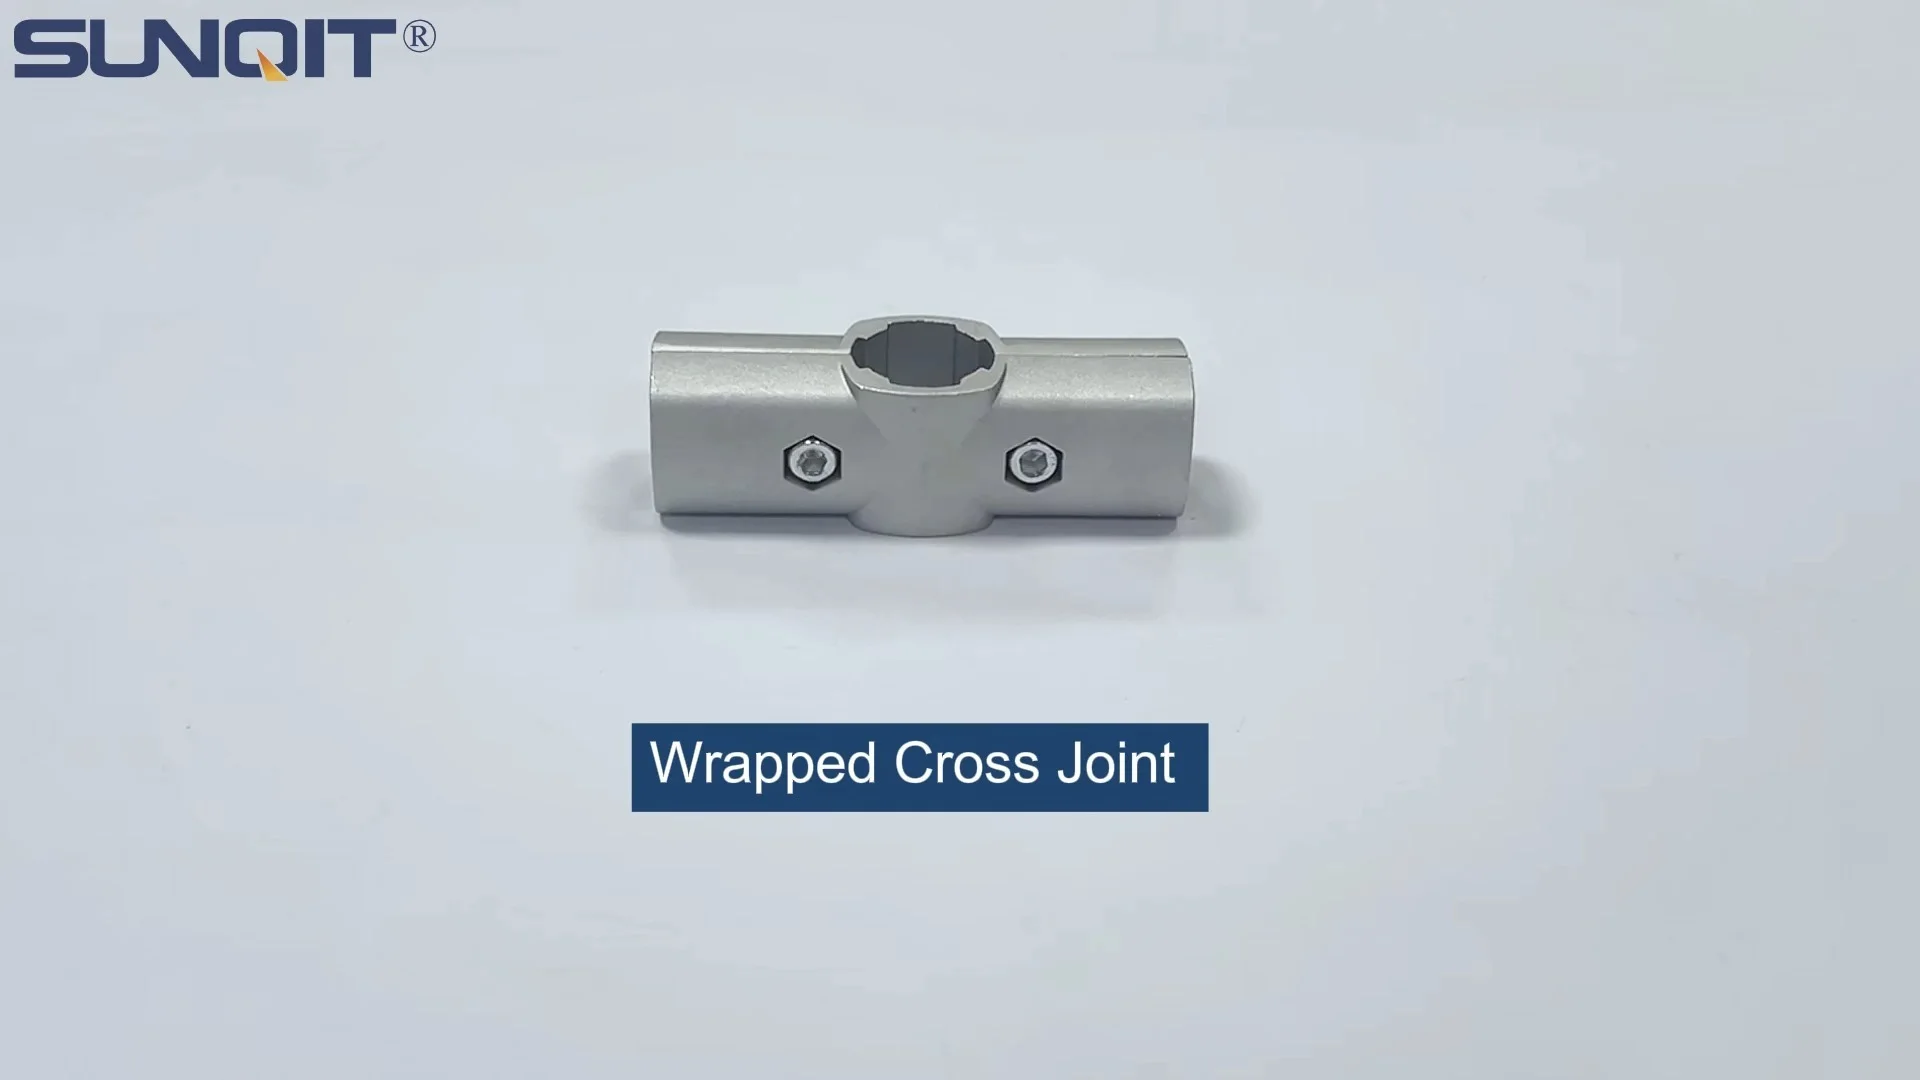
In the world of lean manufacturing and efficient workspace design, every component plays a quiet but critical role in keeping operations running smoothly. Among these unsung heroes are three way aluminum pipe joints —small, unassuming connectors that hold together everything from workbenches and material racks to assembly lines and flow racks. These joints are the backbone of modular aluminum profile systems, allowing teams to build, adapt, and reconfigure structures with ease. But here's the thing: even the sturdiest joints can fail if installed incorrectly. A wobbly workbench, a sagging material rack, or a misaligned conveyor—these aren't just minor nuisances. They disrupt workflow, compromise safety, and chip away at the efficiency that lean systems promise to deliver.
Whether you're a seasoned facility manager, a production supervisor, or a new technician tasked with assembling aluminum structures, understanding the common pitfalls of installing three way aluminum pipe joints is key. In this guide, we'll walk through the most frequent mistakes, why they happen, how to spot them, and—most importantly—how to fix and prevent them. We'll ground the advice in real-world scenarios, from assembling a basic workbench to constructing a multi-tiered material rack, and highlight how using the right aluminum pipe accessories and following best practices can make all the difference. Let's dive in.
Mistake #1: Ignoring Alignment—The "Close Enough" Trap
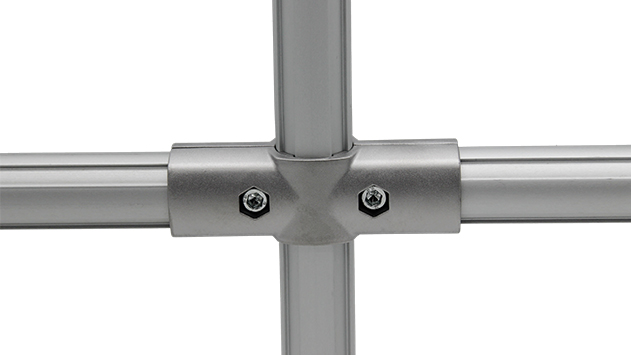
Imagine this: You're assembling a workbench using 4040 aluminum profiles and three way joints. You line up the pipes, tighten the bolts, and step back—only to notice the top surface tilts ever so slightly. "It's close enough," you think. But "close enough" with three way joints is a recipe for disaster. Three way joints are designed to distribute weight evenly across three directions (e.g., vertical, horizontal left, horizontal right). When they're misaligned, even by a few degrees, the load isn't shared equally. Over time, this creates stress points: one arm of the joint bears too much weight, the aluminum profile bends, and the entire structure wobbles.
How does misalignment happen? Often, it's rushing through the assembly. Maybe you didn't use a level to check if the vertical pipe is plumb before attaching the horizontal arms. Or perhaps the joint's built-in alignment marks (yes, many quality joints have them!) were overlooked. For example, some three way joints have small notches or lines that should align with the edges of the aluminum profile. Skip that step, and you're setting yourself up for a lopsided structure.
How to Fix It: If you suspect misalignment, start by loosening the joint's bolts just enough to adjust the pipes. Place a spirit level along the vertical profile to ensure it's straight. Then, check the horizontal arms: they should be perpendicular to the vertical pipe (use the level on its side for this). Tighten the bolts incrementally, alternating between arms to avoid shifting the alignment as you go. For extra precision, mark the profiles with a pencil before attaching the joint—align the marks with the joint's notches, and you'll cut down on guesswork.
Pro Tip: When building tall structures (like a multi-tier material rack), check alignment at every joint, not just the bottom. A small misalignment at the base compounds as you add height, turning a minor tilt into a major lean by the top shelf.
Mistake #2: Over-Tightening (or Under-Tightening) the Fasteners
Let's talk about torque—the amount of force used to tighten a bolt. With three way aluminum pipe joints, there's a sweet spot: tight enough to hold the structure firm, but not so tight that you damage the joint or the aluminum profile. Unfortunately, this balance is easy to miss. Some installers crank the bolts as hard as they can, thinking "tighter = stronger." Others barely snug them, worried about stripping threads. Both approaches are wrong.
Over-tightening is especially risky with aluminum, which is softer than steel. The threads on the joint or the profile can strip, or the joint itself might crack (aluminum is strong, but brittle under excessive pressure). I once saw a team over-tighten a three way joint on a conveyor frame; within a week, the joint split at the base, causing the conveyor to jam. Under-tightening is just as bad: vibrations from daily use (like tools being placed on a workbench or materials sliding on a flow rack) will loosen the bolts further, leading to a wobbly structure. In extreme cases, a pipe could even slip out of the joint, endangering anyone nearby.
So how do you find the sweet spot? Most manufacturers provide torque guidelines (e.g., "15-20 Nm for M8 bolts"). If you don't have a torque wrench, use the "finger-tight plus a quarter turn" rule: tighten the bolt with your fingers until it's snug, then use a wrench to turn it an additional 90 degrees. For aluminum pipe accessories like hex keys or wrenches, opt for ones with rubberized grips—they give better control, so you're less likely to overdo it.
| Bolt Size | Recommended Torque (Nm) | Signs of Over-Tightening | Signs of Under-Tightening |
|---|---|---|---|
| M6 | 8-10 | Stripped threads, cracked joint | Bolt spins freely, visible gaps between joint and profile |
| M8 | 15-20 | Profile indentation, joint deformation | Structure wobbles when pushed, bolts rattle |
| M10 | 25-30 | Joint splits, bolt head rounds off | Pipes shift under light load |
Mistake #3: Mismatching Joints and Profiles—Size Does Matter
Aluminum profiles come in all shapes and sizes: 2020, 3030, 4040, 4080—the numbers refer to the profile's width and height in millimeters. Three way joints are designed to fit specific profile sizes. A joint made for a 2020 profile (20mm x 20mm) won't work with a 4040 profile (40mm x 40mm), and vice versa. Yet, it's common to see teams force a small joint onto a large profile or use a large joint with a small profile, just to "make do" with what's in the toolbox.
Why is this a problem? A 2020 joint on a 4040 profile will clamp only the edges of the profile, leaving the center unsupported. This creates weak points where the joint can slip or snap. Conversely, a 4040 joint on a 2020 profile will have excess space, so the bolts can't tighten enough to grip the smaller profile. The result? A structure that feels loose from day one. I visited a factory once where a team used 3030 three way joints on 2020 profiles to build a mobile cart. After two weeks of use, the cart's frame (twisted) because the joints couldn't hold the profiles securely.
The fix is simple: always check the joint's specifications to ensure it matches your aluminum profile size. Most joints are labeled (e.g., "For 3030 Profiles") or have measurements etched into the plastic or metal. If you're unsure, compare the joint's inner clamping area to the profile's outer dimensions—they should match snugly. When ordering aluminum profiles and joints, buy them from the same supplier if possible; they'll ensure compatibility. And if you're reusing old components, inspect the joint's clamping mechanism for wear—even a slightly worn joint might not grip a new profile as well as it should.

Mistake #4: Overlooking Load Capacity—Joints Have Limits Too
Three way joints are tough, but they're not indestructible. Every joint has a maximum load rating, which refers to how much weight it can safely support across its three arms. Ignore this rating, and you're asking for failure. Let's say you're building a material rack with three shelves, each holding 50kg of parts. The rack uses three way joints at each corner to connect the vertical posts and horizontal beams. If the joints are rated for 100kg total (33kg per arm), but each shelf's weight (plus the shelf itself) exceeds that, the joints will bend or break over time.
How do you avoid this? Start by calculating the total load on each joint. For a material rack, add the weight of the materials on all shelves above the joint, plus the weight of the shelves and profiles themselves. Then, check the joint's load rating (usually listed in the product manual or on the supplier's website). If the math doesn't add up, upgrade to a heavy-duty joint or add extra support (e.g., a diagonal brace using another three way joint). Remember: load capacity isn't just about static weight. Dynamic loads—like parts being slid onto a shelf or a cart being pushed over a bump—put extra stress on joints. For these cases, aim for joints with a load rating 20-30% higher than your calculated static load.
Another common error is uneven weight distribution. Even if the total load is within the joint's limit, putting all the weight on one arm (e.g., piling boxes on one side of a workbench) can overload that arm. Train your team to spread materials evenly, and use dividers or bins to keep items centered on shelves. Your joints (and your workflow) will thank you.

Mistake #5: Skipping Surface Prep—Dirt and Oxidation Ruin Grip
Aluminum profiles are prone to two enemies: dirt and oxidation. Dirt, grease, or metal shavings on the profile's surface can prevent the three way joint's clamping mechanism from gripping tightly. Oxidation—a thin, dull layer that forms when aluminum reacts with air—acts like a barrier too, making it harder for the joint to hold. Yet, many installers skip cleaning the profiles before assembly, assuming a quick wipe with a rag is enough. Spoiler: It's not.
Here's what happens when you assemble with dirty profiles: The joint might feel tight initially, but the dirt particles compress over time, creating tiny gaps. Vibrations then cause the bolts to loosen, and the structure becomes unstable. Oxidation is even trickier—it's abrasive and can scratch the joint's clamping surfaces, weakening the grip permanently. I once saw a team assemble a conveyor using profiles that had been stored outdoors; the oxidation was so thick, the joints slipped loose within days, halting production.
The solution is thorough surface preparation. Start by wiping the profiles with a clean, dry cloth to remove loose dirt. For grease or oil, use a mild degreaser (avoid harsh chemicals that can damage the profile's finish). For oxidation, gently scrub the surface with a nylon brush or a fine-grit sandpaper (400-600 grit) until it shines. Wipe away any residue, then assemble immediately—aluminum oxidizes quickly, so don't let cleaned profiles sit unused for hours. Pro tip: Invest in a lean system for storing profiles, like a covered rack, to keep them clean and oxidation-free between uses.
Troubleshooting Checklist: How to Diagnose Joint Issues
Even with careful installation, problems can pop up. Here's a step-by-step checklist to diagnose and fix common three way joint issues:
- Check for wobble: Push gently on each arm of the joint. If it moves more than 1-2mm, it's loose. Retighten the bolts using the torque guidelines above.
- Inspect alignment: Use a level to check if vertical profiles are plumb and horizontal profiles are level. Misalignment often causes uneven gaps between the joint and profiles.
- Look for cracks or deformation: Examine the joint for cracks, especially around the bolt holes. If you see any, replace the joint immediately—damaged joints can't be repaired.
- Test load capacity: Place a known weight on the structure (e.g., a 20kg bag of sand) and monitor for sagging or shifting. If the joint bends, it's overloaded.
- Clean and re-grip: If the joint still slips after tightening, disassemble it, clean the profile and joint surfaces, and reassemble with fresh bolts (old bolts may have stripped threads).
Preventing Mistakes: Building a Culture of Care
The best way to avoid installation mistakes is to prevent them in the first place. Here are a few habits to adopt:
- Train your team: Even experienced technicians need reminders. Host a quick workshop on joint installation, focusing on alignment, torque, and load capacity. Use visual aids, like photos of correct vs. incorrect installations.
- Use quality tools: Invest in torque wrenches, levels, and aluminum pipe accessories designed for modular systems. A cheap wrench can slip, leading to over-tightening, while a flimsy level gives inaccurate readings.
- Label components: Keep profiles and joints organized by size (e.g., "3030 Profiles" and "3030 Joints" in separate bins) to avoid mix-ups.
- Schedule regular inspections: Every 3-6 months, check joints for looseness, cracks, or wear. Tighten bolts as needed and replace damaged parts before they fail.
Conclusion: Joints That Work as Hard as Your Team
Three way aluminum pipe joints might seem like small parts, but they're the glue that holds your lean system together. A well-installed joint ensures your workbench stays level, your material rack stays sturdy, and your team stays focused on what matters—producing quality work, not fixing wobbly structures. By avoiding alignment errors, mastering torque, matching components, respecting load limits, and prepping surfaces, you'll build structures that last, adapt, and support your lean goals for years to come.
Remember: Every mistake prevented is time saved, every stable structure is a safer workplace, and every well-installed joint is a step toward the efficient, flexible operation your team deserves. Now go out there and build something great—one joint at a time.