- Company Articles
- Products and Technology
- Installation And Maintenance
- Troubleshooting Loose Castor Installation Base on Workbench E: Expert Fixes

Troubleshooting Loose Castor Installation Base on Workbench E: Expert Fixes
Related Product
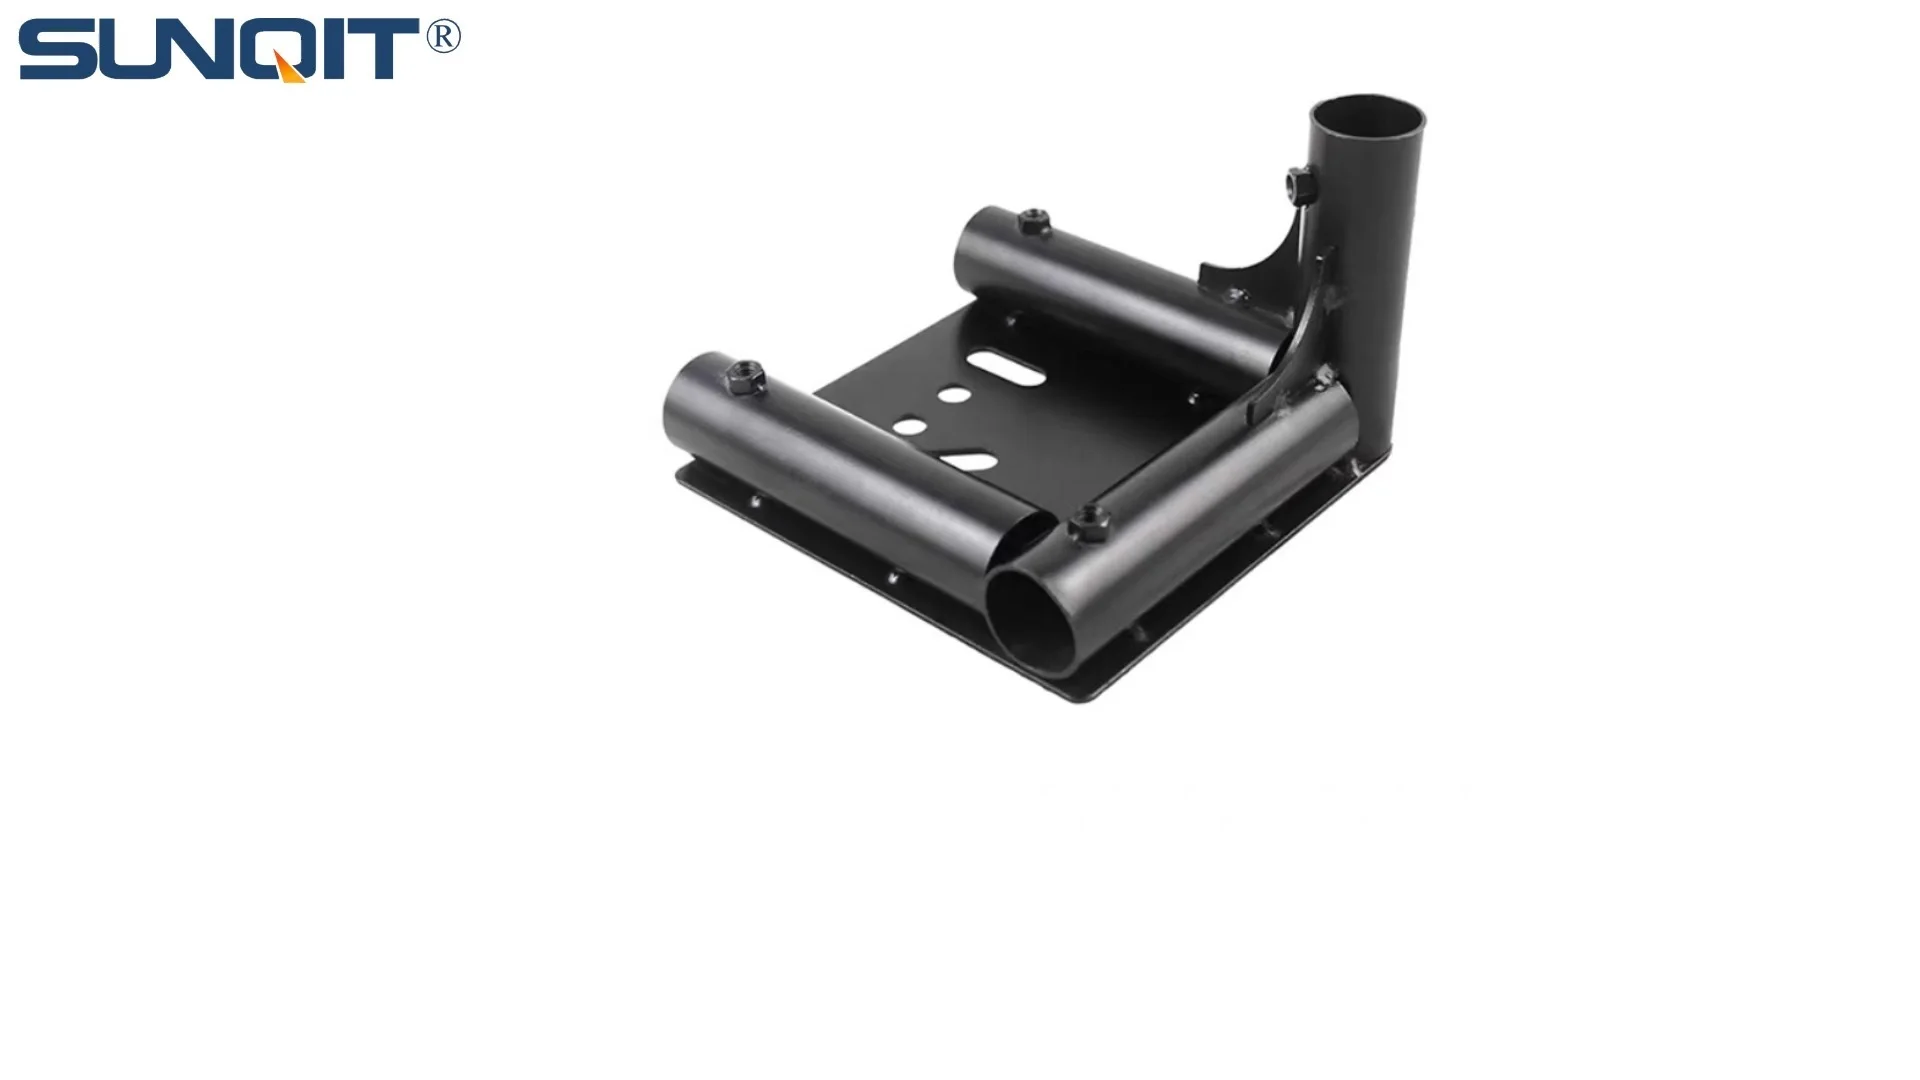
Castor Installation Base
Pipe fitting castor installation base,Well made, precise and strong. Made of high quality of steel,black painting surface treatment for greater resistance to corrosion. It is used for castor or foot lever connection with lean pipe.
It's 8:15 AM on a busy production floor, and Carlos, an assembly line technician, leans over his Workbench E to grab a precision screwdriver. As he reaches, the workbench suddenly shifts—just enough to send a tray of small components teetering toward the edge. He catches it just in time, but his heart races. "Not again," he mutters, eyeing the wobbly corner where the castor installation base meets the workbench leg. For weeks, this loose base has been a silent productivity killer: slowing him down, making delicate tasks harder, and leaving him worried about a potential accident. If you've ever felt that unsettling wobble under your hands, you know exactly what he's going through. A stable workbench isn't just a convenience—it's the backbone of safe, efficient work. And when the castor installation base on a Workbench E (single deck-without caster) comes loose, it's more than a nuisance; it's a problem that demands quick, expert attention. In this guide, we'll walk you through why this happens, how to fix it, and how to keep your lean pipe workbench steady for the long haul.
Why Does the Castor Installation Base on Workbench E Loosen Up?
Before diving into fixes, let's get to the root of the issue. The castor installation base is the unsung hero of your Workbench E, anchoring the structure to the floor (or casters, if you've added them later) and distributing weight evenly. When it loosens, it's rarely due to a single cause—more often, it's a mix of daily wear, installation quirks, and environmental factors. Let's break down the most common culprits:
1. Improper Initial Installation
Many loose bases start with a rushed setup. If the bolts securing the castor installation base to the workbench legs were under-tightened during assembly, they'll gradually vibrate loose over time. Workbench E, like most lean pipe workbenches, relies on precise torque to keep joints stable—skimping on this step is like building a house on loose (foundation).
2. Daily Vibration and Wear
Think about what your workbench endures: constant movement of tools, parts sliding across the surface, and even the subtle shaking from nearby machinery. All that vibration acts like a silent wrench, slowly loosening bolts and weakening the bond between the castor installation base and the aluminum profile legs. Over months (or years) of use, this wear adds up.
3. Incompatible or Low-Quality Parts
Not all castor installation bases are created equal. If you replaced a worn base with a generic part (instead of a genuine one from a trusted lean pipe supplier), it might not fit Workbench E's specific dimensions. Mismatched holes, flimsy materials, or poor threading can all lead to instability—even if you tightened the bolts "just right."
4. Environmental Stressors
Moisture, dust, and temperature swings are silent enemies. In humid workshops, rust can form on bolts, weakening their grip. In dusty environments, debris can get trapped between the base and the leg, preventing a tight seal. Even extreme temperatures (like a sweltering summer day or a cold winter morning) can cause metal parts to expand or contract, loosening connections over time.
5. Overloading the Workbench
Workbench E (single deck-without caster) is built to handle specific weight limits—check your user manual; it's usually around 200-300 kg, depending on the model. If you're piling on heavy machinery, stacks of materials, or using it as a temporary storage unit, you're putting extra strain on the castor installation base. Over time, that excess weight can bend the base or stretch bolts, leading to looseness.
Tools You'll Need to Fix the Loose Base (Plus a Pro Tip for Success)
Before you start, gather these tools—having everything on hand will save you trips to the toolbox and keep the process smooth. Pro tip: Lay them out on a clean towel next to the workbench to avoid losing small parts (we've all spent 10 minutes hunting for a dropped bolt!).
| Tool/Item | Why You Need It | Pro Tip |
|---|---|---|
| Adjustable wrench set | To loosen/tighten bolts on the castor installation base | Use a 10-12mm wrench for Workbench E's standard bolts |
| Torque wrench | To tighten bolts to the exact specs (critical for lean pipe workbenches) | Set it to 15-20 Nm—check your Workbench E manual for exact torque |
| Wire brush | To clean rust or debris from bolt threads and base surfaces | Scrub gently to avoid damaging aluminum profile finishes |
| Thread locker (blue, removable type) | Prevents bolts from vibrating loose again | Avoid red thread locker—it's permanent and hard to remove later |
| Replacement bolts (M8 or M10, depending on base) | For stripped or rusted bolts that can't be saved | Buy from a lean pipe supplier to ensure compatibility with Workbench E |
| Spirit level | To check if the workbench is even after fixing | Place it on the workbench surface and the castor installation base |
| Clean rag | To wipe down surfaces and dry parts after cleaning | Microfiber works best to avoid leaving lint |

Step-by-Step: Fixing the Loose Castor Installation Base on Workbench E
Now, let's roll up our sleeves. This process takes about 30-45 minutes, and you don't need to be a mechanic to pull it off. Just take it slow, and follow these steps:
Step 1: Prep for Safety (Yes, This Matters!)
First, clear the workbench. Remove all tools, parts, and equipment—you don't want anything falling or getting in the way. If your Workbench E is near electrical outlets or machinery, turn off the power to the area (better safe than sorry). Finally, put on work gloves to protect your hands from sharp edges or rust.
Step 2: Inspect the Castor Installation Base (The "Eyes First" Check)
Crouch down and look closely at the loose base. Is there visible damage? Check for cracks in the base itself, bent bolts, or gaps between the base and the workbench leg. Run your finger along the edges—if you feel rust, debris, or rough spots, that's a clue. Also, try wiggling the base gently with your hand. Does it move side-to-side, or up-and-down? Side-to-side often means loose bolts; up-and-down might signal a stripped thread or cracked base.
Step 3: Tighten Existing Bolts (But Don't Overdo It!)
Grab your adjustable wrench and start with the loose bolts. Turn them clockwise slowly —if they spin freely, they were definitely under-tightened. Once they start to resist, switch to the torque wrench. Set it to the spec from your Workbench E manual (usually 15-20 Nm) and tighten until you hear a "click" from the torque wrench. This ensures you're not over-tightening (which can strip threads) or under-tightening (which leaves room for wobble). If bolts are rusted, use the wire brush to clean the threads first—rust acts like a barrier and prevents a tight seal.
Step 4: Add Thread Locker (Your Secret Weapon Against Future Loosening)
Even if you tightened the bolts perfectly, vibration will try to undo your work. Here's where thread locker comes in: apply a tiny drop (about the size of a pea) to the threads of each bolt before reinserting them. Let it sit for 5-10 minutes to start setting. Thread locker creates a friction bond that keeps bolts tight, even with daily shaking. Just remember: use blue thread locker (removable) so you can adjust or replace bolts later if needed.
Step 5: replace Damaged Parts (When Tightening Isn't Enough)
If bolts are stripped (they spin but don't tighten) or the castor installation base has cracks, it's time to replace them. Start with bolts: remove the old ones, measure their length and diameter (most Workbench E bases use M8x20mm or M10x25mm bolts), and buy replacements from a lean pipe supplier—generic bolts might not fit the aluminum profile's threading. If the base itself is cracked, order a new castor installation base designed for Workbench E (single deck-without caster). Install the new base by aligning its holes with the workbench leg's pre-drilled holes, then secure with new bolts and thread locker as above.
Step 6: Check Alignment (A Level Workbench = a Happy Workbench)
A loose castor installation base can throw off the entire workbench's balance. Place the spirit level on the workbench surface—if the bubble isn't centered, the base might be sitting unevenly. Loosen the base bolts slightly, adjust the base position until the level shows even, then retighten. Do the same for the base itself: place the level on the castor installation base to ensure it's flat against the floor. An uneven base will wear out faster, so take the time to get this right.
Step 7: Test It Out (The "Shake Test")
Now, the moment of truth: gently push and pull the workbench from different angles. Lean on it with your weight (simulating a day's work). If it feels solid—no wobble, no creaking—you're done! If it still moves, double-check the bolts (maybe one was missed) or inspect for hidden damage (like a cracked aluminum profile leg). If all else fails, the base might be incompatible—swap it for a genuine Workbench E part from a trusted lean pipe supplier.

Expert Tips to Keep Your Castor Installation Base Tight for Years
Fixing the base is great, but preventing it from loosening again is even better. We talked to Juan, a maintenance supervisor with 15 years of experience with lean pipe workbenches, and he shared these pro tips:
1. Schedule Monthly "Quick Checks"
Set a calendar reminder to spend 5 minutes inspecting the castor installation base. Tighten bolts if they're loose, clean debris, and check for rust. "Monthly checks catch small issues before they become big problems," Juan says. "I've seen teams avoid full base replacements just by tightening a bolt once a month."
2. Use Anti-Vibration Pads (If You Add Casters Later)
Workbench E is a single deck without casters, but if you later add casters (using the castor installation base), place anti-vibration pads between the base and the caster wheels. These pads absorb shock from movement, reducing the "shaking" that loosens bolts. Juan recommends rubber pads with a 5mm thickness—they're durable and won't compress over time.
3. Stick to Genuine Parts (Even If They Cost a Little More)
It's tempting to buy cheap generic bolts or bases online, but Juan warns: "Workbench E's aluminum profile and castor installation base are engineered to work together. Off-brand parts might be the wrong size or made of softer metal, which stretches or bends under stress." Buy from a lean pipe supplier who specializes in Workbench E parts—you'll save money in the long run by avoiding repeat fixes.
4. Don't Overload—Respect the Weight Limit
We get it: workbenches become catch-alls. But that old printer, stack of boxes, or extra tool chest adds up. "If your Workbench E is rated for 250 kg, keep it under 200 kg to be safe," Juan advises. "Overloading bends the castor installation base over time, and once it's bent, tightening bolts won't fix the wobble."
5. Clean and Lubricate (Yes, Even Metal Parts Need Love)
Every 3 months, wipe down the castor installation base with a damp rag to remove dust and grime. For bolts and moving parts, apply a light machine oil (like 3-in-1) to keep threads smooth and prevent rust. "Lubricated bolts tighten more evenly, and clean surfaces form better bonds," Juan explains. "It's a small step, but it makes a big difference."

When to Call a Professional (Because Even Pros Need Help Sometimes)
Most loose castor installation bases can be fixed with the steps above, but there are times to call in a pro. If you notice any of these, stop and contact a lean pipe workbench supplier or technician:
- The castor installation base has cracks (even small ones—they'll grow with use).
- Bolts strip or break when you try to tighten them (this means threads in the aluminum profile are damaged).
- The workbench still wobbles after tightening, aligning, and replacing parts (could signal a bent frame or uneven floor).
- You're unsure about the weight limit or torque specs (better to ask than risk injury).
"I once had a team try to fix a cracked base with duct tape—don't do that," Juan laughs. "A professional can replace the base, repair damaged aluminum profiles, or adjust the workbench to fit uneven floors. It's worth the cost to avoid a safety hazard."
Final Thoughts: Your Workbench E Deserves to Be Steady
That wobbly castor installation base on your Workbench E might seem like a small problem, but it's a big deal. A stable workbench makes tasks faster, safer, and less frustrating—imagine Carlos, now able to focus on his assembly work without worrying about components sliding off. By following these steps, using the right tools, and sticking to genuine parts from a trusted lean pipe supplier, you can fix the base and keep it tight for years. Remember: maintenance isn't just about fixing what's broken; it's about respecting the tools that help you do your best work. So grab your wrench, clean those bolts, and give your Workbench E the stability it deserves. Your hands (and your productivity) will thank you.