- Company Articles
- Products and Technology
- Product knowledge
- Understanding the Load Limits of Aluminum Guide Rail B for Safe Industrial Use

Understanding the Load Limits of Aluminum Guide Rail B for Safe Industrial Use
Related Product
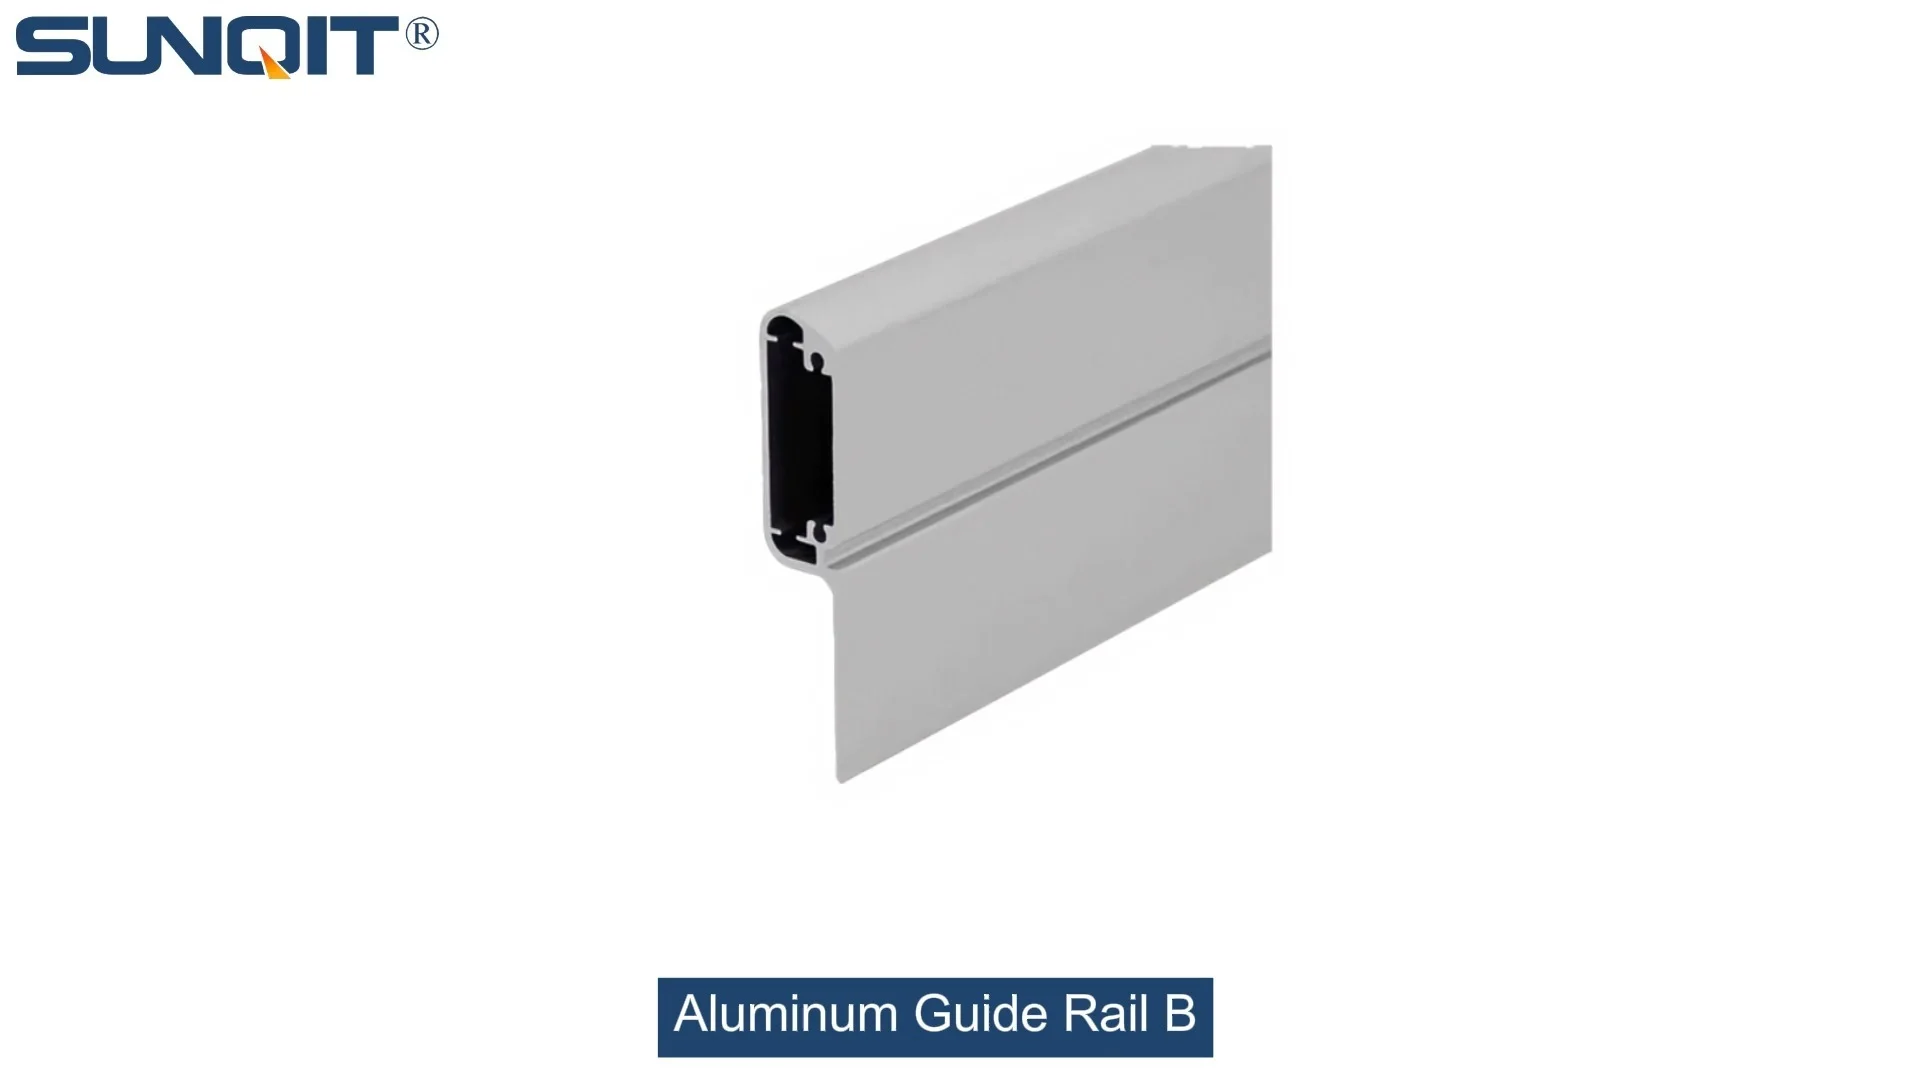
Aluminum Guide Rail B
The aluminum guide rails hold the transport goods securely on the roller track. For installation, the guide rails are simply pushed over the roller tracks.To protect sensitive products.
Walk through any modern manufacturing facility—whether it's a bustling automotive plant, a precision 3C assembly workshop, or a sterile medical device production line—and you'll notice a silent workhorse keeping operations moving: aluminum guide rails. Among these, Aluminum Guide Rail B stands out as a versatile, reliable component in lean production systems, supporting everything from conveyor belts to flow racks. But here's the thing: its effectiveness hinges on one critical factor that's often overlooked until something goes wrong—load limits. Get this right, and you ensure smooth workflows, protect workers, and avoid costly downtime. Get it wrong, and you risk equipment failure, production halts, or worse. Let's dive into why understanding the load limits of Aluminum Guide Rail B matters, how to determine them, and how to apply this knowledge for safer, more efficient industrial use.
What Exactly Is Aluminum Guide Rail B?
Before we talk load limits, let's get clear on what Aluminum Guide Rail B is and why it's become a staple in factories worldwide. Made from high-grade aluminum extrusion profiles, this guide rail is designed to be lightweight yet surprisingly strong—think of it as the backbone of material handling systems. Unlike heavier steel alternatives, its aluminum construction makes it easy to install, reconfigure, and transport, aligning perfectly with the lean pipe philosophy of "sustainable improvement" and flexibility.
What sets Aluminum Guide Rail B apart? Its precision-engineered design includes features like smooth surfaces for seamless material flow, compatibility with various accessories (think roller tracks, connectors, and brackets), and resistance to corrosion—key for environments where cleanliness and durability matter, like medical device manufacturing or food packaging lines. It's not just a "one-size-fits-all" component, either. Suppliers often offer custom lengths and thicknesses to suit specific industrial needs, whether you're building a small workbench or a full-scale conveyor system spanning an entire warehouse.
Why Load Limits Are Non-Negotiable in Industrial Settings
Let's start with a hypothetical scenario to drive this home: Imagine a 3C assembly line where Aluminum Guide Rail B is used to transport circuit boards between workstations. The team assumes the rail can handle 50kg per meter, but they've stacked components weighing 70kg instead. One morning, mid-shift, a section of the rail bends under the weight, causing a pileup of boards. Workers scramble to fix the issue, production stops for two hours, and several expensive components are damaged. That's a real-world example of why load limits aren't just numbers on a spec sheet—they're the guardrails of industrial safety and efficiency.
First, safety. Overloading guide rails increases the risk of structural failure, which can lead to falling materials, equipment damage, or injuries to nearby workers. In industries like automotive manufacturing, where heavy parts (engines, chassis components) are moved along rails, the consequences of a collapse could be catastrophic.
Second, efficiency. When guide rails are used within their load limits, materials glide smoothly, reducing jams and delays. This is especially critical in flow rack systems, where products need to move quickly from storage to assembly lines. Overloading slows down flow, creates bottlenecks, and forces workers to manually intervene—undoing the "lean" benefits these systems are supposed to deliver.
Third, compliance. Most industrial sectors have strict safety regulations (OSHA in the U.S., CE marking in the EU) that mandate adherence to load limits. Ignoring these isn't just risky—it could land your facility with fines or shutdowns during inspections.

Factors That Shape the Load Capacity of Aluminum Guide Rail B
Load capacity isn't a fixed number; it depends on several variables. Let's break down the key factors that determine how much weight Aluminum Guide Rail B can safely handle:
- Material Thickness and Grade: Thicker aluminum walls mean higher load capacity. For example, a 2mm thick rail will support more weight than a 1.2mm one. The grade of aluminum matters too—6061-T6, a common alloy in industrial profiles, offers better strength-to-weight ratio than standard aluminum.
- Installation and Support Spacing: How far apart are the support brackets? A rail supported every 50cm will carry more weight than one supported every 1.5 meters. Think of it like a bridge: more pillars mean it can hold more cars.
- Environmental Conditions: Extreme temperatures (hot or cold) can affect aluminum's structural integrity. High humidity or exposure to chemicals might weaken connections over time, indirectly reducing load capacity.
- Type of Load: Is the weight evenly distributed (like boxes on a flow rack ) or concentrated (a single heavy component)? Even distribution is easier on the rail than a single point load. For example, 100kg spread over 2 meters is safer than 100kg in one spot.
Manufacturers provide load charts for their Aluminum Guide Rail B products, but these are based on ideal conditions. Always factor in your specific workspace realities—like uneven floors or frequent vibrations from nearby machinery—when calculating safe limits.

How to Calculate Safe Load Limits (Without Becoming an Engineer)
You don't need a degree in mechanical engineering to determine safe load limits, but you do need to start with the manufacturer's data. Reputable suppliers will provide detailed specifications, including maximum load per meter under different support conditions. For example, a typical spec might read: "Aluminum Guide Rail B (30mm x 30mm, 1.5mm wall) supports 80kg/m with supports every 60cm."
But let's simplify. If you're unsure, use the "rule of thirds" as a quick check: never exceed two-thirds of the manufacturer's maximum rated load. This buffer accounts for real-world variables like installation errors or unexpected stress. For instance, if the manufacturer says 100kg/m, cap your use at ~65-70kg/m.
For more precision, consider working with your supplier's engineering team. Many offer custom lean solution services, where they'll assess your setup (support spacing, load type, environment) and recommend exact load limits. They might even conduct on-site tests using load cells to measure deflection under weight—critical for high-stakes applications like medical device transport, where compliance is non-negotiable.

Real-World Applications: How Industries Use Aluminum Guide Rail B (and Their Load Needs)
Different industries have different load demands, and Aluminum Guide Rail B adapts to each. Let's look at how four key sectors use this rail and what load limits they typically require:
| Industry | Typical Application | Load Requirement (kg/m) | Why Aluminum Guide Rail B Works |
|---|---|---|---|
| Automotive Parts Manufacturing | Conveyor systems for engine components | 100-150kg/m | High load capacity, compatible with heavy-duty roller tracks |
| 3C Assembly (Phones/Laptops) | Flow racks for circuit boards and small parts | 30-60kg/m | Lightweight, easy to reconfigure for frequent product changes |
| Medical Device Production | Workbench guides for sterile tool transport | 20-40kg/m | Corrosion-resistant, easy to clean (no crevices for bacteria) |
| Warehouse Logistics | Turnover trolley racks for bulk storage | 80-120kg/m | Durable, supports even weight distribution across shelves |
Take the automotive example: When moving heavy engine blocks along a conveyor, Aluminum Guide Rail B's high load capacity (100-150kg/m) ensures stability, while its aluminum build keeps the system from being too heavy to install or maintain. In 3C assembly, where parts are lighter but workflows change constantly, the rail's flexibility shines—teams can adjust support spacing or add accessories without replacing the entire rail.
Best Practices for Safe Use and Longevity
Even if you've calculated the perfect load limit, improper use or maintenance can undermine safety. Here are actionable tips to keep your Aluminum Guide Rail B systems running safely:
- Inspect During Installation: Check that brackets are tight, supports are evenly spaced, and the rail is level. A 1-degree tilt might not seem like much, but it can cause uneven weight distribution over time.
- Mark Load Limits Clearly: Label rails with maximum load capacity (e.g., "MAX 70kg/m") so workers aren't guessing. This is especially important in shared workspaces where multiple teams use the same equipment.
- Schedule Regular Maintenance: Every 3-6 months, check for signs of wear: bent sections, loose connectors, or corrosion. Tighten bolts, replace worn parts, and clean rails to prevent debris buildup (which can cause jams and extra friction).
- Train Your Team: Ensure workers know how to spot overloading—for example, sagging rails or slow material flow. Encourage them to report issues immediately, even if it means pausing production temporarily.
Remember: Maintenance isn't just about fixing problems—it's about preventing them. A quick monthly check can catch a loose bracket before it leads to a rail failure.
Choosing the Right Supplier: More Than Just a "Rail Provider"
Finally, none of this matters if you're using low-quality Aluminum Guide Rail B from an unreliable supplier. When selecting a provider, look beyond price—focus on partners who understand lean solution principles and can support your specific needs. Here's what to ask:
- Do they provide detailed load specifications? Reputable suppliers will share test data and load charts, not just generic claims.
- Can they customize based on your industry? A supplier familiar with automotive needs might not understand medical device requirements—find one with experience in your sector.
- Do they offer after-sales support? Installation help, maintenance guidance, or replacement parts can save you time and stress down the line.
Think of your supplier as a collaborator, not just a vendor. The right partner will work with you to design a system where Aluminum Guide Rail B's load capacity aligns perfectly with your workflow, ensuring safety and efficiency for years to come.
Wrapping Up: Safety Starts with Understanding
Aluminum Guide Rail B is more than a metal bar—it's a critical link in your industrial ecosystem. By understanding its load limits, you're not just following rules; you're investing in smoother operations, happier workers, and a more resilient business. Whether you're moving car parts or circuit boards, remember: every kilogram counts. Choose wisely, install carefully, maintain regularly, and let Aluminum Guide Rail B do what it does best—keep your production line moving, safely.