- Company Articles
- Products and Technology
- Installation And Maintenance
- User Guide: Adjusting Tension for 60 Steel Roller Track Small Wheels in Flow Systems

User Guide: Adjusting Tension for 60 Steel Roller Track Small Wheels in Flow Systems
Related Product
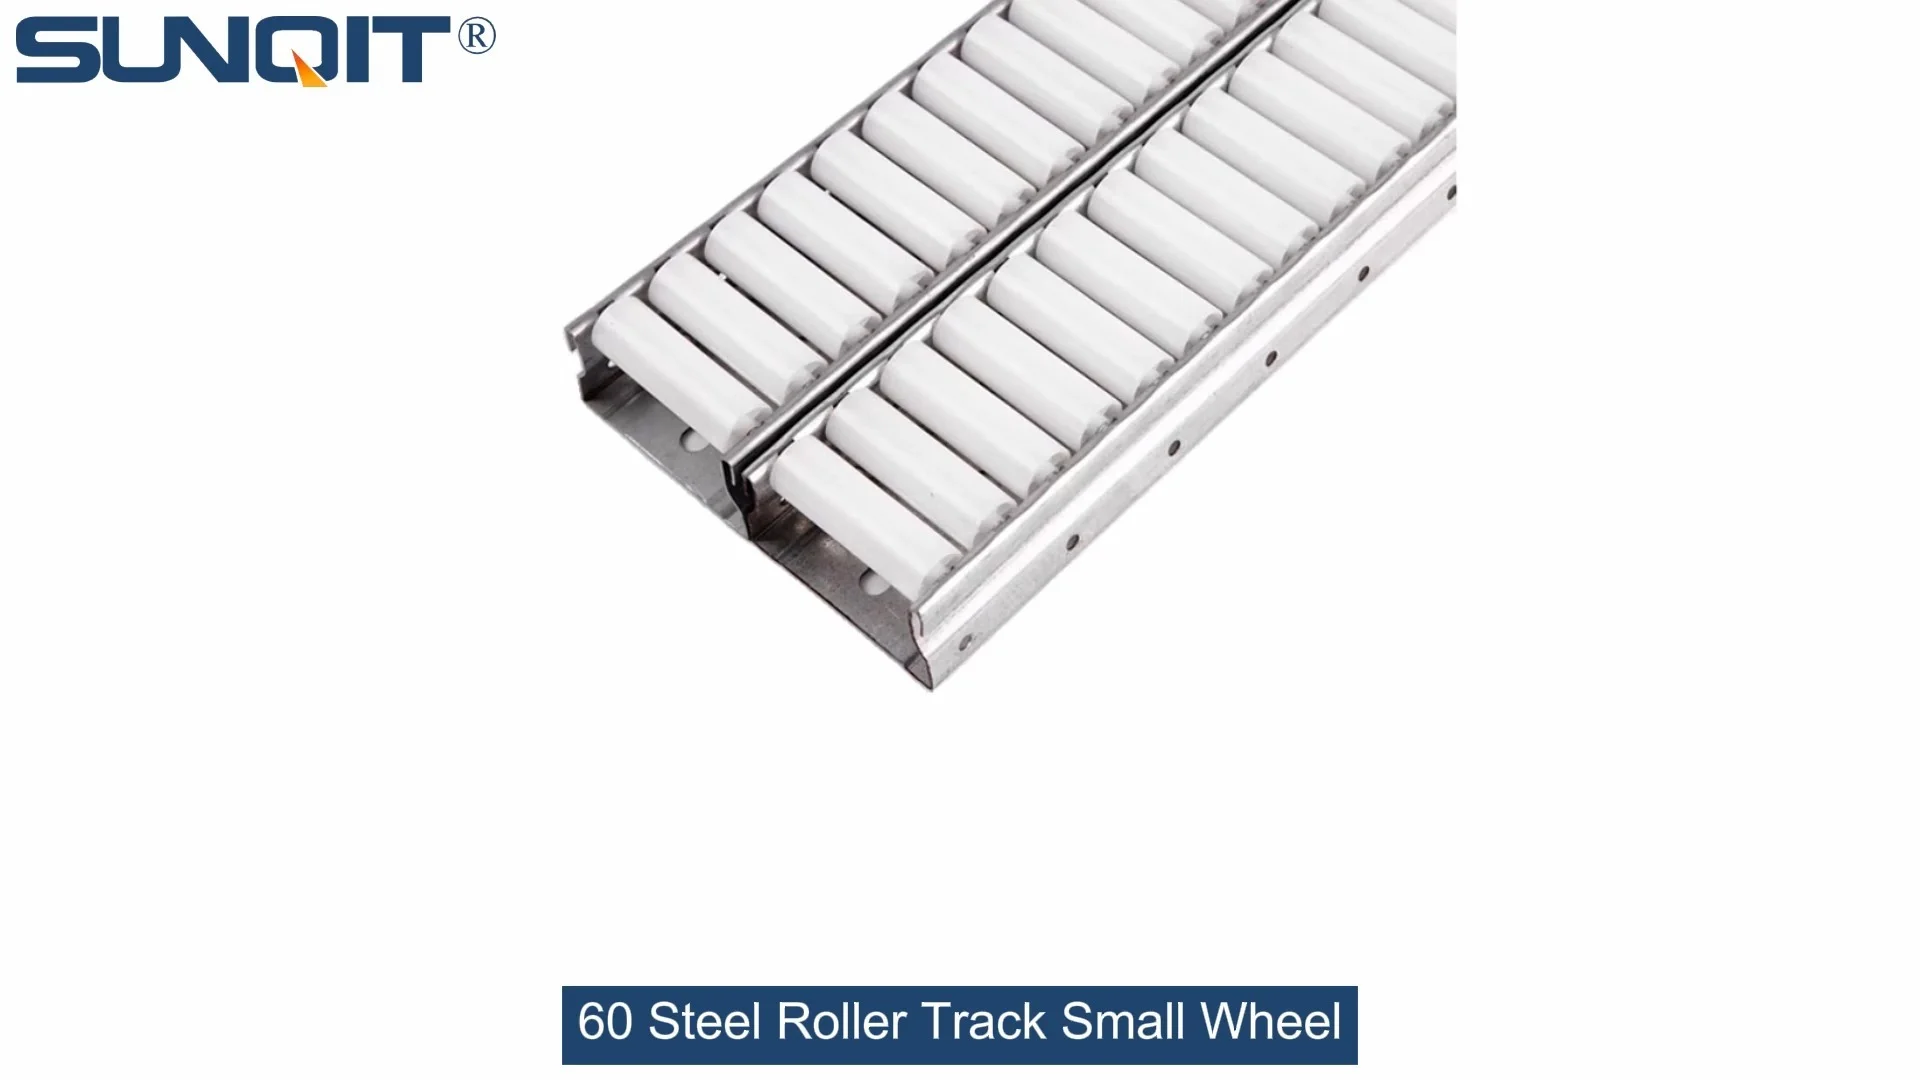
60 Steel Roller Track Small Wheel
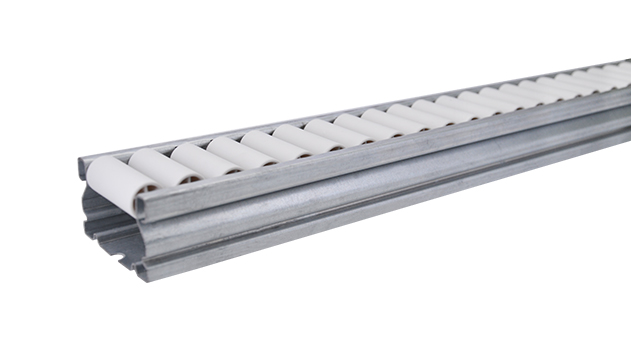
Modular system roller tracks aluminum gravity roller tracks are an excellent solution for transporting materials within industrial environments, warehouses and distribution centres.
Introduction
On the factory floor, a flow rack that doesn't move parts smoothly can throw off your entire production rhythm. Stuck items, uneven sliding, or parts falling off—these are common issues that often boil down to incorrect tension on the roller wheels. Adjusting the tension on your 60 Steel Roller Track Small Wheels is a straightforward task that can restore efficiency to your line. This guide will take you through each step, from gathering tools to testing the final setup, so you can keep your operations running seamlessly.
Tools You'll Need
| Tool Name | Purpose |
|---|---|
| Adjustable wrench (8-10mm) | Loosen/tighten locking bolts |
| Phillips-head screwdriver | Adjust tension screws |
| Tape measure | Check track alignment |
| Level | Ensure track is straight |
| Cleaning cloth | Remove debris from wheels/brackets |
Step-by-Step Adjustment Guide
Step 1: Prioritize Safety
Before starting any adjustments, empty the flow rack of all items. If your roller track is part of a conveyor system, turn off the power to avoid accidental movement. Wear safety gloves to protect your hands from sharp edges or moving components.
Step 2: Locate Adjustment Points
Each 60 Steel Roller Track Small Wheel is attached to a bracket with tension adjustment hardware. Look for the tension screw (usually Phillips-head) and locking bolt (hex head) on the side of each wheel bracket. These are the key points you'll be working with.
Step 3: Loosen Locking Bolts
Use your adjustable wrench to gently loosen the locking bolt on the wheel bracket. Don't unscrew it completely—just enough so the bracket can move slightly when you adjust the tension screw. This prevents the bracket from shifting while you work.
Step 4: Fine-Tune Tension
Take your Phillips-head screwdriver and turn the tension screw. A clockwise turn increases tension (making the wheel harder to spin), while counterclockwise decreases it (making it easier). Start with small adjustments—1/4 turn at a time is ideal. This helps you avoid over-adjusting and having to backtrack.
Step 5: Test Wheel Movement
After each adjustment, spin the wheel with your hand. It should rotate smoothly without wobbling or sticking. If it feels too tight, loosen the screw a bit; if it's too loose and wobbles, tighten it slightly.
Step 6: Test with Actual Loads
Place a sample part (similar to what you use in production) on the track. It should slide at a consistent speed—neither grinding to a halt nor zooming down too quickly. If it gets stuck, loosen the tension; if it slides too fast, tighten it until the movement is just right.
Step 7: Secure Locking Bolts
Once you're happy with the tension, re-tighten the locking bolt using your wrench. Make sure it's snug to keep the bracket in place during regular use. A loose locking bolt can cause the tension to shift over time, leading to issues later.
Step 8: Adjust All Wheels Consistently
Repeat the above steps for every wheel on the roller track. Consistency is crucial here—if some wheels are tighter than others, parts will slide unevenly or skew to one side. Take your time to ensure each wheel has the same tension setting.
Step 9: Final System Check
After adjusting all wheels, run a few more test parts through the track. Watch for any sticking points, uneven sliding, or parts falling off. If everything looks smooth, your adjustment is complete. If not, go back to the problematic wheels and make small tweaks until it's perfect.

Troubleshooting Common Issues
Issue 1: Parts Get Stuck Mid-Track
Probable Cause: Wheels are too tight. Solution: Loosen the tension screw by 1/4 turn and test again. Repeat until parts slide smoothly.
Issue 2: Parts Slide Too Fast or Wobble
Probable Cause: Wheels are too loose. Solution: Tighten the tension screw by 1/4 turn. Check for wobble after each adjustment.
Issue 3: Parts Skew to One Side
Probable Cause: Uneven tension across wheels or a misaligned track. Solution: Adjust each wheel's tension to match, then use a level to ensure the track is straight. If the track is bent, you may need to replace it.
Issue 4: Wheels Won't Spin At All
Probable Cause: Debris buildup or seized bearings. Solution: Clean the wheel and bracket with a cloth to remove dirt or grease. If that doesn't work, check the bearing—if it's seized, replace the wheel.
Proactive Maintenance Tips
Regular maintenance is key to keeping your roller tracks in top shape. Here's how to stay ahead of issues:
- **Monthly Checks**: For high-use tracks (like those in 3C assembly lines), inspect tension monthly. Look for signs of wear or loose bolts.
- **Quarterly Checks**: For low-use tracks, a quarterly check is sufficient. Clean wheels and brackets to prevent debris buildup.
- **Immediate Replacements**: If a wheel is cracked, bent, or has a seized bearing, replace it right away. A damaged wheel can throw off the entire track's performance.
- **Track Alignment**: Every six months, use a level to ensure the track is still straight. Misalignment can cause uneven tension and sliding issues.
Why Tension Matters for Lean Systems
Adjusting roller wheel tension might seem like a small task, but it's a critical part of maintaining a lean system. In lean manufacturing, every second counts—unjamming parts or fixing sliding issues wastes time and disrupts workflow. By keeping your roller tracks and flow racks properly adjusted, you reduce waste and improve overall efficiency.
This aligns with the core principles of a lean solution: continuous improvement and eliminating non-value-added activities. Whether your roller track is used in a medical device factory, a warehouse logistics setup, or an automotive assembly line, optimal tension ensures that materials move smoothly from one step to the next, supporting a seamless production process.
Remember, lean manufacturing is about the little things. A well-adjusted roller track might not seem like a big deal, but over time, those small improvements add up to significant gains in productivity and cost savings. For example, if a flow rack saves just 5 minutes per hour from reduced jams, that's 40 minutes per 8-hour shift—time that can be redirected to more valuable tasks.
Additionally, proper tension extends the lifespan of your roller track components. When wheels are too tight, they wear out faster; when too loose, they can wobble and cause damage to the bracket or track. By maintaining optimal tension, you reduce replacement costs and keep your lean system running reliably.
Final Thoughts
Adjusting the tension on your 60 Steel Roller Track Small Wheels is a simple, cost-effective way to keep your production line running smoothly. With the right tools and a bit of patience, you can fix common issues like stuck parts or uneven sliding in no time. By following the steps in this guide and staying proactive with maintenance, you'll ensure that your flow rack or conveyor system continues to support your lean manufacturing goals for years to come.
Whether you're a seasoned maintenance technician or new to lean system upkeep, this guide provides the clear, actionable steps you need to get the job done right. Don't let small tension issues slow down your production—take control today and keep your operations moving forward.