- Company Articles
- Products and Technology
- Product knowledge
- Using Five Way Straight Lean Pipe Joints for Material Rack B Construction

Using Five Way Straight Lean Pipe Joints for Material Rack B Construction
Related Product
Five Way Straight Lean Pipe Joint
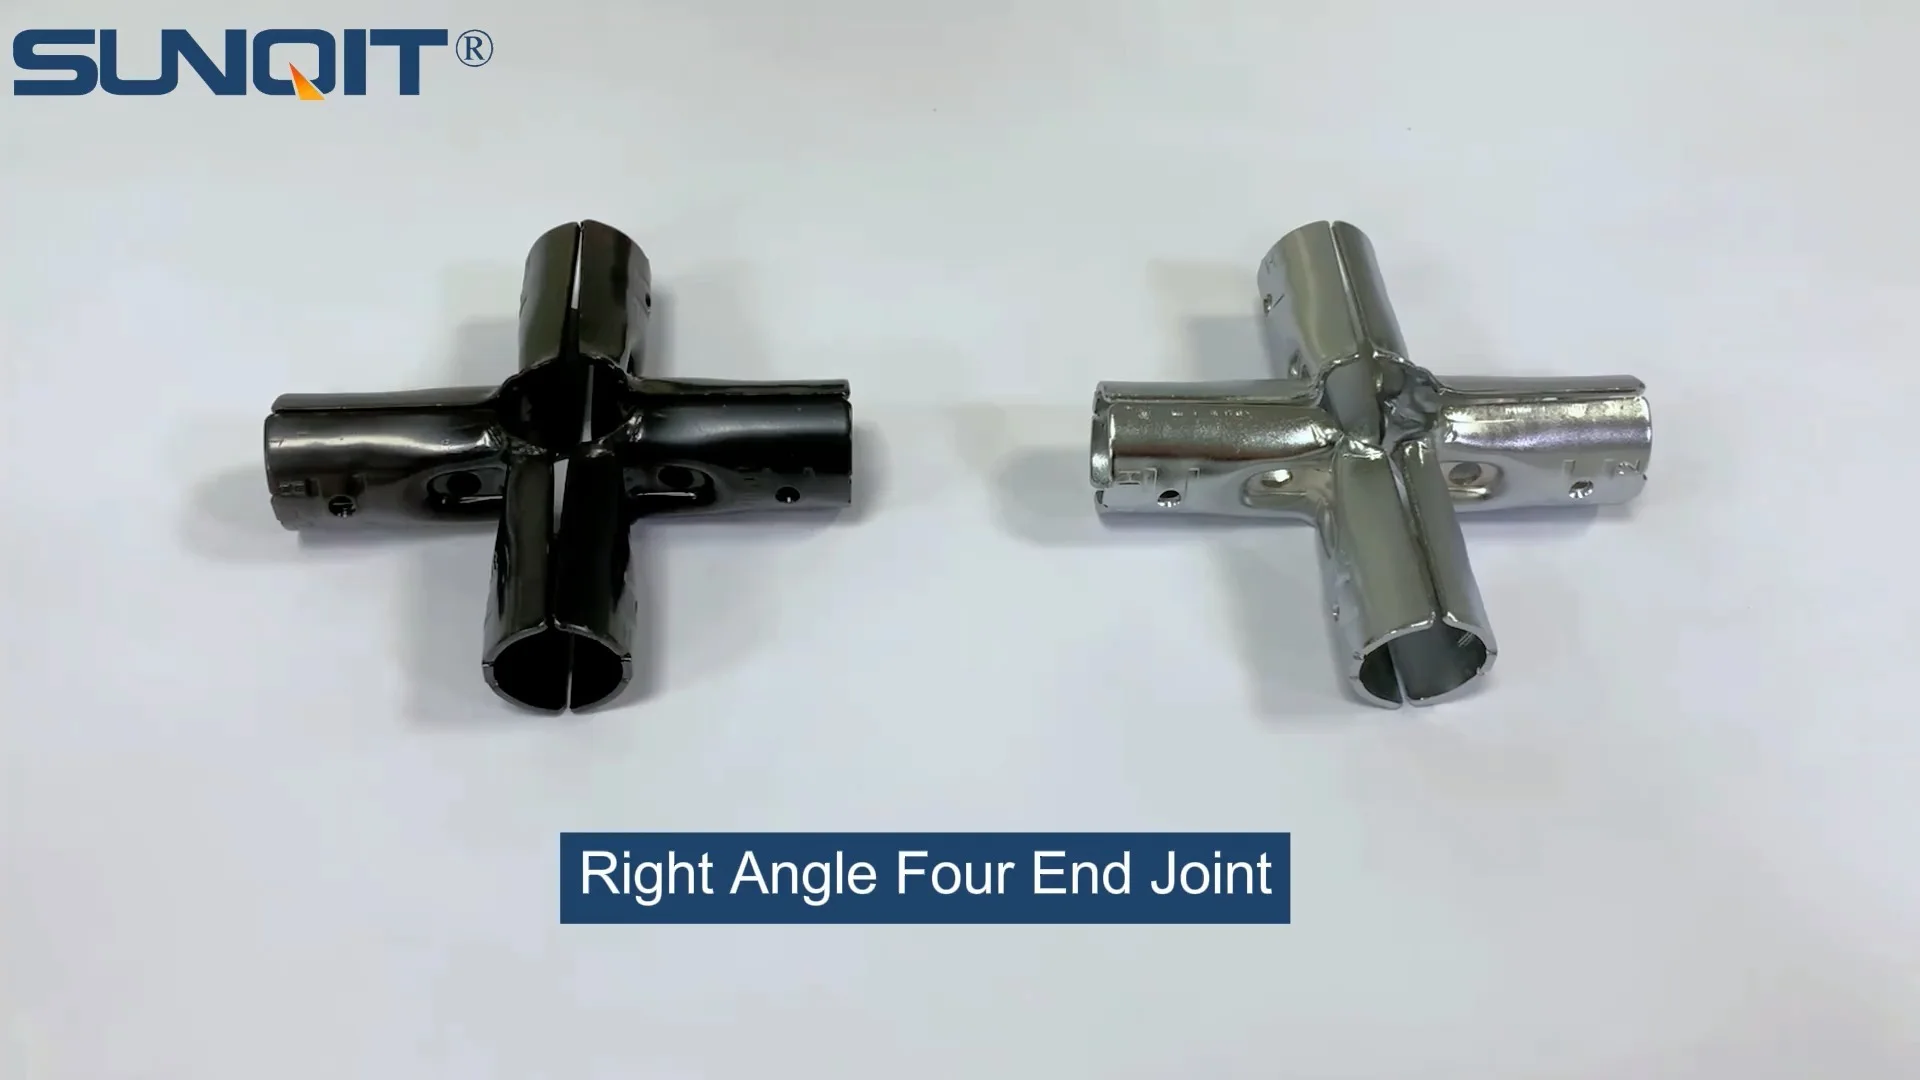
Five way straight lean pipe joint, for 5 pcs 28mm lean pipe connect in straight angle,which used widely in workbench, flow rack, hand trolley frame connection.
Introduction: The Backbone of Efficient Material Handling
In the fast-paced world of manufacturing and warehousing, the way we store and move materials can make or break productivity. A disorganized workspace with cluttered shelves, hard-to-reach inventory, and unstable storage structures not only slows down operations but also increases the risk of errors and accidents. This is where lean systems shine—they're all about simplifying processes, reducing waste, and creating workflows that feel intuitive, almost second nature to the teams using them.
Today, we're diving into a specific star player in the lean systems toolkit: Material Rack B (3 row and 3 floor) . This rack isn't just a storage solution; it's a carefully designed structure that maximizes vertical space, keeps materials visible and accessible, and integrates seamlessly into lean workflows. What makes it truly robust, though, is the use of Five Way Straight Lean Pipe Joints —the unsung heroes that hold the entire system together with precision and flexibility. Whether you're a small workshop just starting to adopt lean principles or a large factory looking to optimize your existing setup, understanding how to build Material Rack B with these joints will transform how you handle materials.
In this guide, we'll walk through every step of constructing Material Rack B, from planning your layout to tightening the last joint. We'll explore why Five Way Straight Lean Pipe Joints are a game-changer, how they compare to other joint types, and how to pair them with lean pipe , aluminum profile accessories , and other components to create a rack that's not just functional, but built to last. By the end, you'll have the knowledge to build a rack that keeps your materials organized, your team efficient, and your operations running like a well-oiled machine.
Why Material Rack B? Understanding Its Design and Benefits
Before we jump into construction, let's take a moment to appreciate why Material Rack B (3 row and 3 floor) is such a popular choice. Unlike generic shelving units, this rack is engineered with lean principles in mind—every inch of its design serves a purpose. Let's break down its key features:
- 3 Rows & 3 Floors: This configuration strikes the perfect balance between storage capacity and accessibility. With three horizontal rows and three vertical floors, you can categorize materials by type, frequency of use, or production stage, making it easy for workers to grab what they need without digging through piles.
- Open Structure: Unlike closed cabinets, Material Rack B has an open design that keeps inventory visible at a glance. This reduces time spent searching for items and helps with quick stock checks—no more guessing if you're running low on a critical component.
- Modular Flexibility: Built with lean pipe and modular joints, the rack can be adjusted as your needs change. Need to add a fourth floor? Expand a row? Swap out a section for a flow rack to enable first-in-first-out (FIFO) material flow? The modular design makes it possible without rebuilding from scratch.
But what truly sets Material Rack B apart is its ability to integrate with other lean tools. For example, if your workspace already uses lean pipe workbenches , you can align the rack's height and depth with the workbench to create a seamless "pick-and-place" workflow—materials move directly from the rack to the workbench with minimal effort. This kind of integration is why lean systems are so powerful: they turn isolated tools into a cohesive ecosystem.
Pro Tip:
When planning your Material Rack B, map out your material flow first. Which items are used most frequently? Place those on the middle floor (eye level) to reduce bending or reaching. Heavy items go on the bottom floor (to avoid strain), and lighter, less frequently used items go on the top.

The Star Connector: Five Way Straight Lean Pipe Joints Explained
If Material Rack B is the body, then Five Way Straight Lean Pipe Joints are the joints that hold its skeleton together. These small but mighty connectors are designed to link multiple lean pipes in a straight line, allowing for multi-directional connections that other joints can't match. Let's take a closer look at why they're essential for this project.
What Are Five Way Straight Lean Pipe Joints?
At first glance, a Five Way Straight Lean Pipe Joint looks like a simple metal or plastic cube with threaded holes. But don't let its simplicity fool you—each hole is precisely positioned to accept a lean pipe, allowing you to connect up to five pipes in a straight line (hence the "five way" name). Most joints are made from durable materials like zinc-plated steel or reinforced plastic, ensuring they can handle the weight of loaded shelves without bending or breaking.
Unlike standard 3-way or 4-way joints, which limit connections to a few directions, five-way joints give you the flexibility to add pipes vertically, horizontally, or even diagonally (with the right orientation). This is especially useful for Material Rack B, where you need to connect vertical support pipes, horizontal shelf frames, and cross-braces for stability—all from a single joint.
Why They're Better Than Other Joint Types
To understand the value of five-way joints, let's compare them to common alternatives using a quick table:
| Joint Type | Max Connections | Best For | Limitations for Material Rack B |
|---|---|---|---|
| 3-Way Joint | 3 directions | Simple frames, small workbenches | Can't connect vertical supports, horizontal shelves, and cross-braces from one point—requires extra joints, increasing complexity. |
| 4-Way Joint | 4 directions (often 2 horizontal, 2 vertical) | Basic shelving, lightweight racks | Still lacks the fifth connection for diagonal bracing, which is critical for stability in a 3-floor rack. |
| Five Way Straight Lean Pipe Joint | 5 directions (3 horizontal, 2 vertical, or custom) | Multi-level racks, heavy-duty structures | None—perfect for connecting all necessary pipes in Material Rack B with minimal joints, reducing weak points. |
As the table shows, five-way joints simplify the rack's structure by reducing the number of connections needed. Fewer joints mean fewer potential weak points, a cleaner look, and faster assembly. They also allow for precise alignment—each pipe fits snugly into the joint, ensuring the rack stays square and stable even when loaded with heavy materials.
Materials Matter: Pairing Joints with Lean Pipe and Accessories
Of course, even the best joints are only as good as the pipes and accessories they connect. For Material Rack B, we recommend using lean pipe (also called "lean tube") as the main structural component. Lean pipe is typically made of steel with a plastic coating (like PE coated lean pipe) or aluminum, offering a balance of strength, lightweight, and corrosion resistance. For most workshops, 28mm diameter lean pipe works well—strong enough to support shelves but easy to cut and handle.
To enhance stability and add functionality, you'll also need aluminum profile accessories . These include items like angle brackets (to reinforce shelf corners), end caps (to protect pipe ends from sharp edges), and connector plates (to secure shelves to the frame). Aluminum profile accessories are lightweight yet strong, and their modular design means they work seamlessly with lean pipe and five-way joints.
For example, when attaching shelves to the rack's vertical supports, you can use aluminum angle brackets to create a "lip" that prevents materials from sliding off. Or, if you need to add a label holder for easy inventory tracking, aluminum profile accessories like clip-on brackets make it simple—no drilling or welding required. The key is to choose accessories that complement the five-way joints, keeping the entire system modular and easy to adjust.

Step-by-Step Guide: Building Material Rack B with Five Way Straight Lean Pipe Joints
Now that we've covered the "why," let's get into the "how." Building Material Rack B is a straightforward process, but attention to detail is key to ensuring stability and longevity. Below is a step-by-step breakdown, from planning to completion.
Step 1: Gather Your Materials and Tools
Before you start, make sure you have all the necessary components. Here's a checklist to keep you organized:
- Lean Pipe: Calculate the length you need based on your rack dimensions. For a standard Material Rack B (3 row, 3 floor), we recommend 28mm PE coated lean pipe (1.5mm thickness for durability). You'll need pipes for the vertical supports (4 corner posts), horizontal frame (top, middle, bottom), and shelf rails (3 rows per floor, 3 floors total).
- Five Way Straight Lean Pipe Joints: Plan for 12–16 joints (depending on rack size). Each vertical corner post will use 3–4 joints (one per floor) to connect horizontal and diagonal pipes.
- Aluminum Profile Accessories: Angle brackets (for shelf support), end caps (to cover pipe ends), and connector plates (to secure shelves to the frame).
- Shelving Material: Plywood, metal sheets, or aluminum honeycomb panels (lightweight and strong). Cut to size based on your row and floor dimensions.
- Tools: Pipe cutter (to trim lean pipe to length), hex key (to tighten joint screws), level (to ensure the rack is square), measuring tape, and a rubber mallet (to gently tap pipes into joints).
Measure Twice, Cut Once:
Always double-check pipe lengths before cutting. A small miscalculation can throw off the entire rack's alignment. If possible, mark pipes with a pencil first and test-fit them in joints before cutting.
Step 2: Assemble the Vertical Frame
The vertical frame is the foundation of your rack, so it's crucial to get this right. Start by building the four corner posts, each made of vertical lean pipes connected by Five Way Straight Lean Pipe Joints at each floor level.
- Cut the vertical pipes: If your rack is 180cm tall (a common height for 3-floor racks), cut four vertical pipes to 180cm each. Use a pipe cutter for clean, straight edges—ragged cuts can make joints loose.
- Attach the first joint: Slide a Five Way Straight Lean Pipe Joint onto the bottom of one vertical pipe, leaving 10cm of pipe below the joint (this will be the base). Tighten the joint's set screw with a hex key—snug but not over-tight (you can adjust later).
- Add joints for middle and top floors: Measure 60cm from the bottom joint (for the middle floor) and slide on another joint. Repeat at 120cm for the top floor. Do this for all four vertical pipes.
- Connect horizontal pipes: Take a horizontal pipe (cut to your desired width, e.g., 120cm) and insert it into the side hole of the bottom joint on one vertical post. Slide the other end into the corresponding joint on the opposite vertical post. Repeat for the middle and top floors, front and back. You now have a rectangular frame with three horizontal levels.
At this point, stand the frame upright and use a level to check for plumb (vertical straightness). If the frame leans, loosen the joints slightly and adjust the pipes until it's straight, then retighten the screws. A level frame is critical for preventing the rack from wobbling once loaded.
Step 3: Add Cross-Bracing for Stability
Even with a level frame, Material Rack B needs cross-bracing to handle heavy loads. This is where the "five way" in the joints really shines—you can connect diagonal pipes to the extra holes in the joints, creating a triangular support system (triangles are inherently stable, after all).
- Cut diagonal pipes: Measure the distance between the bottom front joint and the middle back joint (or vice versa) and cut diagonal pipes to length. These should form a 45-degree angle across the frame's face.
- Attach diagonal pipes: insert one end of a diagonal pipe into the unused hole of a bottom joint, then the other end into the corresponding hole of a middle joint. Tighten the screws. Repeat on all four sides of the frame (front, back, left, right) for maximum stability.
Once cross-bracing is in place, give the frame a gentle shake. It should feel solid—no creaking or shifting. If it wobbles, check that all joints are tight and diagonal pipes are properly aligned.
Step 4: Install Shelves (3 Rows per Floor)
With the frame stable, it's time to add the shelves. Material Rack B has 3 rows per floor, so you'll need to install horizontal rails across each floor to support the shelving material.
- Attach shelf rails: Using aluminum angle brackets, secure horizontal rails (lean pipe or aluminum profile) across each floor, dividing it into 3 rows. For example, on the bottom floor, install two rails between the front and back horizontal pipes, spacing them evenly (e.g., 40cm apart for a 120cm wide frame) to create three rows.
- Secure shelving material: Place your shelving material (plywood, metal sheet, etc.) on top of the rails. Use connector plates to attach the shelves to the rails—this prevents them from sliding around. If using aluminum honeycomb panels, they may snap into place using the angle brackets, making installation even easier.
- Repeat for all floors: Do the same for the middle and top floors, ensuring shelves are level and aligned with the rows below.
Step 5: Test and Adjust
The final step is to test the rack's stability and functionality. Place some weighted boxes or materials on the shelves (simulating real-world use) and check for any sagging or shifting. If shelves bow, add extra support rails or switch to thicker shelving material. Tighten any loose joints and ensure all edges are smooth (use end caps to cover sharp pipe ends).
Congratulations—you've built Material Rack B using Five Way Straight Lean Pipe Joints! Stand back and admire your handiwork: a sturdy, organized rack that's ready to streamline your material handling.

Beyond the Rack: Extending Your Lean System
Now that your Material Rack B is complete, don't stop there—lean systems are all about connectivity. Here are a few ways to extend its functionality and integrate it into a larger lean ecosystem:
- Add a Flow Rack: Position a flow rack next to Material Rack B to create a FIFO system for perishable or time-sensitive materials. Flow racks use gravity to move items forward as they're used, ensuring older stock is used first.
- Pair with a Lean Pipe Workbench: Place a lean pipe workbench adjacent to the rack so workers can grab materials from the rack and place them directly on the workbench—no more walking back and forth.
- Mobile Carts: Use turnover trolley and rack to transport materials from the rack to workstations. These carts are built with the same lean pipe and joints, so they're compatible with your existing system.
- Labeling: Use aluminum profile accessories like clip-on label holders to mark each row and floor with material names or part numbers. This reduces errors and speeds up picking.
Remember, the beauty of lean systems is their flexibility. As your needs change, you can easily reconfigure Material Rack B—add more shelves, adjust heights, or even disassemble and rebuild it in a new location. Five Way Straight Lean Pipe Joints make this adaptability possible, ensuring your investment in the rack grows with your business.
Maintenance Tips: Keeping Your Rack in Top Shape
Like any tool, Material Rack B needs regular maintenance to stay functional. Here are a few simple tips to keep it in great condition:
- Check Joints Monthly: Over time, vibrations from loading/unloading can loosen joint screws. Tighten them with a hex key to prevent wobbling.
- Clean Lean Pipes: Wipe down pipes with a damp cloth to remove dust or grease. For PE coated pipes, avoid harsh chemicals that can damage the coating.
- replace Worn Accessories: If angle brackets or end caps become bent or cracked, replace them immediately—they're cheap insurance against shelf collapse.
- Relevel Annually: Floors can settle over time, causing the rack to lean. Use a level to check and adjust as needed.
Conclusion: Building a Lean Future, One Joint at a Time
Constructing Material Rack B with Five Way Straight Lean Pipe Joints is more than just a DIY project—it's a step toward building a more efficient, organized, and productive workspace. By choosing the right components, following careful assembly steps, and integrating the rack into your larger lean system, you're not just storing materials—you're creating a workflow that respects your team's time and energy.
Whether you're in manufacturing, warehousing, or any industry that handles physical materials, the principles here apply: start with a clear design, use quality components (like lean pipe and five-way joints), and prioritize flexibility. With these tools, you'll be able to adapt to changing needs, reduce waste, and focus on what really matters—growing your business.
So go ahead—grab your lean pipe, tighten those joints, and build a rack that works as hard as your team does. The future of efficient material handling is in your hands, one five-way joint at a time.