- Company Articles
- Products and Technology
- Installation And Maintenance
- Using Saddle Pipe Clamps with Internal Rotating Aluminum Joints: Best Practices

Using Saddle Pipe Clamps with Internal Rotating Aluminum Joints: Best Practices
Related Product
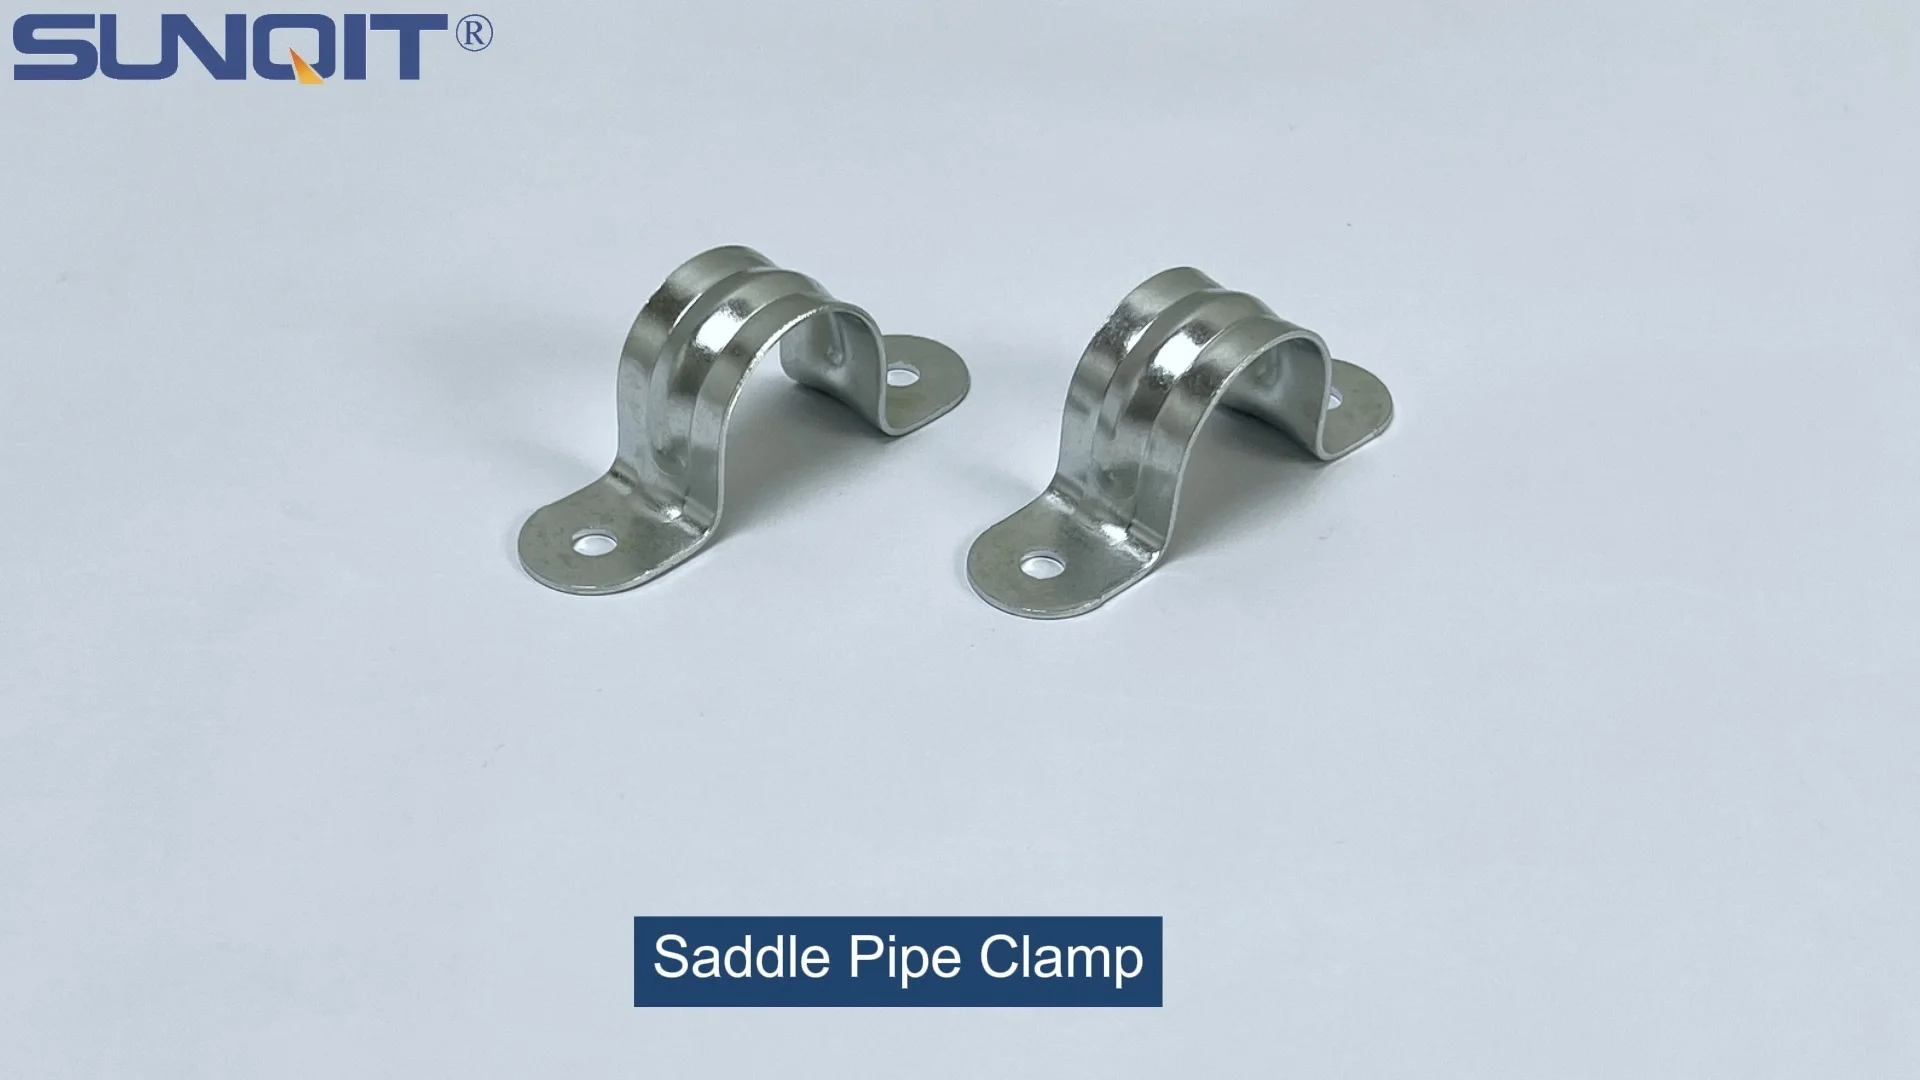
Saddle Pipe Clamp
Saddle pipe clamp, used for board connect with pipe, usually for table top installation.
In the world of manufacturing and workshop design, the difference between a smooth, efficient workflow and a frustrating, disjointed one often comes down to the smallest components. When building modular systems—whether it's a lean pipe workbench, a material rack, or a custom assembly line—two parts stand out for their ability to balance stability and flexibility: saddle pipe clamps and internal rotating aluminum joints. These unassuming pieces are the unsung heroes of modular design, allowing teams to create sturdy structures that can adapt to changing needs without rebuilding from scratch. But like any tool, their effectiveness depends on how well they're used. In this guide, we'll dive into the best practices for using saddle pipe clamps with internal rotating aluminum joints, exploring everything from understanding their design to avoiding common pitfalls and maximizing their lifespan.
Understanding the Basics: What Are Saddle Pipe Clamps and Internal Rotating Aluminum Joints?
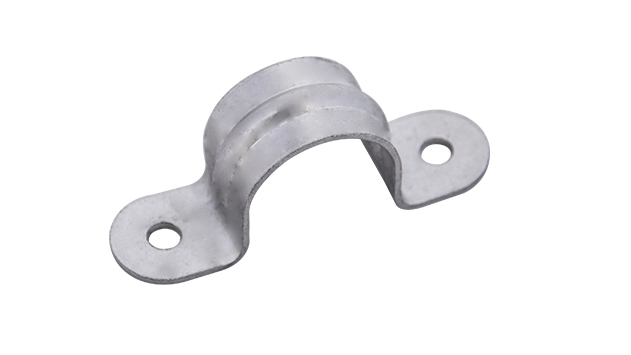
Before we jump into best practices, let's make sure we're on the same page about what these components actually are. Saddle pipe clamps, as the name suggests, are hardware pieces designed to secure pipes (often aluminum or steel) to other surfaces—like frames, workbenches, or walls. They get their name from their "saddle" shape: a curved section that wraps around the pipe, with holes for bolts or screws to fasten them in place. Think of them as the "huggers" of the modular world, keeping pipes steady while still allowing some adjustability.
Internal rotating aluminum joints, on the other hand, are the "flexors" of the system. These joints connect two or more pipes at angles, but unlike fixed joints, they feature a rotating mechanism that lets the connected pipes pivot or swivel within a range (often 180 degrees or more). Made from lightweight, corrosion-resistant aluminum, they're ideal for applications where you need to reposition components—say, adjusting the height of a shelf on a workbench or angling a material rack to better fit a workspace. Their internal rotation means the moving parts are protected from dust and debris, which helps them last longer than exposed hinges or joints.
Together, these two components form a dynamic duo: saddle pipe clamps provide the stability to keep structures grounded, while internal rotating aluminum joints add the flexibility to adapt those structures to new tasks. It's a combination that's especially valuable in lean manufacturing environments, where minimizing waste and maximizing adaptability are key. But to get the most out of them, you need to know how to use them correctly—which is where best practices come in.
Key Considerations Before You Start: Material Compatibility and Load Capacity
Before you even pick up a wrench, there are two critical factors to nail down: material compatibility and load capacity. Getting these wrong can lead to everything from wobbly structures to catastrophic failures, so it's worth taking the time to get them right.
First, material compatibility. Saddle pipe clamps and internal rotating aluminum joints are often used with aluminum pipes or aluminum profiles—the lightweight, durable building blocks of many modular systems. But not all clamps and joints are created equal. For example, using a steel saddle clamp with an aluminum pipe might seem like a strong choice, but it can actually cause galvanic corrosion. When two dissimilar metals (like steel and aluminum) come into contact in the presence of moisture, an electrochemical reaction occurs that eats away at the aluminum. To avoid this, always match your clamp and joint materials to your pipe material. If you're using aluminum pipes (a common choice for their strength-to-weight ratio), opt for aluminum or aluminum-coated saddle clamps and aluminum joints. Stainless steel is another safe bet, as it's less reactive with aluminum, but it's heavier and more expensive—so weigh your needs accordingly.
Second, load capacity. Every component has a limit to how much weight it can safely support, and that includes both the clamps and the joints. Saddle pipe clamps are rated by how much vertical or horizontal force they can withstand before slipping or bending, while internal rotating joints are rated by their torque limits (how much twisting force they can handle) and radial load (weight pushing down on the joint). Ignoring these ratings is a recipe for disaster. For example, if you're building a lean pipe workbench to hold heavy tools, using a lightweight saddle clamp rated for 50 lbs per clamp when you need to support 100 lbs could lead to the clamp bending, the pipe slipping, and your tools crashing to the floor.
To determine the right load capacity, start by calculating the total weight your structure will need to support. Let's say you're building a 4-foot-long workbench with a wooden top (30 lbs), plus tools and materials that average 50 lbs. The total load is 80 lbs. If you're using four saddle clamps to secure the frame, each clamp should be rated for at least 20 lbs (80 lbs divided by 4 clamps). But it's always smart to add a safety margin—aim for clamps rated for 1.5 times your calculated load to account for sudden impacts or uneven weight distribution. The same goes for internal rotating joints: if the workbench has a shelf that swivels to access materials, check the joint's torque rating to ensure it can handle the shelf's weight when rotated.
| Component | Material Compatibility Tips | Load Capacity Considerations |
|---|---|---|
| Saddle Pipe Clamp | Use aluminum or stainless steel clamps with aluminum pipes; avoid steel-aluminum contact to prevent corrosion. | Calculate total load ÷ number of clamps, then add 50% safety margin. Check clamp specs for vertical/horizontal load ratings. |
| Internal Rotating Aluminum Joint | Aluminum joints pair best with aluminum pipes or profiles; ensure joint inner diameter matches pipe outer diameter. | Check torque and radial load ratings. For rotating shelves, ensure torque rating exceeds shelf weight × distance from joint (lever arm). |
| Aluminum Pipe/Profile | Match pipe thickness (e.g., 1.2mm vs. 2.0mm) to load—thicker walls for heavier loads. | Pipe load capacity depends on length (longer pipes bend more) and wall thickness; consult manufacturer charts. |
Pro tip: Always check the manufacturer's specs for both the clamps and joints. Reputable suppliers will provide detailed load ratings, material compatibility charts, and even installation guides. If you're unsure, reach out to the supplier—most are happy to help you choose the right components for your project. It's better to ask a question than to risk a failed structure.
Step-by-Step Installation: How to Secure Saddle Pipe Clamps and Rotating Joints
Now that you've got your materials sorted and load capacities calculated, it's time to start installing. While every project is a bit different, the basic steps for installing saddle pipe clamps and internal rotating aluminum joints follow a similar pattern. Let's break it down, step by step.
Step 1: Gather Your Tools and Prep the Workspace
You don't need a fully stocked workshop, but having the right tools on hand will make the job go faster and more smoothly. Here's what you'll need: a hex key set (most clamps and joints use hex bolts), a torque wrench (to avoid over-tightening), a level (to ensure pipes are straight), a measuring tape, a pencil (to mark positions), and a wire brush or cloth (to clean pipes and joints). If you're mounting clamps to a wall or workbench, you might also need a drill and appropriate drill bits.
Prep your workspace by clearing a flat, level area to lay out your pipes and components. This will help you visualize the structure before you start drilling or tightening. If you're building something like a lean pipe workbench, lay out the pipes on the floor in the shape of the frame—this way, you can check measurements and angles before committing to installation.
Step 2: Mark Pipe Positions and Clamp Locations
Measure twice, clamp once—bad pun, but good advice. Use your measuring tape to mark where each pipe will go, and then mark where the saddle clamps will attach to those pipes. For example, if you're attaching a horizontal pipe to a vertical frame, measure the distance from the bottom of the frame to where the horizontal pipe should sit, then mark that spot on the vertical frame. For the saddle clamp, mark the center of the clamp's bolt holes on the vertical frame—this ensures the clamp will align perfectly with the horizontal pipe.
If you're using internal rotating aluminum joints, mark the positions where the joints will connect two pipes. For a 90-degree angle, use a square to ensure the pipes are perpendicular; for adjustable angles, mark the range of motion you need (e.g., 0-180 degrees) so you don't accidentally restrict the joint's rotation during installation.
Step 3: Clean Pipes and Joints to Ensure a Tight Fit
Aluminum pipes and joints can accumulate dust, oil, or oxidation (that dull, chalky layer on aluminum) during storage, which can prevent clamps and joints from gripping properly. Before installing, wipe down the pipes with a clean cloth to remove dust, and use a wire brush to gently scrub away any oxidation or oil. For internal rotating joints, check the inner bore (the hole where the pipe fits) and clean out any debris—even a small speck of dirt can prevent the pipe from seating fully, leading to a loose connection.
Step 4: Attach Saddle Clamps to Pipes or Frames
Now it's time to mount the saddle clamps. If you're clamping a pipe to a frame (like attaching a shelf support to a workbench leg), place the clamp's saddle over the pipe, align the bolt holes with your pre-marked spots on the frame, and insert the bolts. Don't tighten them all the way yet—just snug them enough to hold the pipe in place. This gives you room to adjust the pipe's position if it's not level.
If you're using clamps to connect two pipes (e.g., a T-junction), position the clamps on both pipes, ensuring they're aligned, then loosely tighten the bolts. Use a level to check that the pipes are straight—horizontal pipes should be level, vertical pipes plumb. Once everything is aligned, tighten the bolts gradually, alternating between bolts (like tightening lug nuts on a car wheel) to ensure even pressure. This prevents warping the clamp or bending the pipe.
Step 5: Install Internal Rotating Aluminum Joints
For internal rotating joints, start by inserting one pipe into the fixed end of the joint (the end that doesn't rotate). Push it in until it hits the stop (a small ridge inside the joint that prevents the pipe from sliding through). Then, insert the second pipe into the rotating end of the joint. Some joints have a setscrew (a small screw on the side) that secures the pipe—tighten this with a hex key until it's snug, but not so tight that it dents the pipe. Others use friction fit, where the joint's inner diameter is slightly smaller than the pipe's outer diameter, creating a tight grip when the pipe is inserted.
Once both pipes are inserted, test the rotation. The joint should swivel smoothly without binding or excessive play. If it's stiff, check for debris in the joint or misaligned pipes. If it's too loose, ensure the pipe is fully inserted into the joint—if not, push it in further and retighten the setscrew (if applicable).
Step 6: Torque Bolts to Manufacturer Specifications
This is where the torque wrench comes in. Over-tightening bolts on aluminum components is a common mistake—aluminum is softer than steel, so excessive torque can strip threads or crack the joint. Under-tightening, on the other hand, leads to loose connections that vibrate loose over time. Check the manufacturer's specs for the recommended torque (usually listed in inch-pounds or Newton-meters) and set your torque wrench accordingly. For example, a typical aluminum saddle clamp with M6 bolts might require 8-10 Nm of torque—enough to hold the pipe securely without damaging the aluminum.
Once all bolts are torqued, give the structure a gentle shake or push to test stability. If it wobbles, check for loose clamps or misaligned pipes and adjust as needed. If everything feels solid, you're ready to move on to the next section: best practices for long-term performance.

Best Practices for Long-Term Performance: Maintenance and Adjustment
Installing your saddle pipe clamps and internal rotating aluminum joints correctly is a great start, but to keep them performing well for years, you need to maintain them. Here are some best practices to follow:
Regular Inspection: Catch Issues Before They Escalate
Make it a habit to inspect clamps and joints monthly, especially in high-use areas like assembly lines or workbenches. Look for signs of wear: loose bolts, cracks in the clamp saddle, corrosion on aluminum components, or joint rotation that's become stiff or jerky. For saddle clamps, check if the pipe has slipped in the clamp—this is often a sign that the bolts have loosened over time (common in environments with vibration, like near machinery). For rotating joints, listen for grinding or squeaking during rotation—this could mean debris has gotten inside, or the internal bearings (if the joint has them) are wearing out.
If you spot a loose bolt, retighten it to the manufacturer's torque specification. If a clamp is cracked or a joint is seized, replace it immediately—damaged components compromise the entire structure's integrity. It's better to spend a few dollars on a new clamp than to risk injury or equipment damage from a failed connection.
Lubricate Rotating Joints to Keep Them Moving Smoothly
Internal rotating aluminum joints rely on smooth movement to provide flexibility, so keeping them lubricated is key. Use a dry lubricant like silicone spray or graphite powder—avoid oil-based lubricants, which attract dust and can gum up the joint over time. Apply a small amount of lubricant to the joint's rotating mechanism (check the manufacturer's guide for the exact location—some joints have a small port for lubrication). Wipe away excess lubricant with a cloth to prevent dust buildup. How often? For joints used daily, lubricate every 3 months; for less frequently used joints, every 6 months should suffice.
Adjust for Wear and Tear: When to Tighten, When to replace
Over time, even well-installed clamps and joints will show signs of wear. Aluminum is a soft metal, so the threads on bolts or the inner bore of joints can wear down with repeated tightening and loosening. If you notice that a bolt no longer stays tight (it spins freely even when torqued), the threads are likely stripped. In this case, replace the bolt—don't try to "fix" it by over-tightening, as this can damage the clamp or joint.
For rotating joints, if the rotation becomes uneven (e.g., it sticks at a certain angle), disassemble the joint (if possible) and clean out any debris. If the inner bore is worn (you can feel play between the pipe and joint), replace the joint—worn bores can't grip pipes securely, leading to instability.
Protect Against Environmental Damage
Aluminum is corrosion-resistant, but it's not corrosion-proof. In humid environments, near chemicals, or in outdoor settings, aluminum components can still develop corrosion. To protect them, apply a thin coat of clear acrylic spray (designed for metal) to clamps and joints—this adds a barrier against moisture and chemicals. For clamps mounted outdoors, consider stainless steel hardware instead of aluminum, as it's more resistant to saltwater and heavy rain.
If you're using components in an ESD (electrostatic discharge) environment (common in electronics manufacturing), ensure your clamps and joints are ESD-safe. Some manufacturers offer ESD-coated aluminum joints or clamps that dissipate static electricity, preventing damage to sensitive electronics. Using non-ESD components in these environments can lead to static buildup, which can fry circuit boards or cause other electrical issues.

Real-World Application: Building a Modular Lean Pipe Workbench
To put these best practices into context, let's walk through a real-world example: building a modular lean pipe workbench using saddle pipe clamps and internal rotating aluminum joints. This is a common project in workshops and manufacturing facilities, as it combines stability (for heavy tools) and flexibility (to add shelves, hooks, or lighting as needed).
**Project Goal:** Build a 6-foot-long, 30-inch-deep workbench with a wooden top, two adjustable shelves, and a fold-down tool holder. The shelves need to rotate to access stored materials, and the tool holder should fold up when not in use—both requiring internal rotating aluminum joints. The frame will be made from aluminum pipes, secured with saddle pipe clamps.
**Step 1: select Components** - Aluminum pipes: 1.5mm wall thickness (rated for 150 lbs per linear foot, which is more than enough for a workbench). - Saddle pipe clamps: Aluminum, M6 bolts, rated for 75 lbs per clamp (using 4 clamps per shelf, so 300 lbs total capacity—plenty for tools and materials). - Internal rotating aluminum joints: 180-degree rotation, rated for 50 lbs radial load (enough for the shelves, which will hold ~30 lbs each). - Aluminum profile: For the workbench legs, to add rigidity. - Wooden top: 3/4-inch plywood, cut to size.
**Step 2: Assemble the Frame** Cut four vertical aluminum profile legs to 36 inches (workbench height). Use saddle pipe clamps to attach horizontal aluminum pipes to the top and bottom of the legs, forming a rectangular frame. Tighten clamps to 8 Nm with a torque wrench. Use a level to ensure the frame is square and level—adjust as needed before fully tightening.
**Step 3: Install Adjustable Shelves** Attach internal rotating aluminum joints to the vertical legs, 12 inches and 24 inches from the bottom. insert horizontal aluminum pipes into the rotating ends of the joints to form shelf frames. Secure the shelves with saddle clamps (one at each corner) to prevent them from sliding. Test rotation to ensure shelves can swing from 0 (closed) to 180 degrees (open). Lubricate joints with silicone spray.
**Step 4: Add the Fold-Down Tool Holder** Mount a small aluminum pipe to the back of the workbench frame using internal rotating joints, allowing it to fold down. Attach tool hooks to this pipe. When not in use, fold the pipe up against the back of the workbench to save space. Use saddle clamps to secure the joints to the frame, ensuring the holder stays in place when loaded with tools.
**Step 5: Install the Wooden Top** Place the plywood top on the frame and secure it with screws through pre-drilled holes in the top horizontal pipes. Use saddle clamps to attach the top to the frame at each corner for extra stability.
**Result:** A sturdy, flexible workbench that can adapt to changing needs. The saddle pipe clamps keep the frame rigid, while the internal rotating joints let the shelves and tool holder move when needed. By following best practices—matching materials, checking load capacities, and maintaining components—this workbench will serve the workshop for years, with minimal downtime or repairs.
Common Mistakes to Avoid: Lessons Learned the Hard Way
Even with the best intentions, it's easy to make mistakes when working with saddle pipe clamps and internal rotating aluminum joints. Here are some of the most common ones, and how to avoid them:
Mistake #1: Over-Tightening Bolts
It's tempting to crank down on bolts until they won't turn anymore—after all, tighter must mean stronger, right? Wrong. Aluminum is a soft metal, and over-tightening can strip threads, crack clamps, or even bend pipes. Always use a torque wrench and follow the manufacturer's specifications. A good rule of thumb: if the bolt head starts to deform or the clamp saddle bends, you've gone too far.
Mistake #2: Ignoring Pipe Straightness
A bent pipe might seem like a minor issue, but it can throw off the entire structure. When you attach a saddle clamp to a bent pipe, the clamp can't grip evenly, leading to stress points that weaken the connection. Before installing, roll pipes on a flat surface—if they wobble, they're bent and should be replaced. Straight pipes = even clamping force = stronger structures.
Mistake #3: Using the Wrong Clamp Size
Saddle clamps come in different sizes to fit different pipe diameters. Using a clamp that's too large for the pipe means it won't grip properly, leading to slipping. Using one that's too small can crush the pipe. Always check the clamp's size specification (e.g., "fits 25mm diameter pipes") and match it to your pipe's outer diameter. When in doubt, measure the pipe with calipers—don't guess.
Mistake #4: Forgetting to Account for Thermal Expansion
Aluminum expands and contracts with temperature changes. In a workshop with large temperature swings (e.g., hot in summer, cold in winter), pipes can expand by up to 0.01 inches per foot. If you clamp pipes too tightly without leaving room for expansion, they can buckle or warp. To avoid this, leave a small gap (1/16 inch) between the end of the pipe and any fixed structure (like a wall or joint stop) when installing. This gives the pipe room to expand without stressing the clamps or joints.
Conclusion: Small Components, Big Impact
Saddle pipe clamps and internal rotating aluminum joints might seem like components, but they play a huge role in building the sturdy, flexible structures that power modern workshops and manufacturing facilities. By following best practices—matching materials, checking load capacities, installing carefully, maintaining regularly—you can ensure these components deliver the stability and flexibility you need for years to come.
Whether you're building a lean pipe workbench, a material rack, or a custom assembly line, remember: the strength of the whole depends on the strength of the parts. Take the time to select the right components, install them correctly, and keep them maintained. Your back (and your bottom line) will thank you.