- Company Articles
- Products and Technology
- Product knowledge
- Welding 2.0mm Stainless Steel Pipe: Best Practices & Techniques

Welding 2.0mm Stainless Steel Pipe: Best Practices & Techniques
Related Product
2.0mm Stainless Steel Pipe
Stainless steel pipe, lean pipe, diameter is 28mm, material is SS201 or SS304, SS201 is normally used in the market. It knows a KARAKURI, KAIZEN material for industrial plant to improve efficiency, save labor cost, standard management.
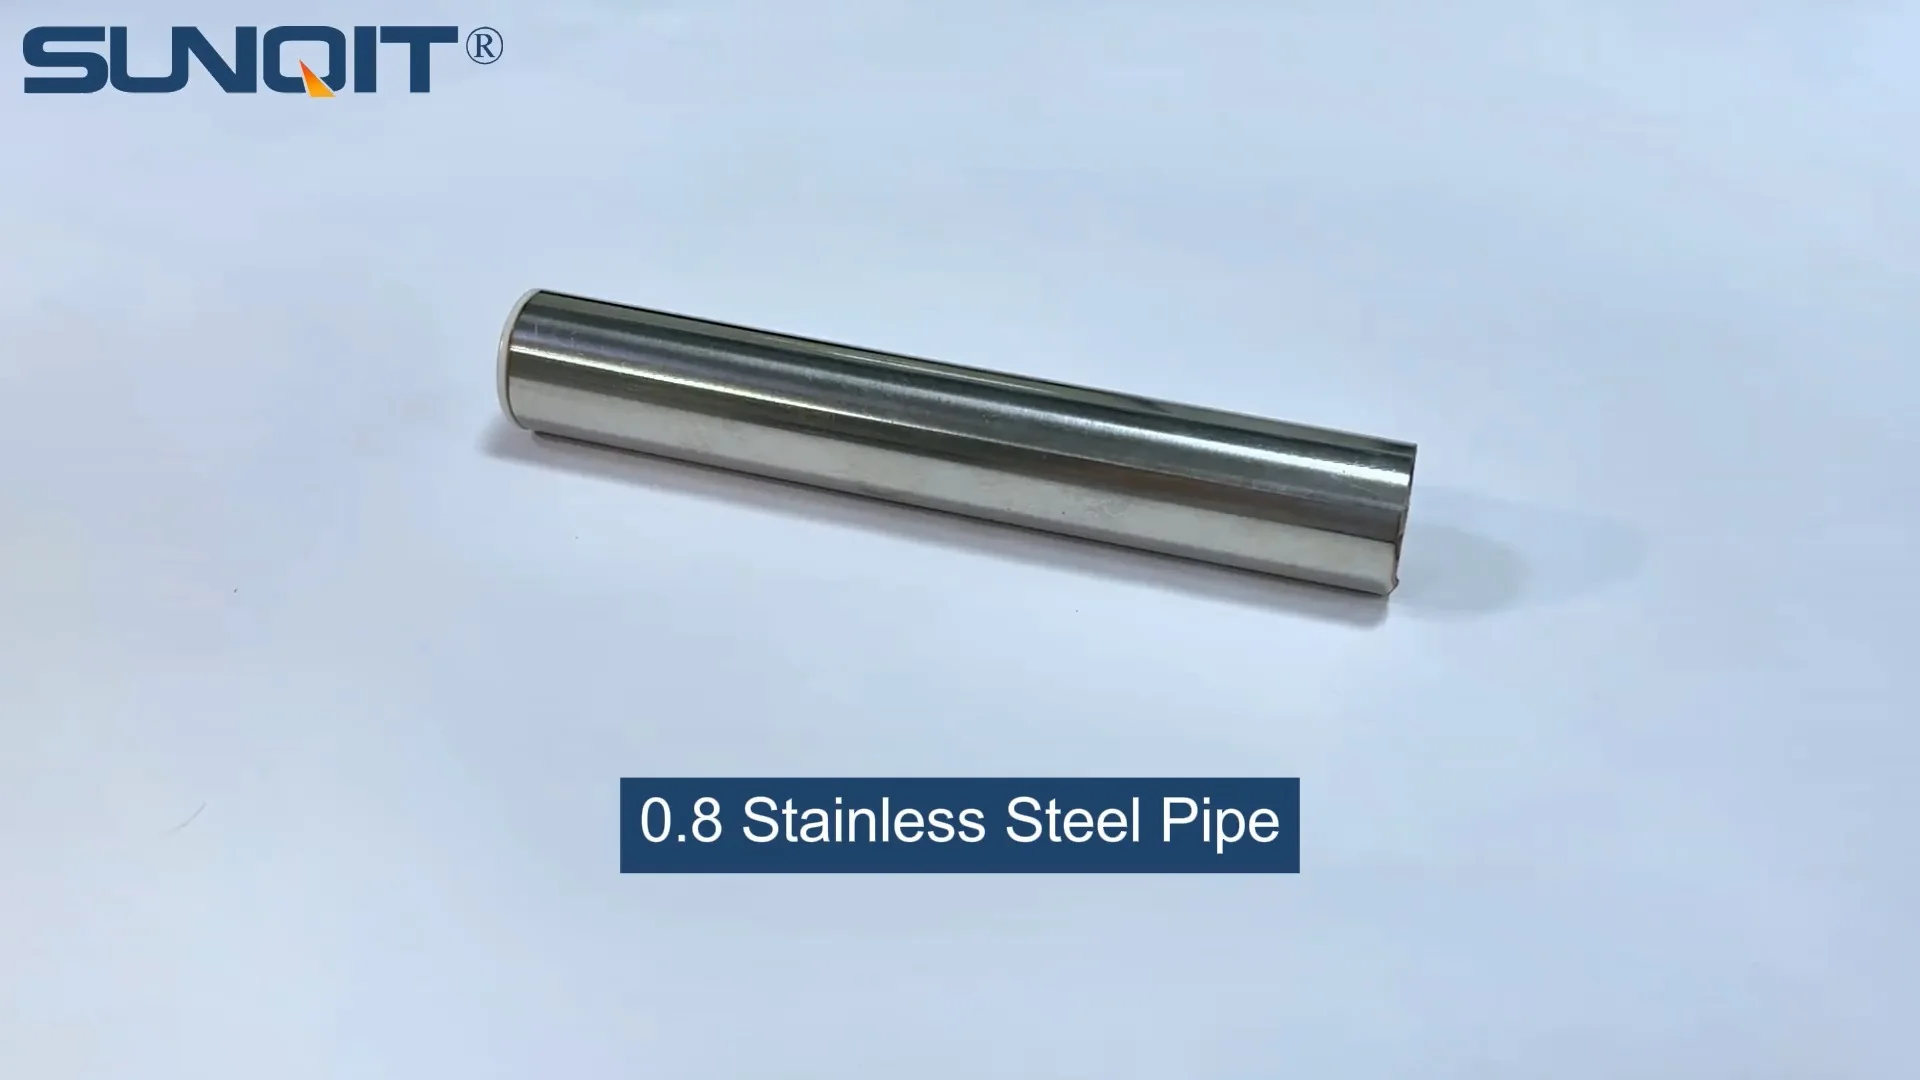
Stainless steel has long been the unsung hero of modern manufacturing, prized for its unbeatable combination of strength, corrosion resistance, and sleek finish. Within the vast stainless steel pipe series , the 2.0mm thickness stands out as a versatile workhorse—thin enough to be lightweight and flexible, yet robust enough to handle demanding applications in industries like food processing, medical device manufacturing, and automotive engineering. But here's the thing: welding 2.0mm stainless steel pipe isn't just about firing up a torch and melting metal. It's a precision craft that balances heat control, material science, and technique to avoid distortion, porosity, or weak joints. Whether you're building a sanitary pipeline for a brewery or fabricating a sturdy frame for a workbench , getting the weld right the first time saves time, money, and headaches. In this guide, we'll walk through everything you need to know to master welding 2.0mm stainless steel pipe, from prep work to post-weld cleanup.
1. Understanding 2.0mm Stainless Steel Pipe: Why Thickness Matters
Before diving into welding, let's start with the basics: what makes 2.0mm stainless steel pipe unique? In the stainless steel pipe series , thickness ranges from ultra-thin 0.8mm tubes (used in delicate instrumentation) up to heavy-duty 3.0mm+ pipes for structural applications. At 2.0mm, you're in the sweet spot—thick enough to withstand moderate pressure and mechanical stress, but thin enough to be manipulated into tight bends or complex shapes without cracking. This makes it ideal for projects where weight and precision are critical, like handheld tools, conveyor components, or the frames of mobile workbench units that need to be both sturdy and easy to move.
But here's the catch: 2.0mm is thin enough that heat management becomes a make-or-break factor. Stainless steel conducts heat more slowly than carbon steel, which means heat can build up in the weld zone, leading to warping or burn-through if you're not careful. Unlike thicker pipes (say, 3.0mm), where you can crank up the heat without immediate consequences, 2.0mm demands a gentle touch. Think of it like baking a delicate pastry—too much heat, and you end up with a charred mess; too little, and it doesn't hold together. That's why understanding the specific properties of your 2.0mm pipe is the first step to success.
Most 2.0mm stainless steel pipes are made from austenitic grades like 304 or 316, which are non-magnetic and offer excellent corrosion resistance. 304 is the go-to for general use (think kitchen equipment or outdoor railings), while 316 adds molybdenum for extra protection against saltwater or chemical exposure (perfect for marine or pharmaceutical applications). Both grades are weldable, but they have different heat tolerances—316, for example, is slightly more prone to grain growth at high temperatures, so keeping interpass temperatures low is key. Always check the pipe's grade before welding; using the wrong technique for 304 vs. 316 is a common rookie mistake that can lead to brittle welds or premature failure.
2. Pre-Welding Preparation: Cleanliness and Fit-Up Are Non-Negotiable
If there's one golden rule in stainless steel welding, it's this: cleanliness is everything . Stainless steel is highly reactive to contaminants like oil, grease, paint, or even fingerprints, which can cause porosity (tiny gas bubbles) in the weld. Porosity isn't just unsightly—it weakens the joint and compromises corrosion resistance, defeating the purpose of using stainless steel in the first place. For 2.0mm pipe, where the weld bead is already small and delicate, even a tiny speck of dirt can ruin the entire seam.
Step 1: Clean the Pipe Thoroughly
Start by degreasing the pipe. Use a lint-free cloth soaked in acetone or isopropyl alcohol to wipe down the entire surface, focusing on the area 2-3 inches around the joint. Avoid using mineral spirits or gasoline—they can leave residues that burn into the weld. Next, remove any oxides or scale from the weld zone. For this, use a stainless steel wire brush (never a carbon steel brush, which can leave iron particles that cause rust spots). Brush in one direction only to avoid pushing contaminants back into the metal. If the pipe has been stored outdoors or has heavy oxidation, you might need to use a pickling paste (a mixture of nitric and hydrofluoric acids) to etch away the scale, but be sure to neutralize it with a baking soda solution afterward to prevent acid damage.
Step 2: Choose the Right Joint Design
For 2.0mm pipe, joint design plays a huge role in weld quality. The goal is to create a joint that allows proper heat penetration without requiring excessive filler metal, which can add unnecessary weight or cause distortion. Let's break down the most common joint types and when to use them:
| Joint Type | Description | Best For | Pros | Cons |
|---|---|---|---|---|
| Butt Joint | Two pipes aligned end-to-end, with edges beveled at 30-45° | Straight pipelines, pressure systems | Strong, smooth interior (critical for sanitary applications) | Requires precise fit-up to avoid gaps |
| Lap Joint | One pipe overlaps the other by 2-3x the pipe thickness | Non-pressure applications, decorative work | Easy to fit up, forgiving of minor misalignment | Creates a crevice where moisture can collect (avoid in wet environments) |
| Fillet Joint | Two pipes joined at a 90° angle, with a triangular weld bead | Frame corners, workbench legs, structural brackets | High strength, ideal for right-angle connections | Requires careful heat control to avoid burning through the thinner pipe wall |
For most 2.0mm applications, a butt joint with a 30° bevel is the way to go—especially if the pipe will carry fluids or need to be cleaned regularly (like in food processing). The bevel creates a "V" shape that guides the filler metal and ensures full penetration without overheating. Just make sure the gap between the pipes is no more than 0.5mm—any larger, and you'll need to add extra filler, which increases heat input.
Step 3: Clamp Like Your Weld Depends On It (Because It Does)
Even the best joint design won't save you if the pipes move during welding. 2.0mm stainless steel is surprisingly flexible, and the heat of welding will cause it to expand and contract, leading to warping if it's not properly secured. Use stainless steel clamps or fixtures to hold the pipes in place—avoid using magnetic clamps, as they can leave iron deposits that cause rust. For long pipes, use multiple clamps spaced 6-8 inches apart to distribute pressure evenly. If you're welding a workbench frame, for example, clamp the legs to a flat surface first to ensure the frame stays square as you weld the corners.

2. Choosing the Right Equipment: TIG vs. MIG for 2.0mm Pipe
When it comes to welding 2.0mm stainless steel pipe, the age-old debate of TIG vs. MIG often arises. Both methods work, but each has its strengths and weaknesses—especially for thin material. Let's break down which one to choose and why.
TIG Welding: The Precision Tool
Tungsten Inert Gas (TIG) welding is widely regarded as the gold standard for thin stainless steel, and for good reason. With TIG, you have complete control over the heat input via a foot pedal, allowing you to dial in the exact amperage needed for 2.0mm pipe (typically 60-100 amps, depending on the joint design). The non-consumable tungsten electrode creates a stable arc, and you manually feed filler metal into the weld pool—giving you pinpoint accuracy to avoid burn-through. This makes TIG ideal for critical applications like medical equipment or food-grade pipelines, where a clean, porosity-free weld is non-negotiable.
But TIG isn't without its downsides. It's slower than MIG, requires steady hands, and the learning curve is steeper. If you're new to welding, expect to spend hours practicing on scrap pipe before tackling your project. You'll also need a TIG machine with AC/DC capabilities (DC for stainless steel), a water-cooled torch (to handle the heat without overheating), and high-purity argon shielding gas (99.99% purity) to protect the weld pool from atmospheric contamination.
MIG Welding: The Speed Demon
Metal Inert Gas (MIG) welding uses a spool of consumable wire that feeds automatically through the torch, making it faster than TIG for large projects. For 2.0mm pipe, MIG can work well if you use a small-diameter wire (0.8mm or 0.9mm) and a pulsed MIG setting, which reduces heat input by pulsing the arc on and off. This helps prevent burn-through while still depositing enough filler to build a strong joint. MIG is a great choice for production environments or projects where speed matters, like fabricating multiple workbench frames for a workshop.
The catch? MIG produces more spatter than TIG, which means extra cleanup. It also requires careful control of wire feed speed and voltage to avoid overheating the thin pipe. For stainless steel, use a tri-mix shielding gas (argon, helium, and CO2) to improve arc stability and reduce porosity. And whatever you do, avoid using flux-core wire—stainless steel flux-core tends to leave slag in the weld, which weakens it and ruins corrosion resistance.
So, which one should you choose? For most DIYers or small-batch projects, TIG is worth the extra time and practice—it gives you the control needed to avoid mistakes with 2.0mm pipe. If you're welding dozens of joints a day, MIG with pulsed settings can be a productivity booster, but only if you're already comfortable with the technique.

3. Mastering the Welding Technique: Step-by-Step for 2.0mm Pipe
Now that you're prepped and equipped, let's walk through the actual welding process. We'll focus on TIG here, since it's the most reliable method for 2.0mm stainless steel pipe. Follow these steps, and you'll be laying down clean, strong welds in no time.
Step 1: Set Up Your TIG Machine
Start by setting your TIG machine to DCEN (Direct Current Electrode Negative) polarity—this concentrates heat in the workpiece, not the electrode, which is crucial for thin material. Set the amperage to 60-80 amps for a 2.0mm butt joint (start lower if you're new, and increase as needed). For the shielding gas, flow argon at 15-20 cfh (cubic feet per hour)—too little, and the weld pool won't be protected; too much, and you'll waste gas. Attach a water-cooled torch with a #7 or #8 nozzle (larger nozzles provide better gas coverage) and a 2% thoriated or ceriated tungsten electrode, ground to a sharp point (30° angle) for precise arc control.
Step 2: Start the Arc and Establish the Weld Pool
Hold the torch at a 15-20° angle to the pipe, with the tungsten tip 1-2mm above the joint. Press the foot pedal gently to start the arc—aim for a small, focused puddle (about the size of a dime for 2.0mm pipe). Let the puddle form for 2-3 seconds to ensure the metal is fully molten, then begin moving the torch slowly along the joint at a speed of 1-2 inches per minute. Keep the arc length consistent—if it's too long, the weld will be weak and porous; too short, and you'll stick the tungsten.
Step 3: Add Filler Metal (When Needed)
For a butt joint with a tight fit-up, you might not need filler metal—the melted edges of the pipe will fuse together on their own (this is called an "autogenous weld"). But if there's a small gap or you need extra strength, feed filler metal into the leading edge of the weld pool using a "dabbing" motion. Dip the filler rod into the puddle, then pull it back slightly to avoid touching the tungsten. Use a filler rod that matches the pipe grade (308L for 304 pipe, 316L for 316 pipe) and keep it clean—wipe it with acetone before use to remove oils.
Step 4: Post-Weld Cooling and Cleanup
Once you've completed the weld, release the foot pedal to stop the arc, but keep the torch over the weld for 5-10 seconds to let the shielding gas protect the hot metal as it cools (this prevents oxidation, which causes discoloration). After cooling, inspect the weld: it should be smooth, with a uniform "stack of dimes" appearance, and free of cracks or porosity. If you see blue or purple discoloration, that's a sign of oxidation—you'll need to clean it with a stainless steel brush or pickling paste to restore corrosion resistance.
4. Troubleshooting Common Issues: What to Do When Things Go Wrong
Even seasoned welders run into problems with 2.0mm stainless steel pipe. Here are the most common issues and how to fix them:
Burn-Through
Nothing's more frustrating than a tiny hole in your otherwise perfect weld. Burn-through happens when heat input is too high, or the joint gap is too large. Fix it by: reducing amperage by 5-10 amps, increasing travel speed, or clamping a copper heat sink behind the joint to draw away excess heat.
Porosity
Those tiny bubbles in the weld? They're usually caused by contamination (oil, dirt, or moisture) or insufficient shielding gas. To fix: re-clean the joint with acetone, check for gas leaks in the torch line, and increase gas flow by 2-3 cfh.
Distortion
Warped pipes are a result of uneven heating. Prevent it by welding in short, alternating segments (e.g., weld 1 inch, cool, then weld 1 inch on the opposite side) and using clamps or jigs to hold the pipe in place during cooling.
5. Safety First: Protecting Yourself and Your Work
Welding is inherently risky, and stainless steel adds a few unique hazards—like toxic fumes from cleaning chemicals or ultraviolet radiation from the arc. Always wear: a welding helmet with a #10-12 shade lens, flame-resistant gloves and jacket, and closed-toe boots. Work in a well-ventilated area to avoid breathing argon gas or fumes, and keep a fire extinguisher nearby (stainless steel sparks can ignite wood, paper, or fabric).
Final Thoughts: Practice Makes Perfect
Welding 2.0mm stainless steel pipe isn't easy, but with the right prep, equipment, and technique, it's absolutely achievable. Remember: cleanliness, heat control, and patience are your best tools. Whether you're building a workbench , a pipeline, or a custom part, take the time to practice on scrap material first—you'll save yourself from costly mistakes later. And when you finally lay down that first perfect weld, you'll know it was worth the effort: a strong, corrosion-resistant joint that will stand the test of time.
So grab your torch, clean your pipe, and get welding—your project (and your future self) will thank you.