- Company Articles
- FAQ
- FAQ
- Common Issues with 1.2mm Stainless Steel Pipe and How to Fix Them

Common Issues with 1.2mm Stainless Steel Pipe and How to Fix Them
Related Product
1.2mm Stainless Steel Pipe
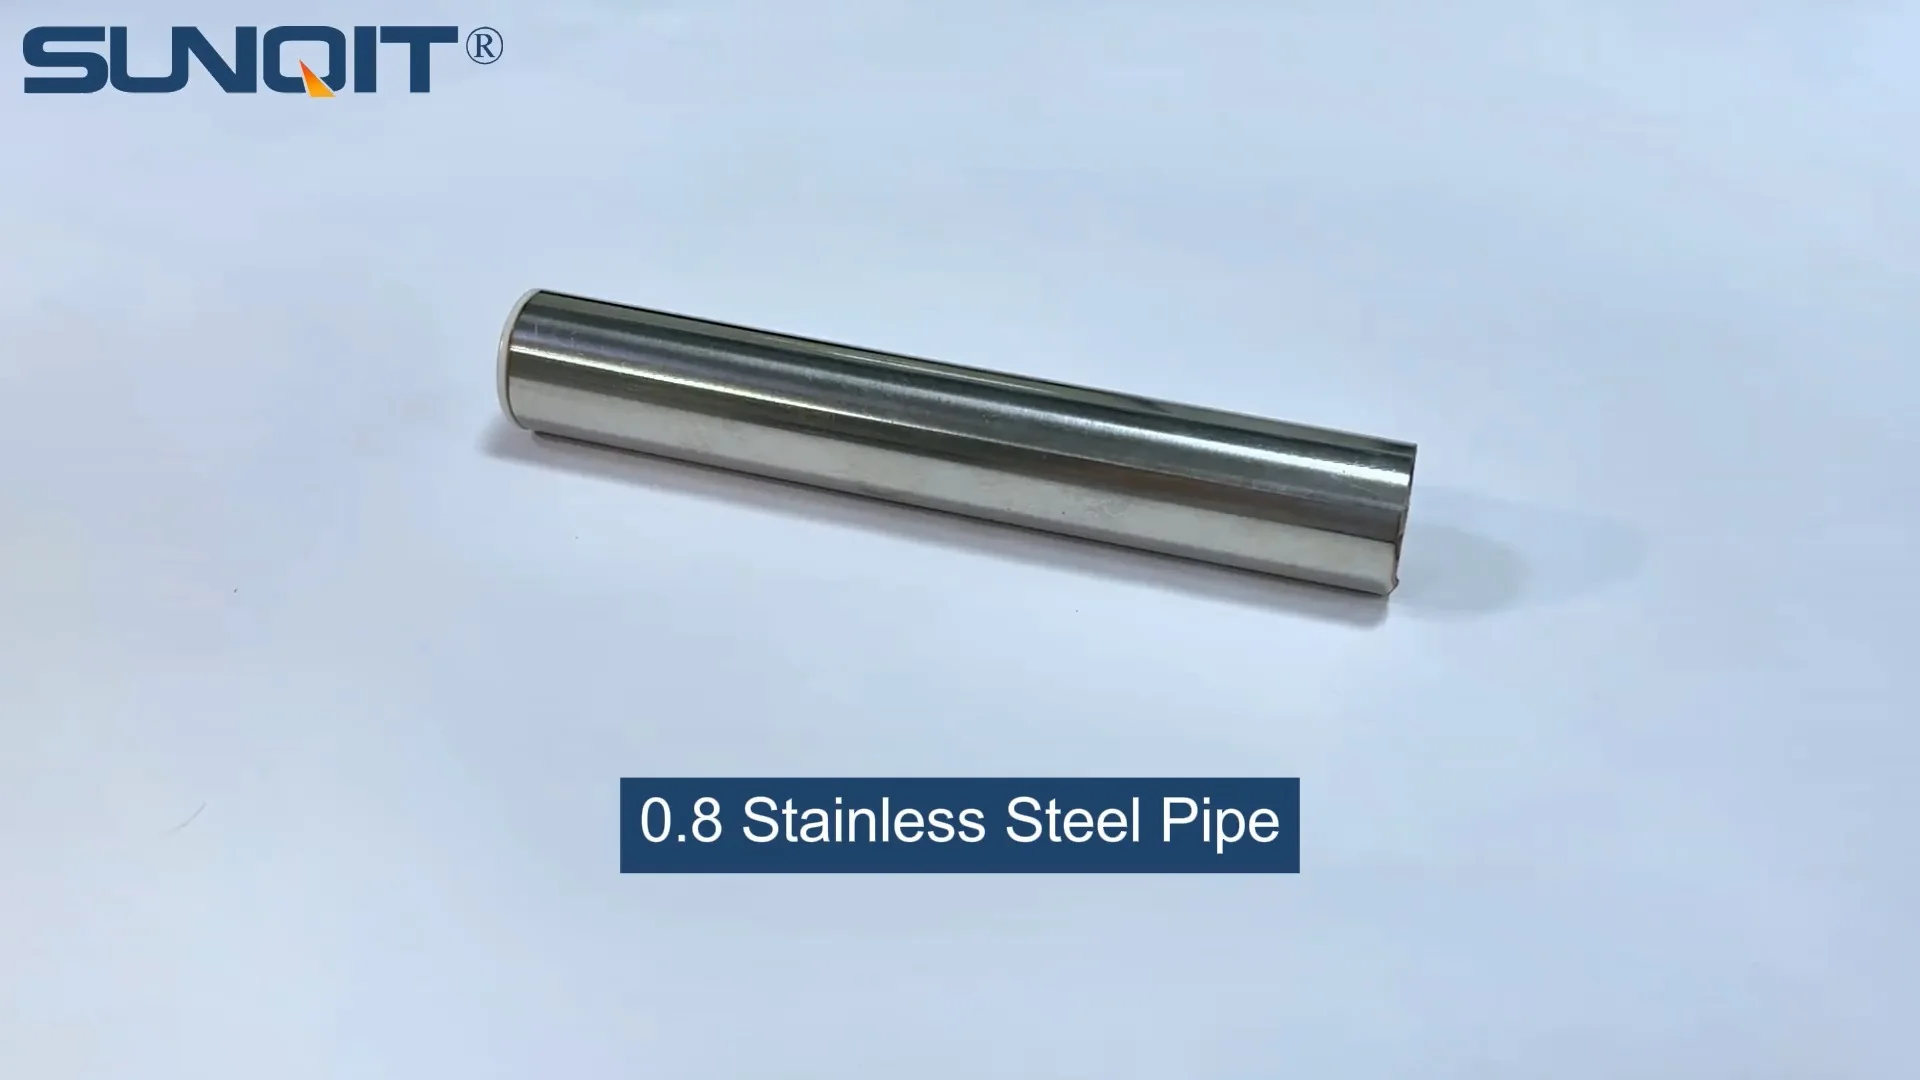
Stainless steel pipe, lean pipe, diameter is 28mm, material is SS201 or SS304, SS201 is normally used in the market. It knows a KARAKURI, KAIZEN material for industrial plant to improve efficiency, save labor cost, standard management.
If you've spent any time in a workshop, factory, or lean manufacturing setup, you've probably come across 1.2mm stainless steel pipe. It's the unsung hero of many workbenches, material racks, and turnover trolleys—lightweight, corrosion-resistant, and surprisingly versatile. But even the most reliable tools hit snags. Over the years, I've talked to countless maintenance managers and shop floor supervisors who swear by this pipe, yet still run into frustrating problems: joints that won't stay tight, surfaces that start to rust, or unexpected bending under loads they thought it could handle. In this article, we're diving into the most common issues with 1.2mm stainless steel pipe, why they happen, and exactly how to fix them—no fancy tools or engineering degrees required.
1. Corrosion in High-Moisture Environments: When "Stainless" Doesn't Mean "Stain-Proof"
Let's start with a myth buster: stainless steel isn't completely immune to corrosion. I remember visiting a food packaging plant last year where their 1.2mm stainless steel workbenches had started developing tiny rust spots along the edges. The team was confused—"We chose stainless for a reason!" they said. Turns out, their cleaning crew had been using a bleach-based disinfectant daily to meet hygiene standards, and the chloride in the bleach was eating away at the pipe's protective chromium oxide layer. That's the thing about 1.2mm stainless steel pipe: its thin wall makes it efficient for lightweight structures, but it also means the protective layer is thinner, leaving it more vulnerable if not cared for properly.
Corrosion typically shows up as discoloration (yellow or brown spots), pitting (small holes), or even flaking in severe cases. The main culprits? Exposure to chlorides (think saltwater, bleach, or certain industrial cleaners), prolonged moisture (like in humid warehouses), or contact with less noble metals (we'll get to that later with aluminum profile accessories). Even fingerprints left on the surface can cause corrosion over time, thanks to the salts in our skin.
Quick Test: Is It Corrosion or Just Staining?
Not sure if those spots are actual corrosion? Wipe the area with a cloth dampened in white vinegar. If the spot fades, it's likely a mineral deposit or stain. If it stays, it's probably corrosion starting to set in.
How to Fix It: If you catch it early, you can reverse minor corrosion. Start by cleaning the area with a mild detergent and warm water to remove surface grime. Then, use a non-abrasive sponge and a stainless steel cleaner (avoid anything with chloride or bleach) to gently scrub the affected spots. For pitting, a specialized stainless steel passivation gel can help rebuild the chromium oxide layer—apply it according to the manufacturer's instructions, then rinse thoroughly and dry. In cases where the corrosion has eaten through more than 10% of the pipe's wall thickness, though, it's safer to replace that section. A bent or compromised pipe is a safety risk, especially if it's part of a workbench or material rack holding tools or products.
Prevention is Key: The best way to avoid corrosion is to adjust your maintenance routine. If you're in a high-moisture environment, wipe down the pipes daily with a dry cloth. Swap out chloride-based cleaners for pH-neutral, chloride-free alternatives (look for labels that say "safe for stainless steel"). For areas prone to splashes (like near sinks or washing stations), consider adding a clear protective coating—there are sprays designed specifically for stainless steel that add a thin, invisible layer of protection without affecting the pipe's appearance. And don't forget to inspect regularly: check joints, corners, and areas where water might pool (like under workbench shelves) at least once a week.
2. Fitting Looseness with Lean Pipe Joints: When Your Structure Starts to Wobble
Most 1.2mm stainless steel pipe setups rely on lean pipe joints to connect sections—those handy, multi-angle connectors that let you build everything from simple racks to complex workbenches. But walk into any workshop, and you'll probably find at least one wobbly structure where the joints have loosened over time. I once helped a small electronics manufacturer whose ESD workstation had become so unstable, their workers were afraid to place delicate circuit boards on it. When we took it apart, the lean pipe joints were barely tight enough to hold the pipes in place—no surprise, since the workstation was used 12 hours a day, with constant vibrations from nearby machinery.
Why do joints loosen? First, improper installation is a big one. People often hand-tighten joints without using a torque wrench, assuming "snug" is enough. But 1.2mm pipe has less rigidity than thicker steel, so joints need precise torque to stay secure. Then there's vibration: if the structure is near a conveyor, compressor, or other moving equipment, the constant shaking can slowly loosen even well-tightened joints. Thermal expansion is another factor—stainless steel expands and contracts with temperature changes, and over time, this movement can wear down the joint's grip.
How to Fix It: Start by identifying which joints are loose. Gently shake the structure—wobbly sections will point you to the culprit. Once you've found the loose joint, use a hex key (most lean pipe joints use hex screws) to retighten it. But here's the trick: don't just crank it as hard as you can. Over-tightening can strip the threads or even crack the joint's plastic or metal housing. Check the joint manufacturer's specs for torque recommendations (usually around 15-20 Nm for 1.2mm pipe). If the joint is already stripped, replace it—trying to "make do" with a damaged joint will only lead to more instability.
For persistent looseness (like in high-vibration areas), add a drop of thread locker (blue, not red—red is permanent) to the joint's screw before tightening. Thread locker fills the gaps between threads, preventing them from vibrating loose. Just be careful not to get it on the pipe itself, as it can stain the stainless steel.
Prevention: During installation, use a torque wrench to get the joints right the first time. If the structure is near vibrating equipment, add rubber grommets between the pipe and joint to absorb shock. And schedule monthly "tightness checks"—a quick 10-minute walkaround with a hex key can save you from major repairs later. Pro tip: Mark joints with a paint pen after tightening so you can visually check if they've rotated (a sign of loosening) during inspections.

3. Bending Under Heavy Loads: When Your Pipe Can't Keep Its Shape
1.2mm stainless steel pipe is great for lightweight applications—think tool hooks, small parts bins, or temporary workstations. But push it too hard, and it will bend. I visited an automotive parts supplier once where they'd stacked 50kg boxes on a material rack made with 1.2mm pipe, assuming "stainless steel" meant "indestructible." The middle crossbar had sagged so much, the boxes were teetering. When we measured the bend, it was 15mm—enough to make the whole rack unstable. The problem? They'd ignored the pipe's load capacity, which for 1.2mm stainless steel is typically around 20-30kg per linear meter for horizontal spans (check your supplier's specs—this varies by brand).
Bending usually happens in horizontal sections (like shelves or crossbars) or where the pipe is unsupported over long spans. The causes are straightforward: exceeding the recommended load, uneven weight distribution (putting all the weight in the middle instead of spreading it out), or using spans that are too long without supports. Even a one-time heavy load (like dropping a tool on a shelf) can cause permanent deformation.
Load Capacity Cheat Sheet
As a general rule, 1.2mm stainless steel pipe can handle:
- Vertical supports: Up to 100kg (when anchored properly)
- Horizontal spans (1m length): 25-30kg
- Horizontal spans (2m length): 10-15kg
Always check your supplier's data sheet for exact numbers—aluminum lean pipe or thicker stainless steel will have different capacities.
- Vertical supports: Up to 100kg (when anchored properly)
- Horizontal spans (1m length): 25-30kg
- Horizontal spans (2m length): 10-15kg
Always check your supplier's data sheet for exact numbers—aluminum lean pipe or thicker stainless steel will have different capacities.
How to Fix It: If the bend is minor (less than 5mm), you might be able to straighten it manually. Use two pipe clamps to secure the unbent sections on either side of the bend, then gently apply pressure with a rubber mallet to push the pipe back into shape. Go slow—stainless steel work-hardens, so bending it too quickly can cause it to crack. For bends over 5mm, or if the pipe has kinked (a sharp, not gradual bend), replace the section. A bent pipe has already been weakened, and reusing it is a safety hazard.
To prevent future bending, reinforce the structure. Add vertical supports (using aluminum profile or thicker stainless steel pipe) every 60-80cm along horizontal spans. For workbenches, install a cross-brace between legs to distribute weight. If you need to hold heavier loads, consider upgrading to 1.5mm stainless steel pipe, or mix in aluminum profile supports—aluminum extrusion profiles are stiffer and can take more weight, making them a great partner for 1.2mm pipe in hybrid structures.
Prevention: Always calculate the load before building. If you're unsure, do a test: place weighted boxes (gradually increasing the weight) on the structure and check for bending. Mark the maximum load clearly on the structure with a label—"Max Load: 30kg" prevents accidental overloading. And train your team to distribute weight evenly—piling everything on one side of a shelf is a surefire way to bend the pipe.

4. Poor Compatibility with Aluminum Profile Accessories: When Metals Clash
Many workshops mix and match materials to save costs or improve flexibility—using 1.2mm stainless steel pipe for the frame and aluminum profile accessories (like aluminum guide rail or roller track placon mounts) for shelving or conveyors. It's a smart combo, but it can backfire if you're not careful. I saw this at a electronics assembly plant where they'd attached aluminum guide rail A to their stainless steel workbench frame. After a few months, the connection points started to corrode, and the guide rail felt loose. What happened? Galvanic corrosion—when two dissimilar metals react in the presence of moisture, creating a battery-like effect that eats away at the less noble metal (in this case, the aluminum).
Stainless steel is more noble than aluminum, so when they touch and get wet, the aluminum acts as the anode and starts to corrode. You'll notice this as white, powdery residue (aluminum oxide) around the connection, or as the aluminum accessory becoming pitted or loose. Even if you don't see corrosion, the electrical current between the metals can weaken the joint over time, leading to instability.
Another compatibility issue is size: aluminum profile accessories are often designed for thicker aluminum pipes (like 20mm or 30mm), while 1.2mm stainless steel pipe is usually 28mm or 30mm in outer diameter. A mismatch here can mean loose fits, which leads to wobbling or even the accessory sliding off the pipe.
How to Fix It: If you already have mixed metals, start by disconnecting the stainless steel pipe and aluminum accessory. Clean both surfaces with a wire brush to remove any corrosion, then apply a layer of insulating material between them before reconnecting. Options include plastic washers, rubber gaskets, or even electrical tape (wrap it around the pipe where the accessory touches). The goal is to separate the metals so they can't conduct electricity.
For size mismatches, use adjustable accessories or add a plastic pipe sleeve to the stainless steel pipe to increase its diameter. For example, if your aluminum guide rail is designed for 30mm pipe but your stainless pipe is 28mm, slide a 2mm-thick plastic sleeve over the pipe before attaching the rail—it will fill the gap and create a snug fit.
Prevention: When planning your structure, stick to accessories designed for stainless steel pipe if possible. If you must mix metals, choose accessories with built-in insulation (many manufacturers now make hybrid accessories with plastic or rubber liners). And avoid using aluminum profile accessories in high-moisture areas—keep those for dry environments where galvanic corrosion is less likely to occur. When in doubt, ask your supplier: a good lean pipe supplier will know which accessories are compatible with 1.2mm stainless steel and which to avoid.
5. Difficulty in Surface Maintenance: Keeping That Stainless Shine
Stainless steel is supposed to be low-maintenance, right? For the most part, yes—but 1.2mm pipe's smooth surface can be a magnet for smudges, fingerprints, and grease, especially in busy workshops. I visited a furniture manufacturer last month where their stainless steel workbenches looked dull and streaky, even though they were cleaned daily. The issue? They were using a rough scouring pad and generic dish soap, which was leaving micro-scratches and residue behind. Over time, those scratches trapped dirt, making the surface harder to clean and dulling its appearance.
Another common problem is water spots. If you rinse the pipe after cleaning but don't dry it, minerals in the water (like calcium) can leave white spots that are tough to remove. In industrial settings, oil and grease from machinery can also build up, creating a sticky film that attracts dust and grime.
How to Fix It: To restore a dull surface, start with a deep clean. Mix warm water with a few drops of mild dish soap (avoid anything with abrasives or citrus, which can damage the finish) and wipe the pipe with a soft microfiber cloth. For tough grease, add a tablespoon of baking soda to the soapy water—it's gentle enough not to scratch but abrasive enough to cut through grime. Rinse thoroughly, then dry immediately with a clean cloth to prevent water spots.
For micro-scratches, use a stainless steel polish (look for one with a fine abrasive, like cerium oxide). Apply a small amount to a soft cloth and rub in the direction of the grain (yes, stainless steel has a grain—check the pipe's surface for faint lines and follow them). Buff until the scratches fade, then wipe away excess polish with a clean cloth. For severe scratches, you may need to use a variable-speed buffer with a wool pad, but be careful—too much pressure can thin the pipe's wall.
Prevention: Use only soft cloths or sponges for cleaning—never steel wool or scouring pads. Avoid harsh chemicals (bleach, ammonia, or acid-based cleaners) and opt for pH-neutral stainless steel cleaners instead. For high-traffic areas (like workbench edges), apply a stainless steel protectant spray monthly. It creates a barrier that repels fingerprints and water, making future cleaning a breeze. And train your team to wipe up spills immediately—oil and grease are easier to remove before they dry.
Troubleshooting Table: Quick Fixes for Common Issues
| Issue | Common Cause | Immediate Fix | Long-Term Prevention |
|---|---|---|---|
| Minor corrosion spots | Chloride exposure or moisture | Clean with vinegar, then passivate with stainless steel gel | Use chloride-free cleaners; wipe dry daily |
| Loose lean pipe joints | Improper torque or vibration | Retighten with torque wrench; add thread locker | Torque during installation; monthly tightness checks |
| Slight bending (under 5mm) | Exceeding load capacity | Straighten with pipe clamps and rubber mallet | Add supports every 60-80cm; label max load |
| Aluminum accessory corrosion | Galvanic reaction between metals | Disconnect, clean, and add insulating washers | Use insulated hybrid accessories; avoid moisture |
| Dull, streaky surface | Scratches or residue from harsh cleaners | Polish with stainless steel cleaner and microfiber cloth | Use soft cloths; apply protectant spray monthly |
Final Thoughts: Making the Most of Your 1.2mm Stainless Steel Pipe
At the end of the day, 1.2mm stainless steel pipe is a workhorse—but like any tool, it needs a little care to perform its best. By understanding these common issues and how to fix them, you can extend the life of your structures, keep your workspace safe, and avoid costly replacements. Remember: most problems start small—corrosion spots, loose joints, minor bends—and get worse over time. A little proactive maintenance goes a long way.
And don't forget to partner with a reliable supplier. A good lean pipe supplier won't just sell you pipe—they'll provide specs, compatibility charts, and even installation tips to help you avoid issues in the first place. Whether you're building workbenches, material racks, or turnover trolleys, the right support makes all the difference.
So the next time you're staring at a rust spot or a wobbly joint, take a deep breath. With the tips in this article, you've got the knowledge to fix it—and prevent it from happening again. Here's to stronger, more durable structures, one 1.2mm pipe at a time.