- Company Articles
- FAQ
- FAQ
- Common Problems with Aluminum Pipe Clamps & How to Fix Them

Common Problems with Aluminum Pipe Clamps & How to Fix Them
Related Product
Aluminum Pipe Clamp
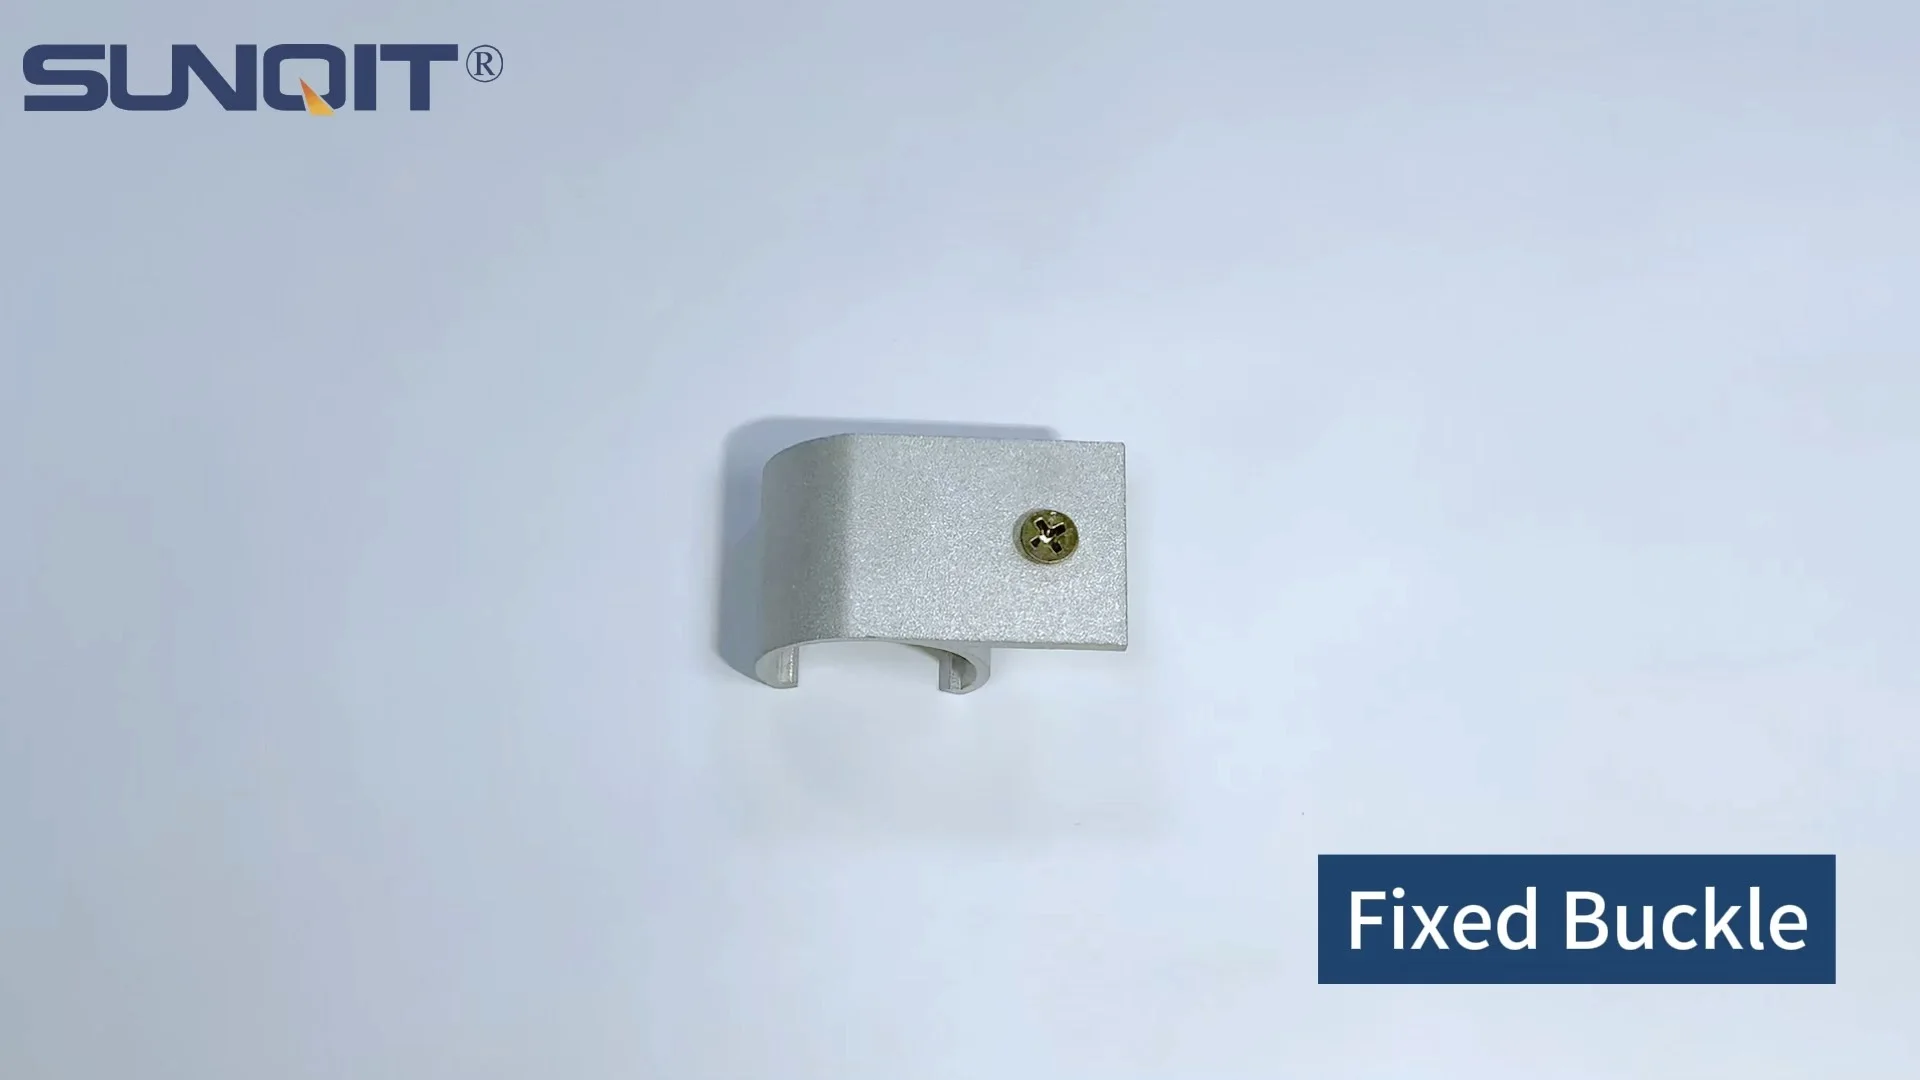
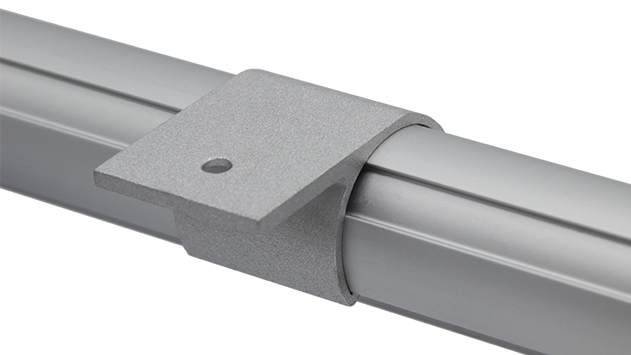
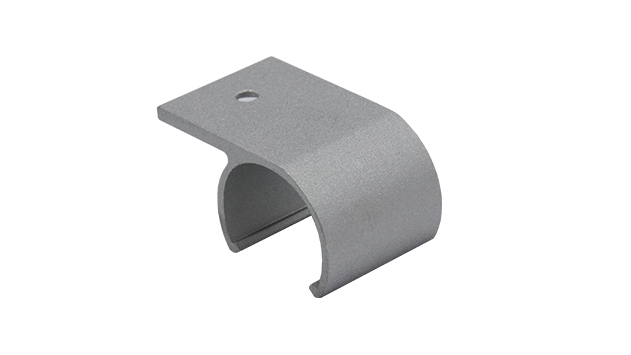
Aluminum pipe side clamp used for 28mm aluminum pipe connect with table top, or other accessories.
It's 7:15 on a Monday morning at BrightEdge Assembly Plant, and Raj, the floor manager, is staring at a production log that makes his jaw tighten. The morning shift's first hour output is already 15% below target—not because of slow workers, but because the main workbench on Line C collapsed halfway through a batch. The culprit? A failed aluminum pipe clamp that had been holding the upper shelf bracket in place. "Again?" he sighs, recalling the same issue happening just two weeks ago. "We can't keep wasting time on this."
Raj's frustration is shared by countless facility managers, maintenance technicians, and workshop owners who rely on aluminum pipe clamps to build everything from lean manufacturing workstations to warehouse flow racks. These unassuming components are the backbone of flexible, modular systems—lightweight enough to reconfigure, strong enough to support daily operations, and affordable enough to scale. But when they falter, the results are immediate: disrupted workflows, compromised safety, and the slow erosion of team confidence in the tools they depend on.
In this guide, we'll pull back the curtain on the most persistent problems that plague aluminum pipe clamps, explore why they occur, and provide actionable solutions that go beyond quick fixes. Whether you're troubleshooting a wobbly workbench or designing a new production line, these insights will help you build stronger, more reliable systems that stand up to the chaos of real-world operations.
1. The Creeping Looseness: When Tightened Clamps Turn Wobbly
Walk through any facility using aluminum pipe structures, and you'll likely spot at least one clamp that's come loose. It starts subtly—a faint rattle when you tap the workbench, a slight shift in the flow rack when loading materials. Ignore it, and within days, you're dealing with a full-blown instability issue. So why do these clamps lose their grip over time?
Vibration is the primary offender. Manufacturing floors hum with constant motion: conveyor belts chugging, machinery stamping, forklifts rumbling past. These vibrations travel through aluminum pipes like sound through a tuning fork, gradually shaking clamp threads loose. Add in repeated adjustments—raising a shelf to fit taller bins, repositioning a rail to redirect parts—and you're essentially "working" the clamp, weakening the tension holding it in place.
Human error plays a role too. Many teams rely on a quick "hand-tight" twist during setup, assuming that's sufficient. But aluminum pipe clamps (especially those with plastic or nylon liners) require precise torque to balance security and material integrity. Too loose, and they vibrate free; too tight, and you risk stripping threads or warping the clamp's jaw.
Solution Steps:
• Torque with purpose: Invest in a small torque wrench (affordable models start at $20) and check the manufacturer's specs—most aluminum pipe clamps require 18–22 Nm of torque. This ensures you hit the sweet spot between "too loose" and "damagingly tight."
• Fight vibration: For clamps near high-vibration equipment (like punch presses or packaging machines), apply a drop of blue thread-locking adhesive (e.g., Loctite 243) to the threads. It creates friction that resists shaking without making future adjustments impossible.
• Schedule "clamp check" routines: Assign a technician to inspect critical clamps weekly with a torque wrench. Focus on high-traffic areas first—workbenches, material racks, and conveyor supports. A 30-second check now prevents a 30-minute repair later.
2. Misalignment Mayhem: When Pipes and Clamps Refuse to Cooperate
You've spent an hour assembling a new aluminum pipe workstation. Everything looks straight until you attach the final clamp—and suddenly the entire frame skews to the left. The clamp won't sit flush, the pipe wobbles in the jaw, and you're tempted to just "force it" to save time. Sound familiar? Misalignment isn't just annoying; it's a ticking time bomb for clamp failure.
The root cause often lies in mismatched components. Aluminum pipes come in standard diameters (16mm, 28mm, 40mm are common), but not all clamps are created equal. A clamp designed for 28mm pipes will struggle to grip a 30mm pipe, creating a loose, angled fit. Similarly, using bent or warped pipes (a common issue with stored inventory) forces clamps into unnatural positions, concentrating stress on one side of the jaw.
Aluminum profile accessories can also throw off alignment. Brackets, joint connectors, or end caps from different suppliers may have slightly varying dimensions, causing pipes to sit at odd angles. When you clamp over these misalignments, the clamp isn't just holding the structure—it's fighting it.
Solution Steps:
• Measure twice, clamp once: Before assembly, verify pipe diameters with calipers and check for straightness by rolling pipes on a flat surface. replace any bent pipes—they're not worth the risk.
• Stick to compatible systems: Mixing brands is tempting to save costs, but reputable suppliers design clamps, aluminum profile accessories, and lean pipe joints to work together seamlessly. For example, if you're using 4040 aluminum extrusion profiles, choose clamps specifically rated for that profile's groove spacing.
• Use alignment tools: A 2-foot level and a framing square are your best friends. Check vertical pipes for plumb and horizontal pipes for level before tightening clamps. For complex joints, use temporary zip ties to hold pipes in place while you position the clamp.
3. Corrosion Catastrophes: When Moisture Eats Away at Strength
Aluminum's natural corrosion resistance is a big selling point—but that doesn't make aluminum pipe clamps invincible. In humid environments (like food processing plants), coastal areas with salt air, or workshops with frequent washdowns, clamps can develop white, powdery corrosion (oxidation) or even rust on steel components. Over time, this weakens the clamp's structure, making threads strip and jaws crack.
The problem often starts small: a water droplet trapped between the clamp and pipe, a chemical spill that splashes the workbench legs, or even condensation from refrigerated areas. Once corrosion takes hold, it spreads quickly—especially if the clamp's protective coating (anodization or powder coating) is scratched during installation.
Solution Steps:
• Choose the right clamp for the environment: In wet areas, opt for stainless steel clamp screws instead of standard steel. For chemical exposure, select anodized aluminum clamps—anodization adds a thick oxide layer that resists acids and alkalis.
• Clean and protect: Wipe clamps monthly with a dry cloth to remove dust and moisture. In humid zones, use a mild detergent (like dish soap) to clean off salt or chemical residues, then dry thoroughly. Apply a thin coat of anti-corrosion spray (e.g., WD-40 Specialist Corrosion Inhibitor) to steel components.
• replace early: If you spot white oxidation or rust, don't wait to act. Small corrosion spots can be sanded off with fine-grit sandpaper, but once threads or jaw edges are pitted, the clamp is compromised. Keep spare clamps on hand for quick swaps.
4. Compatibility Confusion: When "Aluminum Pipe Clamp" Isn't Specific Enough
You rush to replace a broken clamp on a Saturday, grab the first "aluminum pipe clamp" from the hardware store, and discover the new clamp's screw is too short, or the jaw opening is too narrow. "But it's the same size!" you mutter. The issue? The term "aluminum pipe clamp" covers a universe of designs—from basic single-screw clamps to heavy-duty toggle clamps—and not all work with every system.
Lean pipe systems, for example, often use clamps with rounded jaws to fit round aluminum pipes, while aluminum extrusion profiles (like 2020 or 4040 series) require clamps with flat jaws that grip the profile's T-slots. Mixing these designs leads to weak connections—imagine trying to hold a square peg with a round clamp.
Even within the same category, manufacturers have unique specs. One brand's "28mm pipe clamp" might have a 12mm screw thread, while another uses 10mm. This makes swapping parts nearly impossible without careful checking.
Solution Steps:
• Stick to one supplier when possible: Reputable aluminum pipe suppliers (like those offering complete lean system solutions) ensure clamps, pipes, and accessories work together. Keep a list of your supplier's part numbers for quick reordering.
• Read the specs, not just the label: When buying new clamps, check for key details: pipe diameter range, screw thread size, jaw type (rounded/flat), and maximum load capacity. A clamp labeled "for aluminum pipes" might not work with your specific profile.
• Test before full assembly: When using a new clamp type, test-fit it on scrap pipe first. Check if it grips securely, sits flush, and aligns with adjacent components. It's better to waste 5 minutes now than 5 hours later fixing a failed structure.

5. Wear and Tear: When Clamps Get Tired
Aluminum pipe clamps are built to be adjusted—tightened, loosened, repositioned—but all that flexibility takes a toll. After months of use, you might notice: threads that spin without tightening, jaws that no longer grip the pipe firmly, or plastic liners that have cracked. This wear isn't just cosmetic; it directly reduces the clamp's ability to hold weight.
The biggest culprits are over-tightening (which strips threads) and repeated adjustment (which wears down jaw edges). Even something as simple as using the wrong tool—a Phillips screwdriver on a hex-head screw—can round off the screw head, making future tightening impossible.
Heavy loads also accelerate wear. A clamp rated for 50kg shouldn't be used to hold 80kg, even temporarily. The extra stress bends the clamp body, weakening it over time.
Solution Steps:
• Respect load limits: Check the clamp's load rating (usually listed on the packaging or supplier website) and never exceed it. For heavy shelves or equipment, use two clamps instead of one to share the weight.
• Use proper tools: Always use the correct driver (hex key, screwdriver, or wrench) for the clamp's screw head. A snug fit prevents rounding and ensures even torque.
• replace worn parts: Many clamps have replaceable components—screws, jaw liners, or springs. For example, if the plastic liner in the jaw cracks, you can often buy a replacement instead of a whole new clamp. Keep a stock of these small parts to extend clamp life.
| Common Problem | Why It Happens | Quick Fix | Long-Term Prevention |
|---|---|---|---|
| Clamp loosening | Vibration, improper torque, repeated adjustment | Retighten with torque wrench; apply thread-locker | Weekly torque checks; use vibration-resistant clamps near machinery |
| Misalignment | Mismatched pipe/clamp sizes, bent pipes, incompatible accessories | Disassemble and realign; replace bent pipes | Use compatible aluminum profile accessories; measure pipes before assembly |
| Corrosion | Moisture, salt, chemicals, scratched coatings | Clean with mild detergent; sand small corrosion spots | Choose stainless steel components; apply anti-corrosion spray quarterly |
| Compatibility issues | Mixing brands; ignoring thread/jaw specs | replace with clamp matching pipe/profile specs | Stick to one supplier; verify specs before purchasing |
| Worn components | Over-tightening, repeated adjustment, overloading | replace stripped screws or cracked jaw liners | Respect load limits; use proper tools; stock replacement parts |
Final Thoughts: Clamps Are Only as Good as Their Care
Aluminum pipe clamps are the unsung heroes of flexible manufacturing—quietly holding together the systems that keep production moving. But they're not magic. Like any tool, they require attention: choosing the right type, installing them carefully, maintaining them regularly, and replacing them when they wear out.
Raj, from BrightEdge Assembly, learned this the hard way. After implementing weekly clamp checks and switching to compatible aluminum profile accessories, his team's downtime from clamp failures dropped by 80%. "We used to see at least one wobbly workbench a week," he says. "Now? Maybe one a quarter. And when we do, we fix it in 5 minutes instead of 30."
The next time you tighten an aluminum pipe clamp, take a moment to do it right. Check the alignment, use the proper torque, and note if it's showing signs of wear. Your team, your production schedule, and your sanity will all thank you.