- Company Articles
- FAQ
- FAQ
- Common Problems with Multi-Angle Fixed Aluminum Joints & Solutions

Common Problems with Multi-Angle Fixed Aluminum Joints & Solutions
Related Product
Multi-angle Fixed Aluminum Joint
Aluminum joint pipe connection for two pipe connection and work in mutiple angle.
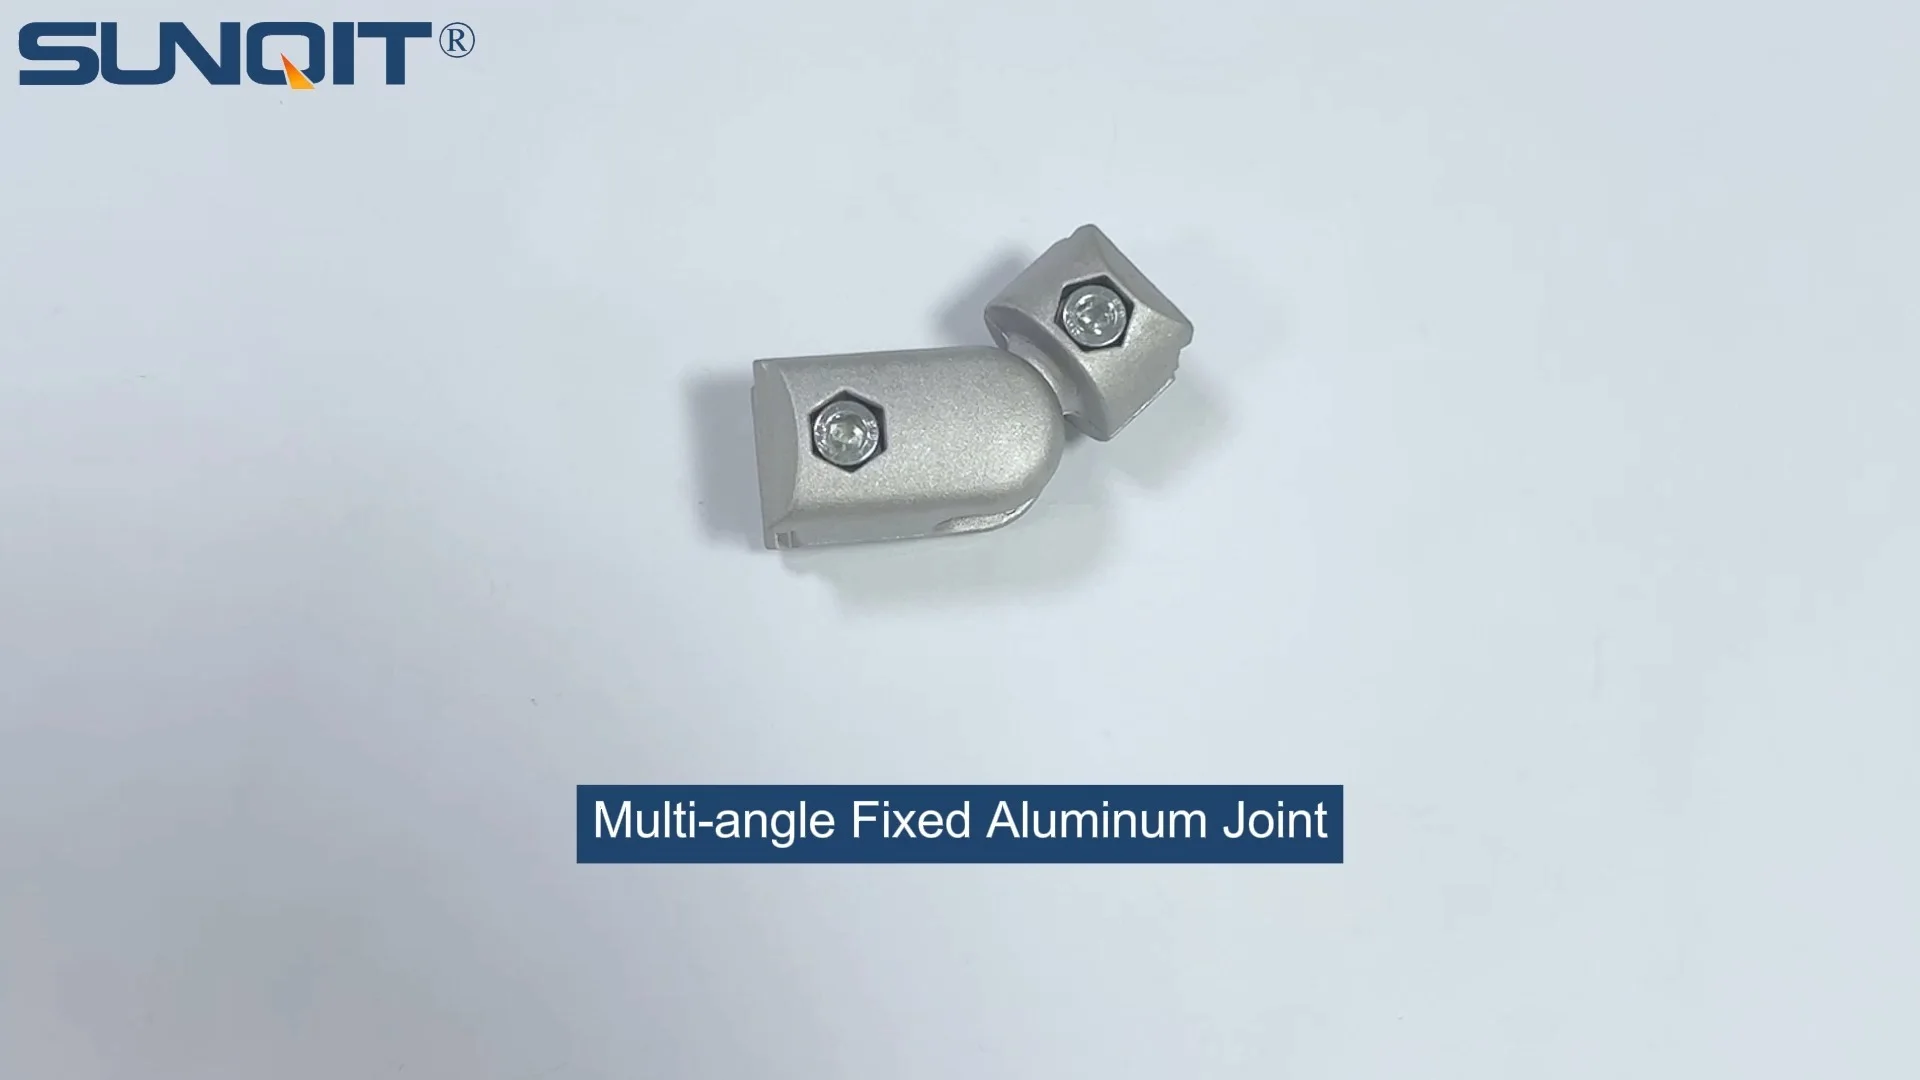
If you've ever walked through a manufacturing plant, a warehouse, or even a busy workshop, you've probably seen them: sturdy workbenches, sleek flow racks, and flexible conveyor systems that seem to effortlessly hold, move, and organize materials. Behind that seamless functionality lies a small but critical component: the multi-angle fixed aluminum joint. These unassuming connectors are the unsung heroes of aluminum profile systems, holding together everything from basic aluminum tubes to complex lean pipe workbenches and aluminum extrusion profiles. Designed to connect pipes and profiles at various angles—90 degrees, 45 degrees, 135 degrees, and more—they provide the flexibility and stability needed to build custom structures tailored to specific workflow needs. But like any hardworking component, multi-angle fixed aluminum joints aren't immune to problems. Over time, issues like loosening connections, misalignment, or corrosion can creep in, turning a reliable structure into a wobbly liability. In this article, we'll dive into the most common headaches users face with these joints, why they happen, and practical solutions to keep your aluminum profile systems running smoothly. Whether you're a seasoned facility manager, a small business owner setting up a new workspace, or a hobbyist building with aluminum pipe accessories, understanding these challenges will save you time, money, and frustration down the line.
Understanding Multi-Angle Fixed Aluminum Joints
Before we jump into problems, let's take a quick look at what makes these joints so essential. Multi-angle fixed aluminum joints are precision-engineered components designed to connect aluminum pipes, profiles, or tubes at specific angles without the need for welding or drilling. They typically feature internal threads, clamping mechanisms, or locking levers that grip the aluminum profile tightly, creating a rigid yet removable connection. This versatility makes them a favorite in lean manufacturing systems, where adaptability and quick reconfiguration are key. From assembling a simple material rack B (3 row and 3 floor) to building a complex roller track system with aluminum guide rail A or B, these joints are the backbone of modular construction. But their effectiveness depends on two factors: quality manufacturing and proper use. When either is compromised, problems arise.
Common Problems and Practical Solutions
1. Loosening of Joint Connections
Symptoms:
You've probably noticed it—a slight wobble in your workbench when you lean on it, a gap between the aluminum profile and the joint, or a flow rack that shifts when you load materials. Over time, these small signs can escalate: structures might become unstable, materials could slip, or in worst cases, the entire assembly might collapse under load. Loosening joints are one of the most frequent complaints, and they're not just a nuisance—they're a safety risk.
Causes:
Why do joints loosen? It often starts with thermal expansion. Aluminum and the joint materials (often aluminum alloy or steel) expand and contract at different rates with temperature changes, weakening the grip over time. Then there's vibration: in busy workshops or production lines, constant movement from machinery, foot traffic, or material handling shakes joints loose. Human error plays a role too—over-tightening (which strips threads) or under-tightening (which never secures the joint properly) with basic tools like a wrench instead of a torque wrench. Finally, material fatigue: cheaper joints with thin walls or low-grade aluminum can wear down after repeated stress, losing their clamping power.
Solutions:
The good news is that loose joints are usually fixable with a few simple steps:
- Use thread-locking adhesives: For threaded joints, a drop of medium-strength thread-locking glue (like Loctite 243) prevents loosening from vibration without making disassembly impossible later.
- Invest in a torque wrench: Instead of guessing how tight is "tight enough," use a torque wrench set to the manufacturer's recommended specs. This ensures consistent, secure clamping without damaging threads.
- Schedule periodic inspections: Make it a habit to check joints monthly (or more often in high-vibration areas). Tighten any loose connections and replace worn or damaged joints immediately.
- Upgrade to high-quality joints: It's tempting to save money on generic joints, but they often skimp on material thickness and precision. Opt for joints from reputable suppliers that use high-grade aluminum alloys and precision machining—they'll hold up better over time.
2. Misalignment During Assembly
You've got your aluminum profile, your multi-angle joint, and your tools ready—time to build! But instead of a smooth fit, you're struggling: the pipe won't slide into the joint all the way, the angle is off by a few degrees, or when you stand back, the entire structure leans to one side. These are signs of misalignment, and they're more than just a hassle. Misaligned joints create uneven load distribution, putting extra stress on certain parts of the structure. Over time, this can lead to premature wear, bent profiles, or even structural failure.
Misalignment often starts before the first joint is tightened. Inaccurate measurements are a big culprit—even a 1mm error in pipe length or angle marking can throw off the entire assembly. Low-precision manufacturing is another issue: if the joint's angle isn't exactly 90 degrees (or whatever angle you need), connecting it to a straight profile will create a permanent lean. Improper handling during shipping or storage can warp joints or profiles, making alignment impossible. And let's not forget human error: rushing through assembly, skipping the "dry fit" step, or forcing a joint into place instead of adjusting for a proper fit.
Solutions:
Getting alignment right starts with preparation and patience:
- Dry fit before tightening: Always assemble the entire structure loosely first, without fully tightening any joints. This lets you adjust angles, pipe lengths, and positions until everything lines up perfectly. Once it's straight and level, go back and tighten each joint in a crisscross pattern (like tightening lug nuts on a car wheel) to avoid shifting.
- Use alignment tools: A simple carpenter's square, level, or angle finder can work wonders. For more complex setups, consider laser alignment tools to ensure profiles are straight and perpendicular. Some suppliers even offer jigs or templates for common angles.
- Choose precision-machined joints: Look for joints with tight tolerances—ideally +/- 0.1 degrees for angle accuracy. Reputable suppliers will list these specs; if a joint's angle tolerance is vague (e.g., "approximate 90 degrees"), it's a red flag for poor quality.
- Train your team: If assembly is a team effort, make sure everyone understands the importance of measurement and alignment. A 10-minute demo on using a square or level can save hours of frustration later.
3. Corrosion and Wear
Aluminum is known for being corrosion-resistant, but even it has limits—especially when paired with joints that aren't up to snuff. Signs of trouble include white or grayish "bloom" on the joint surface (oxidation), pitting or small holes in the metal, or a sticky, discolored residue. In severe cases, the joint might even seize up, making disassembly impossible, or weaken to the point where it snaps under load. Corrosion isn't just ugly; it eats away at the joint's structural integrity, turning a strong connection into a ticking time bomb.
Moisture is the biggest enemy here. If your workspace is humid, exposed to water (e.g., near a washing station), or even just subject to frequent temperature swings that cause condensation, joints can start corroding. Chemicals are another culprit—oils, solvents, or cleaning agents used in manufacturing can eat through protective coatings. Speaking of coatings: many budget joints skip the anodizing or powder-coating step, leaving the raw aluminum exposed. Low-grade aluminum alloys (which may contain impurities like iron) are also more prone to corrosion than high-purity options. Finally, friction from repeated assembly/disassembly can wear down protective layers, exposing fresh metal to the elements.
Solutions:
Protecting joints from corrosion is all about prevention and maintenance:
- Opt for anodized or coated joints: Anodizing creates a hard, protective oxide layer on the aluminum surface that resists corrosion and wear. Powder coating adds a durable, colored layer that's great for both protection and visibility (e.g., yellow or grey for safety zones). If you're in a particularly harsh environment (like a food processing plant with frequent washdowns), look for joints with a stainless steel clamping mechanism—stainless steel is nearly impervious to rust.
- Clean regularly: Wipe down joints with a mild detergent and water periodically to remove dirt, oil, or chemicals. Avoid abrasive cleaners that can scratch coatings. For hard-to-reach areas, use a soft-bristled brush or compressed air.
- Apply protective sealants: For joints in high-moisture areas, a thin coat of silicone sealant or corrosion-inhibiting spray (like WD-40 Specialist Long-Term Corrosion Inhibitor) can add an extra layer of protection. Just be sure to avoid products that can degrade plastic components if your joints have them.
- Inspect for early signs: Oxidation (the white "bloom") is usually superficial and can be cleaned off with a vinegar solution, but pitting or holes mean the joint is compromised and should be replaced. Catch it early to avoid bigger problems.
4. Compatibility Issues with Aluminum Profiles
You order a set of multi-angle joints to connect your 4040 aluminum profile, only to find the joint's clamping mechanism is too loose—like trying to fit a square peg in a round hole. Or maybe the joint works with your 3030 profile but won't connect to the 2020 profile you need for a smaller section. Compatibility issues are frustrating and common, especially if you're mixing profiles from different suppliers or using older and newer systems. The result? Wasted time, money, and a structure that's either too loose (unstable) or too tight (damaged profiles).
Aluminum profiles and pipes come in a dizzying array of sizes and designs: T-slot profiles with different slot widths, round pipes with varying diameters, square tubes with different wall thicknesses. Multi-angle joints are designed to fit specific sizes, but not all suppliers follow the same standards. Some use metric sizes (e.g., 28mm diameter pipes), others imperial (1 inch). Even within metric, tolerances can vary—one supplier's "40mm profile" might actually measure 39.8mm, while another's is 40.2mm, making joints fit differently. Generic "one-size-fits-most" joints are especially problematic; they often use a spring-loaded or adjustable clamp that doesn't grip securely on any size.
Solutions:
Avoid compatibility headaches with these steps:
- Stick to one supplier (when possible): The easiest way to ensure compatibility is to buy your aluminum profiles, joints, and aluminum pipe accessories from the same supplier. They design their products to work together, so you won't have to guess if a joint fits a profile.
- Check compatibility charts: If you must mix suppliers, ask for detailed specs: profile outer diameter, slot width, wall thickness, and joint clamping range. Most reputable suppliers publish compatibility charts online—use them!
- Order samples first: If you're unsure, order one joint and test it with your profile before buying in bulk. It's a small investment to avoid a big mistake.
- Consider custom joints for unique setups: For non-standard profiles or special projects (like connecting aluminum and stainless steel components), many suppliers offer custom machining. It's pricier, but worth it for a secure, compatible connection.
5. Inadequate Load-Bearing Capacity
You build a workbench using multi-angle joints, load it with tools and materials, and suddenly—creak! The joint bends under the weight, or the entire shelf sags. Inadequate load-bearing capacity is a scary problem because it often leads to structural failure, which can damage equipment, injure workers, or halt production. Even if the joint doesn't break immediately, constant overloading weakens it over time, leading to fatigue failure down the line.
Load-bearing issues usually come down to one of two mistakes: using a joint rated for less weight than you need, or placing the joint in a position that concentrates too much weight on a single connection. For example, a joint rated for 50kg might work for a light shelf but fail under a 100kg toolbox. Joint placement matters too—putting a heavy load at the end of a long, unsupported profile creates leverage that even a strong joint can't handle. Low-quality joints are also to blame: thin walls, weak alloys, or poorly designed clamping mechanisms can't distribute weight evenly, leading to stress points that snap under load.
Solutions:
Keep your structures strong and safe with these tips:
- Calculate load requirements first: Before choosing joints, figure out how much weight the structure will need to hold—including dynamic loads (e.g., materials being placed or moved) which are often higher than static loads. Use this to select joints with a load rating at least 50% higher than your maximum expected load (this is called a "safety factor").
- Choose heavy-duty joints for critical areas: Not all joints are created equal. Look for "heavy-duty" or "industrial-grade" joints, which typically have thicker walls, reinforced clamping areas, and higher load ratings. For example, a standard multi-angle joint might handle 30kg, while a heavy-duty version can manage 100kg or more.
- Reinforce with additional supports: If you're building a long span or heavy shelf, add extra joints or braces to distribute weight. For example, instead of one joint in the middle of a 2m profile, use two joints spaced 50cm apart to split the load.
- Follow the "triangle rule": Triangles are the strongest shape in engineering. When designing structures, incorporate triangular bracing (using 45-degree or 135-degree joints) to increase stability and load capacity. This is especially important for tall racks or workbenches with overhangs.
| Common Problem | Key Symptoms | Primary Causes | Top Solutions |
|---|---|---|---|
| Loosening Connections | Wobbling, gaps, reduced stability | Thermal expansion, vibration, improper torque | Use thread-locking adhesive, torque wrenches, periodic inspections |
| Misalignment During Assembly | Difficulty fitting parts, uneven load distribution | Inaccurate measurements, low-precision joints, improper handling | Dry fit first, use alignment tools, choose precision-machined joints |
| Corrosion and Wear | Oxidation (white bloom), pitting, seized joints | Moisture, chemicals, poor coatings, low-grade aluminum | Anodized/coated joints, regular cleaning, protective sealants |
| Compatibility Issues | Loose/tight fits, inability to connect profiles | Non-standard sizes, varying tolerances, generic joint designs | Source from same supplier, check compatibility charts, test samples |
| Inadequate Load-Bearing | Bending, sagging, structural failure under load | Underrated joints, overloading, poor placement | Calculate load needs, use heavy-duty joints, add supports, triangular bracing |
Multi-angle fixed aluminum joints might be small, but their impact on your aluminum profile systems—whether it's a simple workbench, a busy flow rack, or a complex lean manufacturing setup—is huge. Loose connections, misalignment, corrosion, compatibility issues, and inadequate load-bearing capacity are all common problems, but they're not unavoidable. By choosing high-quality joints, taking time to align and tighten them properly, maintaining them regularly, and designing structures with load and compatibility in mind, you can keep your systems strong, stable, and reliable for years to come. Remember, the goal isn't just to fix problems when they arise—it's to prevent them in the first place. After all, a well-built aluminum profile system with sturdy joints doesn't just make your workspace more efficient; it keeps your team safe and your operations running smoothly. So the next time you reach for a multi-angle joint, take a moment to think about these tips—your future self (and your bottom line) will thank you.