- Company Articles
- FAQ
- FAQ
- Common Problems with Two Way Aluminum Pipe Joints and How to Solve Them

Common Problems with Two Way Aluminum Pipe Joints and How to Solve Them
Related Product
Two Way Aluminum Pipe Joint
Aluminum 2 way pipe joint for 28mm aluminum pipe connection in 2 direction.
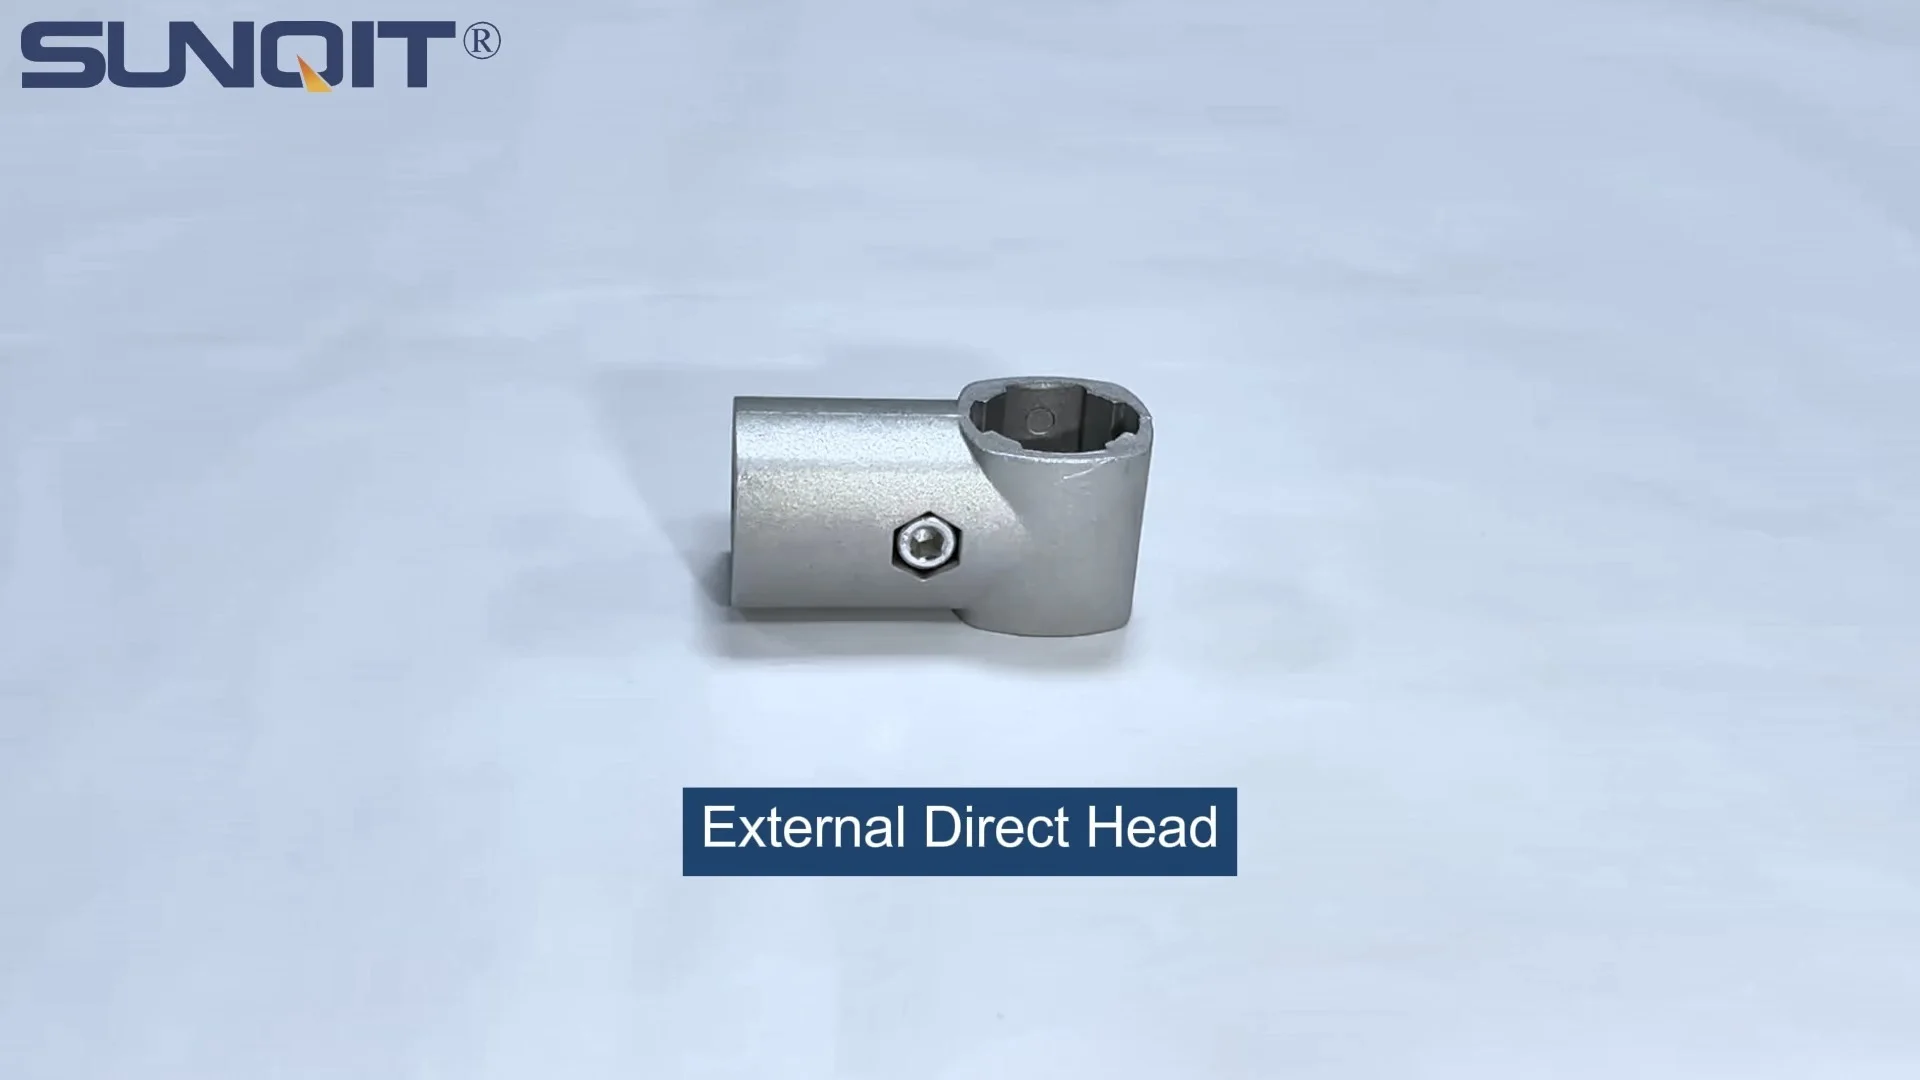
If you've ever walked through a busy manufacturing plant, a warehouse, or even a small workshop, you've probably seen them: sturdy workbenches, streamlined material racks, and smooth-rolling conveyors that keep operations moving like clockwork. Behind many of these structures lies a quiet hero of industrial efficiency: the two way aluminum pipe joint. These unassuming connectors are the backbone of lean pipe systems, holding together aluminum profiles to create everything from simple shelving to complex production lines. But like any hardworking component, they're not immune to problems. Loose joints, misaligned assemblies, and premature wear can turn a well-oiled workflow into a frustrating mess of wobbly workbenches and stuck conveyors. In this article, we'll dive into the most common headaches technicians and facility managers face with two way aluminum pipe joints, why they happen, and—most importantly—how to fix them for good.
Understanding Two Way Aluminum Pipe Joints: The Unsung Builders of Lean Systems
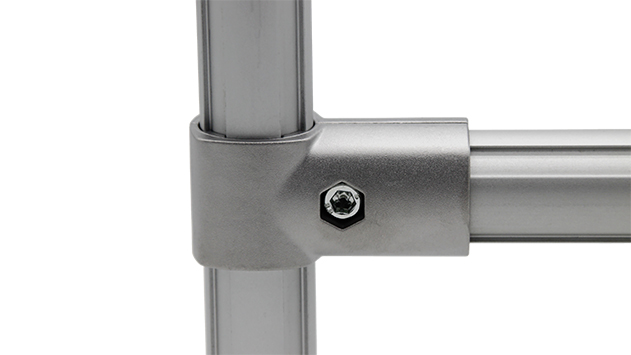
Before we jump into problems, let's get to know these joints better. A two way aluminum pipe joint is a specialized connector designed to link two aluminum profiles at a fixed angle (usually 90 degrees, though some are adjustable). They're the reason you can assemble a material rack B (that 3-row, 3-floor storage solution you rely on) in hours instead of days, or reconfigure a workbench layout to a new production line overnight. Made from lightweight yet durable aluminum, they're prized for their strength, corrosion resistance, and compatibility with a wide range of aluminum pipe accessories—think caster wheels, roller tracks, and leveling feet. In lean pipe systems, where flexibility and efficiency are king, these joints are non-negotiable. But even the best tools have their off days. Let's look at what can go wrong.
Common Problem #1: Loosening Over Time—The "Wobbly Workbench" Syndrome
The Scenario: A Wobbly Workbench That Just Won't Stay Tight
Imagine this: It's Monday morning, and Maria, a production supervisor at a electronics assembly plant, walks over to the workbench where her team assembles circuit boards. Last week, the maintenance crew tightened all the joints after a technician complained about instability. But today, the workbench is wobbling again. A quick check reveals the two way aluminum pipe joints connecting the legs to the tabletop frame have loosened—again. Tools slide around, and the team is wasting time readjusting components instead of building. Sound familiar? Loosening joints are hands down the most common issue with these connectors, and they're more than just an annoyance—they can compromise safety and slow down production.
Why It Happens: The Hidden Culprits Behind Loose Joints
Joints don't loosen on purpose—they're victims of everyday industrial life. Here are the top causes:
- Vibration Fatigue: Nearby machinery, conveyor belts, or even foot traffic sends constant tiny vibrations through the structure. Over time, these vibrations jostle the joint's internal components, gradually weakening the connection.
- Thermal Expansion: Factories and warehouses rarely have stable temperatures. Hot days, cold nights, or even heat from nearby ovens can cause aluminum profiles and joints to expand and contract. This repeated movement can wiggle bolts or locking mechanisms loose.
- Improper Initial Tightening: It's easy to rush assembly. If a joint isn't tightened to the manufacturer's recommended torque during setup, it's already primed to loosen. Even a quarter-turn too little can make a big difference.
- Worn Threads or Components: If the joint has been disassembled and reassembled multiple times (a common practice in lean systems), the threads on the bolts or the internal grooves of the joint can wear down, making a tight fit impossible.
The Fix: How to Tighten Loose Joints (and Keep Them That Way)
Fixing a loose joint isn't just about cranking a wrench harder—it's about addressing the root cause. Here's a step-by-step solution:
- Inspect First, Tighten Second: Before grabbing a tool, check if the joint is damaged. Look for stripped threads, cracks in the aluminum, or worn locking mechanisms. If it's damaged, replace it—tightening a broken joint is a temporary fix at best.
- Use a Torque Wrench (Not Just "Guesstimation"): Most manufacturers specify a torque range (e.g., 15–20 Nm) for their two way joints. A torque wrench ensures you hit that sweet spot—too loose, and it'll loosen again; too tight, and you risk stripping threads or warping the joint.
- Apply Thread-Locking Compound: For joints in high-vibration areas (like near conveyors), add a drop of medium-strength thread-locking adhesive (e.g., Loctite 243) to the bolt threads before tightening. It fills gaps and prevents vibration-induced loosening, but it's still removable with hand tools if you need to disassemble later.
- Add Lock Washers or Nylon-insert Nuts: If the joint uses standard bolts, swap in split lock washers or nylon-insert lock nuts. The washer "bites" into the joint surface, and the nylon insert creates friction that resists loosening.
- Schedule Preventive Checks: Loose joints rarely happen overnight. Set a calendar reminder for weekly quick checks (a 5-minute walkaround with a wrench) and monthly deep dives. Assign operators to report wobbles immediately—they're the first to notice.
Pro Tip:
If you're reusing a joint that's been loose multiple times, clean the threads with a wire brush and rubbing alcohol first. Oil, dust, or old adhesive residue can prevent proper tightening. A clean joint is a tight joint!
Common Problem #2: Misalignment During Assembly—When "Close Enough" Isn't Good Enough
The Scenario: A Crooked Material Rack That Just Won't Line Up
David, a warehouse manager, needs to set up a new material rack B to store incoming components. He has all the parts: aluminum profiles, two way joints, and shelves. But as he starts assembling, something's off. The vertical posts won't stand straight, and the horizontal beams sit at a slight angle, making the shelves tilt. He forces the joints into place, but the rack feels unstable, like it might collapse under weight. What's going on? Misalignment during assembly is another frequent frustration, and it's often the result of small mistakes that add up to big headaches.
Why It Happens: The Causes of Misaligned Joints
Misalignment isn't just bad luck—it's usually a mix of human error and overlooked details:
- Poorly Cut Aluminum Profiles: If the aluminum pipe (or aluminum profile) isn't cut square (90-degree angles), the joint can't seat flush. A 1-degree might seem tiny, but over a 6-foot rack, it adds up to a noticeable lean.
- Worn or Damaged Joint Grooves: Two way joints rely on precise grooves or slots to grip the aluminum profile. If these grooves are dented, scratched, or worn from repeated use, the pipe won't fit snugly, leading to shifts during assembly.
- Ignoring the "Dry Fit" Step: Rushing to tighten joints before testing the fit is a recipe for misalignment. Without dry-fitting (assembling loosely to check alignment), you might not notice that a pipe is slightly bent or a joint is upside down until it's too late.
- Using the Wrong Tools: Hammering a joint onto a pipe (yes, people do this!) can bend the profile or warp the joint, throwing off angles. Aluminum is strong, but it's not indestructible.
The Fix: Aligning Joints Like a Pro
Getting joints to line up perfectly isn't about brute force—it's about precision and patience. Here's how to do it:
- Start with Straight, Square Profiles: Before assembly, inspect each aluminum pipe. Roll it on a flat surface—if it wobbles, it's bent. Check the cut ends with a carpenter's square to ensure they're 90 degrees. If a pipe is crooked or cut poorly, replace it. It's worth the extra 5 minutes.
- Dry Fit First, Tighten Later: Assemble the entire structure loosely first. Slide the two way joints onto the pipes without tightening any bolts. Stand back and check for plumb (vertical straightness) with a level and square (horizontal straightness) with a measuring tape. Adjust pipes and joints until everything lines up—this is your chance to fix mistakes before they're permanent.
- Use Alignment Aids: For complex structures (like a multi-tier material rack), use temporary braces or clamps to hold joints in place while you tighten. A simple bar clamp across two horizontal beams can keep them parallel while you secure the vertical joints.
- Check for "Play" in Joints: After dry fitting, wiggle each joint gently. If there's noticeable movement (play) between the joint and the pipe, the fit is too loose. This can happen if the pipe is slightly undersized or the joint's grooves are worn. In this case, try a different joint or wrap a thin layer of Teflon tape around the pipe (sparingly!) to add thickness—just enough to eliminate play without forcing.
- Tighten in a "Star Pattern": If a joint has multiple bolts (common in heavy-duty models), tighten them in a star pattern (like tightening lug nuts on a car wheel). This ensures even pressure and prevents the joint from pulling to one side.
Pro Tip:
Mark the pipes and joints with a pencil during dry fit! A small line across the joint and pipe ensures you can realign them perfectly if you need to disassemble and adjust. No more guessing if it's in the right spot.

Common Problem #3: Corrosion and Wear—When Joints Start to Show Their Age
The Scenario: Rust Spots and Sticky Joints in a Humid Factory
Carlos manages a food packaging facility where humidity is high to keep products fresh. Last month, he noticed something alarming: the two way aluminum pipe joints on the conveyor system near the washing station had developed white, powdery spots (corrosion), and some joints were sticking when he tried to adjust them. A closer look revealed pitting on the aluminum surface, and one joint was so worn that it barely gripped the pipe. Corrosion and wear aren't just cosmetic—they weaken joints over time, turning them into ticking time bombs for structural failure.
Why It Happens: The Enemies of Aluminum Joints
Aluminum is naturally corrosion-resistant thanks to its oxide layer, but that layer isn't invincible. Here's what attacks it:
- High Humidity and Moisture: Humid air, water splashes (from cleaning or leaks), or condensation can penetrate tiny scratches in the oxide layer, leading to "white rust" (aluminum oxide corrosion).
- Chemical Exposure: Factories use all kinds of chemicals—cleaners, lubricants, coolants, even food-grade sanitizers. Some of these (like acidic or alkaline solutions) can react with aluminum, eating away at the joint's surface.
- Abrasive Debris: Dust, metal shavings, or grit from the production process can get trapped between the joint and pipe. Every time the structure vibrates, this debris acts like sandpaper, wearing down the joint's grooves and the pipe's surface.
- UV Exposure: Joints near windows or outdoor areas (like loading docks) can degrade from sunlight. UV rays break down the aluminum's surface over time, making it more prone to corrosion.
The Fix: Restoring and Protecting Corroded or Worn Joints
The good news? Minor corrosion and wear can often be fixed. Severe damage might require replacement, but let's start with what you can save:
- Clean Corrosion Immediately: For white rust or light pitting, mix equal parts white vinegar and water. Dip a soft cloth in the solution and gently scrub the affected area. The vinegar's acidity will dissolve the corrosion without damaging the aluminum. Rinse with clean water and dry thoroughly—moisture is the enemy here.
- Remove Debris with Compressed Air: Use a can of compressed air (or an air compressor with a low-pressure nozzle) to blow out dust and grit from joint grooves. For stubborn debris, use a soft-bristled brush (an old toothbrush works!)—never a wire brush, which scratches the aluminum.
- Apply a Protective Coating: After cleaning, spray the joint with a clear, aluminum-safe sealant (like a silicone-based spray or automotive wax). This adds a barrier against moisture and chemicals. Reapply every 3–6 months, depending on humidity levels.
- replace Worn Joints Proactively: If a joint has deep pitting, cracked aluminum, or grooves that no longer grip the pipe, it's time to retire it. Using a worn joint is a safety risk. Look for replacement joints made from anodized aluminum—anodizing thickens the oxide layer, making them more corrosion-resistant than standard aluminum.
- Relocate Vulnerable Joints: If possible, move joints away from direct moisture, chemical sprays, or UV light. For example, Carlos could install a simple plastic shield over the conveyor joints near the washing station to block water splashes.
Pro Tip:
In super-humid environments, consider upgrading to stainless steel swivel roller balls or stainless steel pipe series components for critical joints. Stainless steel is more corrosion-resistant than aluminum, though it's slightly heavier and pricier. It's a worthwhile investment for high-moisture areas!

Troubleshooting Quick Reference: A Handy Table for On-the-Go Fixes
| Problem | Common Cause | Quick Fix | Long-Term Solution |
|---|---|---|---|
| Loose Joints | Vibration or improper tightening | Retighten with torque wrench | Apply thread-locking compound; schedule monthly checks |
| Misalignment | Poorly cut pipes or dry fit skipped | Loosen and realign with level | Use square-cut pipes; dry fit first, then tighten in star pattern |
| Corrosion | High humidity or chemical exposure | Clean with vinegar solution; dry thoroughly | Apply sealant; upgrade to anodized joints |
| Sticky Joints | Debris in grooves or rust | Blow out debris with compressed air | Regular cleaning; avoid abrasive materials near joints |
Prevention: Keeping Two Way Aluminum Pipe Joints Happy (and Your Workflow Smooth)
They say an ounce of prevention is worth a pound of cure, and that's especially true for two way aluminum pipe joints. Here's how to keep them in top shape:
- Train Your Team on Proper Assembly: Even the best joints fail if assembled wrong. Hold a 15-minute training session on dry fitting, torque values, and the importance of clean threads. A little knowledge goes a long way.
- Store Joints Properly: Keep spare joints in a dry, clean container (not a dusty shelf or damp corner). Avoid stacking heavy objects on them—this can warp the grooves.
- Invest in Quality Accessories: Cheap aluminum pipe accessories (like ill-fitting bolts or flimsy washers) can damage joints over time. Stick to reputable brands that match your joint's specifications.
- Use Adjustable Leveling Feet: Uneven floors put extra stress on joints, causing them to loosen or misalign. Adjustable leveling feet under workbenches or racks distribute weight evenly, reducing strain on joints.
- Document Maintenance: Keep a log of when joints are tightened, cleaned, or replaced. This helps spot patterns (e.g., "Joints near the paint booth always corrode faster") and plan preventive care.
Final Thoughts: Joints That Work as Hard as Your Team
Two way aluminum pipe joints might not be the flashiest part of your lean pipe system, but they're the foundation of everything you build. Loose, misaligned, or corroded joints don't just slow you down—they remind you that even the smallest components deserve attention. By understanding why these problems happen and how to fix them, you're not just maintaining equipment; you're keeping your team safe, your workflow efficient, and your facility running like the well-oiled machine it should be. So the next time you walk past that material rack B or workbench, take a second to appreciate the joints holding it all together. And if you spot a wobble? You've got this—now go tighten those joints and get back to building something great.